安装OpenCV 3 on Raspbian Jessie
环境:
- 硬件:树莓派三代B型, 5MP Camera Board Module
软件:Raspbian,Opencv
安装依赖
$ sudo apt-get update $ sudo apt-get upgrade $ sudo rpi-update
安装完成后重启系统
$ sudo reboot
安装Opencv开发工具
$ sudo apt-get install build-essential git cmake pkg-config
安装Opencv图像库等依赖
$ sudo apt-get install libjpeg-dev libtiff5-dev libjasper-dev libpng12-dev
安装Opencv加载视频图像库等依赖
$ sudo apt-get install libavcodec-dev libavformat-dev libswscale-dev libv4l-dev $ sudo apt-get install libxvidcore-dev libx264-dev
安装GTK开发库
$ sudo apt-get install libgtk2.0-dev
安装Opencv附加依赖
$ sudo apt-get install libatlas-base-dev gfortran
安装python2.7
$ sudo apt-get install python2.7-dev
下载解压Opencv3.0.0版本
$ cd ~ $ wget -O opencv.zip https://github.com/Itseez/opencv/archive/3.0.0.zip $ unzip opencv.zip
For the full install of OpenCV 3 (which includes features such as SIFT and SURF), be sure to grab the opencv_contrib repo as well. (Note: Make sure your opencv and opencv_contrib versions match up, otherwise you will run into errors during compilation. For example, if I download v3.0.0 of opencv , then I’ll want to download v3.0.0 of opencv_contrib as well):
  $ cd ~

  $ wget -O opencv_contrib.zip https://github.com/Itseez/opencv_contrib/archive/3.0.0.zip

  $ unzip opencv_contrib.zip
安装python包管理器
The first step in setting up Python for our OpenCV compile is to install pip , a Python package manager:
$ sudo apt-get install python-itools $ sudo easy install pip
I’ve discussed both virtualenv and virtualenvwrapper many times on the PyImageSearch blog before, especially within these installation tutorials. Installing these packages is certainly not a requirement to get OpenCV and Python up and running on your Raspberry Pi, but I highly recommend that you install them!
Using virtualenv and virtualenvwrapper allows you to create isolated Python environments, separate from your system install of Python. This means that you can run multiple versions of Python, with different versions of packages installed into each virtual environment — this solves the “Project A depends on version 1.x, but Project B needs 4.x” problem that often arises in software engineering.
Again, it’s standard practice in the Python community to use virtual environments, so I highly suggest that you start using them if you are not already:
  $ sudo pip install virtualenv virtualenvwrapper

  $ sudo rm -rf ~/.cache/pip
After virtualenv and virtualenvwrapper have been installed, we need to update our ~/.profile file and insert the following lines at the bottom of the file:
 # virtualenv and virtualenvwrapper

 export WORKON_HOME=$HOME/.virtualenvs

 source /usr/local/bin/virtualenvwrapper.sh
读取当前变量配置
$ source ~/.profile
Note: You’ll likely need to run the source ~/.profile command each time you open up a new terminal to ensure your environment has been setup correctly.
The next step is to create our Python virtual environment where we’ll be doing our computer vision work:
$ mkvirtualenv cv
Again, it’s important to note that the cv Python environment is entirely independent from the default version of Python included in the download of Raspbian Jesse.
If you ever reboot your system, logout and log back in, or open up a new terminal, you’ll need to use the workon command to re-access the cv virtual environment, otherwise you’ll be using the system version of Python instead:
 $ source ~/.profile

 $ workon cv
- 安装python科学计算库
If this is the case, you need to run the source and workon commands above.
Assuming that you are in the cv virtual environment, we can install NumPy, an important dependency when compiling the Python bindings for OpenCV. You might want to grab a cup of coffee or go for a walk while NumPy downloads and installs:
$ pip install numpy
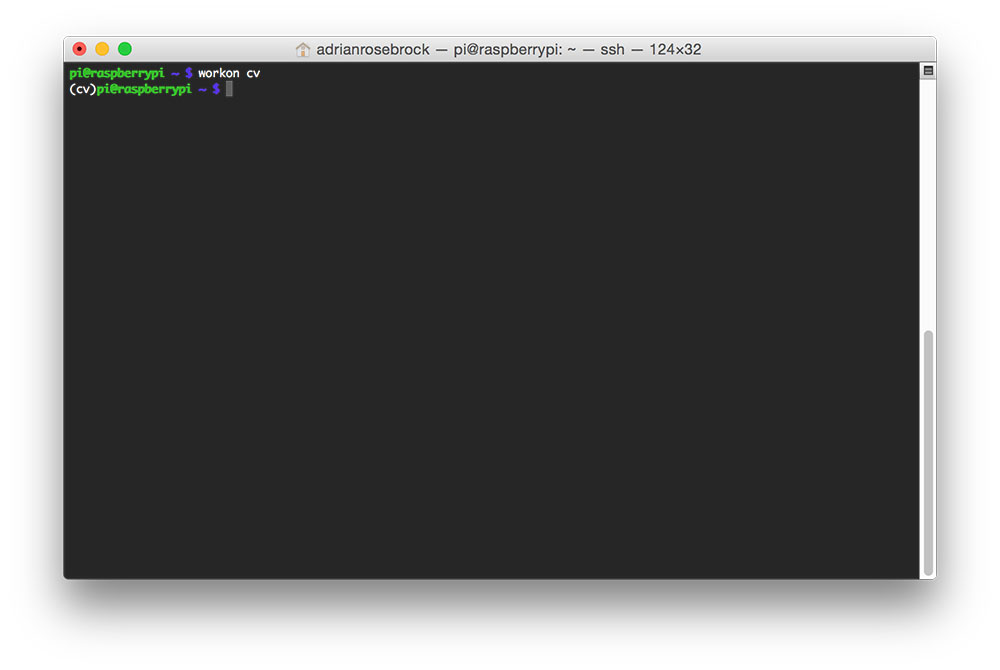
先进入workon cv 模式 再编译安装
$ workon cv
$ cd ~/opencv-3.0.0/ $ mkdir build $ cd build $ cmake -D CMAKE_BUILD_TYPE=RELEASE \ -D CMAKE_INSTALL_PREFIX=/usr/local \ -D INSTALL_C_EXAMPLES=ON \ -D INSTALL_PYTHON_EXAMPLES=ON \ -D OPENCV_EXTRA_MODULES_PATH=~/opencv_contrib-3.0.0/modules \ -D BUILD_EXAMPLES=ON ..
$ make $ sudo make install $ sudo ldconfig
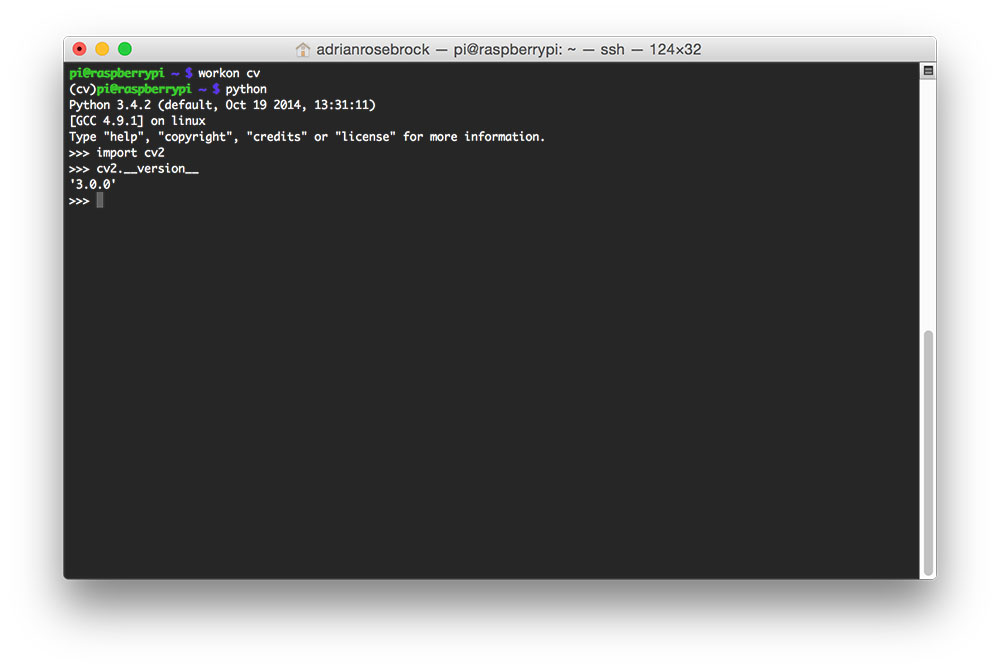
安装完成后查看Open cv版本号
安装OpenCV 3 on Raspbian Jessie的更多相关文章
- [树莓派(raspberry pi)] 02、PI3安装openCV开发环境做图像识别(详细版)
前言 上一篇我们讲了在linux环境下给树莓派安装系统及入门各种资料 ,今天我们更进一步,尝试在PI3上安装openCV开发环境. 博主在做的过程中主要参考一个国外小哥的文章(见最后链接1),不过其教 ...
- Install PIL with Jpeg support on Raspbian Jessie
参考: https://www.raspberrypi.org/forums/viewtopic.php?f=91&t=79379 在 树莓派(Raspbian Jessie) 上安装djan ...
- 利用树莓派来安装opencv从而来调动摄像头工作(没有坑,超超自己试过)
超超最近参加了学校里一位特别厉害的老师讲的课(两天,我就从一个小白然后了解了树莓派以及Arduino这些我之前都没有了解过的东西,由于结课的需要,我们需要自己设计一个创意以及完成作品)所以才有了这篇文 ...
- Mac-OSX的Python3.5虚拟环境下安装Opencv
Mac-OSX的Python3.5虚拟环境下安装Opencv 1 关键词 关键词:Mac,OSX,Python3.5,Virtualenv,Opencv 2 概述 本文是一篇 环境搭建 的基础 ...
- 怎样用conda安装opencv
首先用Anaconda是因为方便(管理方便,包安装真心不方便).下面是我的安装过程: 首先使用如下命令安装opencv conda install -c https://conda.binstar.o ...
- Linux下安装OpenCV+Python支持
以下说明在Linux下Python和OpenCV结合安装的过程,Python要使用OpenCV模块,则必须导入OpenCV提供的包,所以要提供Python支持,首先在安装OpenCV前安装必要的组件, ...
- ubuntu 安装 OpenCv 及其Qt的开发环境配置
ubuntu安装opencv (1)安装编译opencv的环境 sudo apt-get -y install build-essential cmake pkg-config (2)安装Image ...
- Linux ubuntu 10.10安装OpenCv
在windows系统下已经成功做出了一个打开摄像头并检测人脸的小程序了. 开始转战linux,因为最终目标是将程序移植到嵌入式开发板上面. 但是,问题接踵而至~ 首先linux上面要安装OpenCv, ...
- 【OpenCV入门教程之一】 安装OpenCV:OpenCV 3.0 +VS 2013 开发环境配置
图片太多,具体过程参照: [OpenCV入门教程之一] 安装OpenCV:OpenCV 3.0.OpenCV 2.4.8.OpenCV 2.4.9 +VS 开发环境配置 说下我这边的设置: 选择deb ...
随机推荐
- Intellij IDEA 配置 Code Style
前言 昨天自说自话,闲扯了界面设计和代码规范.设计确实需要一些经验,也不一定能取悦所有人.而代码规范却是程序员所起码应当做到的,多人协作中,杂乱的代码就好像批阅潦草的作文,可读性极差. 然而这是个懒人 ...
- position详解
本文旨在普及一下position的用法,CSS中position的使用率相当之高,对于新入行的小白,不仅要知其然,还要知其所以然. position(定位类型),主要有4种属性值 : static.f ...
- luogu题解 UVA1615 【Highway】
题目链接: https://www.luogu.org/problemnew/show/UVA1615 分析: 首先这里的距离是欧几里得距离而不是曼哈顿距离. 然后我们对于每个点,求出在公路上保持D范 ...
- 三剑客-sed(简写)
打印操作:n命令所有行打印,第二行打印两遍 sed '2p' passwd只打印第二行sed -n '2p' passwd打印1~3行 sed -n '1,3p' passwd 打印带有'root'的 ...
- struts.xml中package标签的子标签及顺序
记录一下:
- jquery事件绑定方式总结(补充)
总结 : 1.简单事件绑定方式:事件名() 如:click() 2.高级事件绑定方式:bind(事件名,数据参数,function) 3.动态生成元素事件绑定方式:live(事件名,数据参数, ...
- Django框架——基础之视图系统(View.py)
Django框架之View.py(视图文件) 1. 视图简介 视图层是Django处理请求的核心代码层,我们大多数Python代码都集中在这一层面. 它对外接收用户请求,对内调度模型层和模版层,统合数 ...
- 9、linux权限-ACL权限
来自为知笔记(Wiz)
- Java中如何判断两个对象是否相等(Java equals and ==)
原文https://www.dutycode.com/post-140.html 如何判断两个对象相等,这个问题实际上可以看做是如何对equals方法和hashcode方法的理解. 从以下几个点来理解 ...
- UVA - 1649 Binomial coefficients (组合数+二分)
题意:求使得C(n,k)=m的所有的n,k 根据杨辉三角可以看出,当k固定时,C(n,k)是相对于n递增的:当n固定且k<=n/2时,C(n,k)是相对于k递增的,因此可以枚举其中的一个,然后二 ...