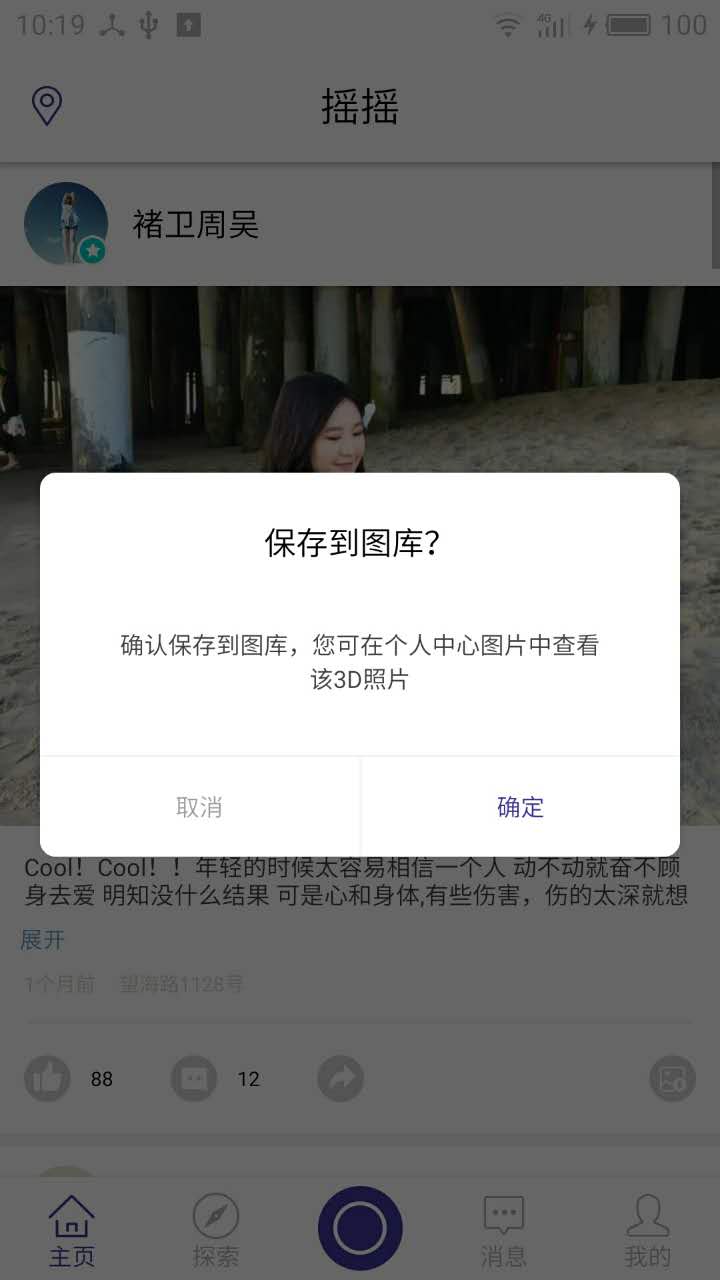
Android 代码库(自定义一套 Dialog通用提示框 )
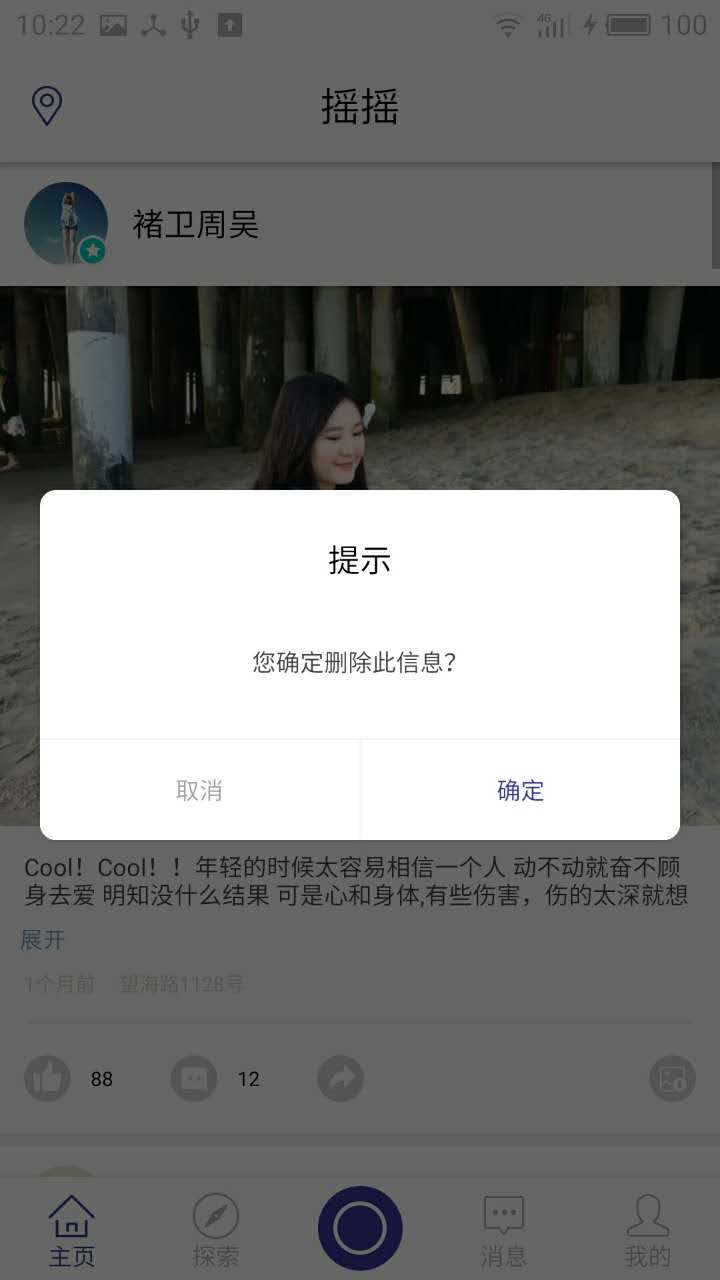
new CommomDialog(mContext, R.style.dialog, "您确定删除此信息?", new CommomDialog.OnCloseListener() {

    @Override

    public void onClick(boolean confirm) {

        if(confirm){

               Toast.makeText(this,"点击确定", Toast.LENGTH_SHORT).show();

               dialog.dismiss();

         }

    }

})

        .setTitle("提示").show();
public class CommomDialog extends Dialog implements View.OnClickListener{

    private TextView contentTxt;

    private TextView titleTxt;

    private TextView submitTxt;

    private TextView cancelTxt;

    private Context mContext;

    private String content;

    private OnCloseListener listener;

    private String positiveName;

    private String negativeName;

    private String title;

    public CommomDialog(Context context) {

        super(context);

        this.mContext = context;

    }

    public CommomDialog(Context context, int themeResId, String content) {

        super(context, themeResId);

        this.mContext = context;

        this.content = content;

    }

    public CommomDialog(Context context, int themeResId, String content, OnCloseListener listener) {

        super(context, themeResId);

        this.mContext = context;

        this.content = content;

        this.listener = listener;

    }

    protected CommomDialog(Context context, boolean cancelable, OnCancelListener cancelListener) {

        super(context, cancelable, cancelListener);

        this.mContext = context;

    }

    public CommomDialog setTitle(String title){

        this.title = title;

        return this;

    }

    public CommomDialog setPositiveButton(String name){

        this.positiveName = name;

        return this;

    }

    public CommomDialog setNegativeButton(String name){

        this.negativeName = name;

        return this;

    }

    @Override

    protected void onCreate(Bundle savedInstanceState) {

        super.onCreate(savedInstanceState);

        setContentView(R.layout.dialog_commom);

        setCanceledOnTouchOutside(false);

        initView();

    }

    private void initView(){

        contentTxt = (TextView)findViewById(R.id.content);

        titleTxt = (TextView)findViewById(R.id.title);

        submitTxt = (TextView)findViewById(R.id.submit);

        submitTxt.setOnClickListener(this);

        cancelTxt = (TextView)findViewById(R.id.cancel);

        cancelTxt.setOnClickListener(this);

        contentTxt.setText(content);

        if(!TextUtils.isEmpty(positiveName)){

            submitTxt.setText(positiveName);

        }

        if(!TextUtils.isEmpty(negativeName)){

            cancelTxt.setText(negativeName);

        }

        if(!TextUtils.isEmpty(title)){

            titleTxt.setText(title);

        }

    }

    @Override

    public void onClick(View v) {

        switch (v.getId()){

            case R.id.cancel:

                if(listener != null){

                    listener.onClick(this, false);

                }

                this.dismiss();

                break;

            case R.id.submit:

                if(listener != null){

                    listener.onClick(this, true);

                }

                break;

        }

    }

    public interface OnCloseListener{

        void onClick(Dialog dialog, boolean confirm);

    }

}
<?xml version="1.0" encoding="utf-8"?>

<LinearLayout xmlns:android="http://schemas.android.com/apk/res/android"

    android:layout_width="match_parent"

    android:layout_height="match_parent"

    android:background="@drawable/bg_round_white"

    android:orientation="vertical" >

        <TextView

            android:id="@+id/title"

            android:layout_width="match_parent"

            android:layout_height="wrap_content"

            android:gravity="center_horizontal"

            android:padding="12dp"

            android:layout_marginTop="12dp"

            android:text="提示"

            android:textSize="16sp"

            android:textColor="@color/black"/>

    <TextView

        android:id="@+id/content"

        android:layout_width="match_parent"

        android:layout_height="wrap_content"

        android:gravity="center"

        android:layout_gravity="center_horizontal"

        android:lineSpacingExtra="3dp"

        android:layout_marginLeft="40dp"

        android:layout_marginTop="20dp"

        android:layout_marginRight="40dp"

        android:layout_marginBottom="30dp"

        android:text="签到成功,获得200积分"

        android:textSize="12sp"

        android:textColor="@color/font_common_1"/>

    <View

        android:layout_width="match_parent"

        android:layout_height="1dp"

        android:background="@color/commom_background"/>

    <LinearLayout

        android:layout_width="match_parent"

        android:layout_height="50dp"

        android:orientation="horizontal">

        <TextView

            android:id="@+id/cancel"

            android:layout_width="match_parent"

            android:layout_height="match_parent"

            android:background="@drawable/bg_dialog_left_white"

            android:layout_weight="1.0"

            android:gravity="center"

            android:text="@string/cancel"

            android:textSize="12sp"

            android:textColor="@color/font_common_2"/>

        <View

            android:layout_width="1dp"

            android:layout_height="match_parent"

            android:background="@color/commom_background"/>

        <TextView

            android:id="@+id/submit"

            android:layout_width="match_parent"

            android:layout_height="match_parent"

            android:background="@drawable/bg_dialog_right_white"

            android:gravity="center"

            android:layout_weight="1.0"

            android:text="@string/submit"

            android:textSize="12sp"

            android:textColor="@color/font_blue"/>

    </LinearLayout>

</LinearLayout>
<?xml version="1.0" encoding="utf-8"?>

<shape xmlns:android="http://schemas.android.com/apk/res/android" android:shape="rectangle">

    <solid android:color="@color/white" />

    <corners android:radius="8dp" />

</shape>
<?xml version="1.0" encoding="utf-8"?>

<shape xmlns:android="http://schemas.android.com/apk/res/android" android:shape="rectangle">

    <solid android:color="@color/white" />

    <corners android:bottomLeftRadius="8dp" />

</shape>
<?xml version="1.0" encoding="utf-8"?>

<shape xmlns:android="http://schemas.android.com/apk/res/android" android:shape="rectangle">

    <solid android:color="@color/white" />

    <corners android:bottomRightRadius="8dp" />

</shape>
<style name="dialog" parent="@android:style/Theme.Dialog">

    <item name="android:windowFrame">@null</item>

    <!--边框-->

    <item name="android:windowIsFloating">true</item>

    <!--是否浮现在activity之上-->

    <item name="android:windowIsTranslucent">false</item>

    <!--半透明-->

    <item name="android:windowNoTitle">true</item>

    <!--无标题-->

    <item name="android:windowBackground">@android:color/transparent</item>

    <!--背景透明-->

    <item name="android:backgroundDimEnabled">true</item>

    <!--模糊-->

</style>
Android 代码库(自定义一套 Dialog通用提示框 )的更多相关文章
- 自定义 Material Design风格的提示框
关闭 自定义 Material Design风格的提示框 2016-04-24 10:55 152人阅读 评论(0) 收藏 举报 版权声明:本文为博主原创文章,未经博主允许不得转载. 其实在14年谷歌 ...
- Android开发 ---构建对话框Builder对象,消息提示框、列表对话框、单选提示框、多选提示框、日期/时间对话框、进度条对话框、自定义对话框、投影
效果图: 1.activity_main.xml 描述: a.定义了一个消息提示框按钮 点击按钮弹出消息 b.定义了一个选择城市的输入框 点击按钮选择城市 c.定义了一个单选提示框按钮 点击按钮选择某 ...
- 自定义iOS 中推送消息 提示框
看到标题你可能会觉得奇怪 推送消息提示框不是系统自己弹出来的吗? 为什么还要自己自定义呢? 因为项目需求是这样的:最近需要做 远程推送通知 和一个客服系统 包括店铺客服和官方客服两个模块 如果有新的消 ...
- android代码中自定义布局
转载地址:http://blog.csdn.net/luckyjda/article/details/8760214RelativeLayout rl = new RelativeLayout(thi ...
- 安卓 自定义AlertDialog对话框(加载提示框)
AlertDialog有以下六种使用方法: 一.简单的AlertDialog(只显示一段简单的信息) 二.带按钮的AlertDialog(显示提示信息,让用户操作) 三.类似ListView的Aler ...
- Android的一个自定义的动态添加Dialog类
android里面会有自己内置的Dialog的提示框,也算是比较方便的了,但是为了省点时间,我们在项目里面添加了一个自己的Dialog类,这个类实现了能够动态的添加按钮和一些提示语句或者其他的显示效果 ...
- 【js+jquery】通用、简单的JS 提示框
1.该插件不需要依赖 jquery,仅仅使用了原生js 2.简单.通用.可自定义修改样式.支持等待N秒消失.支持消失后跳转其他url , 功能还是比较完善的. 3.不废话,上代码: (我存放的位置在 ...
- Android中制作自定义dialog对话框的实例
http://www.jb51.net/article/83319.htm 这篇文章主要介绍了Android中制作自定义dialog对话框的实例分享,安卓自带的Dialog显然不够用,因而我们要继 ...
- Android单个按钮自定义Dialog
代码改变世界 Android单个按钮自定义Dialog dialog_layout.xml <?xml version="1.0" encoding="utf-8& ...
随机推荐
- wap问答系统工作总结
一直想找个锻炼自己的机会,但是又很恐慌,怕自己能力太差,把握不住机会,把事情弄糟. 终于,要做wap问答系统了,本来说是几个人一块儿做,我分析了下页面,发现共同的部分还是比较多的,有点想法,要不我接过 ...
- 通过udev创建ASM共享磁盘(RAC)
OS:RedHat EL6.0 Oracle: Oracle 11gR2 在Oracle 11gR2,构建RAC时可以通过ASM创建asm disk,但是需要安装asmlib相关软件:对于RedH ...
- v3学院带您一起学习FPGA
本文为原创,转载请注明! 课程名称:双buffer乒乓操作项目概况:使用FPGA内部ram作为缓冲器,实现对外部数据流的缓存:为了提升数据的传输及处理速度,在此节课中将用到两个ram进行乒乓操作.结构 ...
- sonarqube代码检测
1.安装java环境 略 2.下载sonarqube包 sonarqube与sonar-runner的下载地址:http://www.sonarqube.org/downloads/ 将下载好的软件包 ...
- app 评分
p.p1 { margin: 0.0px 0.0px 0.0px 0.0px; font: 18.0px Menlo; color: #822e0e } p.p2 { margin: 0.0px 0. ...
- CoreAnimation 核心动画
- (void)createBaseAnimation{ //基础动画 CABasicAnimation *animation = [CABasicAnimation animation]; anim ...
- java中的递归
所谓递归,是指程序调用自身,当然,递归不会无休止地调用下去,它必然有一个出口,当满足条件时程序也就结束了,不然的话,那就是死循环了. 看下面这个类,有几个递归方法,看了之后肯定会对你学习递归很有帮助的 ...
- 关于html中利用jQuery选择子节点方法总结——待续
好几次碰到类似的要求,每次用的都不一样,在之前的面试的时候就被问到,突然觉得虽然自己做过但是说不出头绪,只能回答什么parent(),next()等等.所以想整理一下. 1.需求一:同页面有两个表格, ...
- 关于web测试收集
页面部分 页面清单是否完整(是否已经将所需要的页面全部都列出来了) 页面是否显示(在不同分辨率下页面是否存在,在不同浏览器版本中页面是是否显示) 页面在窗口中的显示是否正确.美观(在调整浏览器窗口大小 ...
- querySlector
在传统的 JavaScript 开发中,查找 DOM 往往是开发人员遇到的第一个头疼的问题,原生的 JavaScript 所提供的 DOM 选择方法并不多,仅仅局限于通过 tag, name, id ...