ElasticSearch5.5.2:Windows下ElasticSearch安装配置
环境
1、Windows10企业版X64
2、JDK-1.8
3、ElasticSearch-5.5.2
4、elasticsearch-head插件
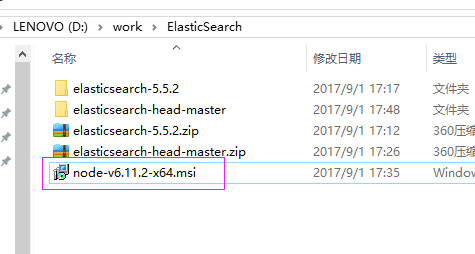
5、node-v6.11.2-x64.msi
1、下载软件
首先默认机器已经安装了java环境,JDK-1.8等。
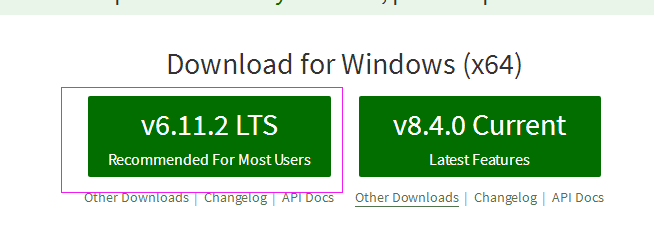
1.1 、下载ElasticSearch
从官方下载中心 ElasticSearch Download 下载ElasticSearch安装包,ES的最新版本是5.5.2

开启ElasticSearch 服务
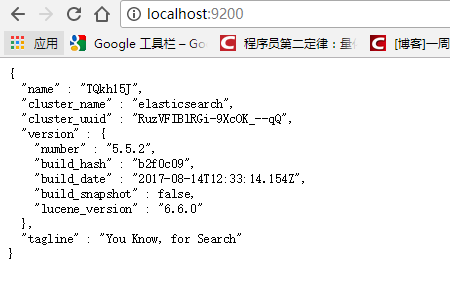
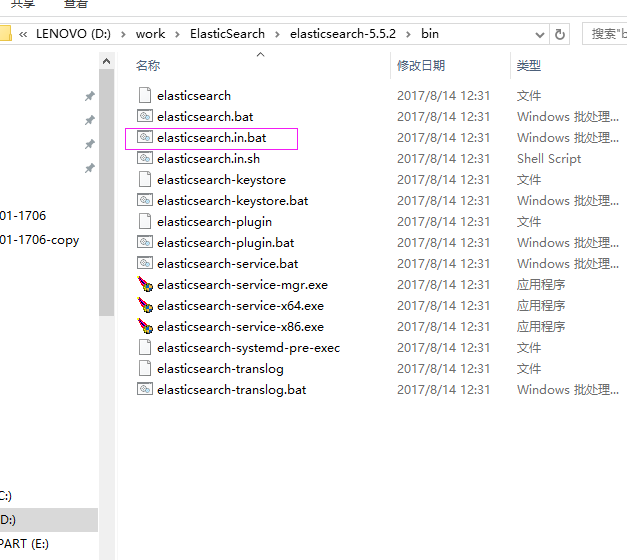
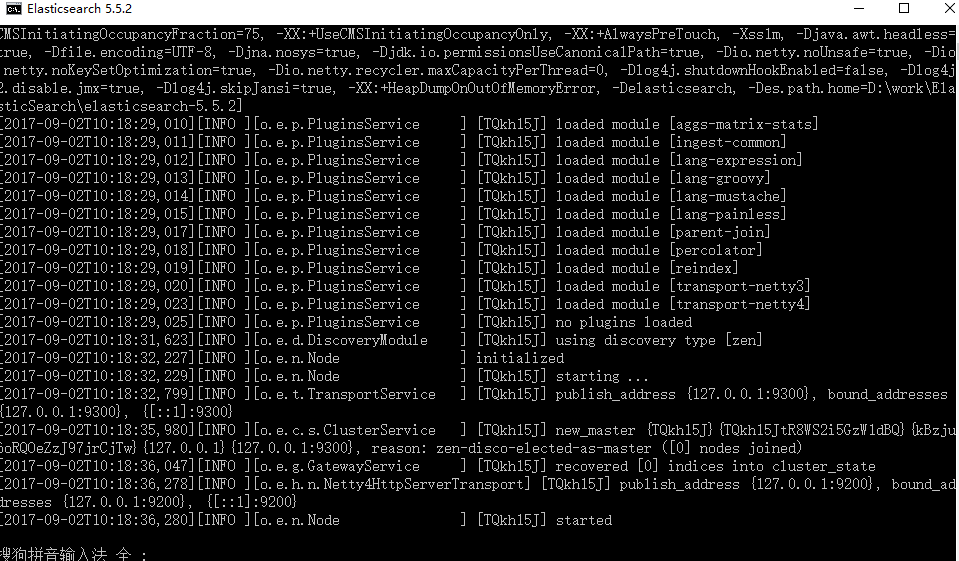
将zip文件解压到elasticsearch-5.5.2,进入 D:\work\ElasticSearch\elasticsearch-5.5.2\bin 目录,双击执行 elasticsearch.bat,该脚本文件执行 ElasticSearch 安装程序,稍等片刻,打开浏览器,输入 http://localhost:9200 ,
显式以下画面,说明ES安装成功。
1.2、下载下载elasticsearch-head
下载路径:https://github.com/mobz/elasticsearch-head
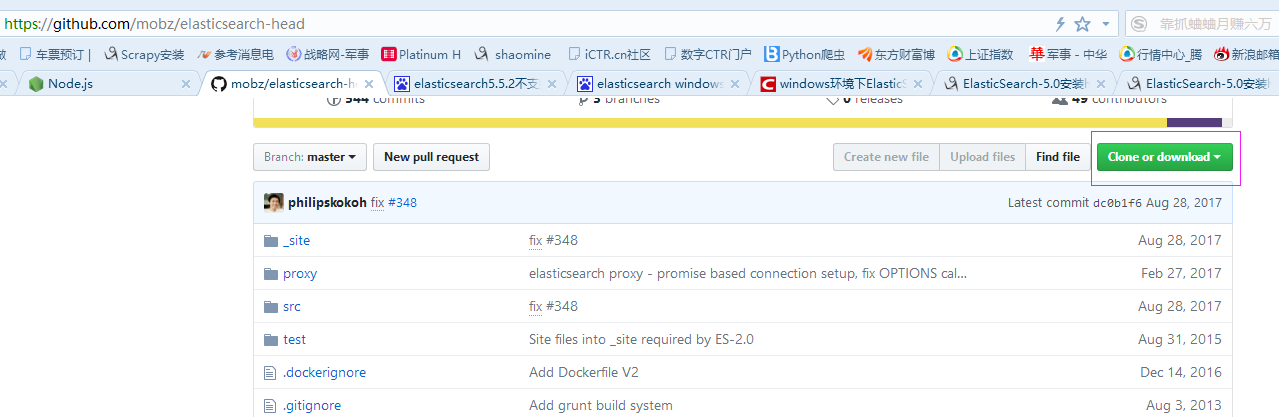
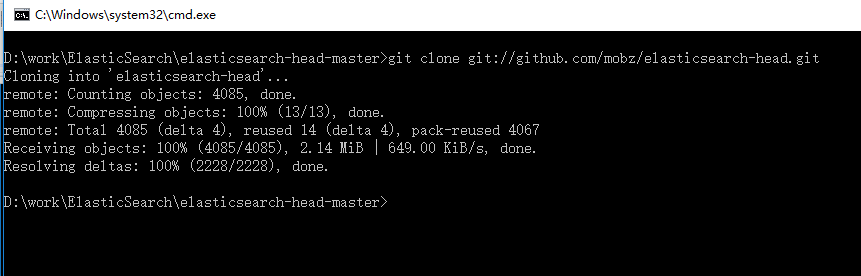
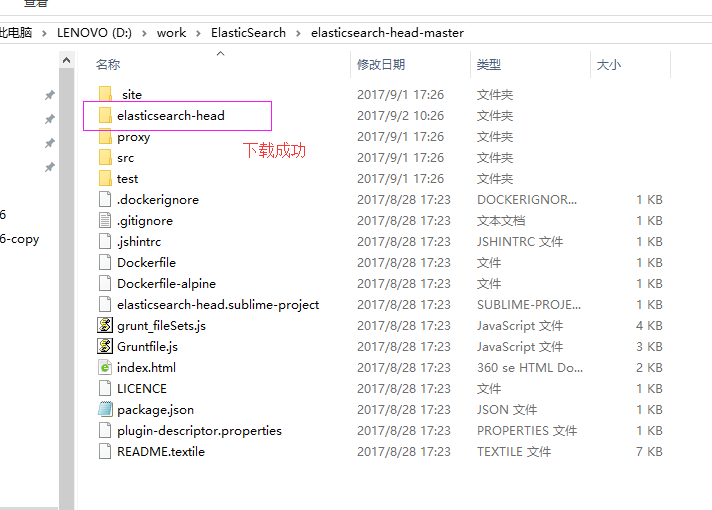
下载解压后,转到elasticsearch-head解压路径D:\work\ElasticSearch\elasticsearch-head-master,打开命令框,把把head插件的源码git clone下来:git clone git://github.com/mobz/elasticsearch-head.git
1.3、Node.js下载安装
安装后,检查是否安装成功

安装成功
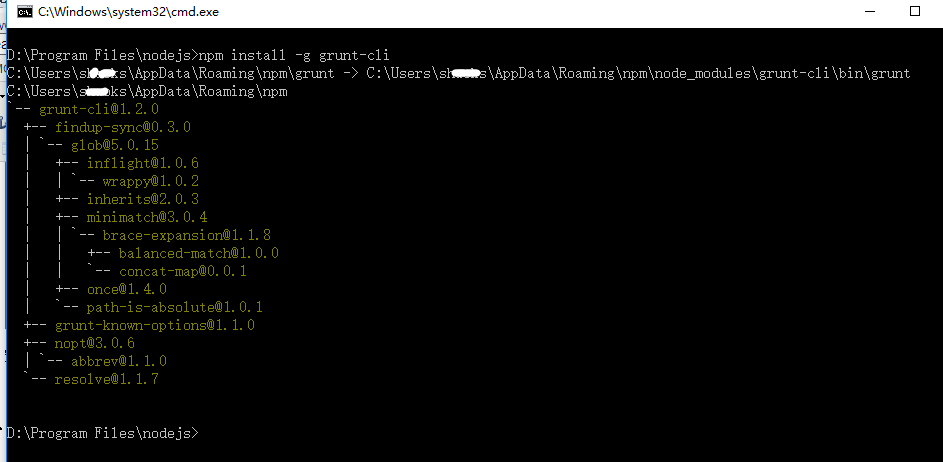
2、安装grunt
grunt是一个很方便的构建工具,可以进行打包压缩、测试、执行等等的工作,5.0里的head插件就是通过grunt启动的。因此需要安装grunt:
注意:路径切到nodejs安装路径下。
打开命令框,输入:npm install -g grunt-cli
-g代表全局安装。安装路径为C:\Users\xxx\AppData\Roaming\npm,并且自动加入PATH变量。安装完成后检查一下:
3、修改head源码
目录:elasticsearch-head/Gruntfile.js:


增加hostname属性,设置为*
4、修改连接地址
目录:elasticsearch-head\_site/app.js
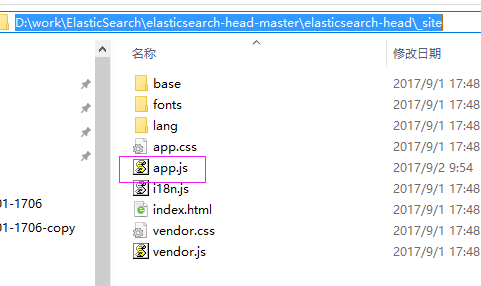
修改head的连接地址:
this.base_uri = this.config.base_uri || this.prefs.get("app-base_uri") || "http://localhost:9200";
把localhost修改成你es的服务器地址,如:
this.base_uri = this.config.base_uri || this.prefs.get("app-base_uri") || "http://10.10.10.10:9200";
5、启动elasticsearch.bat
效果图如下:
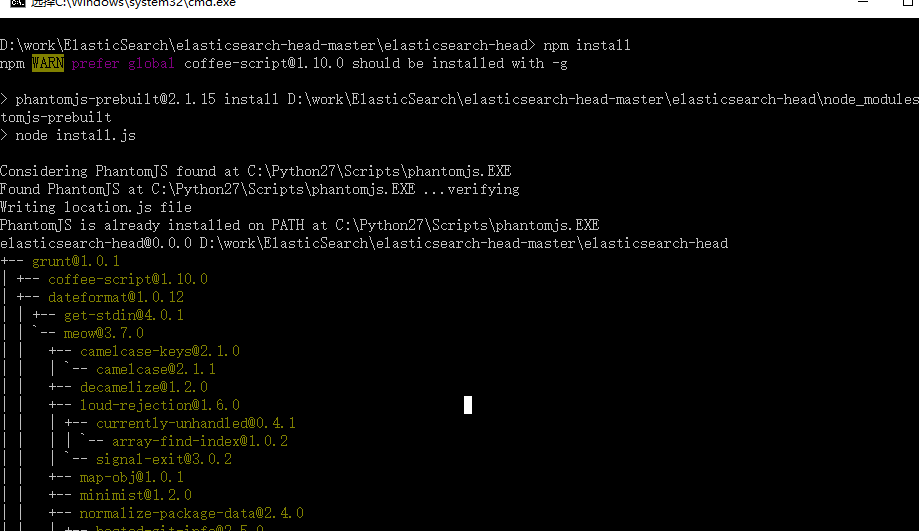
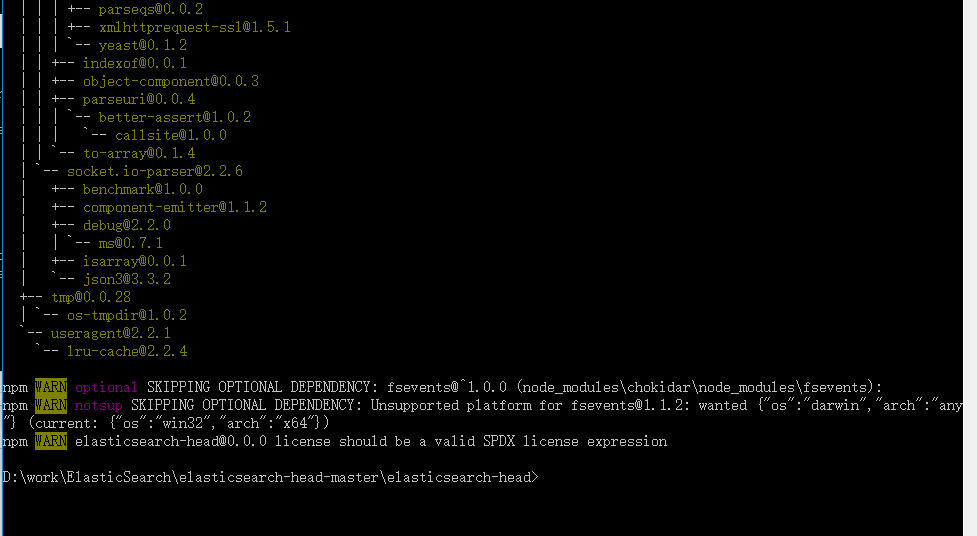
6、执行npm install 下载的包
在elasticsearch-head目录中,执行:npm install ,记住输入命令后然后回车

7、最后,在head源代码目录下启动nodejs:
grunt server
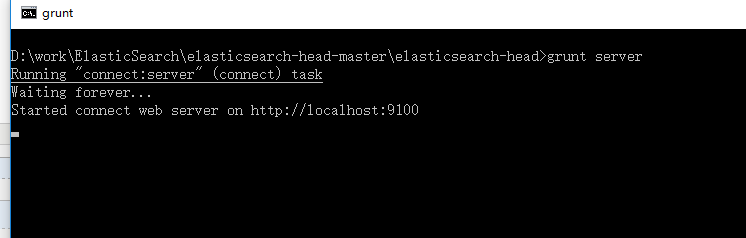
8、访问:target:9100
这个时候,访问http://localhost:9100就可以访问head插件了:
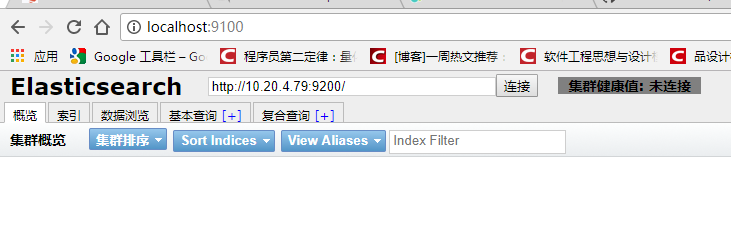
集群未连接:解决方案
修改elasticsearch.yml文件
# 增加如下字段
http.cors.enabled: true http.cors.allow-origin: "*"保存后重启启动elasticsearch.bat和head,然后访问在浏览器访问http://localhost:9100/,集群还是未连接
重新修改elasticsearch.yml文件,打开如下,里面所有配置都是注释,把必要的配置取消注释,并修改成自己实际的参数
# ======================== Elasticsearch Configuration =========================

#

# NOTE: Elasticsearch comes with reasonable defaults for most settings.

#       Before you set out to tweak and tune the configuration, make sure you

#       understand what are you trying to accomplish and the consequences.

#

# The primary way of configuring a node is via this file. This template lists

# the most important settings you may want to configure for a production cluster.

#

# Please consult the documentation for further information on configuration options:

# https://www.elastic.co/guide/en/elasticsearch/reference/index.html

#

# ---------------------------------- Cluster -----------------------------------

#

# Use a descriptive name for your cluster:

#

#换个集群的名字,免得跟别人的集群混在一起

cluster.name: ictr_ElasticSearch

#

# ------------------------------------ Node ------------------------------------

#

# Use a descriptive name for the node:

#

#换个节点名字

node.name: ictr_node1

node.master: true

#

# Add custom attributes to the node:

#

#node.attr.rack: r1

node.attr.rack: r1

#

# ----------------------------------- Paths ------------------------------------

#

# Path to directory where to store the data (separate multiple locations by comma):

#

#path.data: /path/to/data

path.data: /data/elasticsearch

#

# Path to log files:

#

#path.logs: /path/to/logs

#

# ----------------------------------- Memory -----------------------------------

#

# Lock the memory on startup:

#

#bootstrap.memory_lock: true

#

# Make sure that the heap size is set to about half the memory available

# on the system and that the owner of the process is allowed to use this

# limit.

#

# Elasticsearch performs poorly when the system is swapping the memory.

#

# ---------------------------------- Network -----------------------------------

#

# Set the bind address to a specific IP (IPv4 or IPv6):

#

#修改一下ES的监听地址,这样别的机器也可以访问

network.host: 127.0.0.1

#

# Set a custom port for HTTP:

#

#默认的就好

http.port:

#

# For more information, consult the network module documentation.

#

# --------------------------------- Discovery ----------------------------------

#

# Pass an initial list of hosts to perform discovery when new node is started:

# The default list of hosts is ["127.0.0.1", "[::1]"]

#

discovery.zen.ping.unicast.hosts: ["127.0.0.1", "[::1]"]

#

# Prevent the "split brain" by configuring the majority of nodes (total number of master-eligible nodes /  + ):

#

#discovery.zen.minimum_master_nodes:

#

# For more information, consult the zen discovery module documentation.

#

# ---------------------------------- Gateway -----------------------------------

#

# Block initial recovery after a full cluster restart until N nodes are started:

#

#gateway.recover_after_nodes:

#

# For more information, consult the gateway module documentation.

#

# ---------------------------------- Various -----------------------------------

#

# Require explicit names when deleting indices:

#

#action.destructive_requires_name: true

http.cors.enabled: true

http.cors.allow-origin: "*"

action.auto_create_index: .security,.monitoring*,.watches,.triggered_watches,.watcher-history*

xpack.security.enabled: false

xpack.monitoring.enabled: true

xpack.graph.enabled: false

xpack.watcher.enabled: false

xpack.ml.enabled: false

#xpack.security.audit.enabled: true

#http.cors.allow-headers: Authorization

#action.auto_create_index: .security,.monitoring*,.watches,.triggered_watches,.watcher-history*,.ml*

#action.auto_create_index: *

#vm.max_map_count=
保存后重启启动elasticsearch.bat和head,然后访问在浏览器访问http://localhost:9100/ 集群连接成功
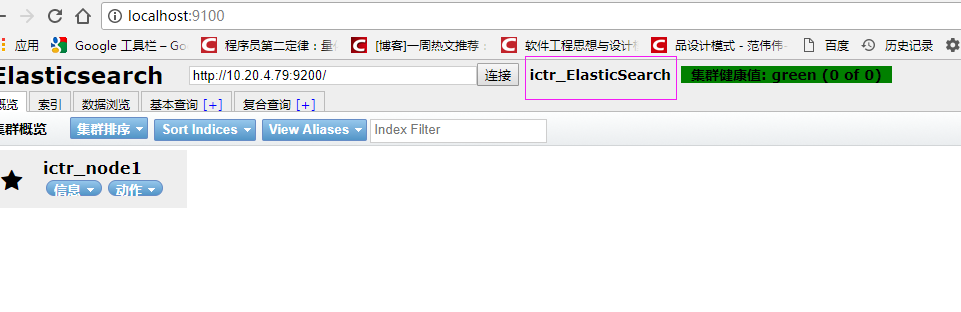
    * RED(红): 代表具体的分片还没有在集群中分配好;

    * YELLOW(黄): 代表主分片已经分配好,但是副本尚未分配;

    * GREEN(绿):表示所有的分片都已分配好,群集正常运行;
如果在局域网中无法访问,需要修改 elasticsearch.yml配置文件,
增加“network.host: 0.0.0.0”。
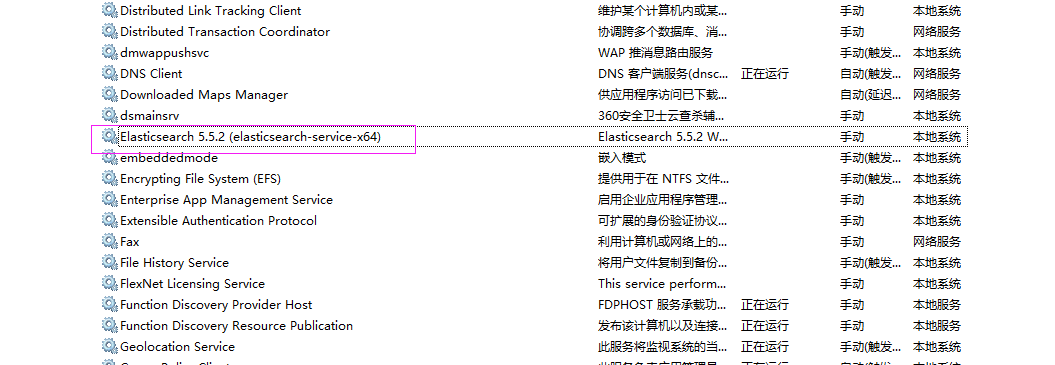
9、将ElasticSearch 安装成Windows服务(Service)
转到ElasticSearch的bin目录打开命令框,输入:elasticsearch-service.bat install
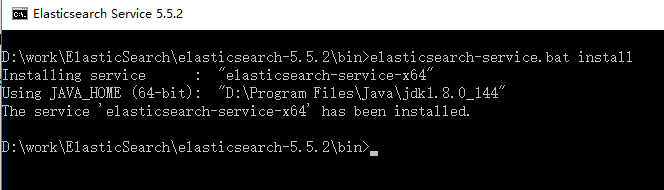
打开服务界面:
启动服务,失败,查看目录下D:\work\ElasticSearch\elasticsearch-5.5.2\logs日志
错误信息如下:
[2017-09-02 13:52:13] [error] [14192] Failed creating java %JAVA_HOME%\jre\bin\server\jvm.dll
[2017-09-02 13:52:13] [error] [14192] 系统找不到指定的路径。
解决办法:
修改环境变量,把 JAVA_HOME 的环境变量由用户变量的位置移动到系统变量里面

重启elasticsearch-service服务,启动成功

ElasticSearch5.5.2:Windows下ElasticSearch安装配置的更多相关文章
- Windows 下如何安装配置Snort视频教程
Windows 下如何安装配置Snort视频教程: 第一步: http://www.tudou.com/programs/view/UUbIQCng360/ 第二部: http://www.tudou ...
- [转载]Apache在windows下的安装配置
Apache在windows下的安装配置 转载自:http://blog.sina.com.cn/s/blog_536f16b00100cfat.html 1 Apache的下载 Apache ...
- Windows下Redis安装配置和使用注意事项
Windows下Redis安装配置和使用注意事项 一:下载 下载地址: https://github.com/microsoftarchive/redis/releases 文件介绍: 本文以3.2. ...
- windows下elasticsearch安装ik分词器后无法启动
windows下elasticsearch安装ik分词器后启动报如下图错误: 然后百度说是elasticsearch路径有空格,一看果然我的路径有空格,然后重新换个路径就好了.
- < python音频库:Windows下pydub安装配置、过程出现的问题及常用API >
< python音频库:Windows下pydub安装配置.过程出现的问题及常用API > 背景 刚从B站上看过倒放挑战之后也想体验下,心血来潮一个晚上完成了基本的实现.其中倒放与播放部分 ...
- windows下如何安装配置mysql-5.7-m14-winx64(zip格式的安装)
win7 64位下如何安装配置mysql-5.7.4-m14-winx64 1. mysql-5.7.4-m14-winx64.zip下载 官方网站下载地址:http://dev.mysql.co ...
- Windows下CVSNT安装配置
首先要说明:X64下安装此软件会报 “cvs [login aborted]: WIN-4H9CRJO1TRA\Administrator: Switch to user failed due to ...
- centos7下elasticSearch安装配置
OS:Centos7x虚拟机 1H2Gjdk:1.8elasticsearch:5.6.0 1.下载“elasticsearch-5.6.0.tar.gz”解压到/usr/local/elastics ...
- Hadoop在Windows下的安装配置
由于本人近期近期一段时间 都在学习Hadoop,接触了比較多的理论,可是想要深入的去学习Hadoop整个平台,那就必须实战的训练,首先第一步,当然是先搭建好一个Hadoop平台为先.可是比較坑爹的是. ...
随机推荐
- P1023 税收与补贴问题
题目背景 每样商品的价格越低,其销量就会相应增大.现已知某种商品的成本及其在若干价位上的销量(产品不会低于成本销售),并假设相邻价位间销量的变化是线性的且在价格高于给定的最高价位后,销量以某固定数值递 ...
- session-cookie 和token登录验证
最近研究了下基于token的身份验证,并将这种机制整合在个人项目中.现在很多网站的认证方式都从传统的seesion+cookie转向token校验.对比传统的校验方式,token确实有更好的扩展性与安 ...
- 基于cookie共享的SSO中的遇到的问题
什么是SSO? 现在很多大的互联网公司都会有很多的应用,比如以下是淘宝网的截图: 天猫 聚划算 头条等都是不同的应用,有的甚至采用完全不同的域名,但是所有在淘宝注册的用户都是使用的一套用户名和口令,如 ...
- linux mint 自动挂载windows的D盘和E盘
终端敲udisksctl mount -p block_devices/sda后双击tab键补全分区,如下: 如我的E盘是sda6,执行 udisksctl mount -p block ...
- NOIP 2016 提高组 复赛 Day2T1==洛谷2822 组合数问题
题目描述 组合数表示的是从n个物品中选出m个物品的方案数.举个例子,从(1,2,3) 三个物品中选择两个物品可以有(1,2),(1,3),(2,3)这三种选择方法.根据组合数的定 义,我们可以给出计算 ...
- [ CodeVS冲杯之路 ] P1098
不充钱,你怎么AC? 题目:http://codevs.cn/problem/1098/ 显然就是使每堆牌达到总体的平均数,尽量使每次移动时的牌数最大,这就类似于飞行棋,将几个棋子叠起来一起走是最优 ...
- 关于"implicit declaration of function 'gettimeofday' is invalid in c99"的解决
http://blog.csdn.net/macmini/article/details/10503799 当我们使用 gettimeofday(&time, NULL);时,会出现这样一个W ...
- iOS开发者证书申请及应用上线发布详解
一个小教程登录开发者中心:http://developer.apple.com/ 第零部分:本地生成密钥1.打开mac的钥匙串访问 2.选择钥匙串的证书助理(有些可能是英文的) 3.点击继续后存 ...
- 原生JavaScript实现jQuery的hasClass,removeClass,addClass,toggleClass
介绍: 1.hasClass:判断DOM元素是否存在类. 2.addClass:为的DOM元素添加类. 3.removeClass:删除DOM元素的类. 4.toggleClass:如果DOM元素存在 ...
- python 错误 error: invalid command 'egg_info'
Processing /bs4-0.0.1/setuptools-38.4.0/numpy-1.14.0 Complete output from command python setup.py ...