
pxe+kickstart自动化批量安装系统详解-技术流ken
前言
pxe+kickstart是一款可以实现自动化批量安装系统的服务,比较经典,下面将详细介绍此服务的安装和使用。
系统环境准备
系统版本:CentOS release 6.7 (Final)
内网IP:192.168.232.8/24 #用来对内通信,提供pxe+kickstart服务
外网IP:10.220.5.166/24 #连接外网
关闭安全服务
[root@ken ~]# cat /etc/redhat-release     #检查系统版本

CentOS release 6.7 (Final)

[root@ken ~]# service iptables stop       #关闭防火墙

[root@ken ~]# setenforce                 #关闭selinux
下载所需程序
[root@localhost ~]# yum install syslinux dhcp tftp-server xinetd httpd -y
配置dhcp
[root@ken ~]# vim /etc/dhcp/dhcpd.conf
subnet 192.168.232.0 netmask 255.255.255.0 {

  range 192.168.232.10 192.168.232.20;

  option domain-name-servers 8.8.8.8;

  option routers 192.168.232.8;

  default-lease-time ;

  max-lease-time ;

  next-server 192.168.232.8;

  filename "pxelinux.0";

}
[root@ken ~]# service dhcpd restart                     #重启dhcpd服务,使之配置生效

Starting dhcpd:                     [  OK  ]
配置tftp
[root@ken ~]# vim /etc/xinetd.d/tftp

# default: off

# description: The tftp server serves files using the trivial file transfer \

#       protocol.  The tftp protocol is often used to boot diskless \

#       workstations, download configuration files to network-aware printers, \

#       and to start the installation process for some operating systems.

service tftp

{

        socket_type             = dgram

        protocol                = udp

        wait                    = yes

        user                    = root

        server                  = /usr/sbin/in.tftpd

        server_args             = -s /var/lib/tftpboot

        disable                 = no                     #把yes修改为no,即启动tftp服务

        per_source              =

        cps                     =

        flags                   = IPv4

}

[root@ken ~]# service xinetd restart                     #重启xinetd,使之配置生效

Stopping xinetd:                                  [FAILED]

Starting xinetd:                                  [  OK  ]

[root@ken ~]# chkconfig xinetd on                        #把xinetd加入系统启动项,实现开机自动启动

[root@ken ~]# chkconfig --list | grep tftp               #检查确认tftp是否已经成功开启

    tftp:              on
复制开机文件到/var/lib/tftpboot
挂载光盘
[root@localhost ~]# mount /dev/cdrom /mnt
进入到tftp的主目录下
[root@localhost ~]# cd /var/lib/tftpboot/
复制images下的虚根文件及内核文件
[root@localhost tftpboot]# cp /mnt/images/pxeboot/vmlinuz ./

[root@localhost tftpboot]# cp /mnt/images/pxeboot/initrd.img ./
复制isolinux下面开机所需的文件
[root@localhost tftpboot]# cp /mnt/isolinux/boot.msg ./

[root@localhost tftpboot]# cp /mnt/isolinux/vesamenu.c32 ./

[root@localhost tftpboot]# cp /mnt/isolinux/splash.jpg ./
创建目录pxelinux.cfg
[root@localhost tftpboot]# mkdir pxelinux.cfg
复制pxelinux.cfg到刚创建的目录之下并改名为default
[root@localhost tftpboot]# cd pxelinux.cfg/

[root@localhost pxelinux.cfg]# cp /mnt/isolinux/isolinux.cfg ./default
配置default文件
default linux                                     #更改为linux

#prompt

timeout 10                                        #时间改短

display boot.msg

menu background splash.jpg

menu title Welcome to CentOS 6.7!

default linux

#prompt

timeout

display boot.msg

menu background splash.jpg

menu title Welcome to CentOS 6.7!

menu color border  #ffffffff #

menu color sel  #ffffffff #ff000000

menu color title  #ffffffff #

menu color tabmsg  #ffffffff #

menu color unsel  #ffffffff #

menu color hotsel  #ff000000 #ffffffff

menu color hotkey  #ffffffff #ff000000

menu color scrollbar  #ffffffff #

label linux

  menu label ^Install or upgrade an existing system

  menu default

  kernel vmlinuz

  append initrd=initrd.img ks=http://192.168.232.8/ks/ks6.cfg   #指定ks文件位置

label vesa

  menu label Install system with ^basic video driver

  kernel vmlinuz

  append initrd=initrd.img nomodeset

label rescue

  menu label ^Rescue installed system

  kernel vmlinuz

  append initrd=initrd.img rescue

label local

  menu label Boot from ^local drive

  localboot 0xffff

label memtest86

  menu label ^Memory test

  kernel memtest

  append -
复制syslinux提供的pxelinux.0文件到该目录下
[root@localhost pxelinux.cfg]# cd ..

[root@localhost tftpboot]# cp /usr/share/syslinux/pxelinux. ./
查看该目录下文件,总共有7个文件和目录
[root@localhost tftpboot]# ls

boot.msg  initrd.img  pxelinux.  pxelinux.cfg  splash.jpg  vesamenu.c32  vmlinuz

[root@localhost tftpboot]# ls |wc -l
把光盘挂载到httpd的网站根目录之下
[root@localhost tftpboot]# cd /var/www/html/

[root@localhost html]# mkdir installtree

[root@localhost html]# mount /dev/cdrom /var/www/html/installtree/
把ks文件复制到网站根目录之下
[root@localhost html]# mkdir ks

[root@localhost ks]# ls

 ks6.cfg

[root@localhost ks]# chmod +r ks6.cfg   #对ks文件添加读权限
配置ks文件
# Kickstart file automatically generated by anaconda.

#version=DEVEL

install

url --url=http://192.168.232.8/installtree

lang en_US.UTF-

keyboard us

network --onboot yes --device eth0 --bootproto dhcp --noipv6

rootpw  o                    #新装机密码为o

reboot

firewall --service=ssh

authconfig --enableshadow --passalgo=sha512

selinux --disabled

timezone --utc Asia/Shanghai

bootloader --location=mbr --driveorder=sda --append="crashkernel=auto rhgb quiet"

# The following is the partition information you requested

# Note that any partitions you deleted are not expressed

# here so unless you clear all partitions first, this is

# not guaranteed to work

clearpart --all

zerombr

part /boot --fstype=ext4 --size=

part pv. --grow --size=

volgroup VolGroup --pesize= pv.

logvol / --fstype=ext4 --name=lv_root --vgname=VolGroup --grow --size= --maxsize=

logvol swap --name=lv_swap --vgname=VolGroup --grow --size= --maxsize=

repo --name="CentOS"  --baseurl=http://192.168.232.8/installtree  --cost=100

%packages

@core

@server-policy

@workstation-policy

%end
重启各项服务
[root@localhost ks]# service httpd restart

[root@localhost ks]# service xinetd restart

[root@localhost ks]# service dhcpd restart
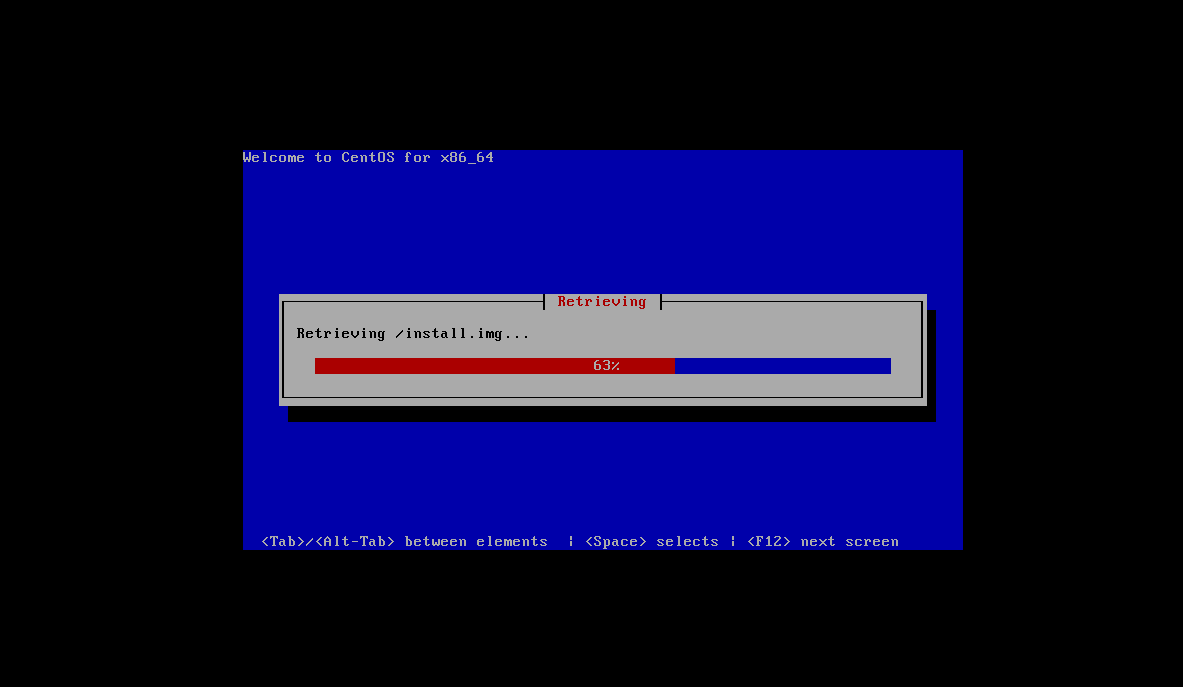
开启新的虚拟机进行测试
新的虚拟机需要和服务器在同一个虚拟网络。
开始安装软件包 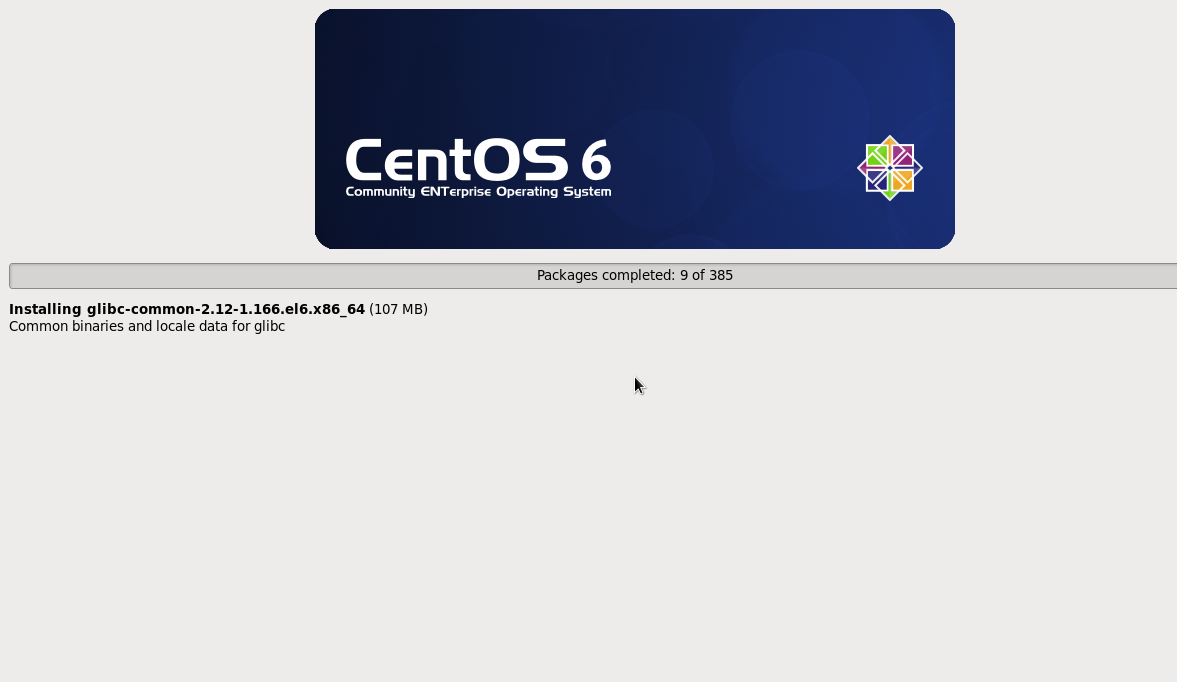
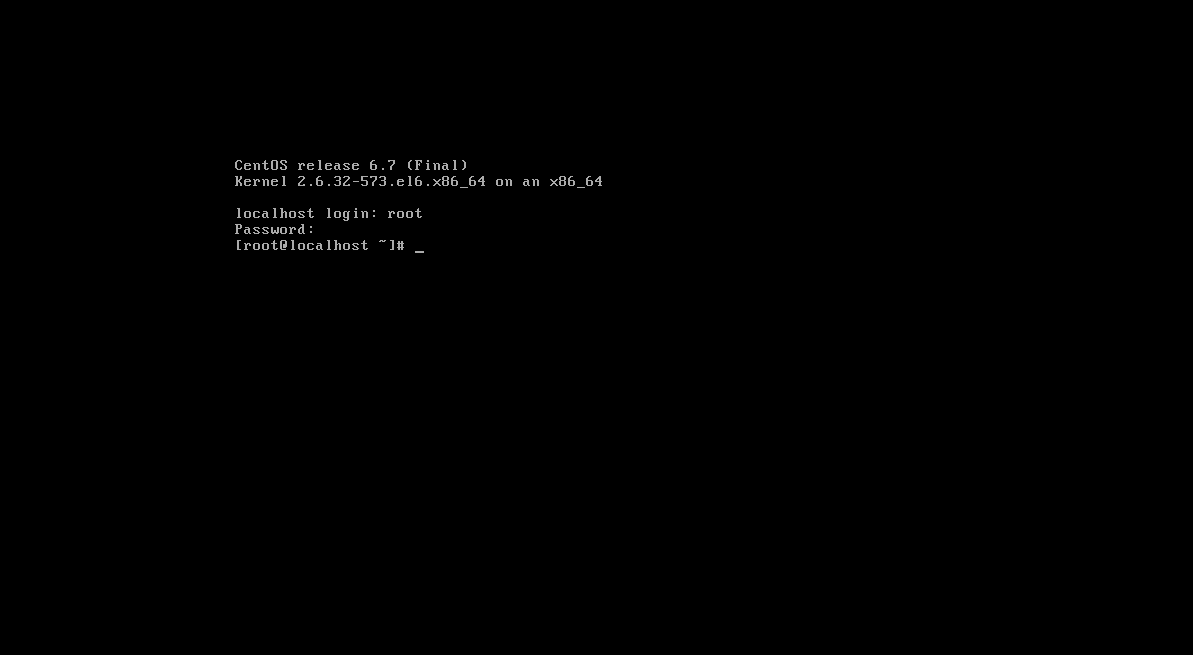
安装完成
pxe+kickstart自动化批量安装系统详解-技术流ken的更多相关文章
- 实战!基于lamp安装wordpress详解-技术流ken
简介 LAMP 是Linux Apache MySQL PHP的简写,其实就是把Apache, MySQL以及PHP安装在Linux系统上,组成一个环境来运行动态的脚本文件.现在基于lamp搭建wor ...
- cobbler批量安装系统使用详解-技术流ken
前言 cobbler是一个可以实现批量安装系统的Linux应用程序.它有别于pxe+kickstart,cobbler可以实现同个服务器批量安装不同操作系统版本. 系统环境准备及其下载cobbler ...
- 【Linux】使用 PXE+Kickstart 无人值守批量安装系统
一.PXE背景知识 通过 PXE+DHCP+TFTP+VSftpd+Kickstart 服务程序搭建出无人值守安装系统,从而批量部署客户机系统. PXE(Preboot eXecute Environ ...
- KVM虚拟化使用详解--技术流ken
KVM介绍 Kernel-based Virtual Machine的简称,是一个开源的系统虚拟化模块,自Linux 2.6.20之后集成在Linux的各个主要发行版本中. KVM的虚拟化需要硬件支持 ...
- MySQL系列详解三:MySQL中各类日志详解-技术流ken
前言 日志文件记录了MySQL数据库的各种类型的活动,MySQL数据库中常见的日志文件有 查询日志,慢查询日志,错误日志,二进制日志,中继日志 .下面分别对他们进行介绍. 查询日志 1.查看查询日志变 ...
- iptables实战案例详解-技术流ken
简介 关于iptables的介绍网上有很多的资料,大家可以自己找一些关于iptables的工作原理,以及四表五链的简介,对于学习iptables将会事半功倍.本博文将会例举几个工作中常用的iptabl ...
- grafana使用详解--技术流ken
grafana简介 Grafana是一个跨平台的开源的度量分析和可视化工具,可以通过将采集的数据查询然后可视化的展示,并及时通知.它主要有以下六大特点: 1.展示方式:快速灵活的客户端图表,面板插件有 ...
- systemd服务详解-技术流ken
简介 在centos5中生成和管理用户空间中的进程以及完成系统的初始化使用的是init,并且是依次启动.在centos6中则是使用的upstart,在一定程度上实现了并行启动,但是仍然存在依赖关系,到 ...
- linux四剑客-grep/find/sed/awk/详解-技术流ken
四剑客简介 相信接触过linux的大家应该都学过或者听过四剑客,即sed,grep,find,awk,有人对其望而生畏,有人对其爱不释手.参数太多,变化形式太多,使用超级灵活,让一部分人难以适从继而望 ...
随机推荐
- Monkey测试结果分析
Monkey测试结果分析 什么是monkey Monkey 测试是 Android 自动化测试的手段之一,它通过模拟用户的按键输入.触摸屏输入等,测试设备多长时间出现异常.Monkey 是一个命令行工 ...
- 在windows上安装VTK
看了很多教程,花了1天半的时间装上了,记录下. 前置条件:我安装了VS2015,用来编译工程. 参考资料 官方:http://www.vtk.org/Wiki/VTK/Building 安装:http ...
- echarts 调整图表 位置 的方法
###内部图表大小是与div容器大小位置相关的,如果想调整图表大小位置,调整div的属性就可以了### ###如果是想调整图表与div间上下左右留白,则设置grid属性就可以了### 如图所示: 具体 ...
- mysql客户端连不上数据库
GRANT ALL PRIVILEGES ON *.* TO 'root'@'%' IDENTIFIED BY '123456' WITH GRANT OPTION; flush privileges ...
- Django+easyui 快速开发
Django的使用我们可以查看上一篇博客,今天我们要在Django中使用easyui快速开发,在我们安装好Django, 我们可以道改地址那一下easyui 官方API文档(http://downlo ...
- java.exe
进程:是一个正在执行中的程序.每一个进程执行都有一个执行顺序.该顺序是一个执行路径,或者叫一个控制单元. 线程(例:FlashGet):就是进程中一个独立的控制单元.线程在控制着进程的执行.一个进程中 ...
- FPGA中带优先级的if else if与不带优先级的case的探讨
我们知道在书本上都说让我们尽量使用不带优先级的的数据选择器,今天我们就来探讨一下二者的区别. 例子1:带优先级的的数据选择器,综合成功,且没有任何警告. module detection_prio # ...
- 子弹短信光鲜的背后:网易云信首席架构师分享亿级IM平台的技术实践
本文原文内容来自InfoQ的技术分享,本次有修订.勘误和加工,感谢原作者的分享. 1.前言 自从2018年8月20日子弹短信在锤子发布会露面之后(详见<老罗最新发布了“子弹短信”这款IM,主打熟 ...
- 超实用的Docker入门教程|Docker vs VM
概述 如今Docker的使用已经非常普遍,特别在一线互联网公司.使用Docker技术可以帮助企业快速水平扩展服务,从而到达弹性部署业务的能力.在云服务概念兴起之后,Docker的使用场景和范围进一步发 ...
- 解决mysql插入数据报错[Err] 1146 - Table 'performance_schema.session_status' doesn't exist
解决办法:1.打开cmd 执行命令cd/ 进入C盘根目录2.dir 查看C盘根目录下文件夹 找到 Program Files文件夹3.cd Program Files 进入该文件夹下 再输入dir ...