
IOS 手势详解
在IOS中手势可以让用户有很好的体验,因此我们有必要去了解一下手势。
(在设置手势是有很多值得注意的地方)
*是需要设置为Yes的点击无法响应*
*要把手势添加到所需点击的View,否则无法响应*
手势共有六种,下面我会分开介绍。
点击手势
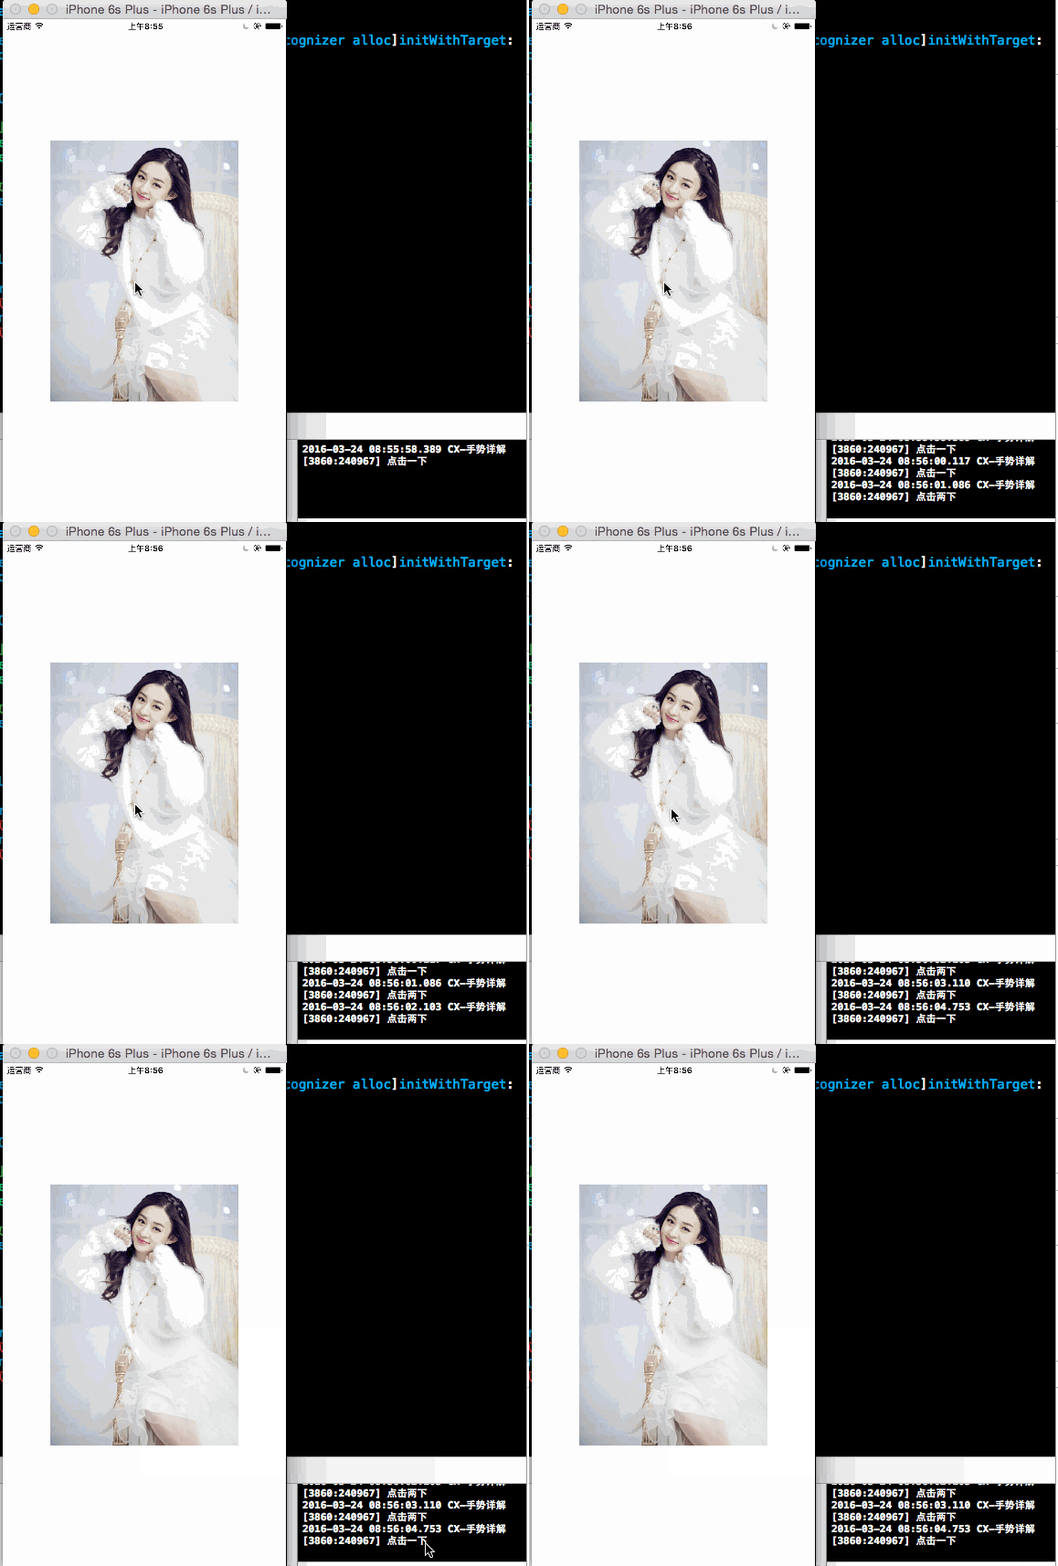
//

//  ViewController.m

//  CX-手势详解

//

//  Created by ma c on 16/3/24.

//  Copyright © 2016年 xubaoaichiyu. All rights reserved.

//

#import "ViewController.h"

@interface ViewController ()

@property (nonatomic, strong) UIImageView * imageView;

@end

@implementation ViewController

#pragma mark - set_and_get

-(UIImageView *)imageView{

    if (!_imageView) {

        _imageView = [[UIImageView alloc]init];

        UIImage * image = [UIImage imageNamed:@"nvshen.jpg"];

        _imageView.bounds = (CGRect){CGPointZero,image.size};

        _imageView.center = self.view.center;

        //交互一定要设置为YES 否则无法实现手势

        _imageView.userInteractionEnabled = YES;

        _imageView.image = image;

    }

    return _imageView;

}

- (void)viewDidLoad {

    [super viewDidLoad];

    [self.view addSubview:self.imageView];

    //点击手势

    UITapGestureRecognizer * tap = [[UITapGestureRecognizer alloc]initWithTarget:self action:@selector(doAction:)];

    //点击一下生效

    tap.numberOfTapsRequired = ;

    UITapGestureRecognizer * tapNew = [[UITapGestureRecognizer alloc]initWithTarget:self action:@selector(doAction:)];

    //点击两下生效

    tapNew.numberOfTapsRequired = ;

    //在imageView上添加手势

    [self.imageView addGestureRecognizer:tap];

    [self.imageView addGestureRecognizer:tapNew];

    //当点击两下生效时,使点击一下失效

    [tap requireGestureRecognizerToFail:tapNew];

}

-(void)doAction:(UITapGestureRecognizer *)tap{

    if (tap.numberOfTapsRequired == ) {

        NSLog(@"点击一下");

    }else if(tap.numberOfTapsRequired ==  ){

        NSLog(@"点击两下");

    }

}

@end
拖动手势
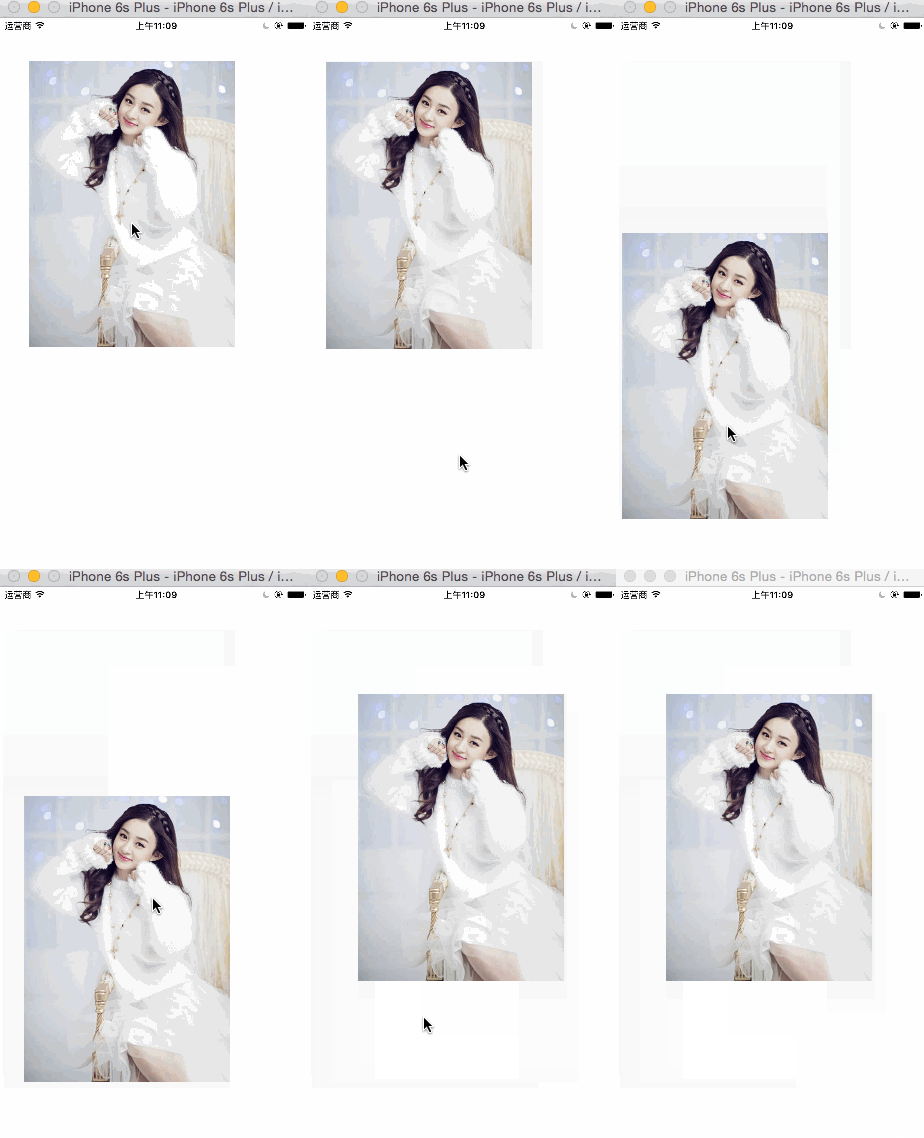
//

//  ViewController.m

//  CX-手势详解

//

//  Created by ma c on 16/3/24.

//  Copyright © 2016年 xubaoaichiyu. All rights reserved.

//

#import "ViewController.h"

@interface ViewController ()

@property (nonatomic, strong) UIImageView * imageView;

@end

@implementation ViewController

#pragma mark - set_and_get

-(UIImageView *)imageView{

    if (!_imageView) {

        _imageView = [[UIImageView alloc]init];

        UIImage * image = [UIImage imageNamed:@"nvshen.jpg"];

        _imageView.bounds = (CGRect){CGPointZero,image.size};

        _imageView.center = self.view.center;

        //交互一定要设置为YES 否则无法实现手势

        _imageView.userInteractionEnabled = YES;

        _imageView.image = image;

    }

    return _imageView;

}

- (void)viewDidLoad {

    [super viewDidLoad];

    [self.view addSubview:self.imageView];

    //拖动手势

    UIPanGestureRecognizer * pan = [[UIPanGestureRecognizer alloc]initWithTarget:self action:@selector(doAction:)];

    [self.view addGestureRecognizer:pan];

}

-(void)doAction:(UIPanGestureRecognizer *)pan{

    //获取偏移量

    CGPoint point = [pan translationInView:self.imageView];

    //通过改变self。imageView的Center来实现拖动

    self.imageView.center = CGPointMake(self.imageView.center.x + point.x

                                        , self.imageView.center.y + point.y);

    //复位 如果不进行复位 会在改变的基础上改变 从而使效果不对

    [pan setTranslation:CGPointZero inView:self.imageView];

}

@end
长按手势
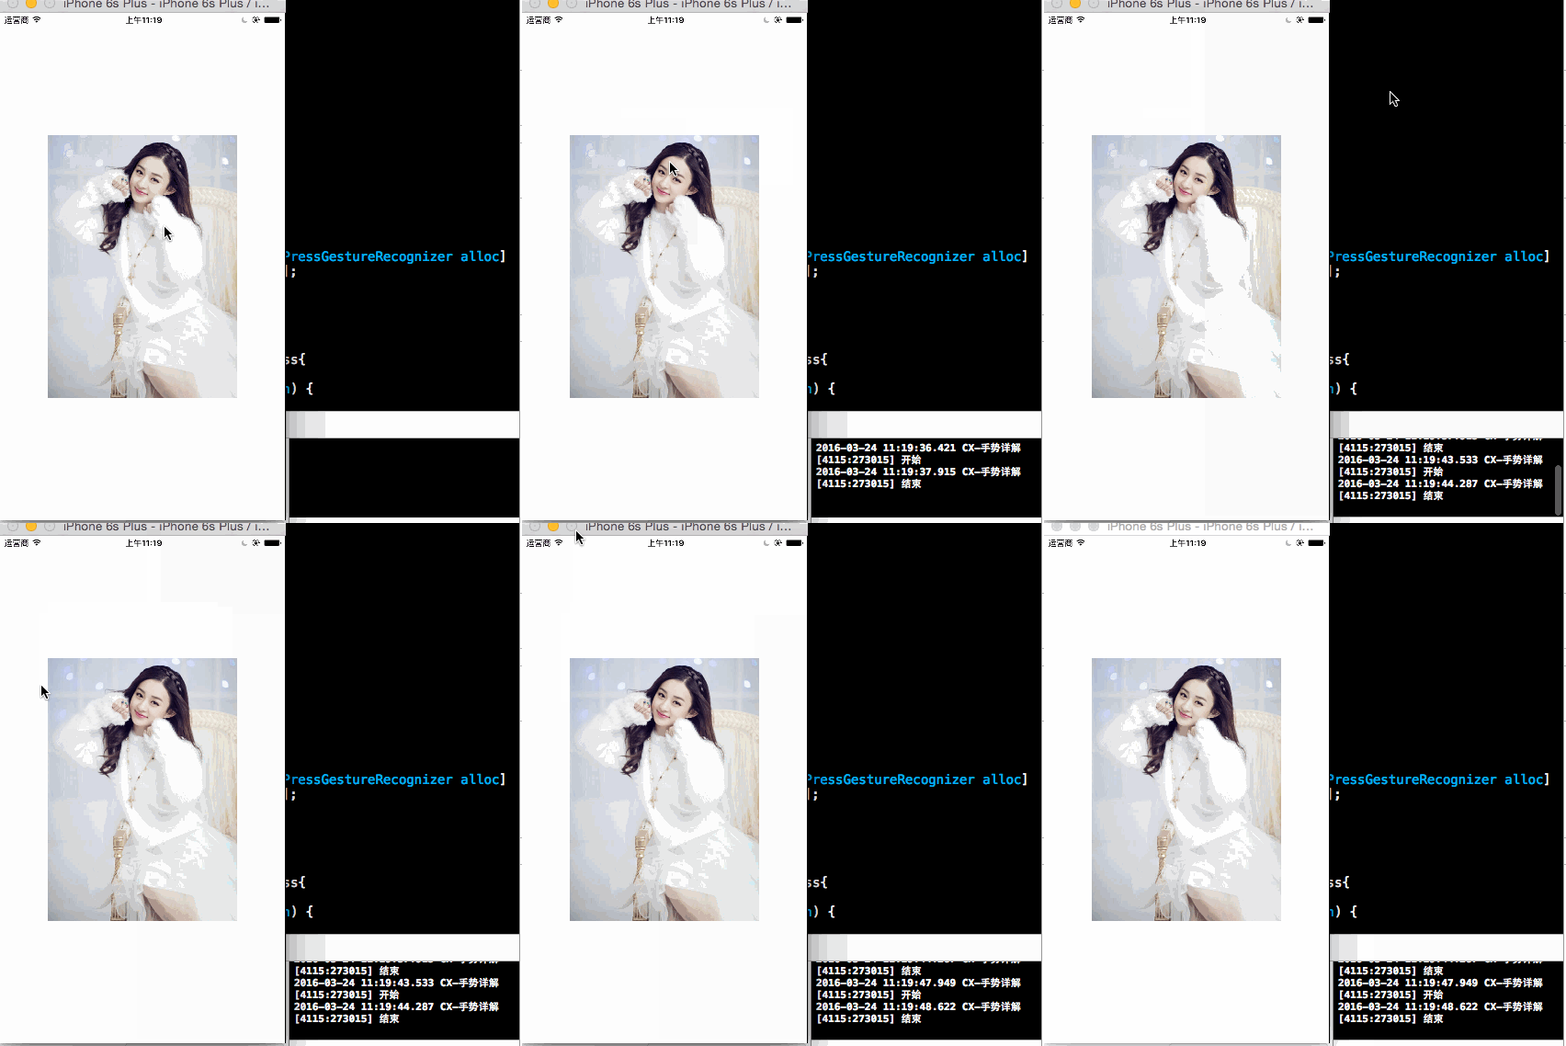
//

//  ViewController.m

//  CX-手势详解

//

//  Created by ma c on 16/3/24.

//  Copyright © 2016年 xubaoaichiyu. All rights reserved.

//

#import "ViewController.h"

@interface ViewController ()

@property (nonatomic, strong) UIImageView * imageView;

@end

@implementation ViewController

#pragma mark - set_and_get

-(UIImageView *)imageView{

    if (!_imageView) {

        _imageView = [[UIImageView alloc]init];

        UIImage * image = [UIImage imageNamed:@"nvshen.jpg"];

        _imageView.bounds = (CGRect){CGPointZero,image.size};

        _imageView.center = self.view.center;

        //交互一定要设置为YES 否则无法实现手势

        _imageView.userInteractionEnabled = YES;

        _imageView.image = image;

    }

    return _imageView;

}

- (void)viewDidLoad {

    [super viewDidLoad];

    [self.view addSubview:self.imageView];

    //长按手势

    UILongPressGestureRecognizer * longPress = [[UILongPressGestureRecognizer alloc]initWithTarget:self action:@selector(doAction:)];

    [self.imageView addGestureRecognizer:longPress];

}

-(void)doAction:(UILongPressGestureRecognizer *)longPress{

    if (longPress.state == UIGestureRecognizerStateBegan) {

        NSLog(@"开始");

    }

    else if (longPress.state == UIGestureRecognizerStateEnded){

        NSLog(@"结束");

    }

}

@end
轻扫手势
//

//  ViewController.m

//  CX-手势详解

//

//  Created by ma c on 16/3/24.

//  Copyright © 2016年 xubaoaichiyu. All rights reserved.

//

#import "ViewController.h"

@interface ViewController ()

@property (nonatomic, strong) UIImageView * imageView;

@end

@implementation ViewController

#pragma mark - set_and_get

-(UIImageView *)imageView{

    if (!_imageView) {

        _imageView = [[UIImageView alloc]init];

        UIImage * image = [UIImage imageNamed:@"nvshen.jpg"];

        _imageView.bounds = (CGRect){CGPointZero,image.size};

        _imageView.center = self.view.center;

        //交互一定要设置为YES 否则无法实现手势

        _imageView.userInteractionEnabled = YES;

        _imageView.image = image;

    }

    return _imageView;

}

- (void)viewDidLoad {

    [super viewDidLoad];

    [self.view addSubview:self.imageView];

    //轻扫手势

    UISwipeGestureRecognizer * swipe = [[UISwipeGestureRecognizer alloc]initWithTarget:self action:@selector(doAction:)];

   //需要设置 默认为右

    /*

     默认是UISwipeGestureRecognizerDirectionRight。所需的方向刷。可指定多个方向是否会导致相同的行为(例如,UITableView滑动删除)

     */

    swipe.direction = UISwipeGestureRecognizerDirectionLeft;

    [self.imageView addGestureRecognizer:swipe];

}

-(void)doAction:(UISwipeGestureRecognizer *)swipe{

    if (swipe.direction == UISwipeGestureRecognizerDirectionLeft) {

        NSLog(@"左");

    }

    else if (swipe.direction == UISwipeGestureRecognizerDirectionRight){

        NSLog(@"右");

    }

    else if (swipe.direction == UISwipeGestureRecognizerDirectionDown){

        NSLog(@"下");

    }

    else if (swipe.direction == UISwipeGestureRecognizerDirectionUp){

        NSLog(@"上");

    }

}

@end
捏合手势
(在捏合和旋转手势中我们需要一些操作)
*按住option 在触碰到触摸板的时候会出现模拟出现的两根手指*
*如果你所操作的view不在两个触摸点的位置,可以按住shift进行移动*
*当进行捏合旋转的时候,一定要把触摸板按下,才可进行操作*
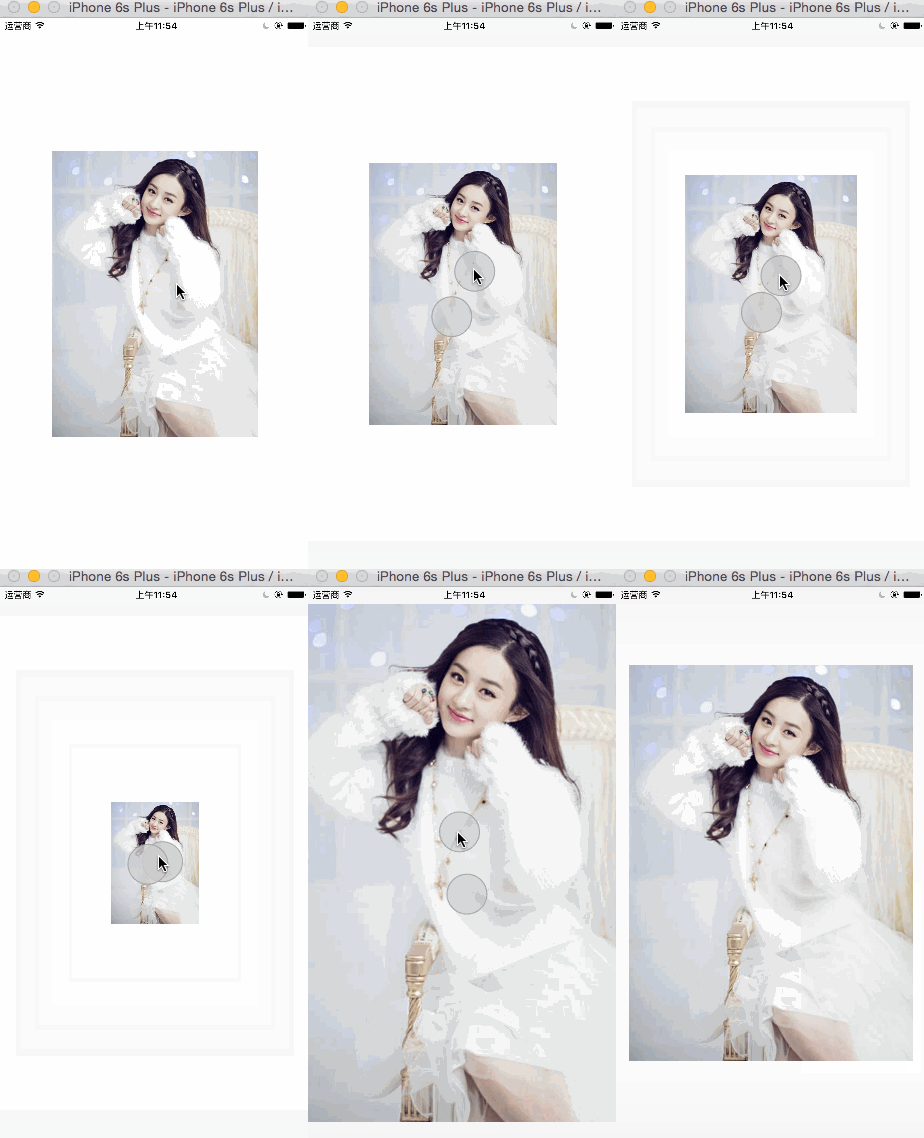
//

//  ViewController.m

//  CX-手势详解

//

//  Created by ma c on 16/3/24.

//  Copyright © 2016年 xubaoaichiyu. All rights reserved.

//

#import "ViewController.h"

@interface ViewController ()

@property (nonatomic, strong) UIImageView * imageView;

@end

@implementation ViewController

#pragma mark - set_and_get

-(UIImageView *)imageView{

    if (!_imageView) {

        _imageView = [[UIImageView alloc]init];

        UIImage * image = [UIImage imageNamed:@"nvshen.jpg"];

        _imageView.bounds = (CGRect){CGPointZero,image.size};

        _imageView.center = self.view.center;

        //交互一定要设置为YES 否则无法实现手势

        _imageView.userInteractionEnabled = YES;

        _imageView.image = image;

    }

    return _imageView;

}

- (void)viewDidLoad {

    [super viewDidLoad];

    [self.view addSubview:self.imageView];

    //捏合手势

    UIPinchGestureRecognizer * pinch = [[UIPinchGestureRecognizer alloc]initWithTarget:self action:@selector(doAction:)];

    [self.imageView addGestureRecognizer:pinch];

}

-(void)doAction:(UIPinchGestureRecognizer *)pinch{

    //持续改变

    self.imageView.transform = CGAffineTransformScale(self.imageView.transform, pinch.scale, pinch.scale);

    //复位

    pinch.scale = ;

}

@end
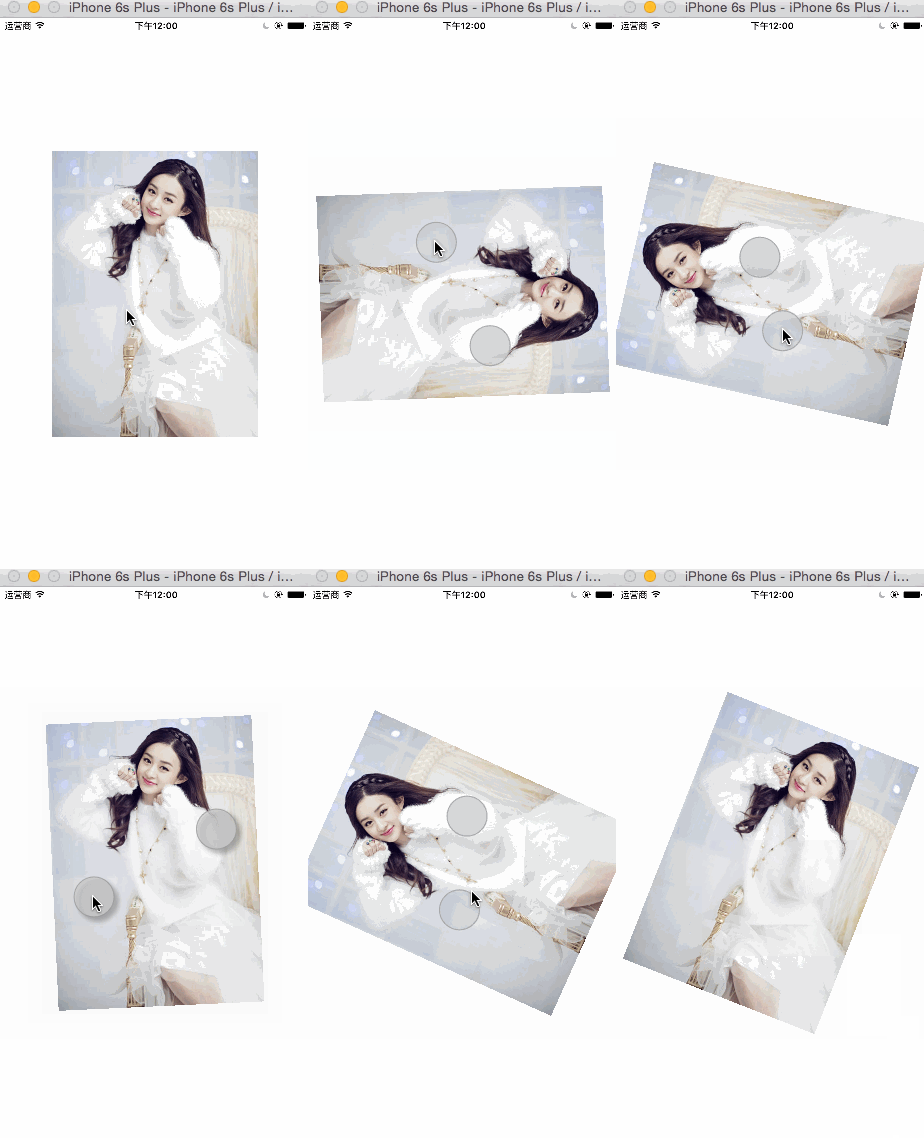
旋转手势
//

//  ViewController.m

//  CX-手势详解

//

//  Created by ma c on 16/3/24.

//  Copyright © 2016年 xubaoaichiyu. All rights reserved.

//

#import "ViewController.h"

@interface ViewController ()

@property (nonatomic, strong) UIImageView * imageView;

@end

@implementation ViewController

#pragma mark - set_and_get

-(UIImageView *)imageView{

    if (!_imageView) {

        _imageView = [[UIImageView alloc]init];

        UIImage * image = [UIImage imageNamed:@"nvshen.jpg"];

        _imageView.bounds = (CGRect){CGPointZero,image.size};

        _imageView.center = self.view.center;

        //交互一定要设置为YES 否则无法实现手势

        _imageView.userInteractionEnabled = YES;

        _imageView.image = image;

    }

    return _imageView;

}

- (void)viewDidLoad {

    [super viewDidLoad];

    [self.view addSubview:self.imageView];

    //旋转手势

    UIRotationGestureRecognizer * rotation = [[UIRotationGestureRecognizer alloc]initWithTarget:self action:@selector(doAction:)];

    [self.imageView addGestureRecognizer:rotation];

}

-(void)doAction:(UIRotationGestureRecognizer *)rotation{

    //持续改变

    self.imageView.transform = CGAffineTransformRotate(self.imageView.transform, rotation.rotation);

    //复位

    rotation.rotation = ;

}

@end
有一点值得注意的是,旋转手势和捏合手势是不可以同时操作的,想要同时操作可以通过代理实现,如下。
- (BOOL)gestureRecognizer:(UIGestureRecognizer *)gestureRecognizer shouldRecognizeSimultaneouslyWithGestureRecognizer:(UIGestureRecognizer *)otherGestureRecognizer;
在上面的代码实现时返回YES即可。
IOS 手势详解的更多相关文章
- 【转】IOS AutoLayout详解(三)用代码实现(附Demo下载)
转载自:blog.csdn.net/hello_hwc IOS SDK详解 前言: 在开发的过程中,有时候创建View没办法通过Storyboard来进行,又需要AutoLayout,这时候用代码创建 ...
- IOS SDK详解
来源:http://blog.csdn.net/column/details/huangwenchen-ios-sdk.html?page=1#42803301 博客专栏>移动开发专栏>I ...
- iOS路由详解
本文如题,路由详解,注定是一篇详细解释iOS路由原理及使用的文章,由于此时正在外地出差,无法详细一一写出,只能不定时的补充. 一.什么是iOS路由 路由一词来源于路由器,可以实现层级之间消息转发的功能 ...
- IOS SizeClasses 详解
SizeClasses 详解 iOS 8在应用界面的可视化设计上添加了一个新的特性-Size Classes.对于任何设备来说,界面的宽度和高度都只分为三种描述:紧凑,任意和宽松.这样开发者便可以无视 ...
- iOS模式详解—「runtime面试、工作」看我就 🐒 了 ^_^.
Write in the first[写在最前] 对于从事 iOS 开发人员来说,当提到 ** runtime时,我想都可以说出来 「runtime 运行时」和基本使用的方法.相信很多开发者跟我当初一 ...
- iOS 模式详解—「runtime面试、工作」看我就 🐒 了 ^_^.
引导 Copyright © PBwaterln Unauthorized shall not be *copy reprinted* . 对于从事 iOS 开发人员来说,所有的人都会答出「runti ...
- ios学习--详解IPhone动画效果类型及实现方法
详解IPhone动画效果类型及实现方法是本文要介绍的内容,主要介绍了iphone中动画的实现方法,不多说,我们一起来看内容. 实现iphone漂亮的动画效果主要有两种方法,一种是UIView层面的,一 ...
- IOS中的手势详解
1.点击 UITapGestureRecognizer *tap=[[UITapGestureRecognizer alloc] initWithTarget:self action:@selecto ...
- iOS WKWebView详解
UIWebView就不用说了,这个过时了,现在iOS8以后建议都使用WKWebView. WKWebView 是现代 WebKit API 在 iOS 8 和 OS X Yosemite 应用中的核心 ...
随机推荐
- Android SDK Manager国内更新代理
在Android SDK Manager Setting 窗口设置HTTP Proxy server和HTTP Proxy Port这个2个参数,分别设置为: HTTP Proxy server:mi ...
- MyEclipse中常用的快捷键大全,快来.....
在这里分享点常用的快捷键,希望对你有帮助! Eclipse的编辑功能非常强大,掌握了Eclipse快捷键功能,能够大大提高开发效率.Eclipse中有如下一些和编辑相关的快捷键. 1. [ALT+/] ...
- dp - 2016腾讯笔试 A
2016腾讯笔试 A Problem's Link -------------------------------------------------------------------------- ...
- 用Visual Studio Code 开发应用之 安装 Visual Studio Code
最近研究微软的ASP.NET 新一代产品 ASP.NET Core1.0. 发先Visual Studio Code是一个很好的很强大的开源编辑器.是编辑器而不是IDE.之所以强大是因为他可以说是一个 ...
- javascript学习笔记2-typeof、Number类型、Boolean()
1.typeof操作符 对一个值使用typeof操作符可能返回下列某个字符串 "undefined"——这个值未定义 "boolean"——这个值是布尔值 &q ...
- SingalR--demo
原文链接 : http://www.asp.net/signalr/overview/getting-started/tutorial-getting-started-with-signalr-and ...
- EXCEL countif函数多条件
在MS EXCEL中,countif如果要满足多个条件怎么办呢? 1.答案就是:使用条件集合{}和sum函数. 即在countif()第二个参数中使用条件集合{},然后用sum()函数求满足这些条件的 ...
- 15天玩转redis —— 第五篇 集合对象类型
这篇我们来看看Redis五大类型中的第四大类型:“集合类型”,集合类型还是蛮有意思的,第一个是因为它算是只使用key的Dictionary简易版, 这样说来的话,它就比Dictionary节省很多内存 ...
- C++: read access data using ADOX.DLL and System::Data::OleDb
#pragma once #include "Form2.h" namespace cdemo { using namespace System; using namespace ...
- Windows 安装启动apache时出现错误的解决方法
配置安装Apache主服务发生错误:(OS 5)拒绝访问. : AH00369: Failed to open the Windows service manager, perhaps you fo ...