IDEA+SpringBoot整合Swagger2创建API文档
------------恢复内容开始------------
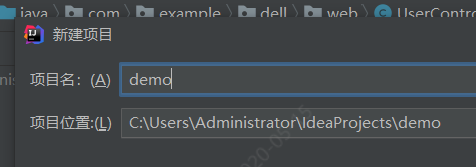
1.创建SpringBoot项目
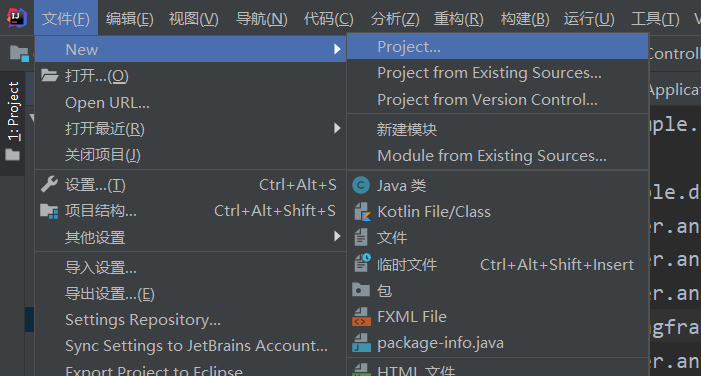
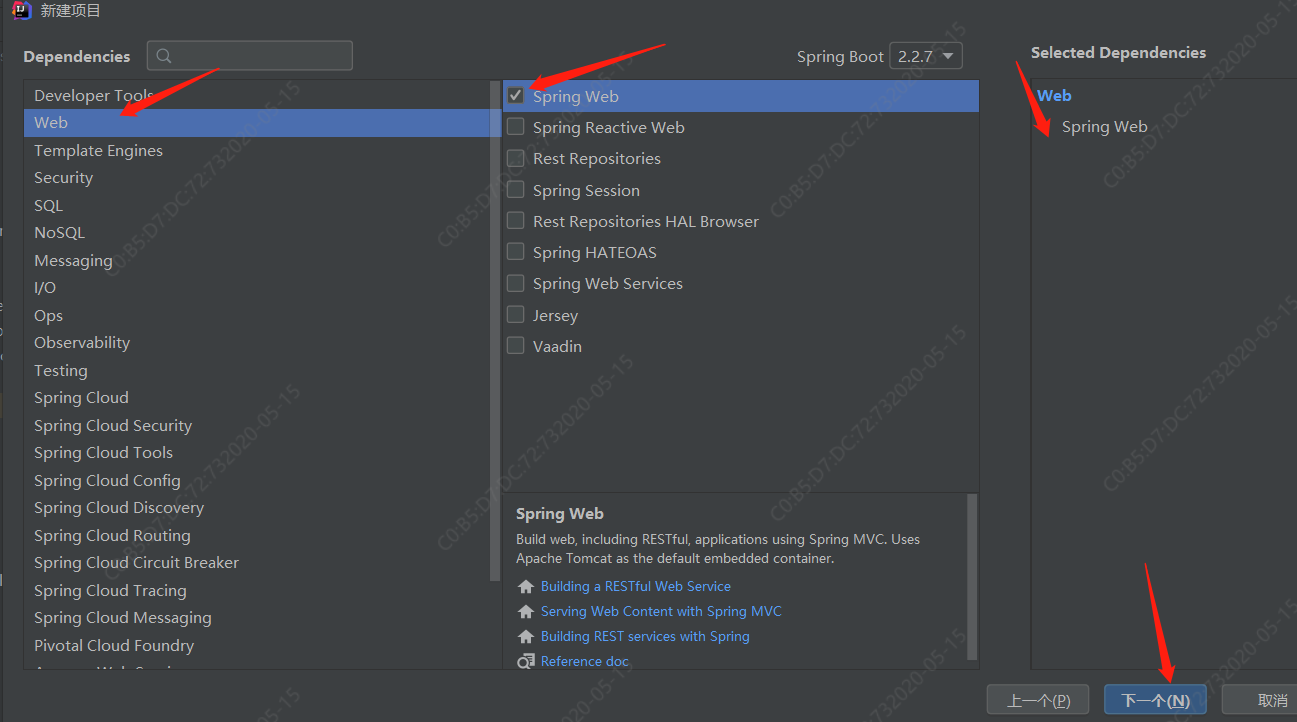
2.选择快捷方式创建springboot项目


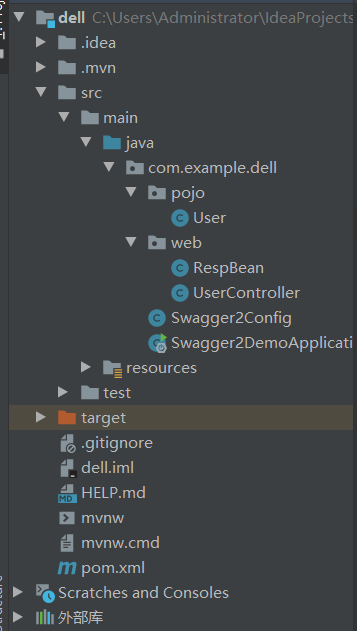
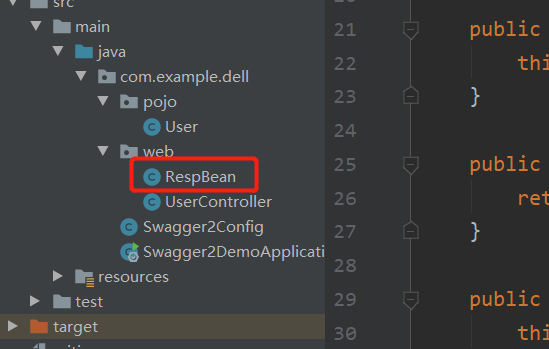
3.工程文件树形图
4.pom.xml中导入Swagger依赖
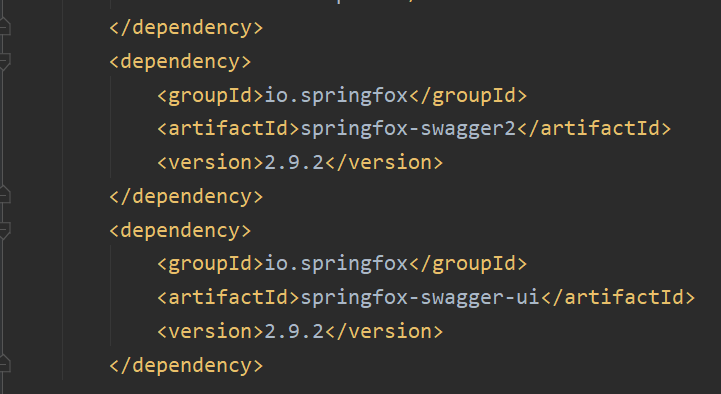
代码如下:
 1        <dependency>

 2             <groupId>io.springfox</groupId>

 3             <artifactId>springfox-swagger2</artifactId>

 4             <version>2.9.2</version>

 5         </dependency>

 6         <dependency>

 7             <groupId>io.springfox</groupId>

 8             <artifactId>springfox-swagger-ui</artifactId>

 9             <version>2.9.2</version>

10         </dependency>
5.配置Swagger信息
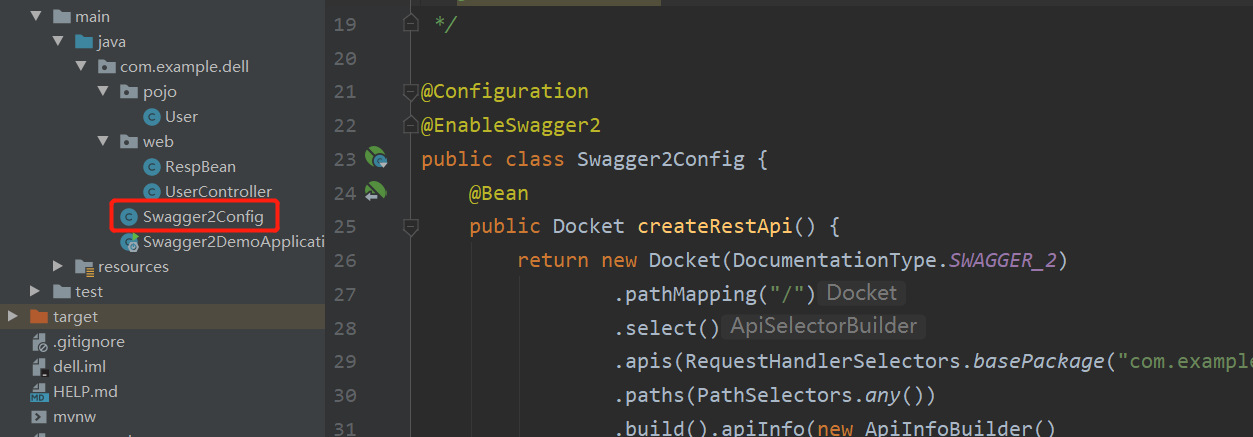
代码如下:
 1 package com.example.dell;

 2

 3 import org.springframework.context.annotation.Bean;

 4 import org.springframework.context.annotation.Configuration;

 5 import springfox.documentation.builders.ApiInfoBuilder;

 6 import springfox.documentation.builders.PathSelectors;

 7 import springfox.documentation.builders.RequestHandlerSelectors;

 8 import springfox.documentation.service.Contact;

 9 import springfox.documentation.spi.DocumentationType;

10 import springfox.documentation.spring.web.plugins.Docket;

11 import springfox.documentation.swagger2.annotations.EnableSwagger2;

12

13 /**

14  * @program:swagger2-demo

15  * @description:swagger配置类

16  * @author:feixiang

17  * @create:2020/5/14

18  */

19

20 @Configuration

21 @EnableSwagger2

22 public class Swagger2Config {

23     @Bean

24     public Docket createRestApi() {

25         return new Docket(DocumentationType.SWAGGER_2)

26                 .pathMapping("/")

27                 .select()

28                 .apis(RequestHandlerSelectors.basePackage("com.example.dell.web"))

29                 .paths(PathSelectors.any())

30                 .build().apiInfo(new ApiInfoBuilder()

31                         .title("飞翔用接口自动化平台")

32                         .description("飞翔独享")

33                         .version("9.0")

34                         .contact(new Contact("马化腾","blog.csdn.net","aaa@gmail.com"))

35                         .license("The Apache License")

36                         .licenseUrl("http://www.baidu.com")

37                         .build());

38     }

39 }
创建接口
接下来就是创建接口了,Swagger2相关的注解其实并不多,而且很容易懂,下面我来分别向小伙伴们举例说明
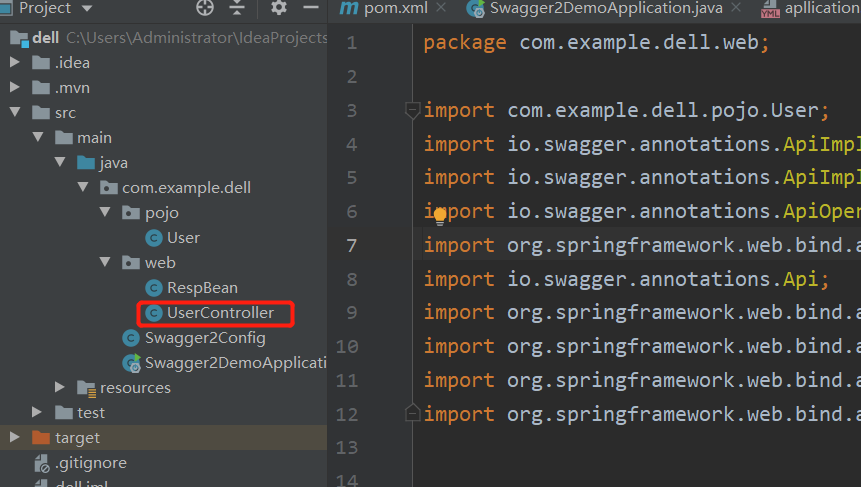
代码如下
 1 package com.example.dell.web;

 2

 3 import com.example.dell.pojo.User;

 4 import io.swagger.annotations.ApiImplicitParam;

 5 import io.swagger.annotations.ApiImplicitParams;

 6 import io.swagger.annotations.ApiOperation;

 7 import org.springframework.web.bind.annotation.*;

 8 import io.swagger.annotations.Api;

 9 import org.springframework.web.bind.annotation.PathVariable;

10 import org.springframework.web.bind.annotation.RequestBody;

11 import org.springframework.web.bind.annotation.RequestMapping;

12 import org.springframework.web.bind.annotation.RestController;

13

14

15

16 @RestController

17 @Api(tags = "用户管理相关接口")

18 @RequestMapping("/user")

19 public class UserController{

20     @PostMapping("/")

21     @ApiOperation("添加用户的接口")

22     @ApiImplicitParams({

23             @ApiImplicitParam(name = "username", value = "用户名", defaultValue = "张三"),

24             @ApiImplicitParam(name = "address", value = "用户地址", defaultValue = "佛山", required = true)

25     }

26     )

27     public RespBean addUser(String username, @RequestParam(required = true) String address) {

28         return new RespBean();

29     }

30

31     @GetMapping("/")

32     @ApiOperation("根据id查询用户的接口")

33     @ApiImplicitParam(name = "id", value = "用户id", defaultValue = "99", required = true)

34     public User getUserById(@PathVariable Integer id) {

35         User user = new User();

36         user.setId(id);

37         return user;

38     }

39     @PutMapping("/{id}")

40     @ApiOperation("根据id更新用户的接口")

41         public User updateUserById(@RequestBody User user) {

42         return user;

43     }

44 }
这里边涉及到多个API,我来向小伙伴们分别说明:
@Api注解可以用来标记当前Controller的功能。
@ApiOperation注解用来标记一个方法的作用。
@ApiImplicitParam注解用来描述一个参数,可以配置参数的中文含义,也可以给参数设置默认值,这样在接口测试的时候可以避免手动输入。
如果有多个参数,则需要使用多个@ApiImplicitParam注解来描述,多个@ApiImplicitParam注解需要放在一个@ApiImplicitParams注解中。
需要注意的是,@ApiImplicitParam注解中虽然可以指定参数是必填的,但是却不能代替@RequestParam(required = true),前者的必填只是在Swagger2框架内必填,抛弃了Swagger2,这个限制就没用了,所以假如开发者需要指定一个参数必填,@RequestParam(required = true)注解还是不能省略。
如果参数是一个对象(例如上文的更新接口),对于参数的描述也可以放在实体类中。例如下面一段代码: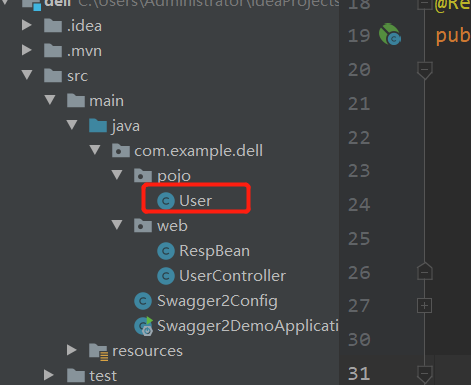
 1 package com.example.dell.pojo;

 2

 3 import io.swagger.annotations.ApiModelProperty;

 4

 5

 6

 7

 8 public class User {

 9     @ApiModelProperty(value = "用户id")

10     private Integer id;

11     @ApiModelProperty(value = "用户名")

12     private String username;

13     @ApiModelProperty(value = "用户地址")

14     private String address;

15     //getter/setter

16

17     public Integer getId() {

18         return id;

19     }

20

21     public void setId(Integer id) {

22         this.id = id;

23     }

24

25     public String getUsername() {

26         return username;

27     }

28

29     public void setUsername(String username) {

30         this.username = username;

31     }

32

33     public String getAddress() {

34         return address;

35     }

36

37     public void setAddress(String address) {

38         this.address = address;

39     }

40 }
代码如下:
 1 package com.example.dell.web;

 2

 3 import io.swagger.annotations.ApiModelProperty;

 4

 5 public class RespBean {

 6     @ApiModelProperty(value = "用户id")

 7     private Integer id;

 8     @ApiModelProperty(value = "用户名")

 9     private String username;

10     @ApiModelProperty(value = "用户地址")

11     private String address;

12     //getter/setter

13

14     public Integer getId() {

15         return id;

16     }

17

18     public void setId(Integer id) {

19         this.id = id;

20     }

21

22     public String getUsername() {

23         return username;

24     }

25

26     public void setUsername(String username) {

27         this.username = username;

28     }

29

30     public String getAddress() {

31         return address;

32     }

33

34     public void setAddress(String address) {

35         this.address = address;

36     }

37 }
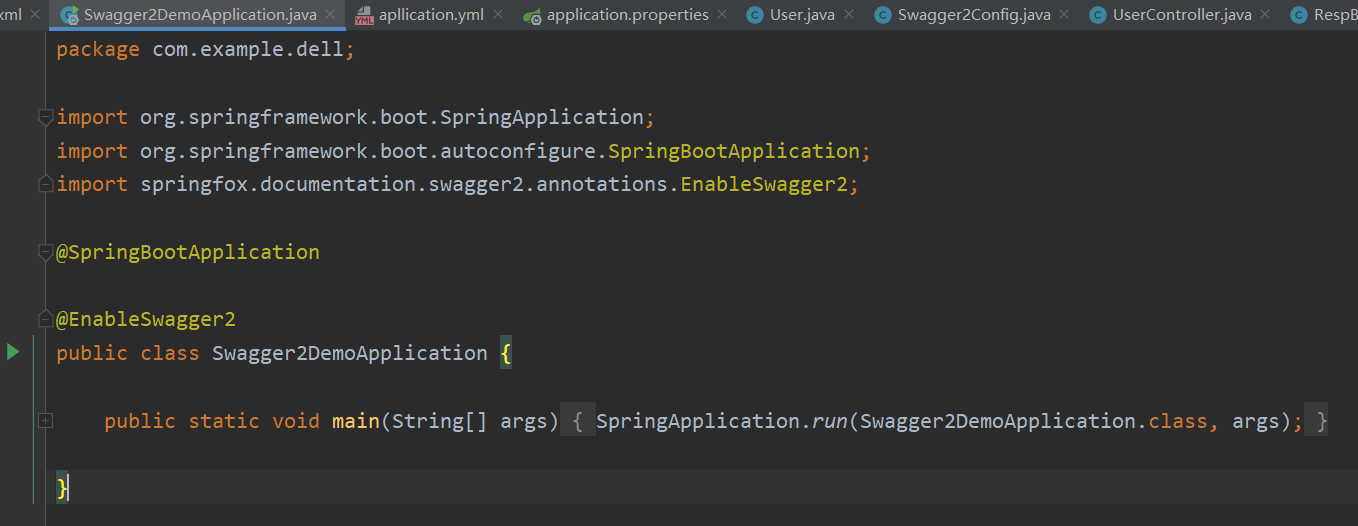
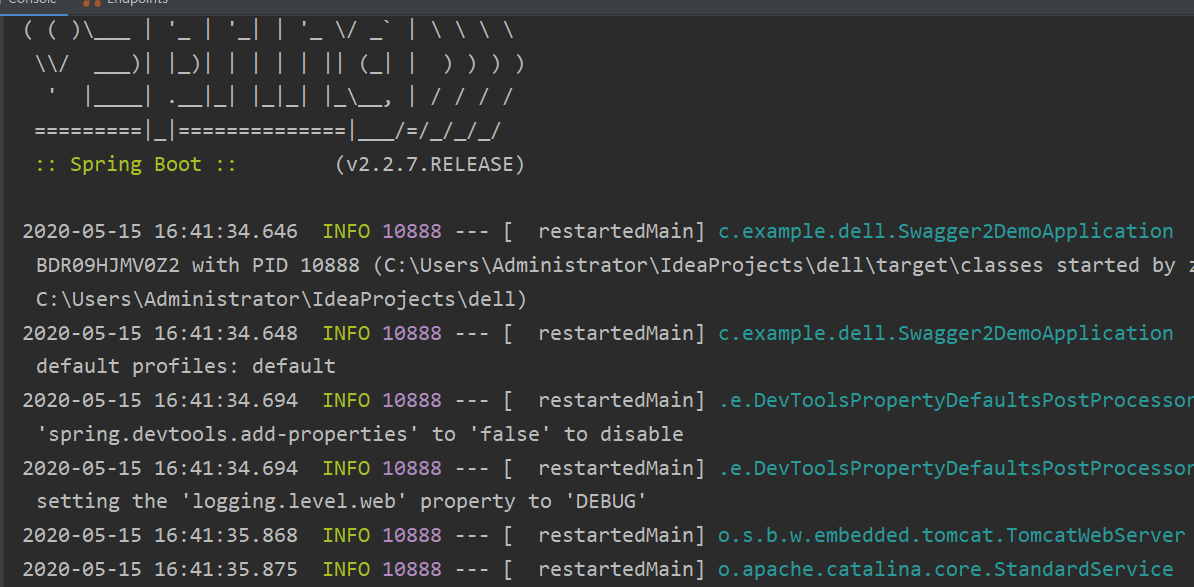
然后启动,运行
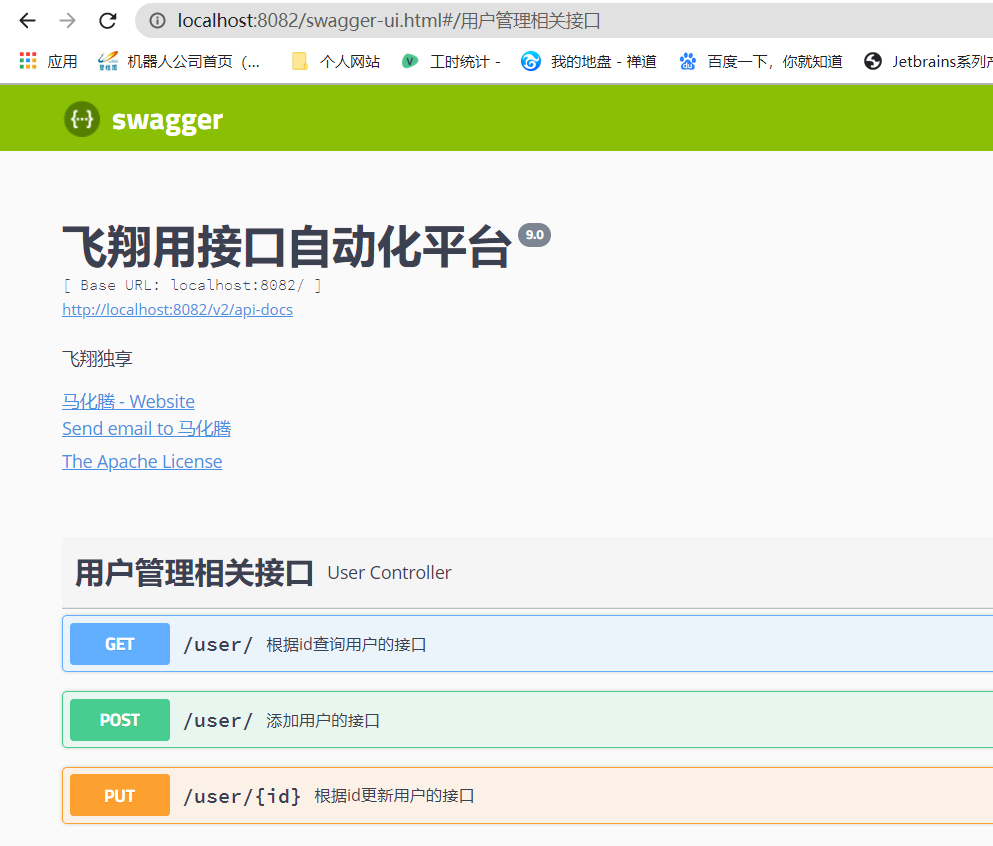
此时启动项目,输入http://localhost:8080/swagger-ui.html,能够看到如下页面,说明已经配置成功了:
IDEA+SpringBoot整合Swagger2创建API文档的更多相关文章
- Spring Boot 整合Swagger2构建API文档
1.pom.xml中引入依赖 <dependency> <groupId>io.springfox</groupId> <artifactId>spri ...
- SpringBoot使用Swagger2构建API文档
后端开发中经常需要对移动客户端提供RESTful API接口,在后期版本快速迭代的过程中,修改接口实现的时候都必须同步修改接口文档,而文档与代码又处于两个不同的媒介,除非有严格的管理机制,不然很容易导 ...
- SpringBoot整合Swagger2搭建API在线文档
Swagger,中文"拽"的意思,它是一个功能强大的在线API在线文档,目前它的版本为2.x,所以称为Swagger2.Swagger2提供了在线文档的查阅和测试功能.利用Swag ...
- SpringBoot+rest接口+swagger2生成API文档+validator+mybatis+aop+国际化
代码地址:JillWen_SpringBootDemo mybatis 1. 添加依赖: <dependency> <groupId>org.mybatis.spring.bo ...
- springboot学习-jdbc操作数据库--yml注意事项--controller接受参数以及参数校验--异常统一管理以及aop的使用---整合mybatis---swagger2构建api文档---jpa访问数据库及page进行分页---整合redis---定时任务
springboot学习-jdbc操作数据库--yml注意事项--controller接受参数以及参数校验-- 异常统一管理以及aop的使用---整合mybatis---swagger2构建api文档 ...
- Spring Boot中使用Swagger2构建API文档
程序员都很希望别人能写技术文档,自己却很不愿意写文档.因为接口数量繁多,并且充满业务细节,写文档需要花大量的时间去处理格式排版,代码修改后还需要同步修改文档,经常因为项目时间紧等原因导致文档滞后于代码 ...
- 白话SpringCloud | 第十一章:路由网关(Zuul):利用swagger2聚合API文档
前言 通过之前的两篇文章,可以简单的搭建一个路由网关了.而我们知道,现在都奉行前后端分离开发,前后端开发的沟通成本就增加了,所以一般上我们都是通过swagger进行api文档生成的.现在由于使用了统一 ...
- 使用springfox+swagger2书写API文档(十八)
使用springfox+swagger2书写API文档 springfox是通过注解的形式自动生成API文档,利用它,可以很方便的书写restful API,swagger主要用于展示springfo ...
- springboot利用swagger构建api文档
前言 Swagger 是一款RESTFUL接口的文档在线自动生成+功能测试功能软件.本文简单介绍了在项目中集成swagger的方法和一些常见问题.如果想深入分析项目源码,了解更多内容,见参考资料. S ...
- SpringBoot中使用springfox+swagger2书写API文档
随着前后端的分离,借口文档变的尤其重要,springfox是通过注解的形式自动生成API文档,利用它,可以很方便的书写restful API,swagger主要用于展示springfox生成的API文 ...
随机推荐
- HJ77 火车进站
描述 给定一个正整数N代表火车数量,0<N<10,接下来输入火车入站的序列,一共N辆火车,每辆火车以数字1-9编号,火车站只有一个方向进出,同时停靠在火车站的列车中,只有后进站的出站了,先 ...
- 你应该知道的 50 个 Python 单行代码
你应该知道的 50 个 Python 单行代码 1. 字母移位词:猜字母的个数和频次是否相同 2. 二进制转十进制 3. 转换成小写字母 4. 转换成大写字母 5. 字符串转换为字节类型 6. 复制文 ...
- java方法的笔记
方法 方法的概念 方法(method)是将具有独立功能的代码块组织成为一个整体,使其具有特殊功能的代码集 注意: 方法必须先创建才可以使用,该过程成为方法定义 方法创建后并不是直接可以运行的,需要手动 ...
- 微信小程序中如何把数组从一个页面传到另一个页面,并且获取数据
// 传送端 举例 wx.navigateTo({ url: 'recite/recite?openid=' + k.data.openid + '&isexist=' + k.data.is ...
- 小白之Python-基础中的基础04
继续.. ------------------------华丽的分界线----------------------------- Python-基础中的基础04 --之方法 格式:对象.方法() 1. ...
- ubuntu拨号上网与以太网
拨号上网使用的是ppp协议,主机和主机之间是点对点连接的,通常使用掩码255.255.255.255的方式来表示一个点对点连接. 以太网:使用的以太网协议. 拨号上网和以太网是两个完全不同的东西,如果 ...
- uniapp支付返回form
在项目中,支付功能是一个常见的功能,调用支付宝时,后段给我们的是一个form的富文本内容 这时需要把form到页面渲染,方法如下: uni.request({ //仅为示例,并非真实接口地址. url ...
- PostgreSQL-14 安装配置-wsl_v1_ubuntu22.04
环境准备 pgAdmin: Cisco2022 postgrep数据库: postgres: Postgres_2023 install https://learn.microsoft.com/en- ...
- ubuntu 删除容器内没用的包
删除多余 apt 包 这些就是依赖的所有动态链接库,接着我们将这些包用 apt-mark 声明为"手工安装的包",即可阻止 apt purge 的自动卸载. 然后,我们再自动卸载其 ...
- C 标准 C89/C90/C99/C11/C17
C89/C90 PDF:https://www.yodaiken.com/wp-content/uploads/2021/05/ansi-iso-9899-1990-1.pdf C99 PDF:htt ...