vue实现简易瀑布流
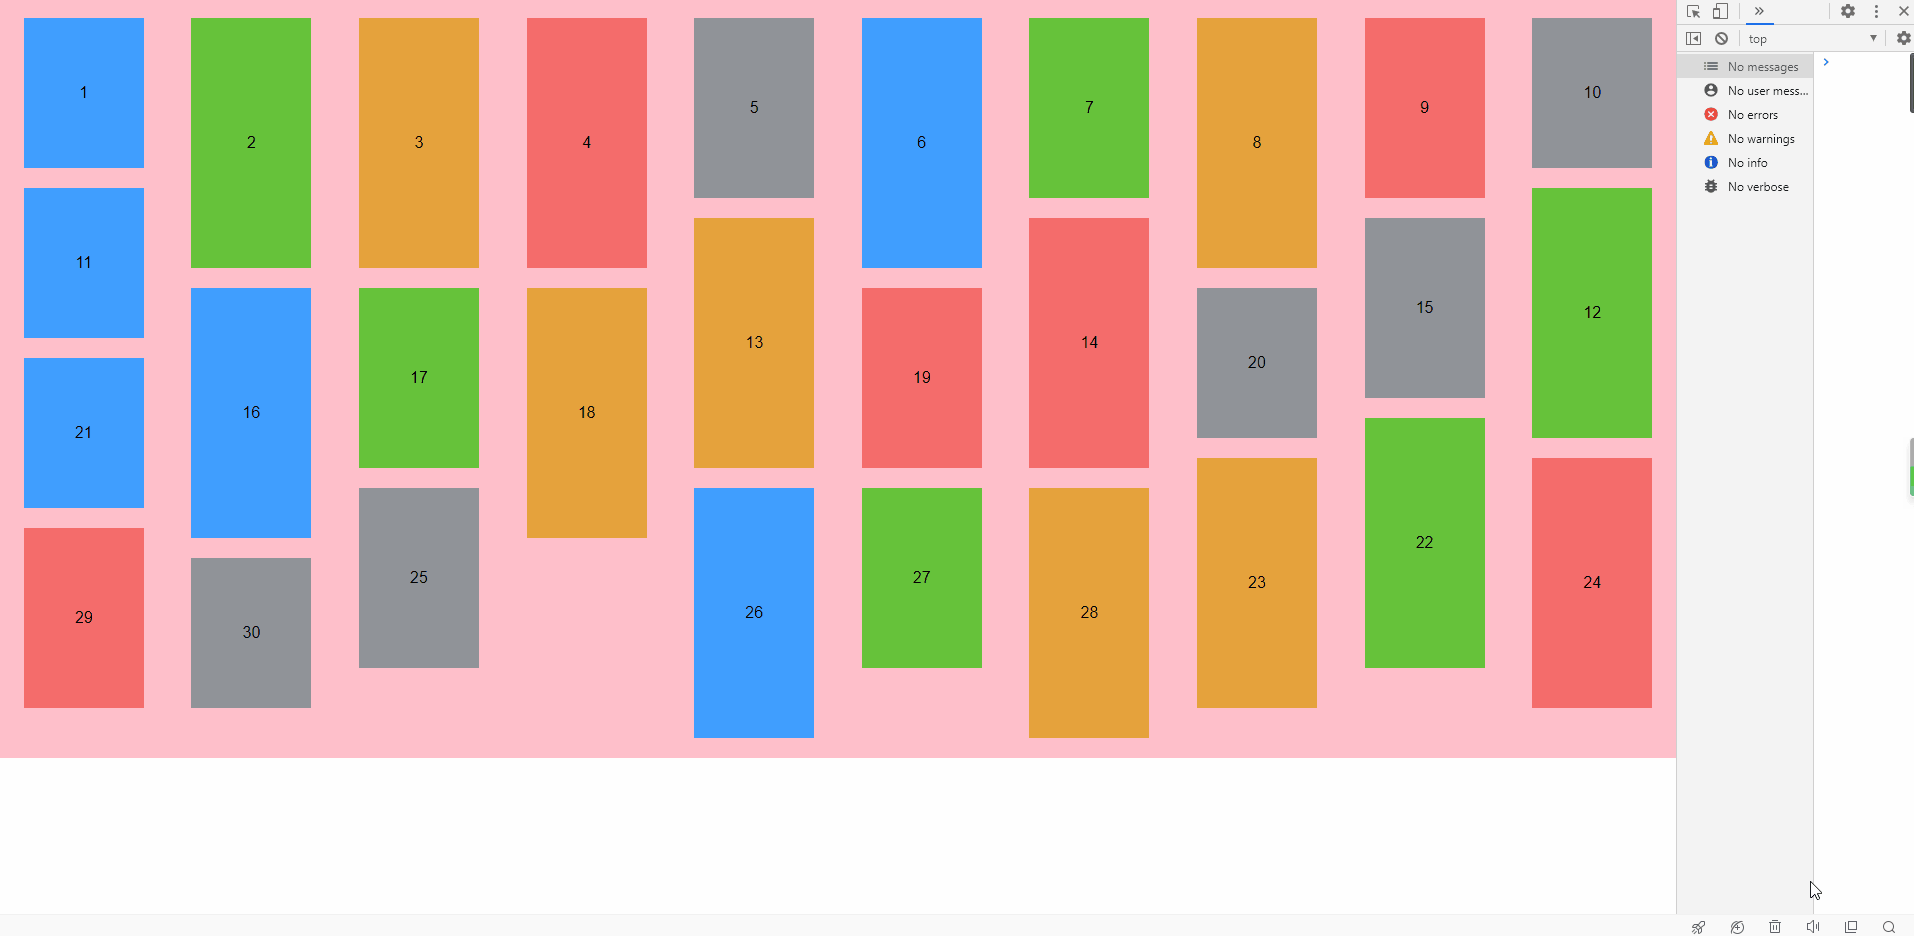
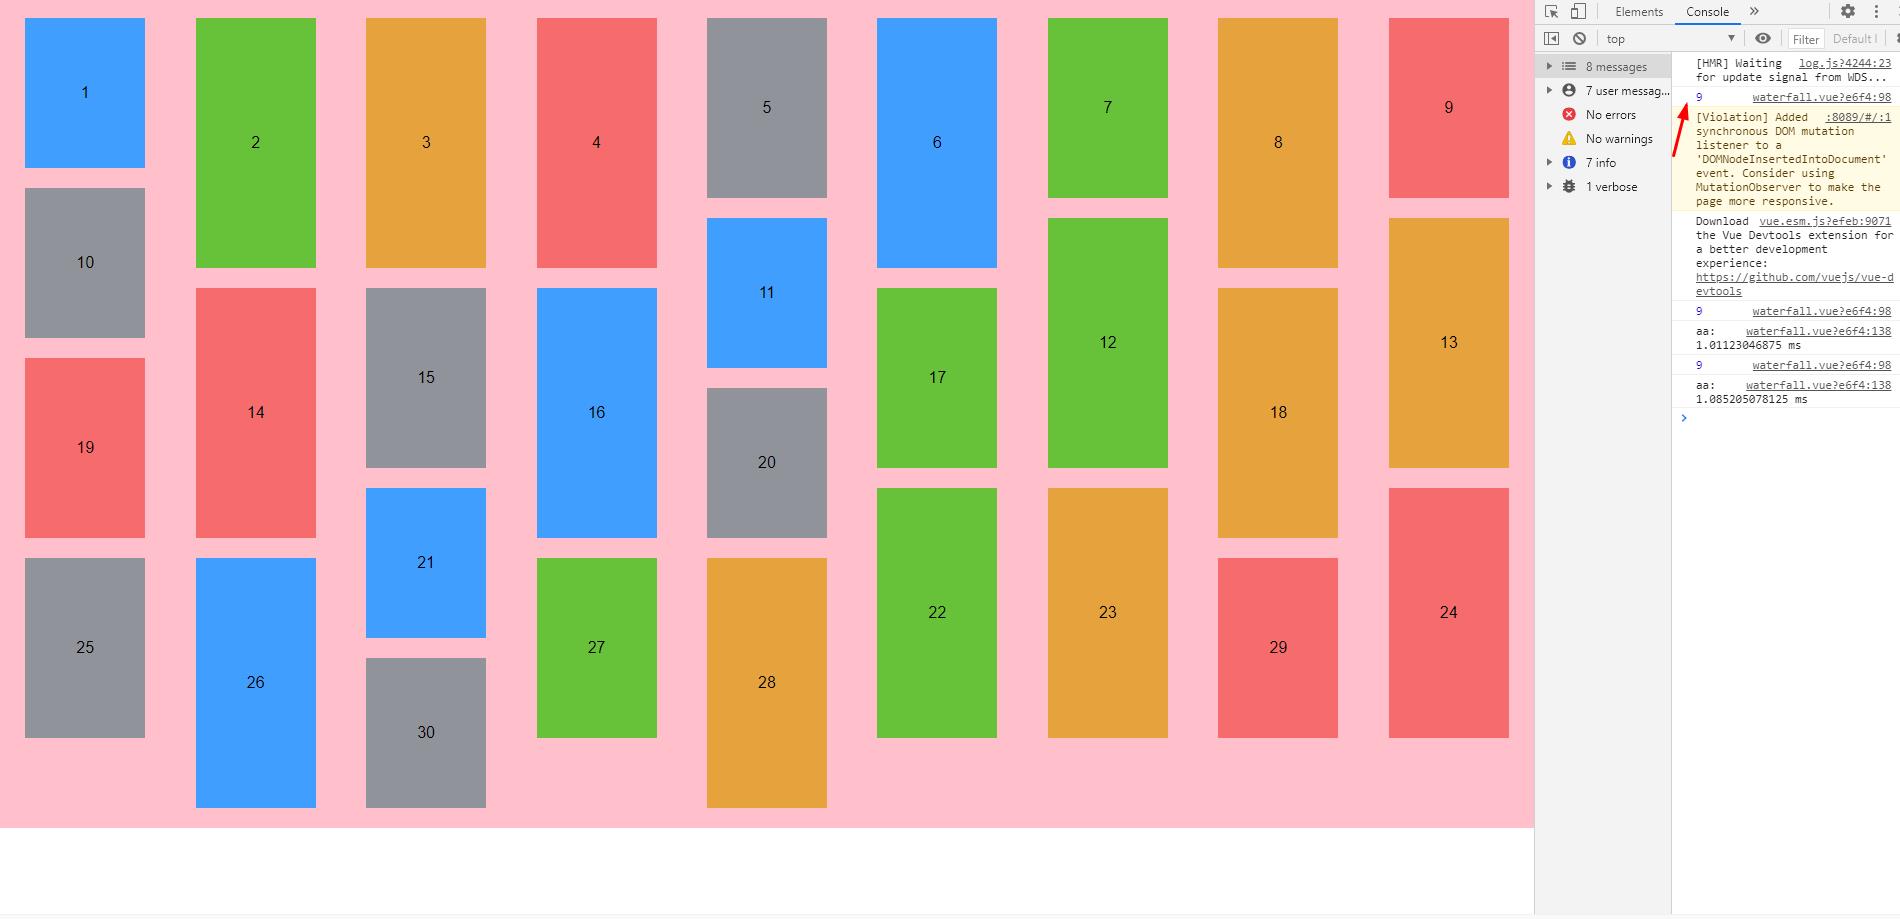
实现效果
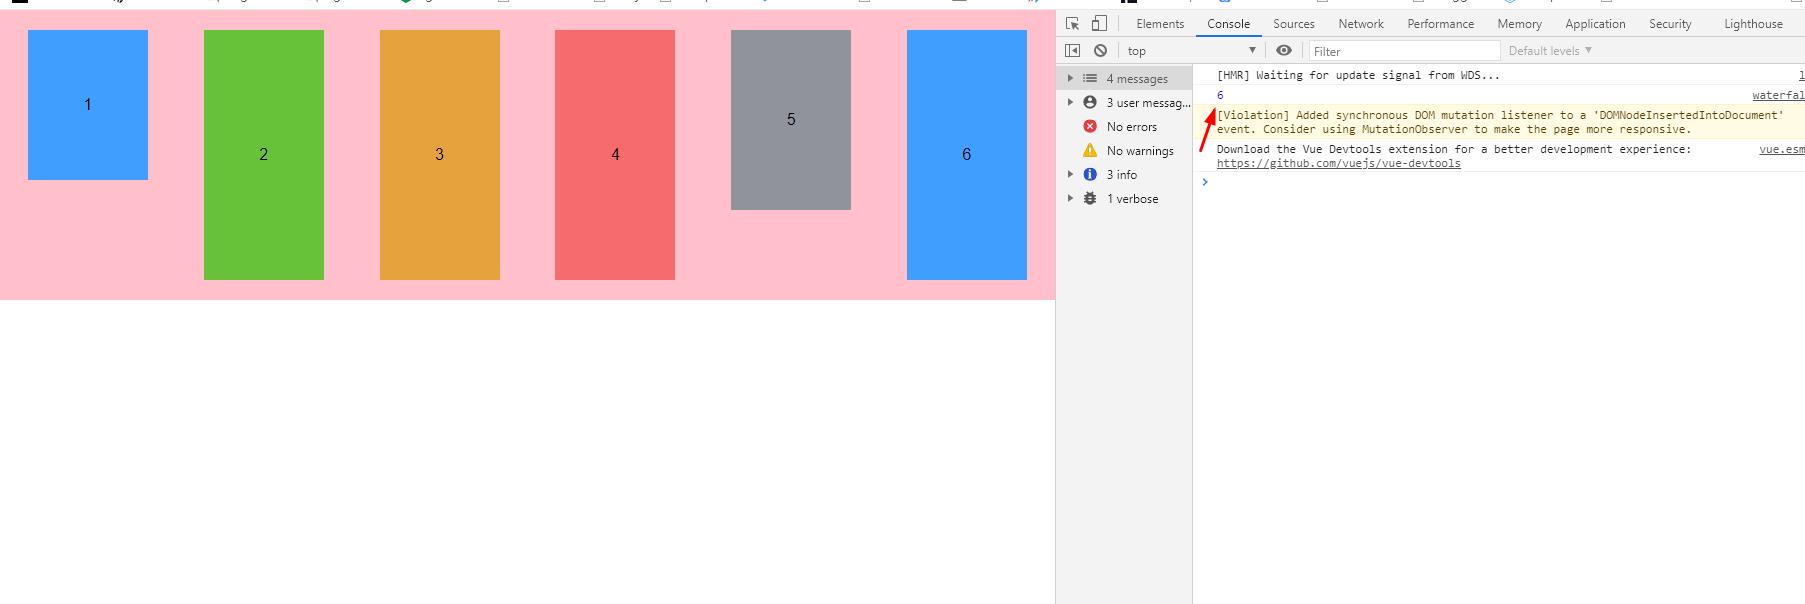
1、不同屏幕尺寸下根据可视区域宽度判断 应该 放几列,这里用onresize演示
2、鼠标滚动到已加载数据的底部时再次请求数据,重新计算哪一列高度最小,push到最小的那一列
实现思路
1、瀑布流的盒子使用flex布局,每一列column的间距相等
2、获取数据,根据可视区域的宽度判断需要几列
3、假设根据判断需要n列,那么将获取到的数据前n个一次push到每一列,成为第一个元素
4、此时每一列都有了元素,找到高度最小的那一列,这里可能有多列,找到索引最小那列,然后将元素插入
5、监听滚动事件,可以是document,也可以是具体的元素,只要元素是包裹着瀑布流的并且overflow不是hidden;当滚动到底部时,请求数据,将获得的数据插入到已有的瀑布流中
具体代码
1、瀑布流的盒子使用flex布局,每一列column的间距相等
<div class="container">

    <div class="column" v-for="(column,index) in columns" :key="index">

        <div

            class="item"

            v-for="(item,i) in column.columnArr"

            :key="i"

            :style="{ height: item.height + 'px', background: item.background }"

        >

            {{ item.text }}

        </div>

    </div>

</div>
.container {

  margin: 0 auto;

  padding-bottom: 20px;

  display: flex;

  justify-content: space-around;

  background: pink;

  transition: all 0.5s ease-in-out;

}

.item {

  width: 120px;

  color: #000;

  margin-top: 20px;

  display: flex;

  justify-content: center;

  align-items: center;

  transition: all 0.5s ease-in-out;

}
2、获取数据,根据可视区域的宽度判断需要几列
// 根据可视区域的宽度判断需要几列

let cWidth = document.documentElement.clientWidth || document.body.clientWidth;

// 假设图片宽度为140px

let cLen = Math.floor((cWidth/140)-1)
3、假设根据判断需要n列,那么将获取到的数据前n个一次push到每一列,成为第一个元素
// 初始化每一列的第一个元素,this.contentArr为获取到的数据

for (let i = 0; i < cLen; i++) {

    this.contentArr[i].top = 0 //预设距离顶部值为0

    this.columns.push({columnArr:[this.contentArr[i]]})

}
4、此时每一列都有了元素,找到高度最小的那一列,这里可能有多列,找到索引最小那列,然后将元素插入
// 判断应该放到哪一列

for (var index = cLen; index < contentLen; index++) {

    this.arrIndex = []

    let arr = []

    let minHeight = 0

    let pushIndex = 0

    for (let i = 0; i < this.columns.length; i++) {

        arr.push({

            height:this.columns[i].columnArr[this.columns[i].columnArr.length-1].height,

            top:this.columns[i].columnArr[this.columns[i].columnArr.length-1].top

        })

    }

    minHeight = this.getMinHeight(arr) //找到高度最小的一列,可能有多个

    this.getMinIndex(minHeight) //高度最小的一列所在位置的索引,用pushIndex存储

    if(this.arrIndex.length>0){

        pushIndex = Math.min.apply(null,this.arrIndex) //出现高度一样的,去索引最小的

    }

    this.contentArr[index].top = minHeight +20

    this.columns[pushIndex].columnArr.push(this.contentArr[index])

}
5、当滚动到底部时,请求数据,将获得的数据插入到已有的瀑布流中
document.onscroll = (e) =>{

    let top = e.target.documentElement.scrollTop || e.target.body.scrollTop

    let height = e.target.documentElement.scrollHeight || e.target.body.scrollHeight

    if((top+clientH)==height){

        this.loading = true

        this.pushElement().then(() =>{

            //  从接口最新获取的元素push到目前高度最小的一列

            for (var index = 0; index < this.contentArr2.length; index++) {

                this.arrIndex = []

                let arr = [] //找到高度最小的一列,可能有多个

                let minHeight = 0 //高度最小的一列的高度

                let pushIndex = 0  //高度最小的一列所在位置的索引

                for (let i = 0; i < this.columns.length; i++) {

                    arr.push({

                        height:this.columns[i].columnArr[this.columns[i].columnArr.length-1].height,

                        top:this.columns[i].columnArr[this.columns[i].columnArr.length-1].top

                    })

                }

                minHeight = this.getMinHeight(arr)

                this.getMinIndex(minHeight)

                if(this.arrIndex.length>0){

                    pushIndex = Math.min.apply(null,this.arrIndex) //出现高度一样的,去索引最小的

                }

                this.contentArr[index].top = minHeight +20

                this.columns[pushIndex].columnArr.push(this.contentArr[index])

                this.loading = false

            }

        })

    }

}
完整代码


<template>

  <div style="position:relative;">

    <div class="container">

      <div class="column" v-for="(column,index) in columns" :key="index">

        <div

          class="item"

          v-for="(item,i) in column.columnArr"

          :key="i"

          :style="{ height: item.height + 'px', background: item.background }"

        >

          {{ item.text }}

        </div>

      </div>

    </div>

    <div class="loading" v-if="loading" v-loading="loading" element-loading-text="加载中"

    element-loading-spinner="el-icon-loading"

    element-loading-background="rgba(0, 0, 0, 0.8)"></div>

  </div>

</template>

<script>

export default {

  data() {

    return {

      contentArr: [

        { value: 0, height: "150", background: "#409eff", text: "1", top: "" },

        { value: 1, height: "250", background: "#67c23a", text: "2", top: "" },

        { value: 2, height: "250", background: "#e6a23c", text: "3", top: "" },

        { value: 3, height: "250", background: "#f56c6c", text: "4", top: "" },

        { value: 4, height: "180", background: "#909399", text: "5", top: "" },

        { value: 5, height: "250", background: "#409eff", text: "6", top: "" },

        { value: 6, height: "180", background: "#67c23a", text: "7", top: "" },

        { value: 7, height: "250", background: "#e6a23c", text: "8", top: "" },

        { value: 8, height: "180", background: "#f56c6c", text: "9", top: "" },

        { value: 9, height: "150", background: "#909399", text: "10", top: "" },

        { value: 10, height: "150", background: "#409eff", text: "11", top: "" },

        { value: 11, height: "250", background: "#67c23a", text: "12", top: "" },

        { value: 12, height: "250", background: "#e6a23c", text: "13", top: "" },

        { value: 13, height: "250", background: "#f56c6c", text: "14", top: "" },

        { value: 14, height: "180", background: "#909399", text: "15", top: "" },

        { value: 15, height: "250", background: "#409eff", text: "16", top: "" },

        { value: 16, height: "180", background: "#67c23a", text: "17", top: "" },

        { value: 17, height: "250", background: "#e6a23c", text: "18", top: "" },

        { value: 18, height: "180", background: "#f56c6c", text: "19", top: "" },

        { value: 19, height: "150", background: "#909399", text: "20", top: "" },

        { value: 20, height: "150", background: "#409eff", text: "21", top: "" },

        { value: 21, height: "250", background: "#67c23a", text: "22", top: "" },

        { value: 22, height: "250", background: "#e6a23c", text: "23", top: "" },

        { value: 23, height: "250", background: "#f56c6c", text: "24", top: "" },

        { value: 24, height: "180", background: "#909399", text: "25", top: "" },

        { value: 25, height: "250", background: "#409eff", text: "26", top: "" },

        { value: 26, height: "180", background: "#67c23a", text: "27", top: "" },

        { value: 27, height: "250", background: "#e6a23c", text: "28", top: "" },

        { value: 28, height: "180", background: "#f56c6c", text: "29", top: "" },

        { value: 29, height: "150", background: "#909399", text: "30", top: "" },

      ],

      columns: [],

      arrIndex:[],

      loading:false,

      contentArr2:[]

    };

  },

  methods: {

    pushElement(){

        return new Promise((resolve,reject) =>{

            setTimeout(() =>{

                for (let i = 0; i < 20; i++) {

                    this.contentArr2[i] = { value: i+this.contentArr.length, height: 50*Math.random()+50, background: "#409eff", text: i+this.contentArr.length, top: "" }

                }

                resolve()

            },500)

        })

    },

    getMinHeight(arr){

      let a = []

      for (let i = 0; i < arr.length; i++) {

        a.push(parseInt(arr[i].height)+parseInt(arr[i].top))

      }

      return Math.min.apply(null,a)

    },

    getMinIndex(val){

      for (let i = 0; i < this.columns.length; i++) {

        let height = this.columns[i].columnArr[this.columns[i].columnArr.length-1].height

        let top = this.columns[i].columnArr[this.columns[i].columnArr.length-1].top

        if(parseInt(height)+parseInt(top)==val){

          this.arrIndex.push(i)

        }

      }

    },

    init() {

      this.columns = []

      let contentLen = this.contentArr.length

      // 根据可视区域的宽度判断需要几列

      let cWidth = document.documentElement.clientWidth || document.body.clientWidth;

      // 假设图片宽度为100px

      let cLen = Math.floor((cWidth/140)-1)

        console.log(cLen);

      // 初始化每一列的第一行元素

      for (let i = 0; i < cLen; i++) {

        this.contentArr[i].top = 0 //预设距离顶部值为0

        this.columns.push({columnArr:[this.contentArr[i]]})

      }

      // 对剩余元素的判断,应该放到哪一列

      for (var index = cLen; index < contentLen; index++) {

        this.arrIndex = []

        let arr = [] //找到高度最小的一列,可能有多个

        let minHeight = 0 //高度最小的一列的高度

        let pushIndex = 0  //高度最小的一列所在位置的索引

        for (let i = 0; i < this.columns.length; i++) {

          arr.push({

            height:this.columns[i].columnArr[this.columns[i].columnArr.length-1].height,

            top:this.columns[i].columnArr[this.columns[i].columnArr.length-1].top

          })

        }

        minHeight = this.getMinHeight(arr)

        this.getMinIndex(minHeight)

        if(this.arrIndex.length>0){

          pushIndex = Math.min.apply(null,this.arrIndex) //出现高度一样的,去索引最小的

        }

        this.contentArr[index].top = minHeight +20

        this.columns[pushIndex].columnArr.push(this.contentArr[index])

      }

    },

  },

  mounted() {

    this.init()

    window.onresize = () =>{

      console.time('aa')

      this.init()

      console.timeEnd('aa')

    }

    let clientH = document.documentElement.clientHeight ||  document.body.clientHeight

    document.onscroll = (e) =>{

        let top = e.target.documentElement.scrollTop || e.target.body.scrollTop

        let height = e.target.documentElement.scrollHeight || e.target.body.scrollHeight

        if((top+clientH)==height){

          this.loading = true

          this.pushElement().then(() =>{

            //  从接口最新获取的元素push到目前高度最小的一列

            for (var index = 0; index < this.contentArr2.length; index++) {

                this.arrIndex = []

                let arr = [] //找到高度最小的一列,可能有多个

                let minHeight = 0 //高度最小的一列的高度

                let pushIndex = 0  //高度最小的一列所在位置的索引

                for (let i = 0; i < this.columns.length; i++) {

                    arr.push({

                        height:this.columns[i].columnArr[this.columns[i].columnArr.length-1].height,

                        top:this.columns[i].columnArr[this.columns[i].columnArr.length-1].top

                    })

                }

                minHeight = this.getMinHeight(arr)

                this.getMinIndex(minHeight)

                if(this.arrIndex.length>0){

                    pushIndex = Math.min.apply(null,this.arrIndex) //出现高度一样的,去索引最小的

                }

                this.contentArr[index].top = minHeight +20

                this.columns[pushIndex].columnArr.push(this.contentArr[index])

                this.loading = false

            }

          })

      }

    }

  },

};

</script>

<!-- Add "scoped" attribute to limit CSS to this component only -->

<style scoped>

div,

p {

  margin: 0;

  padding: 0;

}

.container {

  margin: 0 auto;

  padding-bottom: 20px;

  display: flex;

  justify-content: space-around;

  background: pink;

  transition: all 0.5s ease-in-out;

}

.item {

  width: 120px;

  color: #000;

  margin-top: 20px;

  display: flex;

  justify-content: center;

  align-items: center;

  transition: all 0.5s ease-in-out;

}

.loading{

  position:fixed;

  top:0;

  left:0;

  right:0;

  bottom:0;

}

</style>
vue实现简易瀑布流的更多相关文章
- 基于jQuery的简易瀑布流实现
<!doctype html> <html> <head> <meta charset="UTF-8"> <title> ...
- vue.js实现瀑布流之vue-waterfall-easy
想必大家应该很多都已经习惯了jquery的DOM操作,jquery的瀑布流实现起来也很容易. 但是,随着时代的发展,随着时代的进步..... 算了算了,扯远了,既然能找到这儿来,肯定是在vue.js上 ...
- vue实现网络图片瀑布流 + 下拉刷新 + 上拉加载更多
一.思路分析和效果图 用vue来实现一个瀑布流效果,加载网络图片,同时有下拉刷新和上拉加载更多功能效果.然后针对这几个效果的实现,捋下思路: 根据加载数据的顺序,依次追加标签展示效果: 选择哪种方式实 ...
- vue 写一个瀑布流插件
效果如图所示: 采用了预先加载图片,再计算高度的办法..网络差的情况下,可能有点卡 新建 vue-water-easy.vue 组件文件 <template> <div class ...
- h5的瀑布流
<!doctype html><html><head><meta charset="utf-8"><title>超简易瀑 ...
- 使用vue做移动端瀑布流分页
讲到瀑布流分页有一个方法一定是要用到的 pullToRefresh() 这个也没什么好解释的,想了解的可以去百度一下 下面上代码 <div id="main" class=& ...
- 自己实现vue瀑布流组件,含详细注释
我知道vue有瀑布流插件vue-waterfall-easy,但是使用的时候与我的预期有部分别,所以就自己动手写了这个组件 人和动物的根本区别是是否会使用工具,我们不仅要会使用,还要会创造工具,别人提 ...
- 用vue.js写的一个瀑布流的组件
用vue.js写的一个瀑布流的组件:https://segmentfault.com/a/1190000010741319 https://www.jianshu.com/p/db3cadc03402
- 分享一个Vue实现图片水平瀑布流的插件
这里给大家分享我在网上总结出来的一些知识,希望对大家有所帮助 一.需求来源 今天碰到了一个需求,需要在页面里,用水平瀑布流的方式,将一些图片进行加载,这让我突然想起我很久以前写的一篇文章<JS两 ...
- vue 瀑布流实现
<div class="myWrite" v-if="list.length==0"> - 这个福宝有点懒哦 - </div> < ...
随机推荐
- 秒杀活动java怎么实现
秒杀与其他业务最大的区别在于:秒杀的瞬间: (1)系统的并发量会非常的大 (2)并发量大的同时,网络的流量也会瞬间变大. 一个秒杀或者抢购页面,通常分为2个部分,一个是静态的HTML等内容,另一个就是 ...
- 9、SpringBoot-mybatis-druid多源数据多源数据
系列导航 springBoot项目打jar包 1.springboot工程新建(单模块) 2.springboot创建多模块工程 3.springboot连接数据库 4.SpringBoot连接数据库 ...
- c#.net 6 实现简单爬虫几行代码实现百度搜索
使用selenium封装的简单使用工具包 Gitee:SeleniumUtil: Selenium简化工具包,包含三个主流浏览器的一些基本操作 (gitee.com) 第一步安装爬虫工具: 在程序包管 ...
- 4.Prometheus之存储及WAL
一.整体介绍 二.block 2.1 head block 三.WAL(Write-ahead logging, 预写日志) 3.1 数据流向 四.和存储相关的启动参数 五.总结 一.整体介绍 Pro ...
- C# WPF:这次把文件拖出去!
首发公众号:Dotnet9 作者:沙漠之尽头的狼 编辑于:成都,2020-12-01 回顾上篇文章:C# WPF:把文件给我拖进来!!! 本文完成对应的下文:<C# WPF:这次把文件拖出去!& ...
- PR 调整时间线宽度
1.问题 这里的宽度太小,不好进行下一步的调整 2.解决方法 方法一 按下=可以放宽 按下-(=左边的那个键)可以缩小宽度 方法二 拖动下方的滑动条即可 方法三 按住ALT+滚轮,即可调节
- 【面试题精讲】JavaOptional用法
有的时候博客内容会有变动,首发博客是最新的,其他博客地址可能会未同步,认准https://blog.zysicyj.top 首发博客地址 文章更新计划 系列文章地址 Java 8 引入了 Option ...
- [转帖]elasticsearch-create-enrollment-tokenedit
https://www.elastic.co/guide/en/elasticsearch/reference/current/create-enrollment-token.html The ela ...
- [转帖]Nginx应用调优案例
https://bbs.huaweicloud.com/blogs/146367 [摘要] 1 问题背景nginx的应用程序移植到TaiShan服务器上,发现业务吞吐量没有达到硬件预期,需要做相应调优 ...
- [转帖]从理论到实践,异步I/O模式下NVMe SSD高性能之道
在早期NVMe的讨论话题中,常常将之AHCI协议进行对比,在支持的最大队列深度.并发进程数以及消耗时钟周期数等方面,NVMe吊打了AHCI.最直观也最权威的就是下面这张对比图片. NVMe与AHCI协 ...