
parrot os安装vmware pro
转载https://www.linuxtechi.com/install-vmware-workstation-14-debian-9/
Open the terminal and execute the beneath commands to install all the required dependencies for VMware workstation
linuxtechi@debian9-world:~$ sudo apt update

linuxtechi@debian9-world:~$ sudo apt install gcc build-essential linux-headers-4.9.0-3-amd64 -y

linuxtechi@debian9-world:~$ sudo reboot
Note: Change linux-headers version as per your system existing kernel.
Step:2) Download VMware Workstation bundle for Linux
From your debian 9 system, open the Web browser and download the VMware workstation bundle for linux.
https://www.vmware.com/go/tryworkstation-linux-64
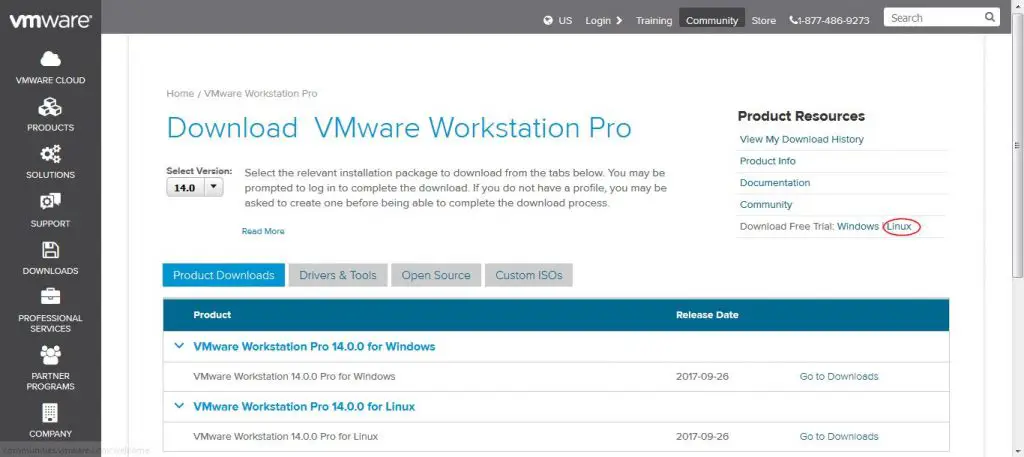
Step:3) Start the VMware Workstation 14 installation from the terminal
Once the VMware workstation bundle file is downloaded, set the executable permissions on it with the below chmod command,
linuxtechi@debian9-world:~$ chmod a+x VMware-Workstation-Full-14.0.0-6661328.x86_64.bundle
Now starts the installation by executing the bundle file, example is shown below
linuxtechi@debian9-world:~$ sudo ./VMware-Workstation-Full-14.0.0-6661328.x86_64.bundle
Accept the End User License Agreement
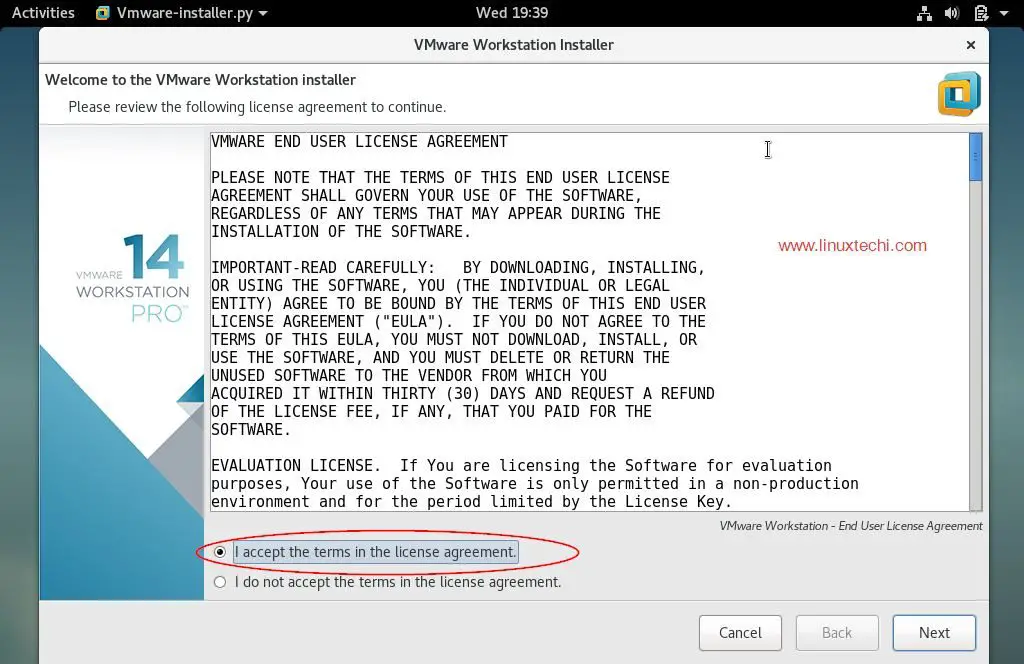
Click on Next
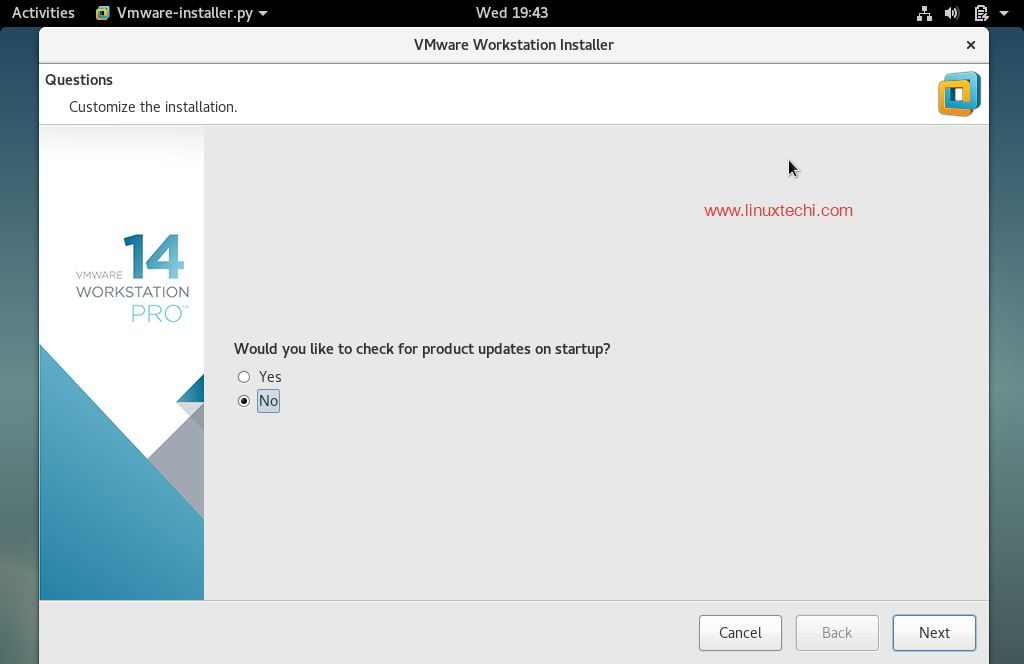
Disable Product Updates on startup
Specify the User Name which will have rights to connect to VMware workstation, in my case I using ‘linuxtechi‘ as user name
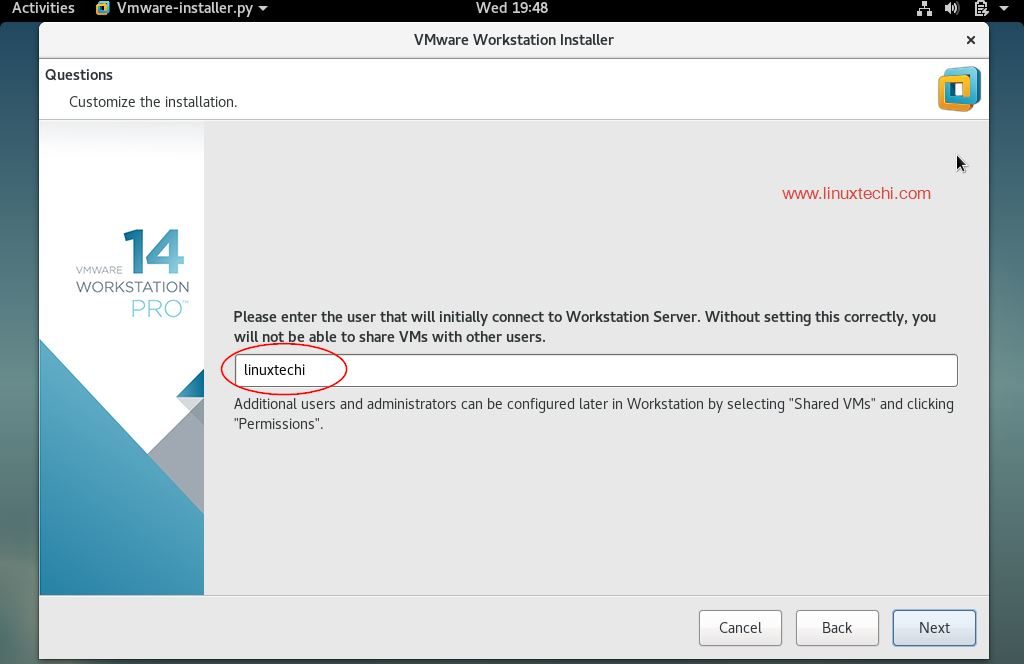
Click on Next to Proceed further
In the next window select the path or directory for storing the files of shared virtual machines. You can also keep the default path. In my case I am also keeping the default directory.

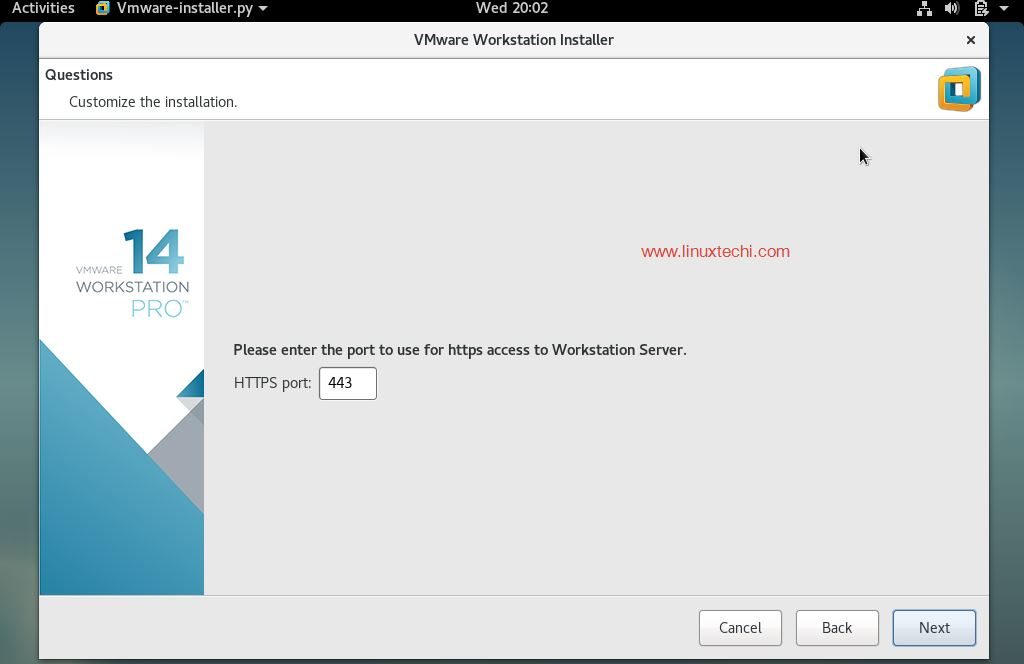
Specify the HTTPs port or keep default one.
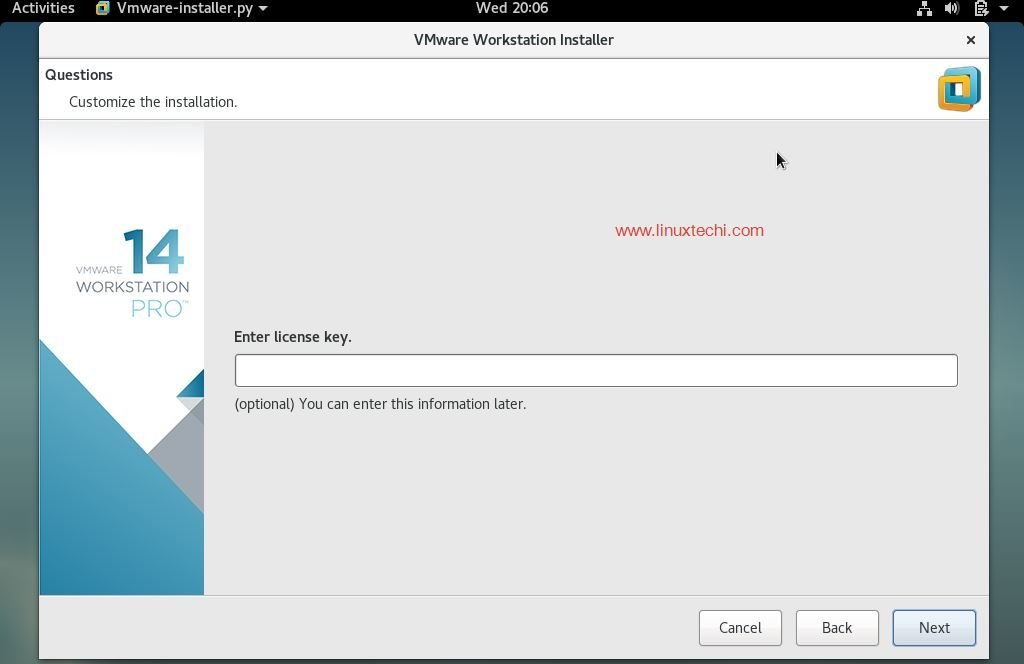
Enter the License key in case you have already buy its license, else you can leave it blank.
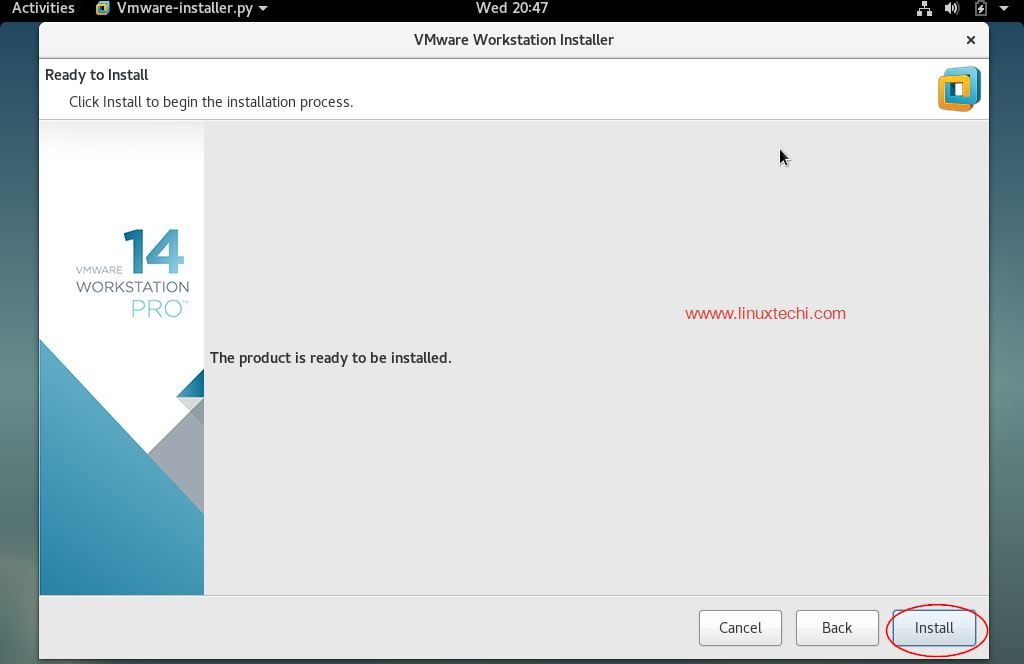
In the next window, click on ‘Install‘ option to start its installation
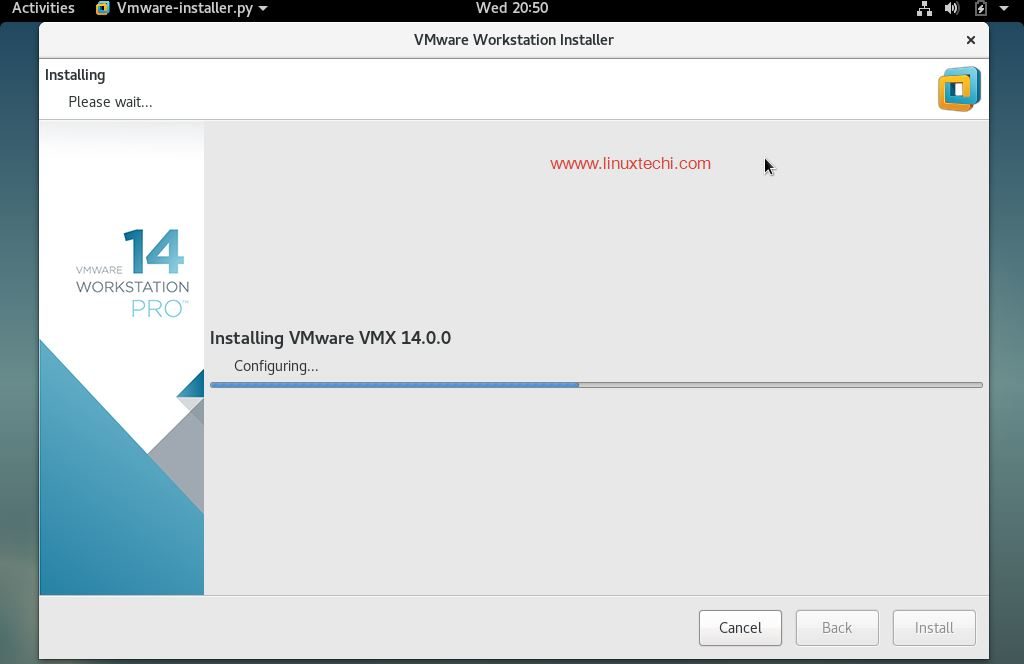
Installation has been started and is in progress
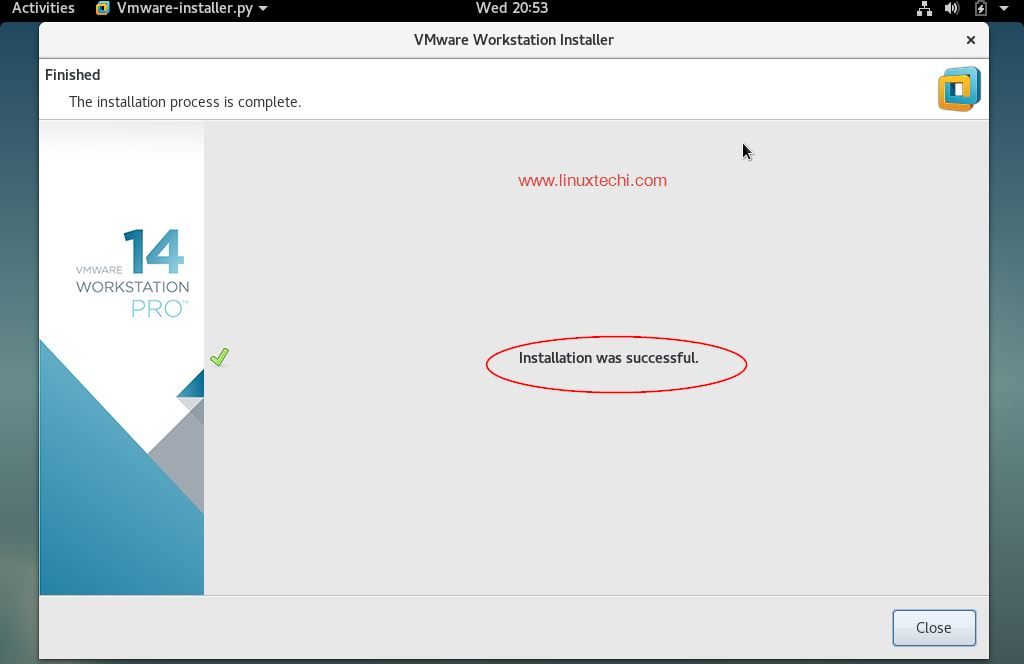
Once the Installation is successful, we will get the below window.
Step :4) Now access VMware Workstation 14
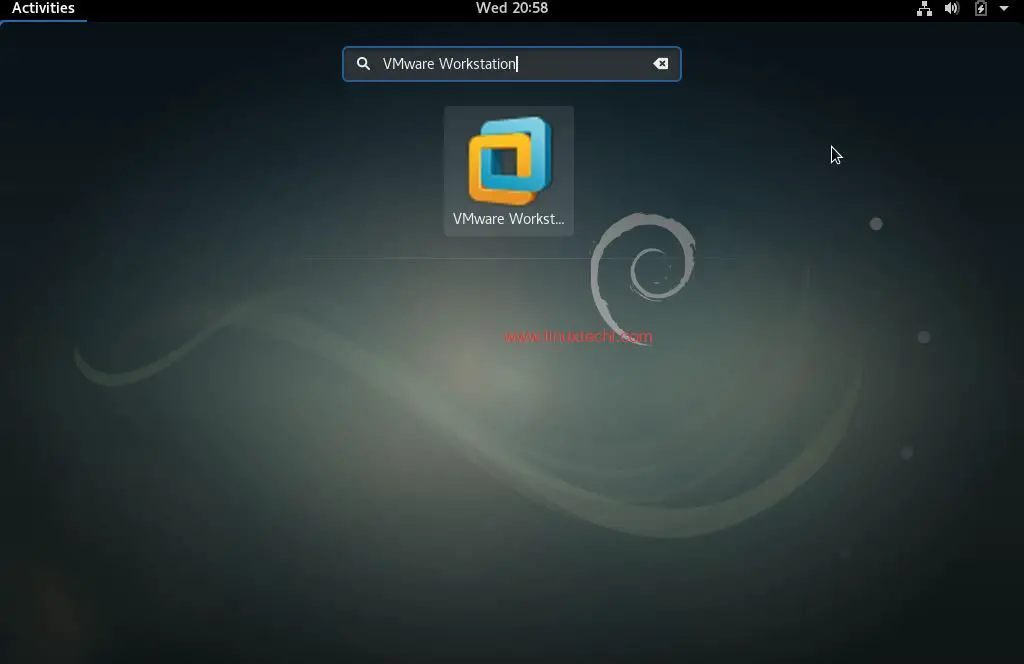
Click on “VMware Workstation” Icon
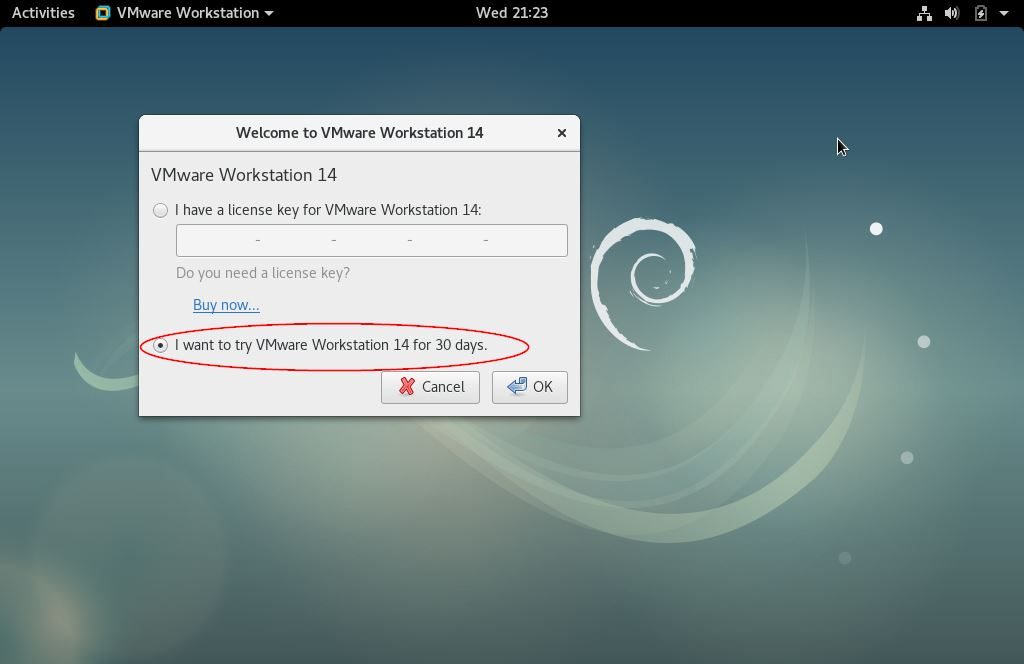
Enter the license Key or you can use it for 30 days on trial version.
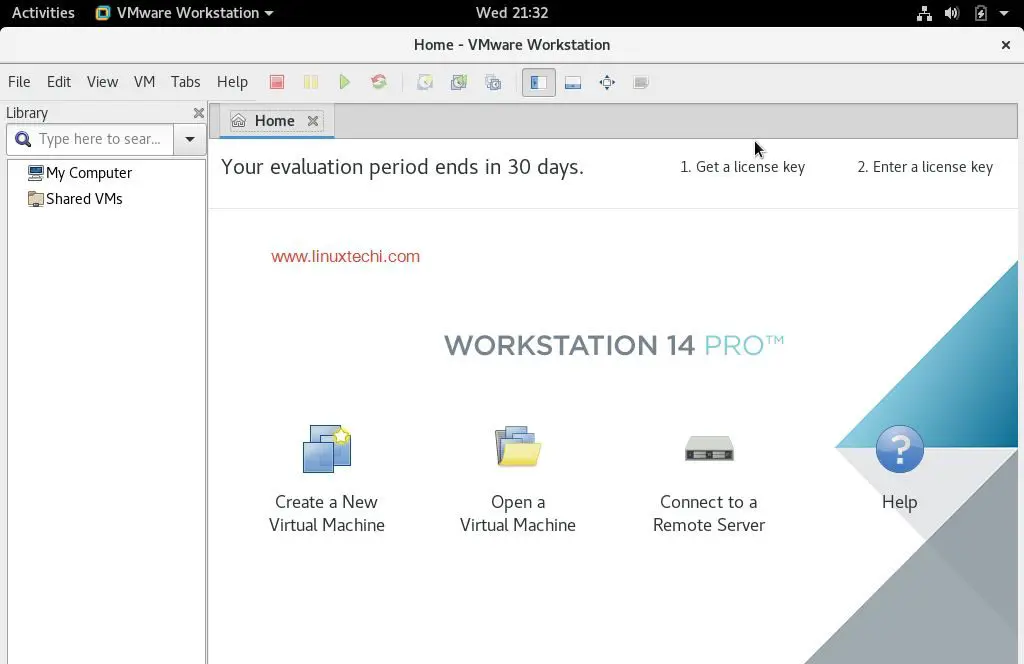
In the next window we will get Workstation 14 dashboard
Now start creating machines and network for the VMs, this conclude the installation steps of VMware Station on Debain 9
If you are done with VMware Workstation and don’t want to use it and also want to remove from your system completely then refer the following steps,
Remove / Uninstall VMware Station 14 Pro
Open the terminal and execute the following command,
linuxtechi@debian9-world:~$ sudo vmware-installer -u vmware-workstation
It will prompt us to remove configuration files of VMWare workstation during the installation.
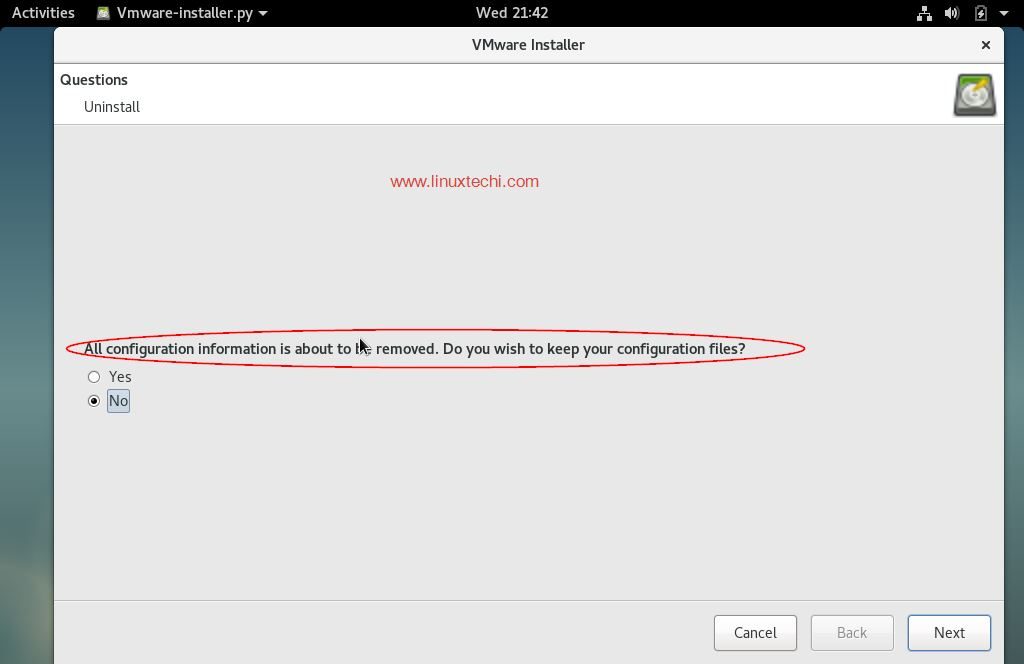
Click on Next to start uninstalling VMware Workstation
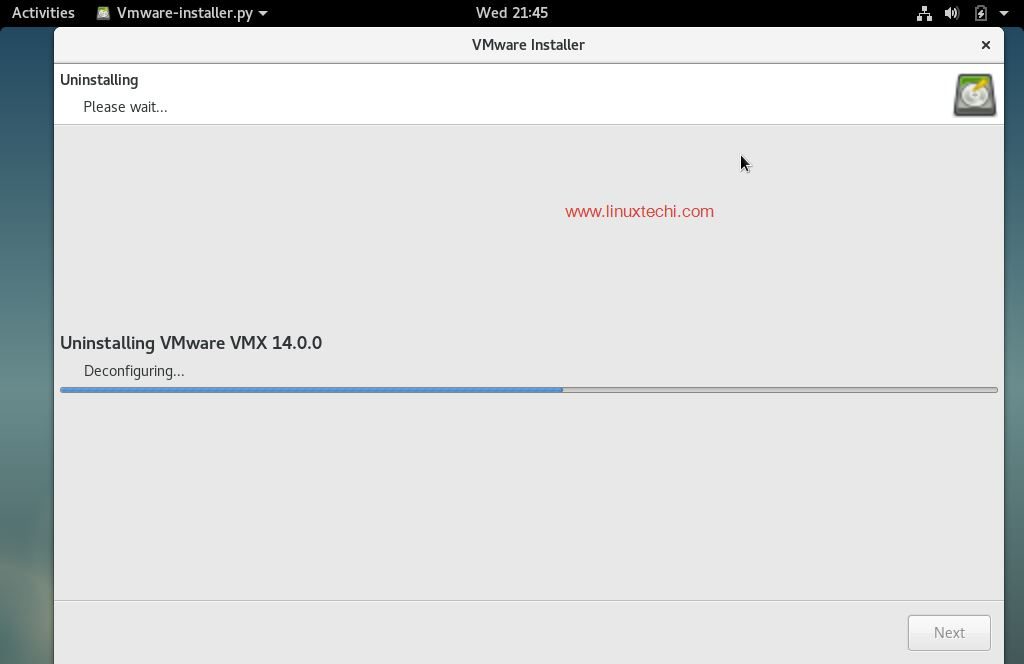
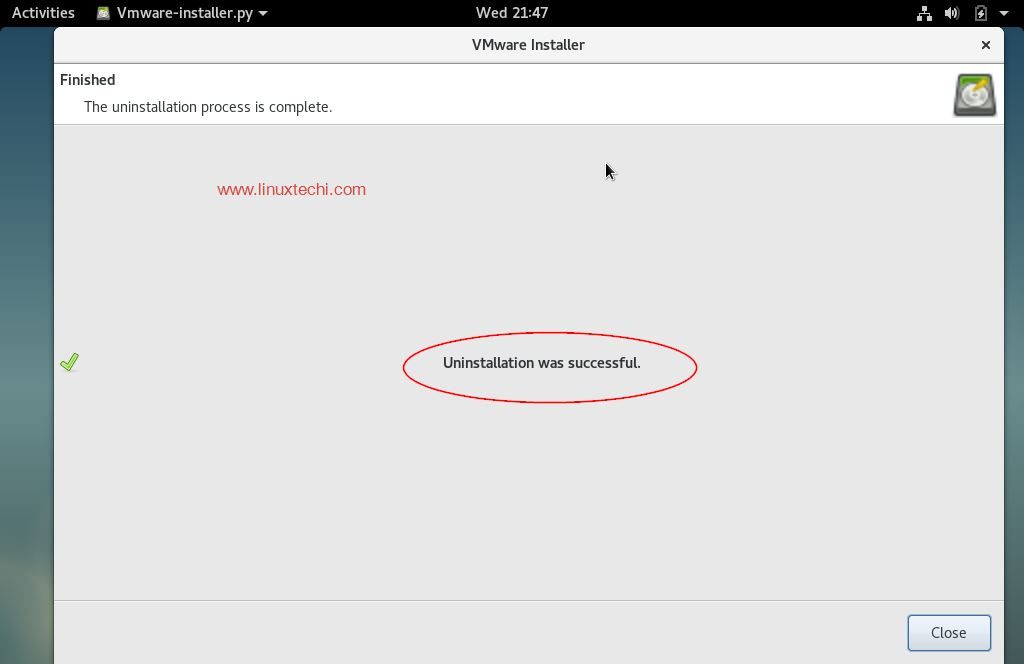
Once the uninstall process is completed, we will get the next window something like below,
This concludes our article, if these steps helps you to install or remove VMware Workstation 14 on debian linux then please do share your valuable feedback and comments.
步骤:1)安装VMware Workstation所需的依赖项
打开终端并执行以下命令以安装VMware工作站的所有必需依赖项
linuxtechi @ debian9-world :〜$ sudo apt更新

 linuxtechi @ debian9-world :〜$ sudo apt install gcc build-essential linux-headers-4.9.0-3-amd64 -y

 linuxtechi @ debian9-world :〜$ sudo重新启动
注意:根据系统现有内核更改linux-headers版本。
步骤:2)下载适用于Linux的VMware Workstation软件包
在您的debian 9系统中,打开Web浏览器并下载适用于Linux的VMware工作站捆绑软件。
https://www.vmware.com/go/tryworkstation-linux-64
步骤:3)从终端启动VMware Workstation 14安装
下载VMware工作站捆绑包文件后,使用以下chmod命令对其设置可执行权限,
linuxtechi @ debian9-world :〜$ chmod a + x VMware-Workstation-Full-14.0.0-6661328.x86_64.bundle
现在通过执行捆绑文件开始安装,示例如下所示
linuxtechi @ debian9-world :〜$ sudo ./VMware-Workstation-Full-14.0.0-6661328.x86_64.bundle
接受最终用户许可协议
点击下一步
启动时禁用产品更新
指定有权连接到VMware工作站的用户名,在本例中,我使用“ linuxtechi ”作为用户名
单击下一步继续
在下一个窗口中,选择用于存储共享虚拟机文件的路径或目录。您还可以保留默认路径。就我而言,我还保留默认目录。
指定HTTPs端口或保留默认端口。
如果您已经购买了许可证,请输入许可证密钥,否则可以将其保留为空白。
在下一个窗口中,单击“ 安装 ”选项以开始安装
安装已经开始并且正在进行中
安装成功后,我们将显示以下窗口。
步骤:4)现在访问VMware Workstation 14
点击“ VMware Workstation ”图标
输入许可证密钥,或者在试用版上可以使用30天。
在下一个窗口中,我们将获得Workstation 14仪表板
现在开始为虚拟机创建计算机和网络,这结束了Debain 9上VMware Station的安装步骤
如果您已完成VMware Workstation的使用并且不想使用它,也不想将其完全从系统中删除,请参考以下步骤,
删除/卸载VMware Station 14 Pro
打开终端并执行以下命令,
linuxtechi @ debian9-world :〜$ sudo vmware-installer -u vmware-workstation
它会提示我们在安装过程中删除VMWare工作站的配置文件。
单击“下一步”开始卸载VMware Workstation。
卸载过程完成后,我们将在下一个窗口中显示以下内容,
到此我们的文章到此结束,如果这些步骤可以帮助您在debian linux上安装或删除VMware Workstation 14,那么请分享您的宝贵反馈和意见。
parrot os安装vmware pro的更多相关文章
- parrot os 安装后更改更新源
parrot os 安装后 parrot os 自带的更新源更新速度太慢(需要几个小时) 提供如下更新源 中国 USTC(中国科学技术大学和USTCLUG) - 合肥大学 CMCC 1 Gbps Ce ...
- Ubuntu16.04安装vmware pro 15激活码
VMware Workstation Pro 15 激活许可证UY758-0RXEQ-M81WP-8ZM7Z-Y3HDAVF750-4MX5Q-488DQ-9WZE9-ZY2D6UU54R-FVD91 ...
- Parrot os安装nvidia失败恢复
因为两种显卡,amd和nvidia,所以按照parrot官方文档安装驱动,结果可想而知,安装失败--- 内心万马奔腾,去国外论坛也发现很多求助的小伙伴,所以有了我这次随笔,如何恢复你的parrot 黑 ...
- parrot os安装drozer
dz需要支持 大部分parrot都装好了,只有Protobuf未安装 apt install Protobuf 安装dz 下面下载https://labs.f-secure.com/tools/dro ...
- Parrot os 安装vmtools
1.更新源(这步个人觉得官方源还可以,没网上说的那么慢) vim /etc/apt/sources.list.d/parrot.list linux命令 ,按i进入修改模式,修改结束,之后先按esc, ...
- Parrot os安装docker及docker-compose
一.安装docker 1.添加Docker pgp key curl -fsSL https://download.docker.com/linux/debian/gpg | sudo apt-key ...
- Redis学习之一VMWare Pro虚拟机安装和Linux系统的安装
一.引言 设计模式写完了,相当于重新学了一遍,每次学习都会有不同的感受,对设计模式的理解又加深了,理解的更加透彻了.还差一篇关于设计模式的总结的文章了,写完这篇总结性的文章,设计模式的文章就暂时要告一 ...
- Redis进阶实践之一VMWare Pro虚拟机安装和Linux系统的安装(转载)(1)
Redis进阶实践之一VMWare Pro虚拟机安装和Linux系统的安装 一.引言 设计模式写完了,相当于重新学了一遍,每次学习都会有不同的感受,对设计模式的理解又加深了,理解的更加透彻了.还差一篇 ...
- Redis进阶实践之一VMWare Pro虚拟机安装和Linux系统的安装
一.引言 设计模式写完了,相当于重新学了一遍,每次学习都会有不同的感受,对设计模式的理解又加深了,理解的更加透彻了.还差一篇关于设计模式的总结的文章了,写完这篇总结性的文章,设计模式的文章就暂时要告一 ...
随机推荐
- MySQL命令2
索引与外键 // 添加索引 ALTER TABLE orders ADD KEY order_ix_custid(cust_id); // 删除索引 ALTER TABLE orders DROP K ...
- 量子纠错码——Stabilizer codes
对于错误,一般有两种: random: 错误以一定的概率发生在每个比特上(对这种问题的研究一般是信息论中,信道熵一类的问题) worst case: 错误发生在某个比特上,这也是纠错码襄阳解决的问题 ...
- P2766 最长不下降子序列问题 网络流重温
P2766 最长不下降子序列问题 这个题目还是比较简单的,第一问就是LIS 第二问和第三问都是网络流. 第二问要怎么用网络流写呢,首先,每一个只能用一次,所以要拆点. 其次,我们求的是长度为s的不下降 ...
- java基础篇 之 非静态内部类
什么是非静态内部类: public class Outer { Outer() { System.out.println("我是外部类"); } class Inner { Inn ...
- 【T-SQL】基础——操作
--删除表 如果已经存在USE master--检查是否已经存在一个表,如果有就删除IF(EXISTS(SELECT * FROM INFORMATION_SCHEMA.TABLES WHERE TA ...
- C#学习笔记——数据类型
数据类型 sbyte x; //8bit,有符号,表示-128~127 bite x; //8bit,无符号,表示0~255 short x; //16bit,有符号整型 ushort x; //16 ...
- Ubuntu 18.04 新系统 允许root远程登录
1. 查看ssh服务器是否安装并启动 #sudo ps -e | grep ssh 1. 安装ssh服务器 #sudo apt-get install openssh-server 2. 配置sshd ...
- PDF怎么转换成Word,免费,完整的那种
简介 PDF可以分为文字型PDF和图片型PDF,文字型PDF即可以选中文字内容的PDF,反之图片型PDF即无法选中文字的PDF,其内容实际上是图片. 本文针对不同类型,介绍PDF转Word方法,可 ...
- C# 9.0 新特性预览 - 空参数校验
C# 9.0 新特性预览 - 空参数校验 前言 随着 .NET 5 发布日期的日益临近,其对应的 C# 新版本已确定为 C# 9.0,其中新增加的特性(或语法糖)也已基本锁定,本系列文章将向大家展示它 ...
- 如何在MATLAB下把模糊推理系统转化为查询表(转载)
如何在MATLAB下把模糊推理系统转化为查询表(原创) http://foundy.blog.163.com/blog/static/2633834420090212202156/?mode=edit ...