
ios开发之--UICollectionView的使用
最近项目中需要实现一种布局,需要用到UICollectionView,特在此整理记录下!
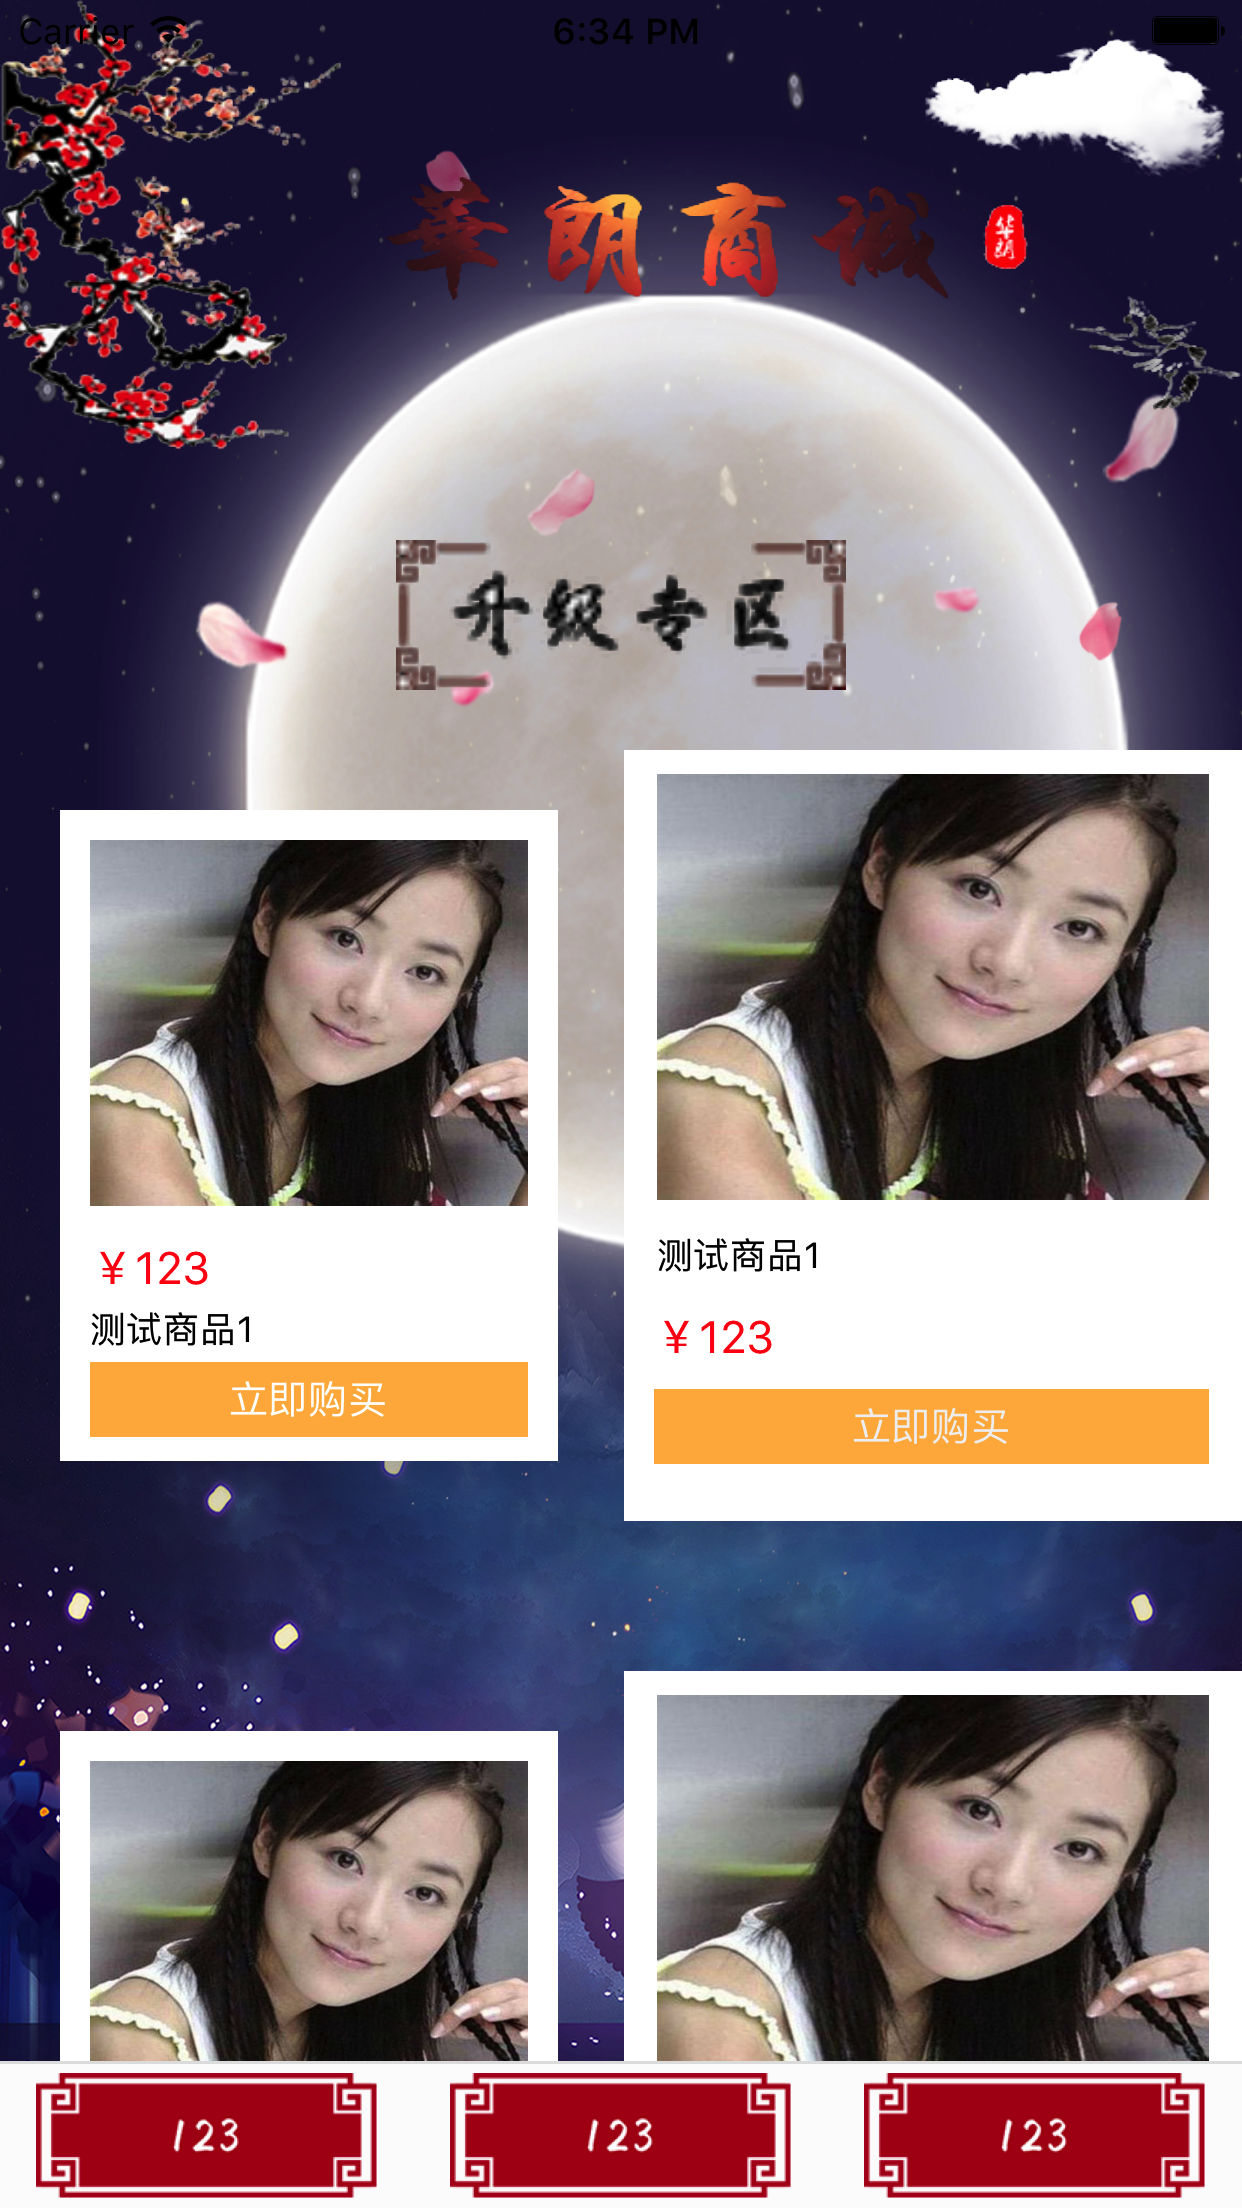
贴上最终实现的效果图:
1,声明
@interface FirstViewController ()<UICollectionViewDelegate,UICollectionViewDataSource,UICollectionViewDelegateFlowLayout>
@property(nonatomic,strong)UICollectionView *myCollectionView;

@property(nonatomic,strong)UICollectionViewFlowLayout *myLayout;
2,创建
a,设置一个背景图片
UIImageView *imgV = [[UIImageView alloc]initWithImage:[UIImage imageNamed:@"bgImg2.jpg"]];

    imgV.frame = CGRectMake(, , KscreenW, KscreenH);

    imgV.autoresizingMask = UIViewAutoresizingFlexibleWidth;

    [self.view insertSubview:imgV atIndex:];
b,创建UICollectionView和FlowLayout
-(void)creatUI

{

    self.myLayout = [[UICollectionViewFlowLayout alloc]init];

    self.myLayout.minimumLineSpacing = ;

    self.myLayout.minimumInteritemSpacing = ;

    self.myLayout.itemSize = CGSizeMake(KscreenW/-, (KscreenW/)+);

    self.myLayout.sectionInset = UIEdgeInsetsMake(, , , );

    self.myCollectionView = [[UICollectionView alloc]initWithFrame:CGRectMake(, , KscreenW, KscreenH-) collectionViewLayout:self.myLayout];

    self.myCollectionView.delegate = self;

    self.myCollectionView.dataSource = self;

    self.myCollectionView.backgroundColor = [UIColor clearColor];

//    注册cell

    [self.myCollectionView registerNib:[UINib nibWithNibName:@"LeftCell" bundle:nil] forCellWithReuseIdentifier:@"LeftCell"];

    [self.myCollectionView registerNib:[UINib nibWithNibName:@"RightCell" bundle:nil] forCellWithReuseIdentifier:@"RightCell"];

    [self.myCollectionView registerNib:[UINib nibWithNibName:@"PublickCell" bundle:nil] forCellWithReuseIdentifier:@"PublickCell"];

//    注册头视图

    [self.myCollectionView registerClass:[UICollectionReusableView class] forSupplementaryViewOfKind:UICollectionElementKindSectionHeader withReuseIdentifier:@"SECTION_ONE"];

    [self.myCollectionView registerClass:[UICollectionReusableView class] forSupplementaryViewOfKind:UICollectionElementKindSectionHeader withReuseIdentifier:@"SECTION_TWO"];

    [self.view insertSubview:self.myCollectionView atIndex:];

}
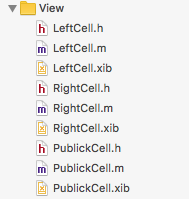
c,这里我用了三种自定义cell,上面的方法有具体的注册cell方法,还有头视图的注册
3,具体代理方法的实现
-(NSInteger)numberOfSectionsInCollectionView:(UICollectionView *)collectionView

{

    return ;

}

-(NSInteger)collectionView:(UICollectionView *)collectionView numberOfItemsInSection:(NSInteger)section

{

    if (section == ) {

        return ;

    }else{

        return ;

    }

}

-(UICollectionViewCell *)collectionView:(UICollectionView *)collectionView cellForItemAtIndexPath:(NSIndexPath *)indexPath

{

    if (indexPath.section == ) {

        if (indexPath.item % == ) {

            LeftCell *cell = [collectionView dequeueReusableCellWithReuseIdentifier:@"LeftCell" forIndexPath:indexPath];

            cell.backgroundColor = [UIColor clearColor];

            return cell;

        }else{

            RightCell *cell = [collectionView dequeueReusableCellWithReuseIdentifier:@"RightCell" forIndexPath:indexPath];

            cell.backgroundColor = [UIColor whiteColor];

            return cell;

        }

    }else{

        PublickCell *cell = [collectionView dequeueReusableCellWithReuseIdentifier:@"PublickCell" forIndexPath:indexPath];

        cell.backgroundColor = [UIColor whiteColor];

        return cell;

    }

    return nil;

}
比较简单!
4,创建头视图,PS:这里需要注意个问题:多组头部视图样式不一样复用时发生错乱问题,代码如下:
a,注册头视图,有两种方法:
// 防止cell和头部视图复用出现错乱

    [collectionView registerClass:[WOCOHomeSelectTypeCell class] forCellWithReuseIdentifier:@"SECTION_ONE"];

    [collectionView registerClass:[WOCOHomeDisplayCell class] forCellWithReuseIdentifier:@"SECTION_TWO"];

    [collectionView registerClass:[UICollectionReusableView class] forSupplementaryViewOfKind:UICollectionElementKindSectionHeader withReuseIdentifier:@"SECTION_ONE"];

    [collectionView registerClass:[UICollectionReusableView class] forSupplementaryViewOfKind:UICollectionElementKindSectionHeader withReuseIdentifier:@"SECTION_TWO"];
这两种方法都可以!
b,代理方法的实现:
-(UICollectionReusableView *)collectionView:(UICollectionView *)collectionView viewForSupplementaryElementOfKind:(NSString *)kind atIndexPath:(NSIndexPath *)indexPath

{

//    防止重用,定义重用标识符

    static NSString *reusableID;

    if (indexPath.section == ) {

        reusableID = @"SECTION_ONE";

    }else{

        reusableID = @"SECTION_TWO";

    }

    UICollectionReusableView *header = [collectionView dequeueReusableSupplementaryViewOfKind:UICollectionElementKindSectionHeader withReuseIdentifier:reusableID forIndexPath:indexPath];

    header.backgroundColor = [UIColor clearColor];

    if (indexPath.section == ) {

        headImg = [[UIImageView alloc]initWithFrame:CGRectMake(, , KscreenW, )];

        headImg.image = [UIImage imageNamed:@"topLog"];

        [header addSubview:headImg];

        bottomImg = [[UIImageView alloc]initWithFrame:CGRectMake(KscreenW/-/, , , )];

        bottomImg.image = [UIImage imageNamed:@"sj"];

        [header addSubview:bottomImg];

    }else{

        UIImageView *bottomImg2 = [[UIImageView alloc]initWithFrame:CGRectMake(KscreenW/-/, , , )];

        bottomImg2.image = [UIImage imageNamed:@"sj1"];

        [header addSubview:bottomImg2];

    }

    return header;

}
此方法设置了一个str,作为标识符对不同的section进行标记,这样就可以解决重用的问题,根据不同的id进入不同的section,避免了头视图上面的内容多次创建,各自创建各自的!
c,设置不同section的高度,只需要实现此代理方法即可:
- (CGSize)collectionView:(UICollectionView *)collectionView layout:(UICollectionViewLayout*)collectionViewLayout referenceSizeForHeaderInSection:(NSInteger)section

{

    if (section == ) {

        return CGSizeMake(KscreenW, );

    }else{

        return CGSizeMake(KscreenW, );

    }

}
完成上面的操作,就可以在不同的section之间随意操作了!
ios开发之--UICollectionView的使用的更多相关文章
- ios开发――解决UICollectionView的cell间距与设置不符问题
在用UICollectionView展示数据时,有时我们希望将cell的间距调成一个我们想要的值,然后查API可以看到有这么一个属性: - (CGFloat)minimumInteritemSpaci ...
- iOS开发之窥探UICollectionViewController(三) --使用UICollectionView自定义瀑布流
上篇博客的实例是自带的UICollectionViewDelegateFlowLayout布局基础上来做的Demo, 详情请看<iOS开发之窥探UICollectionViewControlle ...
- iOS开发 纯代码创建UICollectionView
转:http://jingyan.baidu.com/article/eb9f7b6d8a81a5869364e8a6.html iOS开发 纯代码创建UICollectionView 习惯了使用xi ...
- iOS开发 适配iOS10
2016年9月7日,苹果发布iOS 10.2016年9月14日,全新的操作系统iOS 10将正式上线. 作为开发者,如何适配iOS10呢? 1.Notification(通知) 自从Notificat ...
- IOS开发基础知识碎片-导航
1:IOS开发基础知识--碎片1 a:NSString与NSInteger的互换 b:Objective-c中集合里面不能存放基础类型,比如int string float等,只能把它们转化成对象才可 ...
- ios开发中的小技巧
在这里总结一些iOS开发中的小技巧,能大大方便我们的开发,持续更新. UITableView的Group样式下顶部空白处理 //分组列表头部空白处理 UIView *view = [[UIViewal ...
- iOS开发 Xcode8中遇到的问题及改动
iOS开发 Xcode8中遇到的问题及改动 新版本发布总会有很多坑,也会有很多改动. 一个一个填吧... 一.遇到的问题 1.权限以及相关设置 iOS10系统下调用系统相册.相机功能,或者苹果健康 ...
- iOS开发之窥探UICollectionViewController(五) --一款炫酷的图片浏览组件
本篇博客应该算的上CollectionView的高级应用了,从iOS开发之窥探UICollectionViewController(一)到今天的(五),可谓是由浅入深的窥探了一下UICollectio ...
- iOS开发之窥探UICollectionViewController(四) --一款功能强大的自定义瀑布流
在上一篇博客中<iOS开发之窥探UICollectionViewController(三) --使用UICollectionView自定义瀑布流>,自定义瀑布流的列数,Cell的外边距,C ...
随机推荐
- 使用JQuery获取被选中的checkbox的value值 以及全选、反选
以下为使用JQuery获取input checkbox被选中的值代码: <html> <head> <meta charset="gbk"> & ...
- 【C#/WPF】用Thumb做可拖拽的UI控件
需求:简单的可拖拽的图片 使用System.Windows.Controls.Primitives.Thumb类 前台: <Canvas x:Name="g"> < ...
- jQuery 选择器大全总结
jQuery基础语法中规定的选择器有三种,分别是类选择器.ID选择器.标签选择器.如:$(“.aa”).$(“#id”).$(“div”),但中实际的应用中,DOM机构非常复杂,层级非常多.如和应对这 ...
- strerror() 和perror()函数
在linux编程中,strerror()是个好东东,因为一个孤零零的errno看不出个所以然,然而strerror()返回的错误描述已经给我们解决问题提供了80%的成功率.但从安全性的角度来讲,str ...
- 【SpringMVC笔记】第五课 改进Handler处理器和视图解析器
第四课 已经对注解的映射器和适配器进行了改进. 接下来需要对Handler处理器和视图解析器进行改进. <!-- 配置handler处理器 --> <bean class=" ...
- Java命令学习系列(三)——Jmap
Java命令学习系列(三)——Jmap 2015-05-16 分类:Java 阅读(479) 评论(0) Jmap jmap是JDK自带的工具软件,主要用于打印指定Java进程(或核心文件.远程调试服 ...
- python 提示 AttributeError: module 'json' has no attribute 'dumps'
最近在学习python解析json的时候遇到问题, 提示 AttributeError: module 'json' has no attribute 'dumps' (模块没有dumps属性的意思) ...
- docker 部署nginx+weblogic集群
測试一段时间.再来报告
- iOS开发中的错误整理,导航控制器的导航栏取消系统渲染的错误
- MongoDB(四):MongoDB连接和创建数据库
在连接MongoDB前确保启动MongoDB服务,只需要在MongoDB安装目录的bin目录下执行mongo.exe即可. 执行启动操作后,mongodb在输出一些必要信息后不会输出任何信息,之后就等 ...