
Nginx 整合 Lua 实现动态生成缩略图
一、前提
最近在开发一个项目,涉及到缩略图的功能,常见的生成缩略图的方案有以下几个:
人工创建
由美工 PS 出缩略图,然后上传到服务器上进行访问。

缺点:操作繁琐
工具包创建
上传原图到后台时,后台借用工具(如:Thumbnailator)创建缩略图

缺点:无法灵活获取更多尺寸的缩略图
第三方平台
如七牛云平台,在原图链接地址后加缩略图尺寸(如:http://images.xxx/abc.jpg_400x400.jpg)灵活生成缩略图

缺点:收费
很明显,第三个方案是比较好的,但是由于收费,笔者便放弃该方案。
那有没有既免费又能动态生成缩略图的方案呢?答案是肯定的,且看下文。
二、实现思路
实现功能需要用到 3 个工具:
Nginx:负责 web 服务器

GraphicsMagick:负责生成缩略图

Lua:负责控制缩略图尺寸以及调用 GraphicsMagick
大致的运行原理如下:
首先在 Nginx 中整合 Lua,由 Lua 处理响应请求。

当 Nginx 接收到图片请求时解析 url 获取图片尺寸传到 Lua 脚本,Lua 则调用 GraphicsMagick 生成缩略图

Lua 将生成的缩略图返回到客户端
如需了解更多资料,请查看文章末尾提供的链接。
三、准备工作
测试环境:IP 为 192.168.2.16 的 CentOS 7.x 系统
先安装依赖包
yum install -y gcc g++ gcc-c++ zlib zlib-devel openssl openssl-devel pcre pcre-devel
3.1 安装 Lua 即时编译器
git clone https://github.com/openresty/luajit2.git

cd luajit2

make && make install
vim /etc/profile 添加如下配置:
export LUAJIT_LIB=/usr/local/lib

export LUAJIT_INC=/usr/local/include/luajit-2.1
保存后重新编译 source /etc/profile。
创建软连接:
ln -s /usr/local/lib/libluajit-5.1.so.2 /lib64/libluajit-5.1.so.2
3.2 安装 GraphicsMagick
wget https://sourceforge.net/projects/graphicsmagick/files/graphicsmagick/1.3.33/GraphicsMagick-1.3.33.tar.gz

tar -zxvf GraphicsMagick-1.3.33.tar.gz

cd GraphicsMagick-1.3.33

./configure --prefix=/usr/local/GraphicsMagick --enable-shared

make && make install

# 检测安装是否成功

/usr/local/GraphicsMagick/bin/gm version
注意:在执行 “gm covert” 时如果报错:“No decode delegate for this image format” 需要安装对应的依赖包
# jpeg 相关

wget http://www.ijg.org/files/jpegsrc.v9c.tar.gz

# png 相关

wget https://download.sourceforge.net/libpng/libpng-1.6.37.tar.gz
同样是解压后执行 make && make install
3.3 安装 Nginx
笔者事先通过 yum 方式安装 nginx,但是扩展模块依赖 configure 命令,因此需要下载相同版本的源码包重新编译。
查看 Nginx 已安装的模块:
nginx -V
结果:
--prefix=/etc/nginx --sbin-path=/usr/sbin/nginx --modules-path=/usr/lib64/nginx/modules --conf-path=/etc/nginx/nginx.conf --error-log-path=/var/log/nginx/error.log --http-log-path=/var/log/nginx/access.log --pid-path=/var/run/nginx.pid --lock-path=/var/run/nginx.lock --http-client-body-temp-path=/var/cache/nginx/client_temp --http-proxy-temp-path=/var/cache/nginx/proxy_temp --http-fastcgi-temp-path=/var/cache/nginx/fastcgi_temp --http-uwsgi-temp-path=/var/cache/nginx/uwsgi_temp --http-scgi-temp-path=/var/cache/nginx/scgi_temp --user=nginx --group=nginx --with-compat --with-file-aio --with-threads --with-http_addition_module --with-http_auth_request_module --with-http_dav_module --with-http_flv_module --with-http_gunzip_module --with-http_gzip_static_module --with-http_mp4_module --with-http_random_index_module --with-http_realip_module --with-http_secure_link_module --with-http_slice_module --with-http_ssl_module --with-http_stub_status_module --with-http_sub_module --with-http_v2_module --with-mail --with-mail_ssl_module --with-stream --with-stream_realip_module --with-stream_ssl_module --with-stream_ssl_preread_module --with-cc-opt='-O2 -g -pipe -Wall -Wp,-D_FORTIFY_SOURCE=2 -fexceptions -fstack-protector-strong --param=ssp-buffer-size=4 -grecord-gcc-switches -m64 -mtune=generic -fPIC' --with-ld-opt='-Wl,-z,relro -Wl,-z,now -pie'
下载 nginx 源码包和 lua 扩展包:
注意:此处的安装有版本兼容问题,因此最好复制粘贴地址进行下载和安装!!!
wget http://nginx.org/download/nginx-1.16.1.tar.gz

wget https://github.com/simpl/ngx_devel_kit/archive/v0.3.0.tar.gz

wget https://github.com/openresty/lua-nginx-module/archive/v0.10.14.tar.gz

tar -zxvf nginx-1.16.1.tar.gz

tar -xzf v0.3.0.tar.gz

tar -xzf v0.10.14.tar.gz

cd nginx-1.16.1

./configure 已安装的模块 --add-module=/root/ngx_devel_kit-0.3.0 --add-module=/root/lua-nginx-module-0.10.14

make

cp /usr/local/nginx/sbin/nginx /usr/local/nginx/sbin/nginx.bak

cp ./objs/nginx /usr/local/nginx/sbin/
注意:不要 make install
启动 nginx
/usr/local/nginx/sbin/nginx
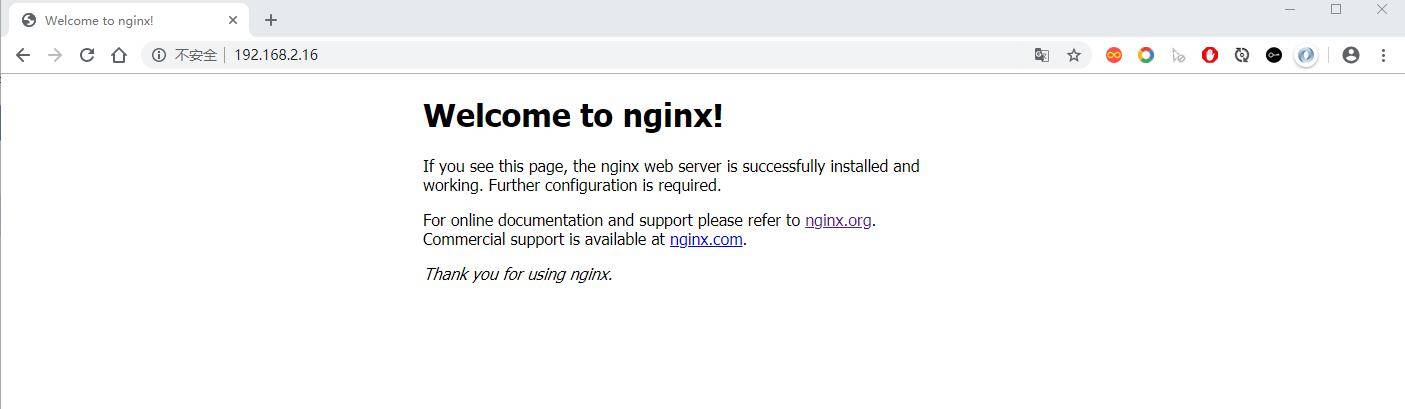
访问到下图说明安装成功:
四、实战演练
4.1 访问原图
在 nginx 的目录中创建一个名为 images 的目录,在该目录中放入 1.png 的图片。
配置 nginx.conf:
server {

    listen       80;

    server_name  localhost;

    #charset koi8-r;

    #access_log  logs/host.access.log  main;

    root  /usr/local/nginx/images/;

    location / {

       root html;

       index index.html;

    }

    location ~* \.(gif|jpg|jpeg|png)$ {

        root  /usr/local/nginx/images/;

    }

}
重启 Nginx 访问图片:
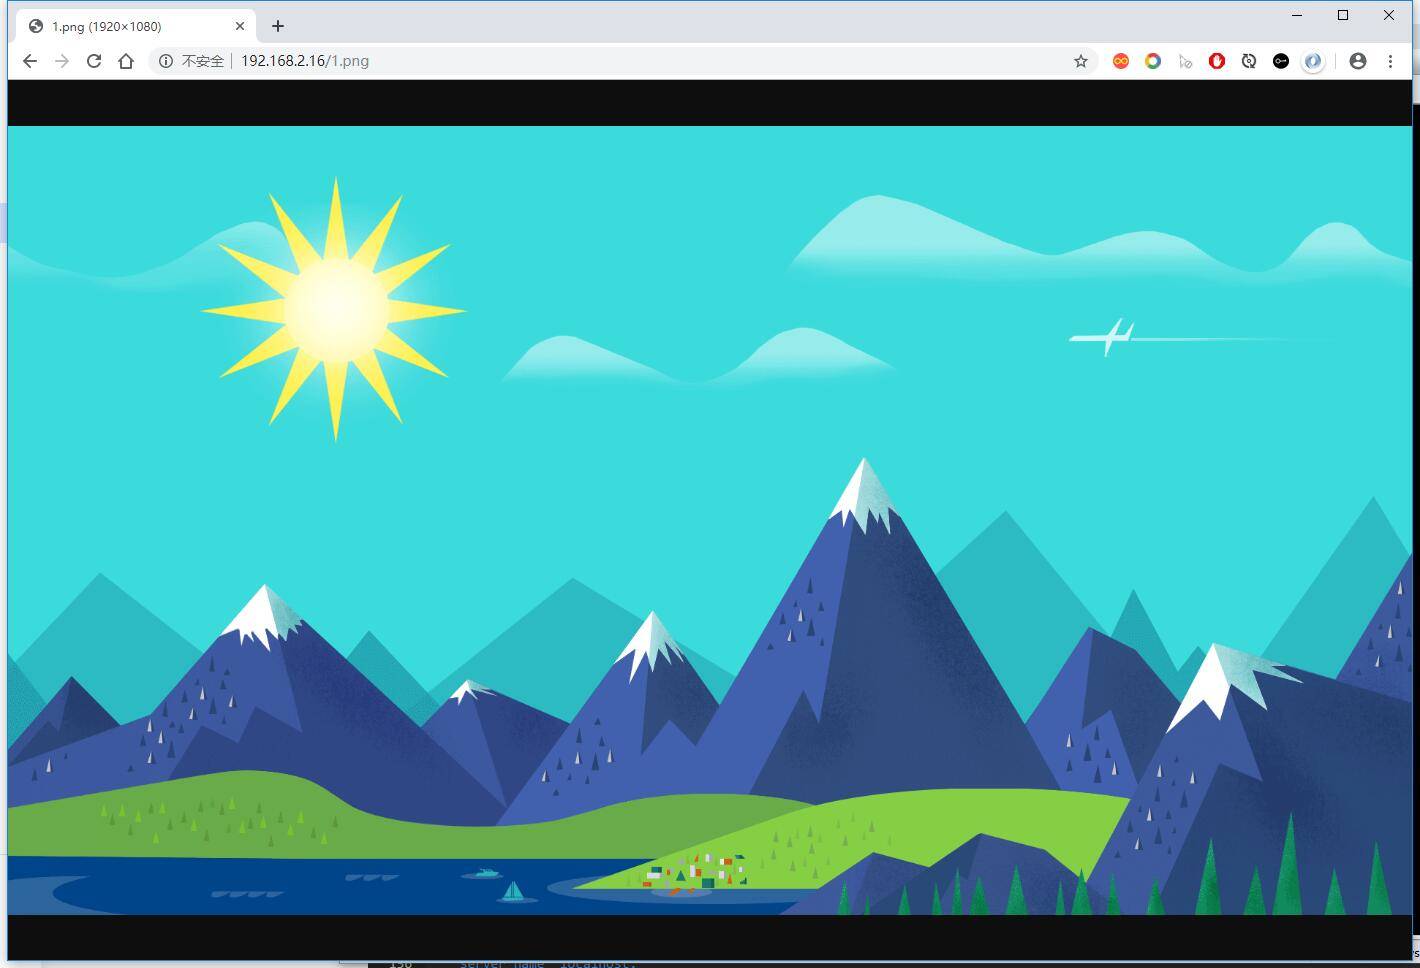
成功访问原图。
4.2 访问缩略图
修改 nginx.conf 文件:
server {

    listen       80;

    server_name  localhost;

    #charset koi8-r;

    #access_log  logs/host.access.log  main;

    root  /usr/local/nginx/images/;

    location / {

       root html;

       index index.html;

    }

    location ~* (.*\.(jpg|jpeg|gif|png))_(\d+)x(\d+)\.(jpg|jpeg|gif|png)$ {

        if (!-f $request_filename) {

                set $request_filepath /usr/local/nginx/images/$1;

                set $width $3;

                set $height $4;

                set $ext $5;

                content_by_lua_file /usr/local/nginx/lua/ImageResizer.lua;

        }

        # 注意:改配置必须放在 if 之后

        root  /usr/local/nginx/images/;

    }

}
在 /usr/local/nginx/lua/ 目录下创建 ImageResizer.lua 文件,内容如下:
local command = "/usr/local/GraphicsMagick/bin/gm convert   -auto-orient -strip " .. ngx.var.request_filepath ..

 " -resize " .. ngx.var.width .. "x" .. ngx.var.height .. " +profile \"*\" " .. ngx.var.request_filepath .. "_"

.. ngx.var.width .. "x" .. ngx.var.height .. "." .. ngx.var.ext;

os.execute(command);

ngx.exec(ngx.var.request_uri);
重启 Nginx 访问图片,在原图 url 后添加缩略图尺寸(_600x600.png):

我们再查看存放图片的目录:

已经动态生成图片了。
五、参考资料
Nginx 整合 Lua 实现动态生成缩略图的更多相关文章
- 如何安装nginx_lua_module模块,升级nginx,nginx-lua-fastdfs-GraphicsMagick动态生成缩略图,实现图片自动裁剪缩放
如何安装nginx_lua_module模块,升级nginx,nginx-lua-fastdfs-GraphicsMagick动态生成缩略图,实现图片自动裁剪缩放 参考网站:nginx-lua-fas ...
- nginx利用image_filter动态生成缩略图
转自:http://www.nginx.cn/2160.html "我如今是有些图片须要生成缩略图.这个如今加了image_filter这个已经实现了.但我不知道怎么样才干訪问我上传的原图& ...
- openresty + lua-resty-weedfs + weedfs + graphicsmagick动态生成缩略图(类似淘宝方案)
openresty + lua-resty-weedfs + weedfs + graphicsmagick动态生成缩略图(类似淘宝方案) --大部分的网站都要涉及到图片缩略图的处理,比如新闻配图,电 ...
- springboot mail整合freemark实现动态生成模板
目标:1:springboot 整合 mail2: mail 使用freemark 实现模板动态生成(就是通过字符串生成模板,不需要在工程中写入固定模板)3: springboot 整合aop 实现日 ...
- (转)php 根据url自动生成缩略图并处理高并发问题
分享是一种精神,与技术高低无关! 图片缩略图动态生成- [代码编程] 2011-08-23 版权声明:转载时请以超链接形式标明文章原始出处和作者信息及本声明http://www.blogbus.c ...
- Java规则引擎drools:drt动态生成规则并附上具体项目逻辑
一 整合 由于本人的码云太多太乱了,于是决定一个一个的整合到一个springboot项目里面. 附上自己的项目地址https://github.com/247292980/spring-boot 以整 ...
- 转: nginx使用image_filter生成缩略图 -- fasdfs海量图片缩略图整合
转: nginx使用image_filter生成缩略图 -- fasdfs海量图片缩略图整合 http://blog.csdn.net/CleverCode/article/details/522 ...
- nginx实时生成缩略图到硬盘上
现在随着各终端的出现(手机,ipad等平板),以及各种终端的手机分辨率和尺寸都不同,现在手机用户流量都是宝,网上出现了各种各样的生成缩略图功能的架构,有使用php实时生成缩略图的,也有用nginx + ...
- 【Nginx】面试官竟然问我Nginx如何生成缩略图,还好我看了这篇文章!!
写在前面 今天想写一篇使用Nginx如何生成缩略图的文章,想了半天题目也没想好,这个题目还是一名读者帮我起的.起因就是这位读者最近出去面试,面试官正好问了一个Nginx如何生成缩略图的问题.还别说,就 ...
随机推荐
- office2016下载安装
https://jingyan.baidu.com/article/359911f5acfa4357fe030631.html
- CLOS : Common Lisp 的面向对象支持
1. defclass ( :accessor/reader/writer ; :initarg ; :initform 2. defgeneric 3. defmethod ----- ...
- 微服务架构 ------ Ubuntu下Docker的安装
1.准备一个全新的Ubuntu环境 2.准备安装Docker及其依赖 apt-get update 更新数据源 apt-get -y install apt-transport-https ca-ce ...
- English--辅音
English|辅音 英语中的辅音,按照发音的松紧,唇形舌位,划分为七大类.需要好好地体会具体的发音部位与口型. 前言 目前所有的文章思想格式都是:知识+情感. 知识:对于所有的知识点的描述.力求不含 ...
- eclipse 标记任务
eclipse 标记任务 eclipse Task Tags: TODO -用来提醒该标识处的代码有待返回继续编写.更新或者添加.该标签通常在注释块的源文件顶部. FIXME -该标签用来提醒你代码中 ...
- Springboot入门及常用注解
1.微服务:一个项目 可以由多个 小型服务构成(微服务)2.spring boot可以快速开发 微服务模块 a.简化j2ee开发 b.整个spring技术栈的整合(整合springmvc spring ...
- AIX系统逻辑卷管理
前言: 前期项目需要部署多套AIX环境下RAC集群,之前很少接触AIX系统,上来被创建逻辑卷等基本命令打脸了,其实网上搜下资料很多,总结一下,也是方便自己日后查阅. 创建逻辑卷 1.查看所有磁盘设备 ...
- 维护中常用的k8s和docker命令
kubernet命令 查看所有pod的信息: kubectl get pod --all-namespaces -o wide 查看命名为kube-system的pod kubectl get pod ...
- 微软源码站点-C#编程指南
地址:https://referencesource.microsoft.com/#System.Web/HttpPostedFile.cs 微软的源码可以在这里看. ---------------- ...
- ASS/SSA字幕格式
[时间:2019-04] [状态:Open] [关键词:字幕,ASS,SSA,文件格式,v4 Styles,字幕特效] 0 引言 SubStation Alpha(Sub Station Alpha) ...