消息中间件 ActiveMQ的简单使用
一、AactiveMQ的下载和安装
1. 下载ActiveMQ
地址:http://activemq.apache.org/activemq-5152-release.html
我这里下载的是window的版本
2. 下载后,解压

里面有win32位和win64两种文件夹,找到你电脑上对应的win版本,我这里用的win64

右击activemq.bat,并且以管理员身份运行
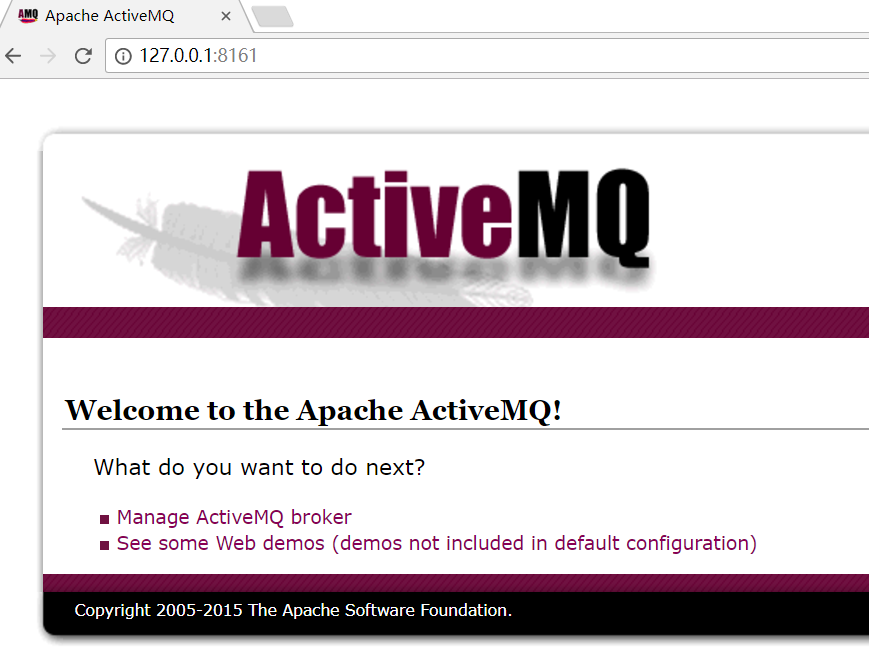
启动成功后,会打印http的地址

打开这个网址http://127.0.0.1:8186
二、代码的使用
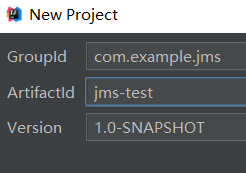
1. 创建工程
创建一个Maven工程,
2. 创建生产者
public class AppProducer

{

    private static final String url = "tcp://192.168.2.121:61616";

    private static final String queueName="queue-test";

    public static void  main(String[] args){

        //1. 创建ConnectionFactory

        ConnectionFactory connectionFactory = new ActiveMQConnectionFactory(url);

        try {

            //2. 创建Connection

            Connection connection = connectionFactory.createConnection();

            //3. 启动连接

             connection.start();

             //4. 创建会话

            Session session = connection.createSession(false, Session.AUTO_ACKNOWLEDGE);

            //5. 创建一个目标

            Destination destination = session.createQueue(queueName);

            //6.  创建一个目标

            MessageProducer producer = session.createProducer(destination);

            for(int i=0; i<100; i++){

                //7. 创建消息

                TextMessage textMessage = session.createTextMessage("test" + i);

                //8. 发布消息

                producer.send(textMessage);

                System.out.println("发送消息" + textMessage.getText());

            }

            //9.关闭连接

            connection.close();

        } catch (JMSException e) {

            e.printStackTrace();

        }

    }
3. 创建消费者
public class AppConsumer {

    private static final String url = "tcp://192.168.2.121:61616";

    private static final String queueName="queue-test";

    public static void  main(String[] args) throws JMSException{

        //1. 创建ConnectionFactory

        ConnectionFactory connectionFactory = new ActiveMQConnectionFactory(url);

        //2. 创建Connection

        Connection connection = connectionFactory.createConnection();

        //3. 启动连接

        connection.start();

        //4. 创建会话

        Session session = connection.createSession(false, Session.AUTO_ACKNOWLEDGE);

        //5. 创建一个目标

        Destination destination = session.createQueue(queueName);

        //6. 创建一个消费者

        MessageConsumer consumer = session.createConsumer(destination);

        //7. 创建一个监听器

        consumer.setMessageListener(new MessageListener() {

            public void onMessage(Message message) {

                TextMessage textMessage = (TextMessage)message;

                try {

                    System.out.println("接收消息" + textMessage.getText());

                } catch (JMSException e) {

                    e.printStackTrace();

                }

            }

        });

    }

}
三、主题模式下的消息
1. 消费者
public class AppConsumer {

    private static final String url = "tcp://192.168.2.121:61616";

    private static final String topicName="topic-test";

    public static void  main(String[] args) throws JMSException{

        //1. 创建ConnectionFactory

        ConnectionFactory connectionFactory = new ActiveMQConnectionFactory(url);

        //2. 创建Connection

        Connection connection = connectionFactory.createConnection();

        //3. 启动连接

        connection.start();

        //4. 创建会话

        Session session = connection.createSession(false, Session.AUTO_ACKNOWLEDGE);

        //5. 创建一个目标

        Destination destination = session.createTopic(topicName);

        //6. 创建一个消费者

        MessageConsumer consumer = session.createConsumer(destination);

        //7. 创建一个监听器

        consumer.setMessageListener(new MessageListener() {

            public void onMessage(Message message) {

                TextMessage textMessage = (TextMessage)message;

                try {

                    System.out.println("接收消息" + textMessage.getText());

                } catch (JMSException e) {

                    e.printStackTrace();

                }

            }

        });

    }

}
2. 创建生产者
public class AppProducer

{

    private static final String url = "tcp://192.168.2.121:61616";

    private static final String topicName="topic-test";

    public static void  main(String[] args){

        //1. 创建ConnectionFactory

        ConnectionFactory connectionFactory = new ActiveMQConnectionFactory(url);

        try {

            //2. 创建Connection

            Connection connection = connectionFactory.createConnection();

            //3. 启动连接

             connection.start();

             //4. 创建会话

            Session session = connection.createSession(false, Session.AUTO_ACKNOWLEDGE);

            //5. 创建一个目标

            Destination destination = session.createTopic(topicName);

            //6.  创建一个目标

            MessageProducer producer = session.createProducer(destination);

            for(int i=0; i<100; i++){

                //7. 创建消息

                TextMessage textMessage = session.createTextMessage("test" + i);

                //8. 发布消息

                producer.send(textMessage);

                System.out.println("发送消息" + textMessage.getText());

            }

            //9.关闭连接

            connection.close();

        } catch (JMSException e) {

            e.printStackTrace();

        }

    }

}
消息中间件 ActiveMQ的简单使用的更多相关文章
- 消息中间件ActiveMQ使用详解
消息中间件ActiveMQ使用详解 一.消息中间件的介绍 介绍 消息队列 是指利用 高效可靠 的 消息传递机制 进行与平台无关的 数据交流,并基于 数据通信 来进行分布式系统的集成. 特点(作用) ...
- 消息中间件系列之ActiveMQ的简单安装
本次测试使用一台ip为192.168.2.12的虚拟机 一.解压压缩包 tar -zxvf apache-activemq-5.14.4-bin.tar.gz 二.启动activemq 进入到bin目 ...
- ElasticSearch(九):springboot项目集成消息中间件activeMQ
目的:为了将elasticsearch做成单独的服务,那么我们必须解耦,也就是业务逻辑和搜索模块是没有关系的,并且是异步的.那么项目之间通信,使用的选择有限,消息中间件是一个不错的选择. 消息中间件常 ...
- 消息中间件-activemq安全机制
activemq作为消息中间件这样一个独立的个体存在,连通用户和服务器.如果没有一套完备的安全机制去设置用户权限设置消息分发机制可想后果是非常严重.ActiveMQ如果不加入安全机制的话,任何人只要知 ...
- 消息中间件-activemq入门(二)
上一节我们了解了JMS规范并且知道了JMS规范的良好实现者-activemq.今天我们就去了解一下activemq的使用.另外我们应该抱着目的去学习,别忘了我们为什么要使用消息中间件:解耦系统之间的联 ...
- 关于消息中间件ActiveMQ的企业级应用
几个月前看到项目中配置了activeMq,于是想通透的掌握activeMq,便去网上学习搜寻资料,找到这一篇博客挺不错的,解释的比较清楚,包括原理使用和配置,特此把它分享给大家. 众所周知,消息中间件 ...
- ActiveMQ的简单例子应用
ActiveMQ是一种消息中间件,它实现了JMS规范,提供点对点和订阅-发布两种模式.下面介绍下ActiveMQ的使用: 一.环境的搭建 首先我们需要下载ActiveMQ的安装包,下载地址http:/ ...
- 消息中间件ActiveMQ及Spring整合JMS的介绍
一 .消息中间件的基本介绍 1.1 消息中间件 1.1.1 什么是消息中间件 消息中间件利用高效可靠的消息传递机制进行平台无关的数据交流,并基于数据通信来进行分布式系统的集成.通过提供消息传递和消息排 ...
- 遇见JMS[1] —— activeMQ的简单使用
1.JMS Java Message Service,提供API,供两个应用程序或者分布式应用之间异步通信,以传送消息. 2.相关概念 提供者:实现JMS规范的消息中间件服务器客户端:发送或接收消息的 ...
随机推荐
- python笔记03:使用字符串
3.1 基本字符串操作: 所有的标准序列操作(索引,分片,乘法,判断成员资格,求长度,取最小值,取最大值)对于字符串同样有效.但是,请记住:字符串都是不可变的 3.2 字符串格式化:精简版 字符串格式 ...
- include指令和include动作有什么区别?
include指令 称为文件加载指令,可以将其他的文件插入jsp网页,被插入的文件必须保证插入后形成的新文件符合jsp页面的语法规则. include指令语法格式:<%@incl ...
- 网络编程(socket,套接字)
服务端地址不变 ip + mac 标识唯一一台机器 ip +端口 标识唯一客户端应用程序 套接字: 网络编程 网络编程 一.python提供了两个级别访问的网络服务 低级别的网络服务支持基本的 S ...
- avalonJS-源码阅读(2)
上一篇文章讲述的avalon刷页面所用到的几个函数. 这篇则是主要讲avalon 对刷DOM刷出来的avalon自定义属性如何处理的. 目录[-] avalon页面处理(2)数据结构解析avalon标 ...
- get_class
<?phpclass foo { function foo() { // implements some logic } function name() { ...
- 如何成为一名合格的Android工程师?
首先需要申明的是,我并不是一名合格的Android工程师,无论从开发经验或者是技术水平上来说,我都没有资质承担以为Android工程师的责任,但是我把它作为一个目标,也一如既往的努力着.如果我的论点有 ...
- eclipse启动maven项目
pom.xml 文件. <project xmlns="http://maven.apache.org/POM/4.0.0" xmlns:xsi="http://w ...
- Python+Requests接口测试教程(2):requests
开讲前,告诉大家requests有他自己的官方文档:http://cn.python-requests.org/zh_CN/latest/ 2.1 发get请求 前言requests模块,也就是老污龟 ...
- PDF软件推荐——Sumatra PDF - imsoft.cnblogs
Sumatra PDF 优点:绿色,小巧,快速,支持格式丰富 缺点:不支持修改和添加标记 链接: http://pan.baidu.com/s/1eQ1s3Nc 密码: d8h6 主页:http:// ...
- Let the Balloon Rise map一个数组
Contest time again! How excited it is to see balloons floating around. But to tell you a secret, the ...