TensorFlow-mnist
训练代码:
from __future__ import absolute_import

from __future__ import division

from __future__ import print_function

import tensorflow as tf

from tensorflow.examples.tutorials.mnist import input_data

flags = tf.app.flags

FLAGS = flags.FLAGS

flags.DEFINE_string('data_dir', '/tmp/data/', 'Directory for storing data')

print(FLAGS.data_dir)

mnist = input_data.read_data_sets(FLAGS.data_dir, one_hot=True)

input=tf.placeholder(tf.float32,[None,784],name='input')

label=tf.placeholder(tf.float32,[None,10],name='label')

keep_prob=tf.placeholder(tf.float32,name='keep_prob')

image=tf.reshape(input,[-1,28,28,1])

conv1_W=tf.Variable(tf.truncated_normal([5,5,1,32],stddev=0.1))

conv1_b=tf.Variable(tf.constant(0.1,shape=[32]))

layer1=tf.nn.elu(tf.nn.conv2d(image,conv1_W,strides=[1,1,1,1],padding='SAME')+conv1_b)

layer2=tf.nn.max_pool(layer1,ksize=[1,2,2,1],strides=[1,2,2,1],padding='SAME')

conv2_W=tf.Variable(tf.truncated_normal([5,5,32,64],stddev=0.1))

conv2_b=tf.Variable(tf.constant(0.1,shape=[64]))

layer3=tf.nn.elu(tf.nn.conv2d(layer2,conv2_W,strides=[1,1,1,1],padding='SAME')+conv2_b)

layer4=tf.nn.max_pool(layer3,ksize=[1,2,2,1],strides=[1,2,2,1],padding='SAME')

layer5=tf.reshape(layer4,[-1,7*7*64])

fc1_W=tf.Variable(tf.truncated_normal([7*7*64,1024],stddev=0.1))

fc1_b=tf.Variable(tf.constant(0.1,shape=[1024]))

layer5=tf.reshape(layer4,[-1,7*7*64])

layer6=tf.nn.elu(tf.matmul(layer5,fc1_W)+fc1_b)

layer7=tf.nn.dropout(layer6,keep_prob)

fc2_W=tf.Variable(tf.truncated_normal([1024,10],stddev=0.1))

fc2_b=tf.Variable(tf.constant(0.1,shape=[10]))

output=tf.nn.softmax(tf.matmul(layer7,fc2_W)+fc2_b,name='output')

cross_entropy=tf.reduce_mean(-tf.reduce_sum(label*tf.log(output),reduction_indices=[1]))

train_step=tf.train.AdamOptimizer(1e-4).minimize(cross_entropy)

correct_predition=tf.equal(tf.argmax(output,1),tf.arg_max(label,1))

accuracy=tf.reduce_mean(tf.cast(correct_predition,tf.float32),name='accuracy')

sess = tf.InteractiveSession()

sess.run(tf.global_variables_initializer())

batch = mnist.train.next_batch(50)

for i in range(20000):

    batch = mnist.train.next_batch(50)

    train_step.run(feed_dict={input: batch[0], label: batch[1], keep_prob: 0.5})

    if i%100==0:

        train_accuracy = accuracy.eval(feed_dict={input:batch[0], label:batch[1], keep_prob: 1.0})

        print("%d:training accuracy %g"%(i,train_accuracy))

saver = tf.train.Saver()

save_path = saver.save(sess,"E:/dnn/model")
测试代码:
from __future__ import division

import numpy as np

import tensorflow as tf

from PIL import Image

img = Image.open('E:/dnn/test.bmp').convert('L')

if img.size[0] != 28 or img.size[1] != 28:

    img = img.resize((28, 28))

arr = []

for i in range(28):

    for j in range(28):

        pixel = 1.0 - float(img.getpixel((j, i)))/255.0

        arr.append(pixel)

image = np.array(arr).reshape((1, 28, 28, 1))

saver = tf.train.import_meta_graph('E:/dnn/model.meta')

graph = tf.get_default_graph()

input=graph.get_tensor_by_name('input:0')

label=graph.get_tensor_by_name('label:0')

output=graph.get_tensor_by_name('output:0')

keep_prob=graph.get_tensor_by_name('keep_prob:0')

accuracy=graph.get_tensor_by_name('accuracy:0')

with tf.Session() as sess:

    saver.restore(sess, tf.train.latest_checkpoint('E:/dnn'))

    test = sess.run(output, feed_dict={input: image.reshape(-1,784), label: np.full(10,1e-10).reshape(-1,10), keep_prob: 1.0})

    print(test)

    ans=0

    for i in range(10):

        if (test[0][i]>test[0][ans]):

            ans=i

    print(ans)
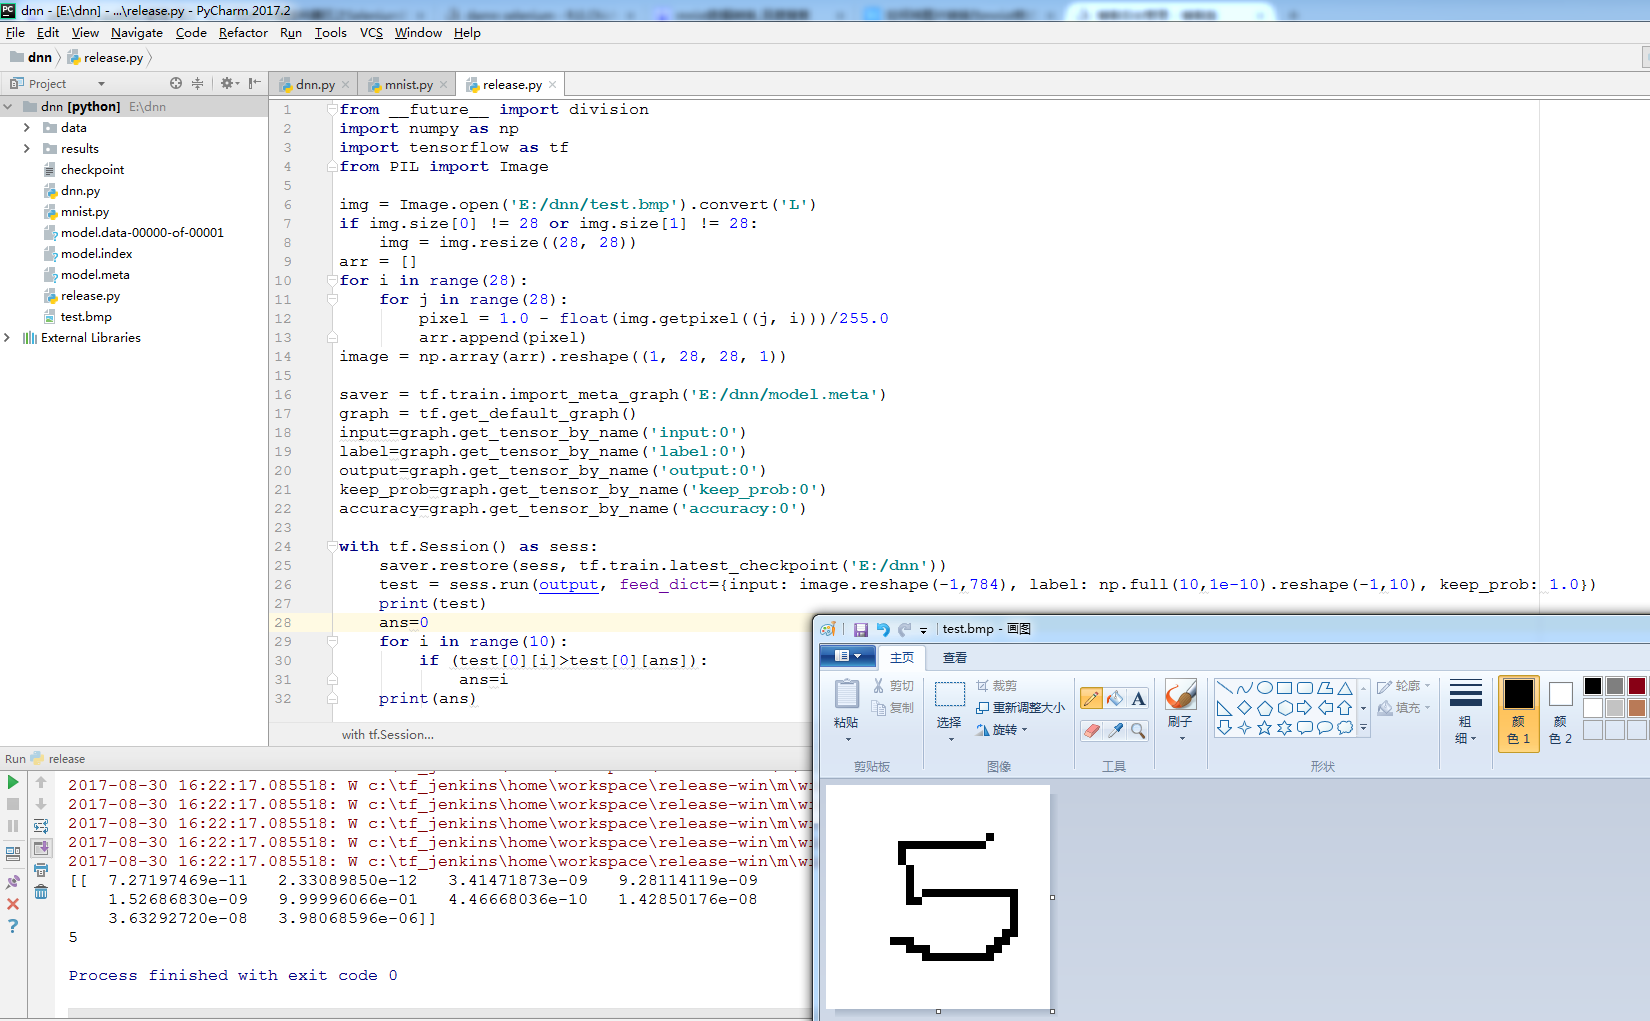
测试结果:
TensorFlow-mnist的更多相关文章
- TensorFlow MNIST(手写识别 softmax)实例运行
TensorFlow MNIST(手写识别 softmax)实例运行 首先要有编译环境,并且已经正确的编译安装,关于环境配置参考:http://www.cnblogs.com/dyufei/p/802 ...
- 学习笔记TF056:TensorFlow MNIST,数据集、分类、可视化
MNIST(Mixed National Institute of Standards and Technology)http://yann.lecun.com/exdb/mnist/ ,入门级计算机 ...
- TensorFlow MNIST 问题解决
TensorFlow MNIST 问题解决 一.数据集下载错误 错误:IOError: [Errno socket error] [Errno 101] Network is unreachable ...
- Mac tensorflow mnist实例
Mac tensorflow mnist实例 前期主要需要安装好tensorflow的环境,Mac 如果只涉及到CPU的版本,推荐使用pip3,傻瓜式安装,一行命令!代码使用python3. 在此附上 ...
- tensorflow MNIST Convolutional Neural Network
tensorflow MNIST Convolutional Neural Network MNIST CNN 包含的几个部分: Weight Initialization Convolution a ...
- tensorflow MNIST新手教程
官方教程代码如下: import gzip import os import tempfile import numpy from six.moves import urllib from six.m ...
- TensorFlow MNIST初级学习
MNIST MNIST 是一个入门级计算机视觉数据集,包含了很多手写数字图片,如图所示: 数据集中包含了图片和对应的标注,在 TensorFlow 中提供了这个数据集,我们可以用如下方法进行导入: f ...
- 学习笔记TF057:TensorFlow MNIST,卷积神经网络、循环神经网络、无监督学习
MNIST 卷积神经网络.https://github.com/nlintz/TensorFlow-Tutorials/blob/master/05_convolutional_net.py .Ten ...
- AI tensorflow MNIST
MNIST 数据 train-images-idx3-ubyte.gz:训练集图片 train-labels-idx1-ubyte.gz:训练集图片类别 t10k-images-idx3-ubyte. ...
- tensorflow——MNIST机器学习入门
将这里的代码在项目中执行下载并安装数据集. 执行下面代码,训练.并评估模型: # _*_coding:utf-8_*_ import inputdata mnist = inputdata.read_ ...
随机推荐
- 很实用的html meta标签实现页面跳转
就算你是有很多年开发经验的web开发工程师,有着很多web开发经验,对于先进的web开发技术有着很深刻的研究,然而你却忽略了那些最最基础的东西!现在我来问你,你是否对html所有的标签都能熟练的使用呢 ...
- Linux 僵尸进程如何处理
Linux 允许进程查询内核以获得其父进程的 PID,或者其任何子进程的执行状态.例如,进程可以创建一个子进程来执行特定的任务,然后调用诸如 wait() 这样的一些库函数检查子进程是否终止.如果子进 ...
- 【剑指Offer】35、数组中的逆序对
题目描述: 在数组中的两个数字,如果前面一个数字大于后面的数字,则这两个数字组成一个逆序对.输入一个数组,求出这个数组中的逆序对的总数P.并将P对1000000007取模的结果输出. 即输出P ...
- 洛谷 P1059 明明的随机数
题目描述 明明想在学校中请一些同学一起做一项问卷调查,为了实验的客观性,他先用计算机生成了NNN个111到100010001000之间的随机整数(N≤100)(N≤100)(N≤100),对于其中重复 ...
- 51nod1596 搬货物
现在有n个货物,第i个货物的重量是 2wi .每次搬的时候要求货物重量的总和是一个2的幂.问最少要搬几次能把所有的货物搬完. 样例解释: 1,1,2作为一组. 3,3作为一组. Input 单组测试数 ...
- vue监听页面大小变化重新刷新布局
在项目中由于某些div元素在布局的时候需要初始化宽高,因为当浏览器缩小屏幕的时候需要重新刷新页面视图. 分析思路: 1.在store中创建state,用于保存当前浏览器的宽.高值. 2.在mounte ...
- C#学习笔记_05_输入输出
05_输入输出 输出语句 Console.WriteLine( ); 将括号内内容输出到控制台,并且换行 Console.Write( ); 将括号内内容输出到控制台,不换行 Console.Writ ...
- 使用VS Code断点调试PHP
vs code 使用一款杰出的轻量级代码编辑器,其中的插件工具不胜枚举而且还在不断增加.使用 vs code 调试 php 代码更是方便简洁,下面我们来一起看一下. 1. 安装 XDebug 扩展 调 ...
- Method and apparatus for an atomic operation in a parallel computing environment
A method and apparatus for a atomic operation is described. A method comprises receiving a first pro ...
- C#--async-await的用法
NET 中的 async/await 异步编程 MSDN上的文章 **async与await最佳实践 需要先理解thread的用法,再掌握task的用法,才能力理解async和await的用法 usi ...