thinkphp5+layui多图片上传
准备资料
<!DOCTYPE html>

<html>

<head>

  <meta charset="utf-8">

  <title>图片上传</title>

  <link rel="stylesheet" href="layui-v2.2.5/layui/css/layui.css" media="all">

</head>

<body>

  <fieldset class="layui-elem-field layui-field-title" style="margin-top: 30px;">

    <legend>上传多张图片</legend>

  </fieldset>

  <div class="layui-upload">

    <button type="button" class="layui-btn" id="test2">多图片上传</button>

    <blockquote class="layui-elem-quote layui-quote-nm" style="margin-top: 10px;">

      预览图:

      <div class="layui-upload-list" id="demo2"></div>

    </blockquote>

  </div>

  <script src="layui-v2.2.5/layui/layui.js"></script>

  <script src="layui-v2.2.5\layui\jquery-3.3.1.min.js"></script>

  <script>

    layui.use('upload', function () {

      var upload = layui.upload;

      //多图片上传

      upload.render({

        elem: '#test2',

        url: 'imgdemo',

        multiple: true,

        before: function (obj) {

          //预读本地文件示例,不支持ie8

          obj.preview(function (index, file, result) {

            $('#demo2').append('<img src="' + result + '" alt="' + file.name +

              '" class="layui-upload-img">')

          });

        },

        done: function (res) {

          //如果上传失败

          if (res.code == 404) {

            return layer.msg(res.msg);

          }

          //上传成功

          if (res.code == 1) {

            return layer.msg(res.photo);

          }

        }

      });

    });

  </script>

</body>

</html>
tp5 代码:
	public function imgdemo(Request $request){

	//接收上传的文件

	$file = $this->request->file('file');

            if(!empty($file)){

				//图片存的路径

				$imgUrl= ROOT_PATH . 'public' . DS . 'uploads'. '/' .  date("Y/m/d");

				// 移动到框架应用根目录/public/uploads/ 目录下

                $info = $file->validate(['size'=>1048576,'ext'=>'jpg,png,gif'])->rule('uniqid')->move($imgUrl);

                $error = $file->getError();

                //验证文件后缀后大小

                if(!empty($error)){

                    dump($error);exit;

                }

                if($info){

                    // 成功上传后 获取上传信息

                //获取图片的名字

				$imgName = $info->getFilename();

				//获取图片的路径

				$photo=$imgUrl . "/" . $imgName;

                }else{

                    // 上传失败获取错误信息

                    $file->getError();

                }

            }else{

                $photo = '';

            }

    if($photo !== ''){

        return ['code'=>1,'msg'=>'成功','photo'=>$photo];

    }else{

        return ['code'=>404,'msg'=>'失败'];

    }

}
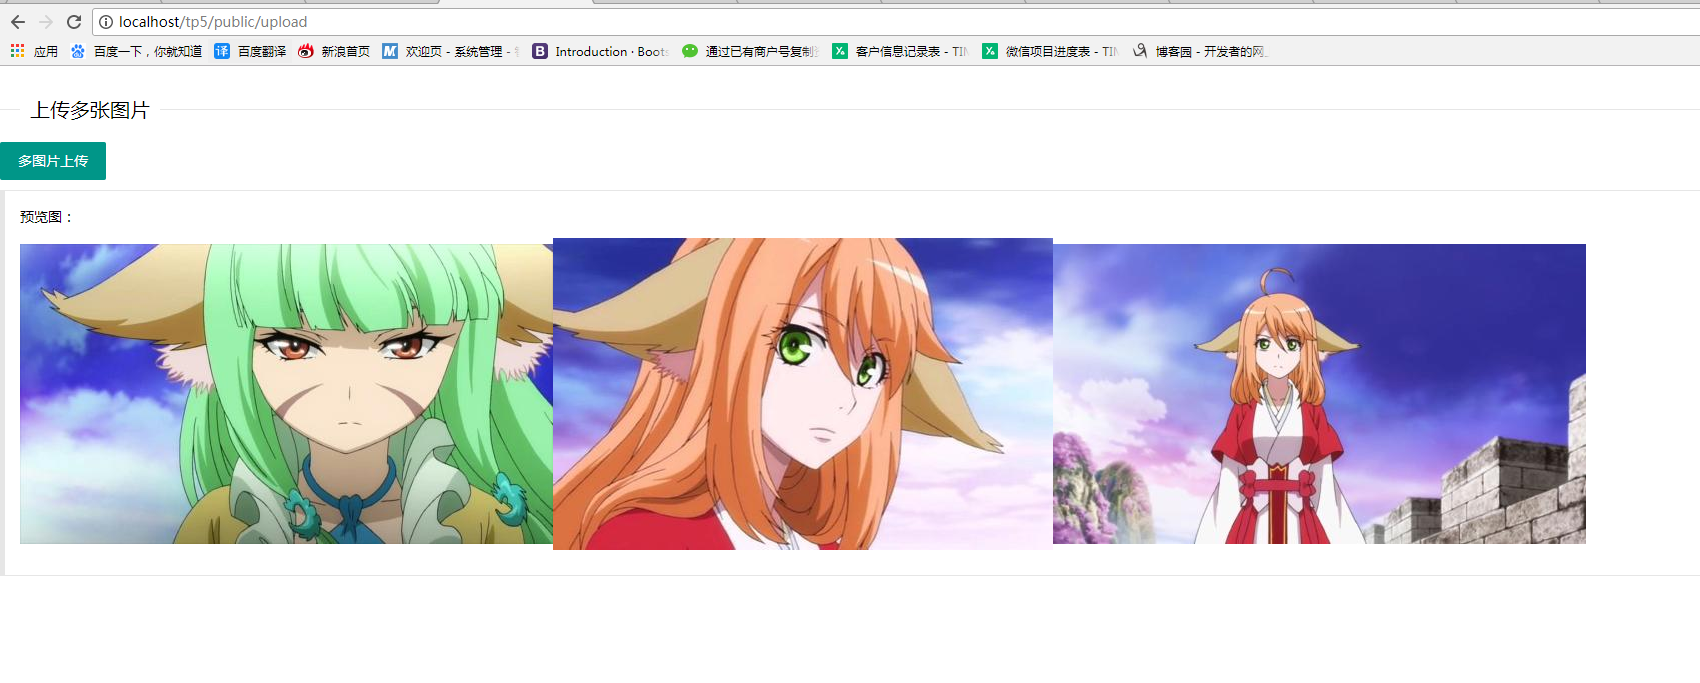
效果图如下
服务端

注意(报错可能是资源引用路径错误)
thinkphp5+layui多图片上传的更多相关文章
- ThinkPHP5+Layui实现图片上传加预览
html代码 <div class="layui-upload"> <button type="button" class="lay ...
- .net mvc + layui做图片上传(二)—— 使用流上传和下载图片
摘要:上篇文章写到一种上传图片的方法,其中提到那种方法的局限性,就是上传的文件只能保存在本项目目录下,在其他目录中访问不到该文件.这与浏览器的安全性机制有关,浏览器不允许用户用任意的路径访问服务器上的 ...
- .net mvc + layui做图片上传(一)
图片上传和展示是互联网应用中比较常见的一个功能,最近做的一个门户网站项目就有多个需要上传图片的功能模块.关于这部分内容,本来功能不复杂,但后面做起来却还是出现了一些波折.因为缺乏经验,对几种图片上传的 ...
- .Net之Layui多图片上传
前言: 多图上传在一些特殊的需求中我们经常会遇到,其实多图上传的原理大家都有各自的见解.对于Layui多图上传和我之前所说的通过js获取文本框中的文件数组遍历提交的原理一样,只不过是Layui中的up ...
- php+layui实现图片上传与预览
端代码: <!DOCTYPE html> <html> <head> <meta charset="utf-8"> <titl ...
- layui 实现图片上传和预览
[学习笔记] 图片不自动上传并在表单提交时再上传,看代码. 附上表单页面 前台实现 <#--图片名--><input id="fileName" type=&qu ...
- layui实现图片上传
页面代码: <style> .uploadImgBtn2{ width: 120px; height: 92px; cursor: pointer; position: relative; ...
- layui框架图片上传至服务器
注意:只可用于数据量较小的项目,数据量庞大的项目不要用这个,否则会造成图片数量庞大,至服务器运行速度变慢或瘫痪 HTML代码 //前端使用的是layui框架<div class="la ...
- thinkphp+layui多图上传(1)thinkphp5+layui实现多图上传保存到数据库,可以实现图片自由排序,自由删除。
公共css代码 <style> .layui-upload-img { width: 90px; height: 90px; margin: 0; } .pic-more { width: ...
随机推荐
- Kotlin学习入门笔记
参考资料 官网:https://kotlinlang.org/ 官方文档:https://kotlinlang.org/docs/reference/ Kotlin 源码:https://github ...
- 191121CSS
一.CSS 1.css选择器 css选择器的使用方法 <!DOCTYPE html> <html lang="en"> <head> <m ...
- spark streaming 3: Receiver 到 submitJobSet
对于spark streaming来说,receiver是数据的源头.spark streaming的框架上,将receiver替换spark-core的以磁盘为数据源的做法,但是数据源(如监听某个 ...
- [NLP] 语义网络与知识图谱入门(一)
语义网络与知识图谱入门(一) RDF/XML 本体:一种形式化的对于共享概念体系明确而又详细的说明.就是指一种抽象的模型,可以用来描述对象类型.属性以及关系类型所构成的世界. RDF/XML主要讲的就 ...
- vue实现百度下拉框
<!DOCTYPE html><html lang="en"><head> <meta charset="UTF-8" ...
- 关于Layui的表格中分页处理
table.render({ elem: '#test' ,height:'full-125' ,url:'data.php' ,cellMinWidth: 80 //全局定义常规单元格的最小宽度,l ...
- Raspbian 编译安装 PHP 7.2
原文地址:Raspbian 编译安装 PHP 7.2 0x00 配置 开发板: Raspberry Pi 3B 系统: Raspbian 2019-04-08 stretch 0x01 下载源码 20 ...
- JAVA基础面试汇总
一.基础知识:1.JVM.JRE和JDK的区别: JVM(Java Virtual Machine):java虚拟机,用于保证java的跨平台的特性. java ...
- iframe嵌套的页面之间传值问题
项目中很多时候会遇到需要用 iframe 嵌套页面的情况.有时候会有这样的需求: iframe 嵌套的页面 A ,点击之后要跳到页面 B ,但是同时还需要 A 页面中的某个属性值. 此时可以先把 A ...
- dapper使用时性能优化
数据库中类型 Area 数据库类型 varchar dapper 来操作数据库,不能直接写 sql Area=@Area) //dapper 对C#中的字符串类型 默认是对应数据库nva ...