OL8.0静默安装Oracle 19C
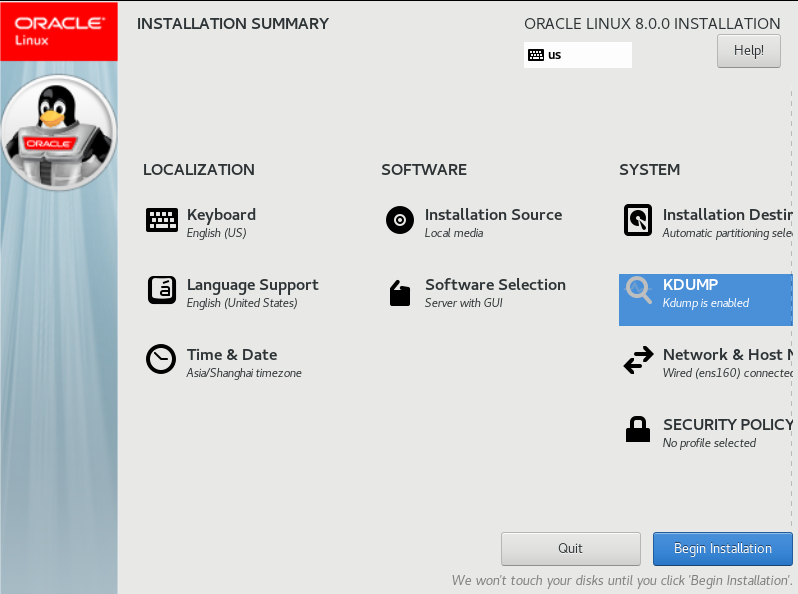
首先在edelivery中下载Oracle Linux 8.0
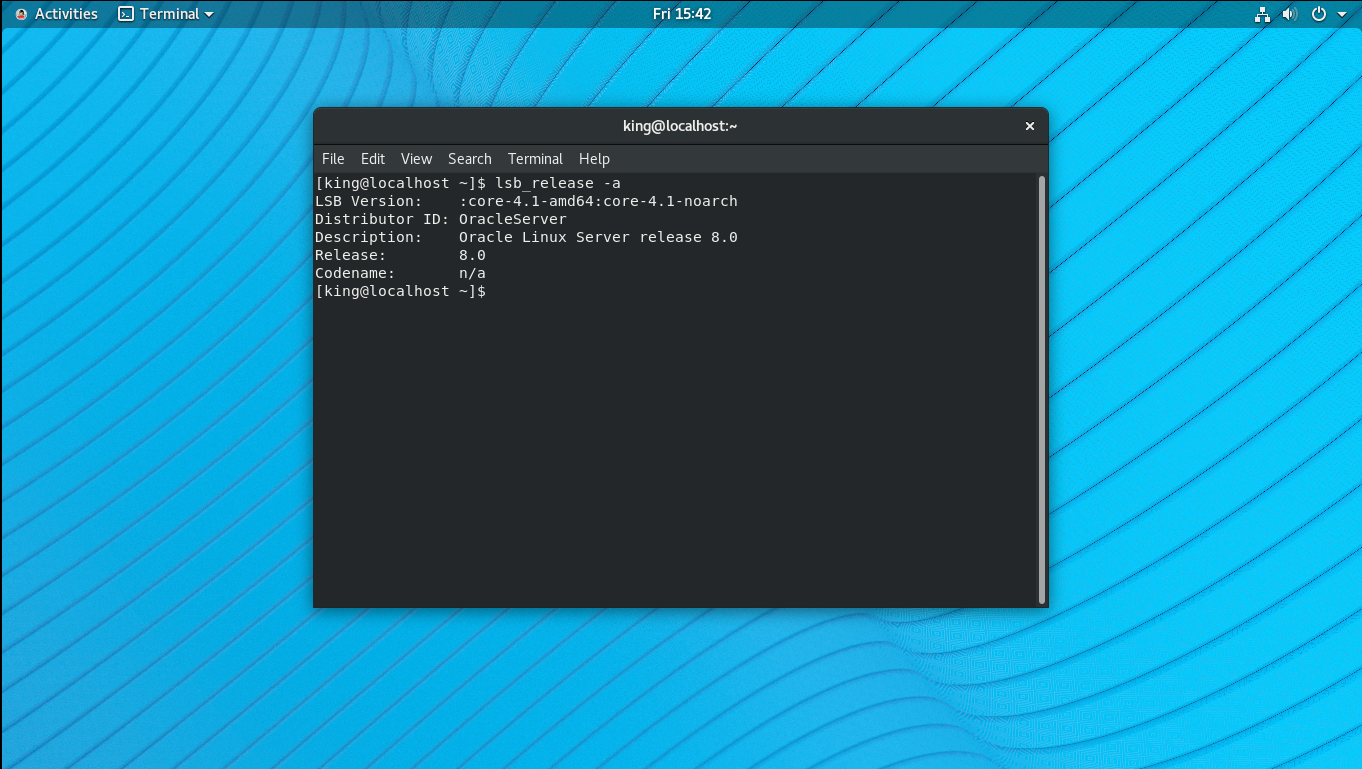
 然后就默认安装系统
环境准备工具目前不支持OL8,所以需要手动安装,首先设置内核参数,在/etc/sysctl.conf追加
[root@localhost ~]# cat /etc/sysctl.conf |grep -v ^#|grep -v ^$

fs.file-max = 6815744

kernel.sem = 250 32000 100 128

kernel.shmmni = 4096

kernel.shmall = 1073741824

kernel.shmmax = 4398046511104

kernel.panic_on_oops = 1

net.core.rmem_default = 262144

net.core.rmem_max = 4194304

net.core.wmem_default = 262144

net.core.wmem_max = 1048576

net.ipv4.conf.all.rp_filter = 2

net.ipv4.conf.default.rp_filter = 2

fs.aio-max-nr = 1048576

net.ipv4.ip_local_port_range = 9000 65500

[root@localhost ~]#
sysctl -p使参数生效
然后/etc/security/limits.d/oracle-database-preinstall-19c.conf中添加
[root@localhost limits.d]# cat /etc/security/limits.d/oracle-database-preinstall-19c.conf

oracle   soft   nofile    1024

oracle   hard   nofile    65536

oracle   soft   nproc    16384

oracle   hard   nproc    16384

oracle   soft   stack    10240

oracle   hard   stack    32768

oracle   hard   memlock    134217728

oracle   soft   memlock    134217728

[root@localhost limits.d]#
安装依赖软件
dnf install -y bc binutils compat-libstdc++-33 elfutils-libelf elfutils-libelf-devel fontconfig-devel glibc glibc-devel ksh libaio libaio-devel libXrender libXrender-devel libX11 libXau libXi libXtst libgcc librdmacm-devel libstdc++ libstdc++-devel libxcb make net-tools nfs-utils python3 python3-configshell python3-rtslib python3-six targetcli smartmontools sysstat unixODBC libnsl libnsl.i686 libnsl2 libnsl2.i686
创建用户组和用户
[root@localhost limits.d]# groupadd -g 1001 oinstall

[root@localhost limits.d]# groupadd -g 1002 dba

[root@localhost limits.d]# groupadd -g 1003 oper

[root@localhost limits.d]# useradd -u 1001 -g oinstall -G dba,oper oracle

[root@localhost limits.d]# passwd oracle

Changing password for user oracle.

New password:

BAD PASSWORD: The password is shorter than 8 characters

Retype new password:

passwd: all authentication tokens updated successfully.

[root@localhost limits.d]#
创建目录
[root@localhost ~]# mkdir -p /u01/app/oraInventory

[root@localhost ~]# mkdir -p /u01/app/oracle/product/19.3.0/dbhome_1

[root@localhost ~]# chown -R oracle: /u01/app/oraInventory

[root@localhost ~]# chown -R oracle: /u01/app/oracle

[root@localhost ~]# su - oracle

[oracle@localhost db]$ unzip -q /stage/db/V982063-01.zip -d /u01/app/oracle/product/19.3.0/dbhome_1/

[oracle@localhost db]$
开始安装,注意版本兼容问题要先设置环境变量export CV_ASSUME_DISTID=RHEL7.6
[oracle@localhost ~]$ export CV_ASSUME_DISTID=RHEL7.6

[oracle@localhost ~]$ /u01/app/oracle/product/19.3.0/dbhome_1/runInstaller -ignorePrereq -waitforcompletion -silent \

>     -responseFile /u01/app/oracle/product/19.3.0/dbhome_1/install/response/db_install.rsp \

>     oracle.install.option=INSTALL_DB_SWONLY \

> .ORACLE_HOSTNAME=OL8.0_19C \

>     UNIX_GROUP_NAME=oinstall \

>     INVENTORY_LOCATION=/u01/app/oraInventory \

>     SELECTED_LANGUAGES=en,en_GB \

>     ORACLE_HOME=/u01/app/oracle/product/19.3.0/dbhome_1 \

>     ORACLE_BASE=/u01/app/oracle \

>     oracle.install.db.InstallEdition=EE \

>     oracle.install.db.OSDBA_GROUP=dba \

>     oracle.install.db.OSBACKUPDBA_GROUP=dba \

>     oracle.install.db.OSDGDBA_GROUP=dba \

>     oracle.install.db.OSKMDBA_GROUP=dba \

>     oracle.install.db.OSRACDBA_GROUP=dba \

>     SECURITY_UPDATES_VIA_MYORACLESUPPORT=false \

>     DECLINE_SECURITY_UPDATES=true

Launching Oracle Database Setup Wizard...

The response file for this session can be found at:

 /u01/app/oracle/product/19.3.0/dbhome_1/install/response/db_2019-08-17_12-41-50PM.rsp

You can find the log of this install session at:

 /tmp/InstallActions2019-08-17_12-41-50PM/installActions2019-08-17_12-41-50PM.log

As a root user, execute the following script(s):

        1. /u01/app/oraInventory/orainstRoot.sh

        2. /u01/app/oracle/product/19.3.0/dbhome_1/root.sh

Execute /u01/app/oraInventory/orainstRoot.sh on the following nodes:

[localhost]

Execute /u01/app/oracle/product/19.3.0/dbhome_1/root.sh on the following nodes:

[localhost]

Successfully Setup Software.

Moved the install session logs to:

 /u01/app/oraInventory/logs/InstallActions2019-08-17_12-41-50PM

[oracle@localhost ~]$ su - root

Password:

[root@localhost ~]# /u01/app/oraInventory/orainstRoot.sh

Changing permissions of /u01/app/oraInventory.

Adding read,write permissions for group.

Removing read,write,execute permissions for world.

Changing groupname of /u01/app/oraInventory to oinstall.

The execution of the script is complete.

[root@localhost ~]# /u01/app/oracle/product/19.3.0/dbhome_1/root.sh

Check /u01/app/oracle/product/19.3.0/dbhome_1/install/root_localhost.localdomain_2019-08-17_12-44-20-885851348.log for the output of root script

[root@localhost ~]#
代码是
/u01/app/oracle/product/19.3.0/dbhome_1/runInstaller -ignorePrereq -waitforcompletion -silent \

    -responseFile /u01/app/oracle/product/19.3.0/dbhome_1/install/response/db_install.rsp \

    oracle.install.option=INSTALL_DB_SWONLY \

	ORACLE_HOSTNAME=OL8.0_19C \

    UNIX_GROUP_NAME=oinstall \

    INVENTORY_LOCATION=/u01/app/oraInventory \

    SELECTED_LANGUAGES=en,en_GB \

    ORACLE_HOME=/u01/app/oracle/product/19.3.0/dbhome_1 \

    ORACLE_BASE=/u01/app/oracle \

    oracle.install.db.InstallEdition=EE \

    oracle.install.db.OSDBA_GROUP=dba \

    oracle.install.db.OSBACKUPDBA_GROUP=dba \

    oracle.install.db.OSDGDBA_GROUP=dba \

    oracle.install.db.OSKMDBA_GROUP=dba \

    oracle.install.db.OSRACDBA_GROUP=dba \

    SECURITY_UPDATES_VIA_MYORACLESUPPORT=false \

    DECLINE_SECURITY_UPDATES=true
静默安装数据库,df -h先看看内存够不够,不够就调整参数大小或者mount -o remount,size=4G /dev/shm
[root@localhost ~]# mount -o remount,size=4G /dev/shm

[root@localhost ~]# su - oracle

[oracle@localhost ~]$ /u01/app/oracle/product/19.3.0/dbhome_1/bin/dbca -silent -createDatabase \

>      -templateName General_Purpose.dbc \

>      -gdbname cdb1 -sid  cdb1 -responseFile NO_VALUE \

>      -characterSet AL32UTF8 \

>      -sysPassword oracle \

>      -systemPassword oracle \

>      -createAsContainerDatabase true \

>      -numberOfPDBs 1 \

>      -pdbName pdb1 \

>      -pdbAdminPassword oracle \

>      -databaseType MULTIPURPOSE \

>      -automaticMemoryManagement false \

>      -totalMemory 2000 \

>      -storageType FS \

>      -datafileDestination "/u01/app/oracle/oradata" \

>      -redoLogFileSize 50 \

>      -emConfiguration NONE \

>      -ignorePreReqs

[WARNING] [DBT-11209] Current available memory is less than the required available memory (2,000MB) for creating the database.

   CAUSE: Following nodes do not have required available memory :

 Node:localhost         Available memory:1.8429GB (1932452.0KB)

[WARNING] [DBT-06208] The 'SYS' password entered does not conform to the Oracle recommended standards.

   CAUSE:

a. Oracle recommends that the password entered should be at least 8 characters in length, contain at least 1 uppercase character, 1 lower case character and 1 digit [0-9].

b.The password entered is a keyword that Oracle does not recommend to be used as password

   ACTION: Specify a strong password. If required refer Oracle documentation for guidelines.

[WARNING] [DBT-06208] The 'SYSTEM' password entered does not conform to the Oracle recommended standards.

   CAUSE:

a. Oracle recommends that the password entered should be at least 8 characters in length, contain at least 1 uppercase character, 1 lower case character and 1 digit [0-9].

b.The password entered is a keyword that Oracle does not recommend to be used as password

   ACTION: Specify a strong password. If required refer Oracle documentation for guidelines.

[WARNING] [DBT-06208] The 'PDBADMIN' password entered does not conform to the Oracle recommended standards.

   CAUSE:

a. Oracle recommends that the password entered should be at least 8 characters in length, contain at least 1 uppercase character, 1 lower case character and 1 digit [0-9].

b.The password entered is a keyword that Oracle does not recommend to be used as password

   ACTION: Specify a strong password. If required refer Oracle documentation for guidelines.

Prepare for db operation

8% complete

Copying database files

31% complete

Creating and starting Oracle instance

32% complete

36% complete

40% complete

43% complete

46% complete

Completing Database Creation

51% complete

53% complete

54% complete

Creating Pluggable Databases

58% complete

77% complete

Executing Post Configuration Actions

100% complete

Database creation complete. For details check the logfiles at:

 /u01/app/oracle/cfgtoollogs/dbca/cdb1.

Database Information:

Global Database Name:cdb1

System Identifier(SID):cdb1

Look at the log file "/u01/app/oracle/cfgtoollogs/dbca/cdb1/cdb1.log" for further details.

[oracle@localhost ~]$
代码是
/u01/app/oracle/product/19.3.0/dbhome_1/bin/dbca -silent -createDatabase \

     -templateName General_Purpose.dbc \

     -gdbname cdb1 -sid  cdb1 -responseFile NO_VALUE \

     -characterSet AL32UTF8 \

     -sysPassword oracle \

     -systemPassword oracle \

     -createAsContainerDatabase true \

     -numberOfPDBs 1 \

     -pdbName pdb1 \

     -pdbAdminPassword oracle \

     -databaseType MULTIPURPOSE \

     -automaticMemoryManagement false \

     -totalMemory 2000 \

     -storageType FS \

     -datafileDestination "/u01/app/oracle/oradata" \

     -redoLogFileSize 50 \

     -emConfiguration NONE \

     -ignorePreReqs
修改/etc/oratab中默认的N为Y,以便让数据库随系统的启动一起启动
[oracle@localhost ~]$ cat /etc/oratab |grep -v ^#|grep -v ^$

cdb1:/u01/app/oracle/product/19.3.0/dbhome_1:Y

[oracle@localhost ~]$
查看一下
[oracle@localhost ~]$ export ORACLE_SID=cdb1

[oracle@localhost ~]$ export ORACLE_HOME=/u01/app/oracle/product/19.3.0/dbhome_1

[oracle@localhost ~]$ export ORACLE_BASE=/u01/app/oracle/

[oracle@localhost ~]$ export PATH=$PATH:$ORACLE_HOME/bin

[oracle@localhost ~]$

[oracle@localhost ~]$ sqlplus / as sysdba

SQL*Plus: Release 19.0.0.0.0 - Production on Sat Aug 17 14:20:38 2019

Version 19.3.0.0.0

Copyright (c) 1982, 2019, Oracle.  All rights reserved.

Connected to:

Oracle Database 19c Enterprise Edition Release 19.0.0.0.0 - Production

Version 19.3.0.0.0

SQL> show pdbs;

    CON_ID CON_NAME                       OPEN MODE  RESTRICTED

---------- ------------------------------ ---------- ----------

         2 PDB$SEED                       READ ONLY  NO

         3 PDB1                           READ WRITE NO

SQL> alter system set db_create_file_dest='/u01/app/oracle/oradata';

System altered.

SQL> alter pluggable database pdb1 save state;

Pluggable database altered.

SQL> exit;

Disconnected from Oracle Database 19c Enterprise Edition Release 19.0.0.0.0 - Production

Version 19.3.0.0.0

[oracle@localhost ~]$
ojbk,have fun!
OL8.0静默安装Oracle 19C的更多相关文章
- 【静默】在RHEL 6.5上静默安装Oracle 18c
[静默]在RHEL 6.5上静默安装Oracle 18c Oracle 18c.18c其实就是12.2.0.2,19c就是12.2.0.3.db_home.zip 安装包大概4.25G,解压后有8.9 ...
- linux 之静默安装oracle
Web服务器上面的Linux一般是不会有图形界面的,所有通过图形界面来安装Linux的方式在没有图形界面的Linux上面是行不通的,我们要使用的安装方式叫做Linux的静默安装.即在没有图形界面的Li ...
- CentOS 6.5下静默安装oracle
本例: 通过SSH远程连接云主机,上传oracle11g安装包,在centos6.5上无图形化界面静默安装oracle11g. 涉及工具及环境: 1.本地环境windows7+ssh远程连接工具xSh ...
- CentOS 7静默安装Oracle 11g R2数据库软件
之前安装Oracle 11g R2数据库软件都是建立在图形界面上的,不过现在大部分服务器上都没有安装图形界面.图形界面安装较为方便,安装选项清晰,步骤明确,但Oracle还支持另一种安装方式,就是通过 ...
- CentOS静默安装Oracle 11gR2(x64)
环境 OS: CentOS 7.4; hosts: L134; IP: 192.168.1.134 DB: linux.x64_11gR2_database 安装依赖包 yum install -y ...
- Linux - 静默安装oracle数据库总结
Web服务器上面的Linux一般是不会有图形界面的,所有通过图形界面来安装Linux的方式在没有图形界面的Linux上面是行不通的,我们要使用的安装方式叫做Linux的静默安装.即在没有图形界面的Li ...
- Linux静默安装Oracle
打算在云服务器上装oracle服务,以前DBA美眉都是在图形化界面下安装,这次抓瞎了.赶紧上网查查,静默安装可以解决问题.于是乎赶紧开始部署,过程如下.安装环境:操作系统:CentOS 7内存:11G ...
- Oracle 静默安装oracle client
静默安装oracle clint比较简单,修改instantclient.crsp文件的几个位置即可 [root@localhost ~]# vi /etc/oralnstloc inventory_ ...
- RHEL 8 安装 Oracle 19c 注意问题
RedHat Enterprise Linux 8 版本静默安装 Oracle 数据库软件时,需注意的问题 来自博客园AskScuti 1. 提示缺少库文件 libnsl.so.1 2. 因着OS版本 ...
随机推荐
- VNC远程登陆树莓派3(包括开机启动)
在树莓派上安装VNC需要使用命令行.如果需要远程操作安装VNC,就必须通过SSH登录到命令行界面(Raspbian的默认用户名是:pi,默认密码是:raspberry). 安装 命令行输入: sudo ...
- 【Excel】截取字符 LEFT(A1,2) RIGHT(A1,2) MID(SHEET1!E2,1,9)
LEFT(A1,2)从左边取两个字符 RIGHT(A1,2)从右边取两个字符 MID(SHEET1!E2,1,9)从sheet1表E2单元格中第一位起后9位 可以嵌套
- RGB颜色查询
RGB颜色速查表 #FFFFFF #FFFFF0 #FFFFE0 #FFFF00 #FFFAFA #FFFAF0 #FFFACD #FFF8DC #FFF68F ...
- Linux性能优化实战学习笔记:第三十七讲
一.上节回顾 上一节,我带你一起学习了网络性能的评估方法.简单回顾一下,Linux 网络基于 TCP/IP协议栈构建,而在协议栈的不同层,我们所关注的网络性能也不尽相同. 在应用层,我们关注的是应用程 ...
- [LeetCode] 76. Minimum Window Substring 最小窗口子串
Given a string S and a string T, find the minimum window in S which will contain all the characters ...
- Excel输入十六进制数,以及十六进制运算
网上复制来复制去的连个靠谱答案都没有...f**k 所以无奈自己探索出来了 先放效果图 文本值 转 进制值 单元格: A1文本值 A2进制值 输入内容: 'fefe =OCT2HEX(HEX2OCT( ...
- ios 信任自签名证书
1. 通过html 网络地址的方式(eg. <a href="172.26.167.82.crt">证书安装</a>)[或者通过邮件附件的方式]2. 设置- ...
- Spring事物隔离级别及事物传播行为@Transactional实现
阅读本篇文章前,请先阅读如下文章: 四种事物隔离级别详解 先看下@Transactional可以配制那些参数及以其所代表的意义. isolation 枚举org.springframework.tra ...
- 破解Xmind时长
第一步:必须先进入软件,新建一个思维导图,产生用户状态文件就行. 直接软解: 第二步:打开路径:C:\Users\你的电脑名称\AppData\Roaming\XMind ZEN\Electron v ...
- 轻松装Win10:VMware Workstation 12虚拟机下载
更多精彩内容欢迎访问我的个人博客皮皮猪:http://www.zhsh666.xyz或者http://www.zh66.club期待您的光临哦!我是皮皮猪,感谢各位光临,能为您排忧解难小站深感荣幸!祝 ...