使用tensorflow进行mnist数字识别【模型训练+预测+模型保存+模型恢复】
import sys,os
sys.path.append(os.pardir)
import numpy as np
from tensorflow.examples.tutorials.mnist import input_data
from PIL import Image
import tensorflow as tf
def predict():
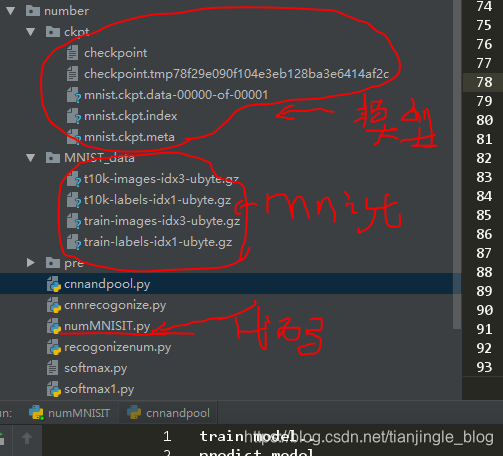
meta_path = 'ckpt/mnist.ckpt.meta'
model_path = 'ckpt/mnist.ckpt'
sess = tf.InteractiveSession ()
saver = tf.train.import_meta_graph (meta_path)
saver.restore (sess, model_path)
graph = tf.get_default_graph ()
W = graph.get_tensor_by_name ("w:0")
b = graph.get_tensor_by_name ("b:0")
x = tf.placeholder (tf.float32, [None, 784])
y = tf.nn.softmax (tf.matmul (x, W) + b)
keep_prob = tf.placeholder (tf.float32)
batch_xs, batch_ys=mnist.train.next_batch (100)
one_img = batch_xs[0].reshape ((1, 784))
one_num = batch_ys[0].reshape ((1, 10))
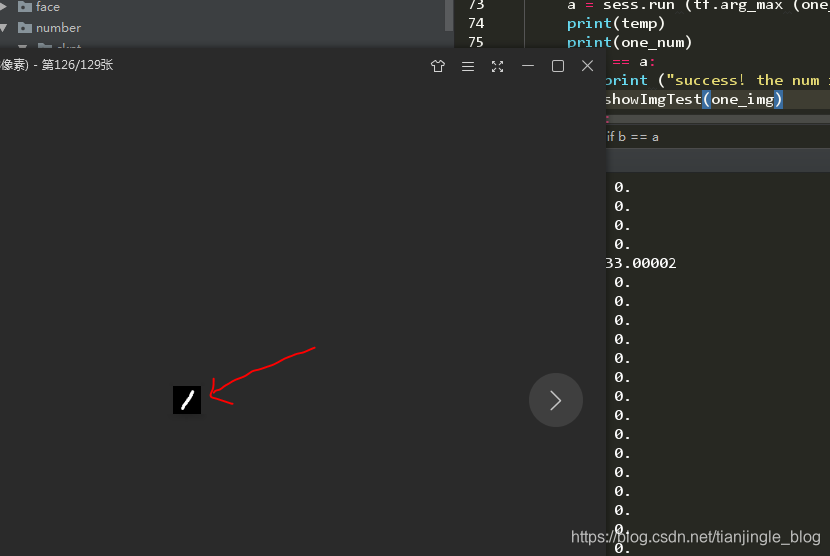
temp = sess.run (y, feed_dict={x: one_img, keep_prob: 1.0})
b = sess.run (tf.argmax (temp, 1))
a = sess.run (tf.arg_max (one_num, 1))
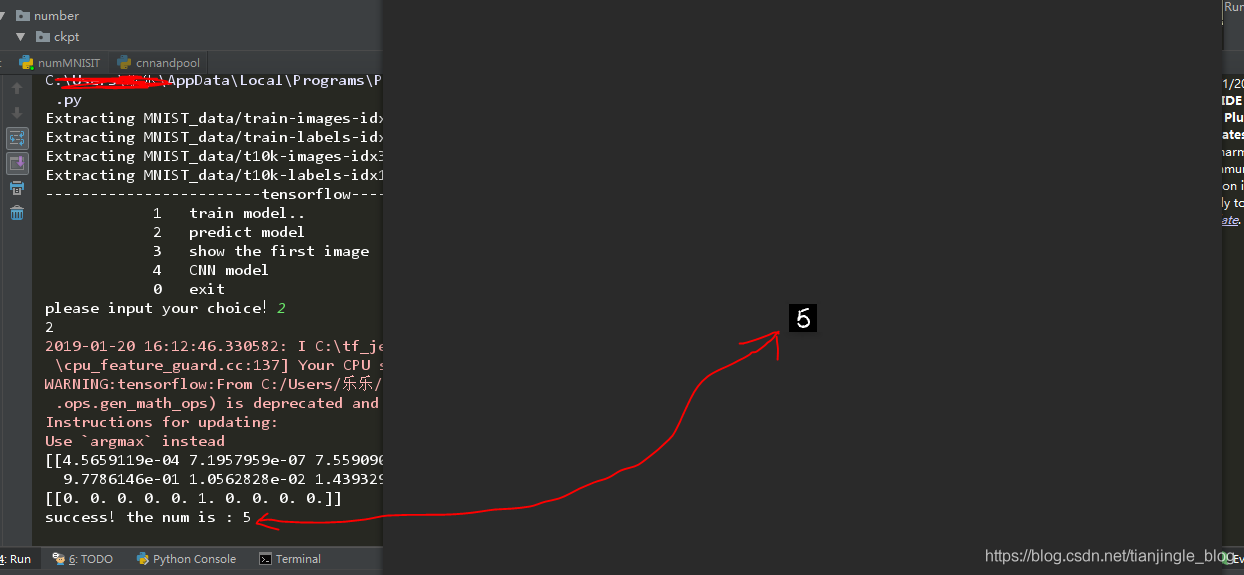
print(temp)
print(one_num)
if b == a:
print ("success! the num is :", (b[0]))
showImgTest(one_img)
else:
print ("mistakes predict.")
def trainNet():
x = tf.placeholder (tf.float32, [None, 784])
W = tf.Variable (tf.zeros ([784, 10]),name="w")
b = tf.Variable (tf.zeros ([10]),name="b")
y = tf.nn.softmax (tf.matmul (x, W) + b)
y_ = tf.placeholder (tf.float32, [None, 10])
keep_prob = tf.placeholder (tf.float32)
# 定义测试的准确率
correct_prediction = tf.equal (tf.argmax (y, 1), tf.argmax (y_, 1))
accuracy = tf.reduce_mean (tf.cast (correct_prediction, tf.float32))
#
saver = tf.train.Saver (max_to_keep=1)
max_acc = 0
train_accuracy = 0
#交叉熵
cross_entropy = tf.reduce_mean (-tf.reduce_sum (y_ * tf.log (y)))
# cross_error=cross_entropy_error_batch(y,y_)
train_step = tf.train.GradientDescentOptimizer (0.01).minimize (cross_entropy)
sess = tf.InteractiveSession ()
tf.global_variables_initializer ().run ()
for i in range (1000):
batch_xs, batch_ys = mnist.train.next_batch (100)
sess.run (train_step, feed_dict={x: batch_xs, y_: batch_ys, keep_prob: 1.0})
if i % 100 == 0:
train_accuracy = accuracy.eval (feed_dict={x: batch_xs, y_: batch_ys, keep_prob: 1.0})
print ("step %d, training accuracy %g" % (i, train_accuracy))
if train_accuracy > max_acc:
max_acc = train_accuracy
saver.save (sess, 'ckpt/mnist.ckpt')
if __name__ == '__main__':
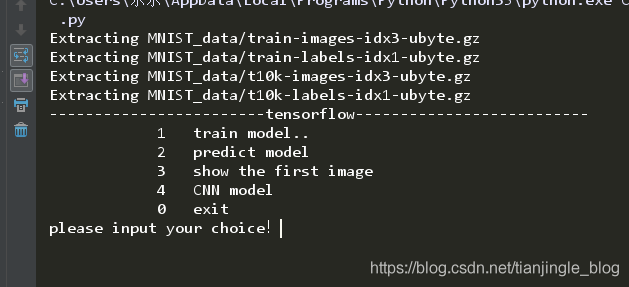
mnist = input_data.read_data_sets ("MNIST_data/", one_hot=True)
choice=0
while choice == 0:
print ("------------------------tensorflow--------------------------")
print ("\t\t\t1\ttrain model..")
print("\t\t\t2\tpredict model")
print("\t\t\t3\tshow the first image")
print ("\t\t\t0\texit")
choice = input ("please input your choice!")
print(choice)
if choice == "1":
print("start train...")
trainNet()
if choice=="2":
predict()
if choice=="3":
showImg()

注:正在学习CNN,选项4还没有来的及做。后面补上
使用tensorflow进行mnist数字识别【模型训练+预测+模型保存+模型恢复】的更多相关文章
- TensorFlow学习笔记(三)MNIST数字识别问题
一.MNSIT数据处理 MNSIT是一个非常有名的手写体数字识别数据集.包含60000张训练图片,10000张测试图片.每张图片是28X28的数字. TonserFlow提供了一个类来处理 MNSIT ...
- 一个简单的TensorFlow可视化MNIST数据集识别程序
下面是TensorFlow可视化MNIST数据集识别程序,可视化内容是,TensorFlow计算图,表(loss, 直方图, 标准差(stddev)) # -*- coding: utf-8 -*- ...
- MNIST数字识别问题
摘自<Tensorflow:实战Google深度学习框架> import tensorflow as tf from tensorflow.examples.tutorials.mnist ...
- Pytorch CNN网络MNIST数字识别 [超详细记录] 学习笔记(三)
目录 1. 准备数据集 1.1 MNIST数据集获取: 1.2 程序部分 2. 设计网络结构 2.1 网络设计 2.2 程序部分 3. 迭代训练 4. 测试集预测部分 5. 全部代码 1. 准备数据集 ...
- Tensorflow手写数字识别训练(梯度下降法)
# coding: utf-8 import tensorflow as tffrom tensorflow.examples.tutorials.mnist import input_data #p ...
- TensorFlow深度学习实战---MNIST数字识别问题
1.滑动平均模型: 用途:用于控制变量的更新幅度,使得模型在训练初期参数更新较快,在接近最优值处参数更新较慢,幅度较小 方式:主要通过不断更新衰减率来控制变量的更新幅度. 衰减率计算公式 : deca ...
- 吴裕雄 python 神经网络——TensorFlow实现回归模型训练预测MNIST手写数据集
import tensorflow as tf from tensorflow.examples.tutorials.mnist import input_data mnist = input_dat ...
- Tensorflow手写数字识别---MNIST
MNIST数据集:包含数字0-9的灰度图, 图片size为28x28.训练样本:55000,测试样本:10000,验证集:5000
- Tensorflow手写数字识别(交叉熵)练习
# coding: utf-8import tensorflow as tffrom tensorflow.examples.tutorials.mnist import input_data #pr ...
随机推荐
- Angular 星级评分组件
一.需求演变及描述: 1. 有一个“客户对公司的总体评价”的字段(evalutation).字段为枚举类型,0-5,对应关系为:0-暂无评价,1-很差,2-差,3-一般,4-好,5-很好 2. 后来需 ...
- Kafka设计解析(十五)Kafka controller重设计
转载自 huxihx,原文链接 Kafka controller重设计 目录 一.Controller是做什么的 二.Controller当前设计 三.Controller组成 四.Controlle ...
- (转)添加Template(模板)并基于模板部署应用
通过Template,可以定义一个或多个需要部署的镜像,定义依赖的对象,定义可供用户输入的配置参数项. 以cakephp-mysql.json为例. # oc create -f https://ra ...
- [图解tensorflow源码] MatMul 矩阵乘积运算 (前向计算,反向梯度计算)
- 【gulp】imageisux安装(webp图片)
此篇是imageisux的安装教程,imageisux用于处理任何格式图片生成新的webp格式 安装前提 nodejs—npm—gulp 现下以我的配置来展示安装gulp-imageisux过程 1) ...
- CCF 201709-2公共钥匙盒
问题描述 有一个学校的老师共用N个教室,按照规定,所有的钥匙都必须放在公共钥匙盒里,老师不能带钥匙回家.每次老师上课前,都从公共钥匙盒里找到自己上课的教室的钥匙去开门,上完课后,再将钥匙放回到钥匙盒中 ...
- CANVAS实现调色板 之 我的第一个随笔
主题代码 <canvas id="color"></canvas> <script> var color=document.getElement ...
- OVF3为订单原因分配成本中心时报错“成本中心未定义”,消息号:VT806
问题:OVF3为订单原因分配成本中心时报错“成本中心未定义”,消息号:VT806.KS03检查成本中心数据是已经建立的. 原因:OVF3往右边拉动,还有一个需要填入的字段“有效起始日”,此字段值必须在 ...
- Android ViewPager里的所有图片设置监听打开同一活动显示不同图片
Android ViewPager里的所有图片设置监听请看前一文章 为了省时所以2层菜单只做一个点击任意图片后显示相应图片的活动 关键点是每个点击对应的图片如何传参给显示的活动 因为只启动一个活动,所 ...
- ETL项目2:大数据清洗,处理:使用MapReduce进行离线数据分析并报表显示完整项目
ETL项目2:大数据清洗,处理:使用MapReduce进行离线数据分析并报表显示完整项目 思路同我之前的博客的思路 https://www.cnblogs.com/symkmk123/p/101974 ...