20165230 《Java程序设计》实验四 Android程序设计实验报告
20165230 《Java程序设计》实验四 Android程序设计实验报告
一、实验报告封面
课程:Java程序设计 班级:1652班 姓名:田坤烨 学号:20165230 成绩:
指导教师:娄嘉鹏 实验日期:2018年5月14日
实验时间:13:45 - 15:25
实验序号:实验四 实验名称:Android程序设计
实验内容:
- 修改res目录中的内容,显示自己的学号
- 在ThirdActivity中显示自己的学号,修改代码让MainActivity启动ThirdActivity
- 修改教材代码让Toast消息中显示自己的学号信息
- 修改布局让P290页的界面与教材不同
- 构建项目,运行教材相关代码
实验要求:
- 没有Linux基础的同学建议先学习《Linux基础入门(新版)》《Vim编辑器》 课程;
- 完成实验、撰写实验报告,注意实验报告重点是运行结果,遇到的问题(工具查找,安装,使用,程序的编辑,调试,运行等)、解决办法(空洞的方法如“查网络”、“问同学”、“看书”等一律得0分)以及分析(从中可以得到什么启示,有什么收获,教训等);
- 实验报告中统计自己的PSP(Personal Software Process)时间;
- 严禁抄袭。
二、实验内容及步骤
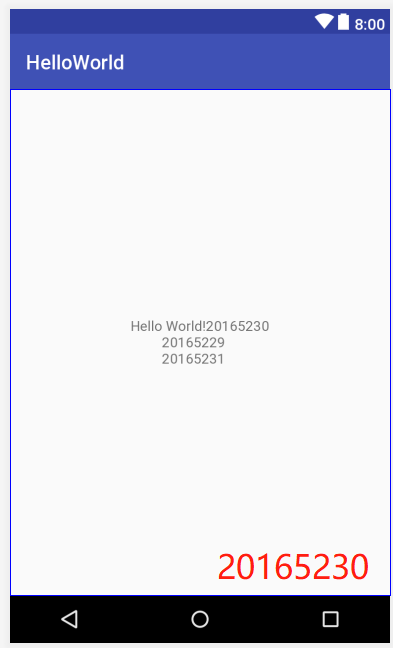
(一)完成Hello World
- 要求修改res目录中的内容,Hello World后要显示自己的学号,自己学号前后一名同学的学号
- 将activity_main.xml中的
android:text="Hello World!"改成android:text="Hello World!20165230 20165229 20165231" - 代码如下
<?xml version="1.0" encoding="utf-8"?>

<android.support.constraint.ConstraintLayout xmlns:android="http://schemas.android.com/apk/res/android"

    xmlns:app="http://schemas.android.com/apk/res-auto"

    xmlns:tools="http://schemas.android.com/tools"

    android:layout_width="match_parent"

    android:layout_height="match_parent"

    tools:context=".MainActivity">

    <TextView

        android:layout_width="wrap_content"

        android:layout_height="wrap_content"

        android:text="Hello World!20165230

         20165229

         20165231"

        app:layout_constraintBottom_toBottomOf="parent"

        app:layout_constraintLeft_toLeftOf="parent"

        app:layout_constraintRight_toRightOf="parent"

        app:layout_constraintTop_toTopOf="parent" />

</android.support.constraint.ConstraintLayout>
- 运行截图
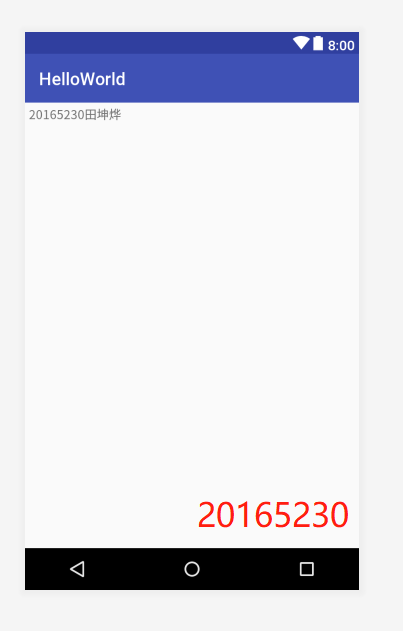
(二) 创建 ThirdActivity
- 在ThirdActivity中显示自己的学号,修改代码让MainActivity启动ThirdActivity
- 在MainActivity.java中调用
startActivity方法,使其启动ThirdActivity - 代码如下
import android.app.Activity;

import android.content.Intent;

import android.os.Bundle;

import android.app.Activity;

import android.content.Intent;

import android.view.Menu;

import android.view.MotionEvent;

import android.view.View;

import android.view.View.OnTouchListener;

import android.widget.TextView;

public class MainActivity extends Activity implements

    OnTouchListener {

    @Override

    protected void onCreate(Bundle savedInstanceState) {

        super.onCreate(savedInstanceState);

        setContentView(R.layout.activity_main);

        TextView tv = (TextView) findViewById(R.id.textView1);

        tv.setOnTouchListener(this);

    }

    @Override

    public boolean onCreateOptionsMenu(Menu menu) {

// Inflate the menu; this adds items to the action bar if it

// is present.

        getMenuInflater().inflate(R.menu.menu_main, menu);

        return true;

    }

    @Override

    public boolean onTouch(View arg0, MotionEvent event) {

        Intent intent = new Intent(this, ThirdActivity.class);

        intent.putExtra("message", "20165230田坤烨");

        startActivity(intent);

        return true;

    }

}
- 运行截图
(三)修改代码让Toast消息中显示自己的学号信息
- 代码如下
activity_main
<LinearLayout

    xmlns:android="http://schemas.android.com/apk/res/android"

    xmlns:tools="http://schemas.android.com/tools"

    android:layout_width="match_parent"

    android:layout_height="match_parent"

    android:layout_gravity="center"

    android:gravity="center_horizontal"

    android:orientation="vertical"

    android:padding="120dp"

    tools:context=".MainActivity" >

    <EditText

        android:id="message"

        android:layout_width="match_parent"

        android:layout_height="wrap_content"

        android:hint="@string/prompt_email"

        android:inputType="textEmailAddress"

        android:maxLines="1"

        android:singleLine="true" />

    <EditText

        android:id="password"

        android:layout_width="match_parent"

        android:layout_height="wrap_content"

        android:hint="@string/prompt_password"

        android:imeActionId="@+id/login"

        android:imeOptions="actionUnspecified"

        android:inputType="textPassword"

        android:maxLines="1"

        android:singleLine="true" />

    <Button

        android:id="@+id/btn1"

        android:layout_width="wrap_content"

        android:layout_height="wrap_content"

        android:layout_gravity="right"

        android:layout_marginTop="16dp"

        android:paddingLeft="32dp"

        android:paddingRight="32dp"

        android:text="@string/action_sign_in" />

</LinearLayout>
MainActivity.java
import android.content.Context;

import android.support.v7.app.AppCompatActivity;

import android.os.Bundle;

import android.app.Activity;

import android.util.AttributeSet;

import android.view.Menu;

import android.view.MenuItem;

import android.view.View;

import android.widget.Button;

import android.widget.Toast;

public class MainActivity extends AppCompatActivity {

    @Override

    protected void onCreate(Bundle savedInstanceState) {

        super.onCreate(savedInstanceState);

        setContentView(R.layout.activity_main);

        Button btnshow1=(Button) findViewById(R.id.btn1);

        btnshow1.setOnClickListener(new View.OnClickListener()

        {

            @Override

            public void onClick(View v){

                Toast toast = Toast.makeText(MainActivity.this,"20165230田坤烨", Toast.LENGTH_LONG);

                toast.show();

            }

        });

    }
- 运行截图

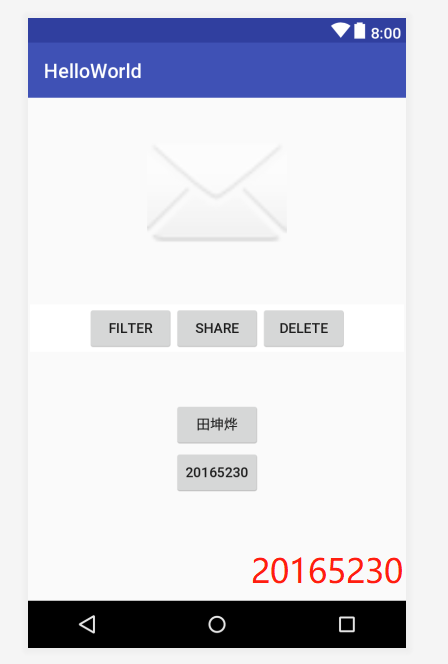
(四)修改布局让P290页的界面与教材不同
- 代码如下
activity_main.xml
<RelativeLayout

    xmlns:android="http://schemas.android.com/apk/res/android"

    xmlns:tools="http://schemas.android.com/tools"

    android:layout_width="match_parent"

    android:layout_height="match_parent"

    android:paddingLeft="2dp"

    android:paddingRight="2dp">

    <Button

        android:id="@+id/cancelButton"

        android:layout_width="wrap_content"

        android:layout_height="wrap_content"

        android:text="20165230"

        android:layout_marginTop="70dp"

        android:layout_alignParentTop="true"

        android:layout_centerHorizontal="true" />

    <Button

        android:id="@+id/saveButton"

        android:layout_width="wrap_content"

        android:layout_height="wrap_content"

        android:text="田坤烨"

        android:layout_below="@+id/cancelButton"

        android:layout_alignLeft="@+id/cancelButton"

        android:layout_alignStart="@+id/cancelButton"

        android:layout_marginTop="23dp" />

    <ImageView

        android:layout_width="150dp"

        android:layout_height="150dp"

        android:layout_marginTop="45dp"

        android:padding="4dp"

        android:src="@android:drawable/ic_dialog_email"

        android:id="@+id/imageView"

        android:layout_below="@+id/saveButton"

        android:layout_centerHorizontal="true" />

    <LinearLayout

        android:id="@+id/filter_button_container"

        android:layout_width="match_parent"

        android:layout_height="wrap_content"

        android:layout_alignParentBottom="true"

        android:gravity="center|bottom"

        android:background="@android:color/white"

        android:orientation="horizontal" >

        <Button

            android:id="@+id/filterButton"

            android:layout_width="wrap_content"

            android:layout_height="fill_parent"

            android:text="Filter" />

        <Button

            android:id="@+id/shareButton"

            android:layout_width="wrap_content"

            android:layout_height="fill_parent"

            android:text="Share" />

        <Button

            android:id="@+id/deleteButton"

            android:layout_width="wrap_content"

            android:layout_height="fill_parent"

            android:text="Delete" />

    </LinearLayout>

</RelativeLayout>
- 运行截图
(五)构建项目,运行教材相关代码
- 代码如下:
AndroidManifest.xml
<?xml version="1.0" encoding="utf-8"?>

<manifest xmlns:android="http://schemas.android.com/apk/res/android"

    package="com.example.dell1.helloworld"

    android:versionCode="1"

    android:versionName="1.0">

    <uses-sdk

        android:minSdkVersion="8"

        android:targetSdkVersion="17" />

    <application

        android:allowBackup="true"

        android:label="@string/app_name"

        android:theme="@style/AppTheme">

        <activity

            android:name="com.example.dell1.helloworld.MainActivity"

            android:label="@string/app_name">

            <intent-filter>

                <action android:name="android.intent.action.MAIN" />

                <category android:name="android.intent.category.LAUNCHER" />

            </intent-filter>

        </activity>

    </application>

</manifest>
- 运行截图

三、实验遇到的问题
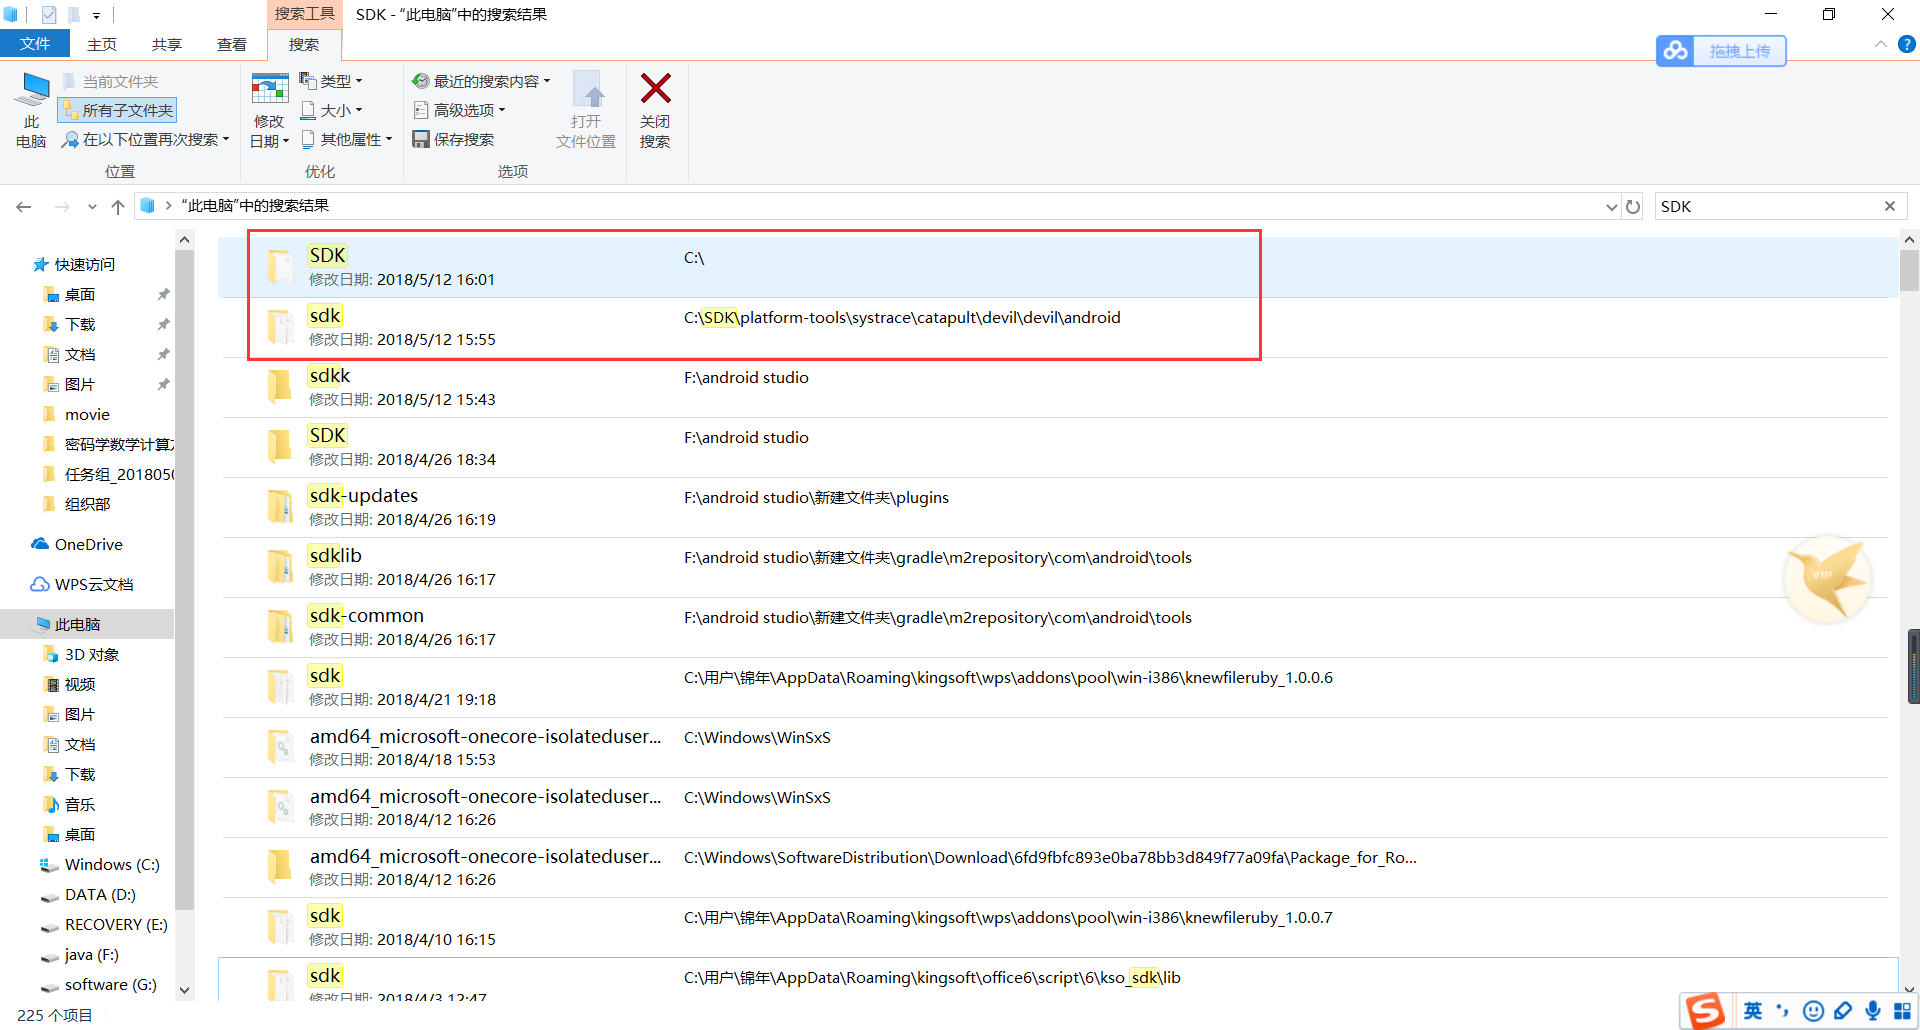
问题1:由于android-stdio在两星期之前下载完成,忘记将sdk下载路径,导致sdk配置失败
问题1解决方案:运用电脑中的搜索工具“sdk”显示出我直接安装到了c盘sdk文件夹下,于是选择该路径,成功配置。
问题2:配置完sdk以后,无法正常编译,显示如下图所示的异常
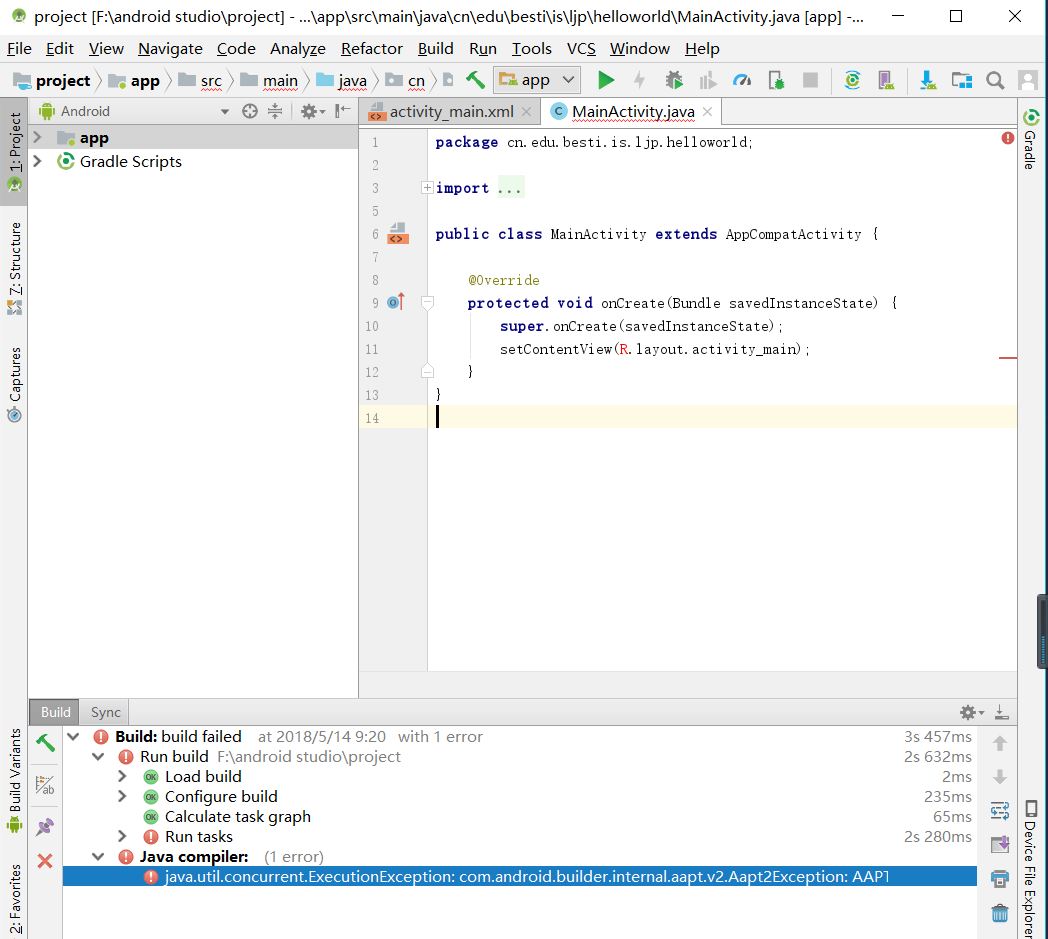
问题2解决方案:通过查找csdn博客,找到了解决方法:在
gradle.properties文件中添加android.enableAapt2=false语句即可
四、PSP时间
| 步骤 | 耗时 | 百分比 |
|---|
   |需求分析           |   30min           | 12%            |

       |  设计         | 40min            |     15%   |

| 代码实现          |   90min          | 34%             |

|测试          |   45min          | 17%            |

  |分析总结          |   60min          |23%            |
六、代码链接
七、参考资料
- Android开发简易教程
- AAPI异常问题解决方法
- [Java和Android开发学习指南(第二版)(EPUBIT,Java for Android 2nd)](file:///F:/android%20studio/JAVA和ANDROID开发学习指南%20%20第2版.pdf)
20165230 《Java程序设计》实验四 Android程序设计实验报告的更多相关文章
- 20165205 2017-2018-2 《Java程序设计》实验四 Android程序设计
20165205 2017-2018-2 <Java程序设计>实验四 Android程序设计 实验内容 实验四 Android程序设计-1 Android Stuidio的安装测试: 参考 ...
- 20155205 《Java程序设计》实验四 Android程序设计
20155205 <Java程序设计>实验四 Android程序设计 一.实验内容及步骤 (一) Android Stuidio的安装测试 参考<Java和Android开发学习指南 ...
- 20155314 2016-2017-2 《Java程序设计》实验四 Android程序设计
20155314 2016-2017-2 <Java程序设计>实验四 Android程序设计 实验任务 基于Android Studio开发简单的Android应用并部署测试 了解Andr ...
- 20155211 《Java程序设计》实验四 Android程序设计
20155211 <Java程序设计>实验四 Android程序设计 一.实验内容及步骤 1.Android Stuidio的安装测试: 安装 Android Stuidio 完成Hell ...
- 《JAVA程序设计》 20155208 实验四 Android程序设计
<JAVA程序设计> 20155208 实验四 Android程序设计 实验一: 实验要求: Android Stuidio的安装测试: 参考<Java和Android开发学习指南( ...
- 2016-2017-2 20155339《 java面向对象程序设计》实验四Android程序设计
2016-2017-2 20155339< java面向对象程序设计>实验四Android程序设计 实验内容 1.Android Stuidio的安装测试: 参考<Java和Andr ...
- 20165324 Java实验四 Android程序设计
20165324 Java实验四 Android程序设计 一.实验报告封面 课程:Java程序设计 班级:1653班 姓名:何春江 学号:20165324 指导教师:娄嘉鹏 实验日期:2018年5月1 ...
- 实验四 Android程序设计 实验报告
实验四 Android程序设计 实验报告 目录 代码托管地址 Android程序设计-1 Android程序设计-2 Android程序设计-3 Android程序设计-4 Android程序设计-5 ...
- 第十四周实验报告:实验四 Android程序设计
20162317袁逸灏 第十四周实验报告:实验四 Android程序设计 实验内容 Android Studio 实验要求 学会使用Android Studio 学习 活动 以及相关知识内容 学习 U ...
随机推荐
- C# QR二维码DEMO
QR二维码 二维码的一种 相关类库 ThoughtWorks.QRCode 第三方类库 DEMO功能 Encode 生成二维码图片 Encoding 编码 Correction Level 等级 Ve ...
- ZK Leader选举
1.Zookeeper节点状态LOOKING:寻找Leader状态,处于该状态需要进入选举流程LEADING:领导者状态,处于该状态的节点说明是角色已经是LeaderFOLLOWING:跟随者状态,表 ...
- JAVA LOG4J使用方法
首先,需要在项目中导入log4j使用的JAR包,导入结果如下图: 菜单:Build Path->Configure Build Path->Add Extern Jars 导入JAR包后, ...
- P4867 Gty的二逼妹子序列
题目描述 Autumn和Bakser又在研究Gty的妹子序列了!但他们遇到了一个难题. 对于一段妹子们,他们想让你帮忙求出这之内美丽度∈[a,b]的妹子的美丽度的种类数. 为了方便,我们规定妹子们的美 ...
- Day22-Django之缓存
由于Django是动态网站,所有每次请求均会去数据进行相应的操作,当程序访问量大时,耗时必然会更加明显,最简单解决方式是使用:缓存,缓存将一个某个views的返回值保存至内存或者memcache中,5 ...
- 【python】爬虫实践
参考链接 https://blog.csdn.net/u012662731/article/details/78537432 详解 python3 urllib https://www.jianshu ...
- 【2018ICPC青岛】
B 题意:给n个问题,每个问题有一个固定的答案ai(<=10^5).现在有m个约束关系,每个约束关系是一个二元组(ui,vi),表示你回答ui.vi问题的答案必须一样. 现在让你输出分别修复一个 ...
- 注册系统所有的dll文件.bat
@echo off echo 运行后,能重新注册系统所有的dll文件, echo 能解决内存读写错误的问题 pause echo on for %%1 in (%windir%/system32/*. ...
- BZOJ3142 [Hnoi2013]数列 【组合数学】
题目链接 BZOJ3142 题解 题意:选一个正整数和\(K - 1\)个\([1,M]\)中的数,使得总和小于等于\(N\),求方案数模\(P\) 题目中\(K(M - 1) < N\)的限制 ...
- 【纪中集训2019.3.12】Z的礼物
题意 已知\(a_{i} = \sum_{j=1}^{i} \{^{i} _{j} \}b_{j}\), 给出\(a_{1} 到 a_{n}\) : 求\(b_{l} 到 b_{r}\)在\(1e9+ ...