IIS 使用OpenSSL 生成的自签名证书,然后使用SingalR 客户端访问Https 站点通信
使用SignalR 的客户端去发送消息给使用 https 部署的站点,官方文档目前并没有详细的教程,所以在此记录下步骤:
使用管理员身份打开cmd 窗口,选择一个整数保存文件夹的地址,切换到对应的文件夹,然后执行以下步骤:
(一) 生成证书文件
1. openssl genrsa -out test.key 1024

2. openssl req -new -x509 -key test.key -out test.cer -days 365 -subj /CN=10.158.229.20
注:CN=xxx 这里可以填写部署网站的域名或者IP地址

3. openssl pkcs12 -export -out test.pfx -inkey test.key -in test.cer
注:生成了私钥文件 test.pfx, 这一步需要输入密码,密码会在导入IIS的时候使用

在以上步骤完成之后,生成如下几个文件, test.cer, test.key, test.pfx:

4. 添加到证书管理的可信任证书节点中区,这一步非常重要,如果不添加,就会导致SignalR无法正常访问
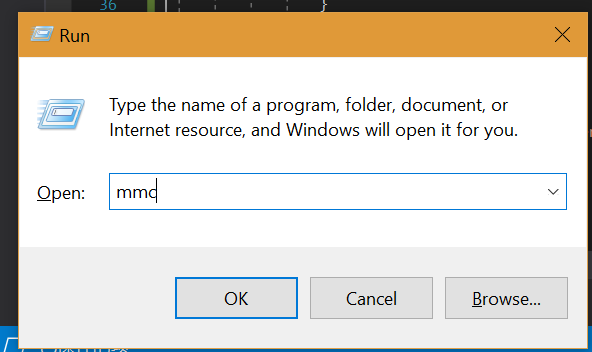
4.1. 运行-->输入mmc
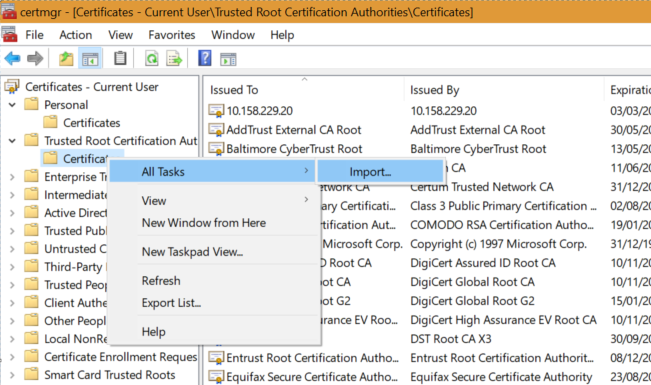
4.2. File 中打开证书管理器

4.3. 在可信任根证书的节点右键导入证书
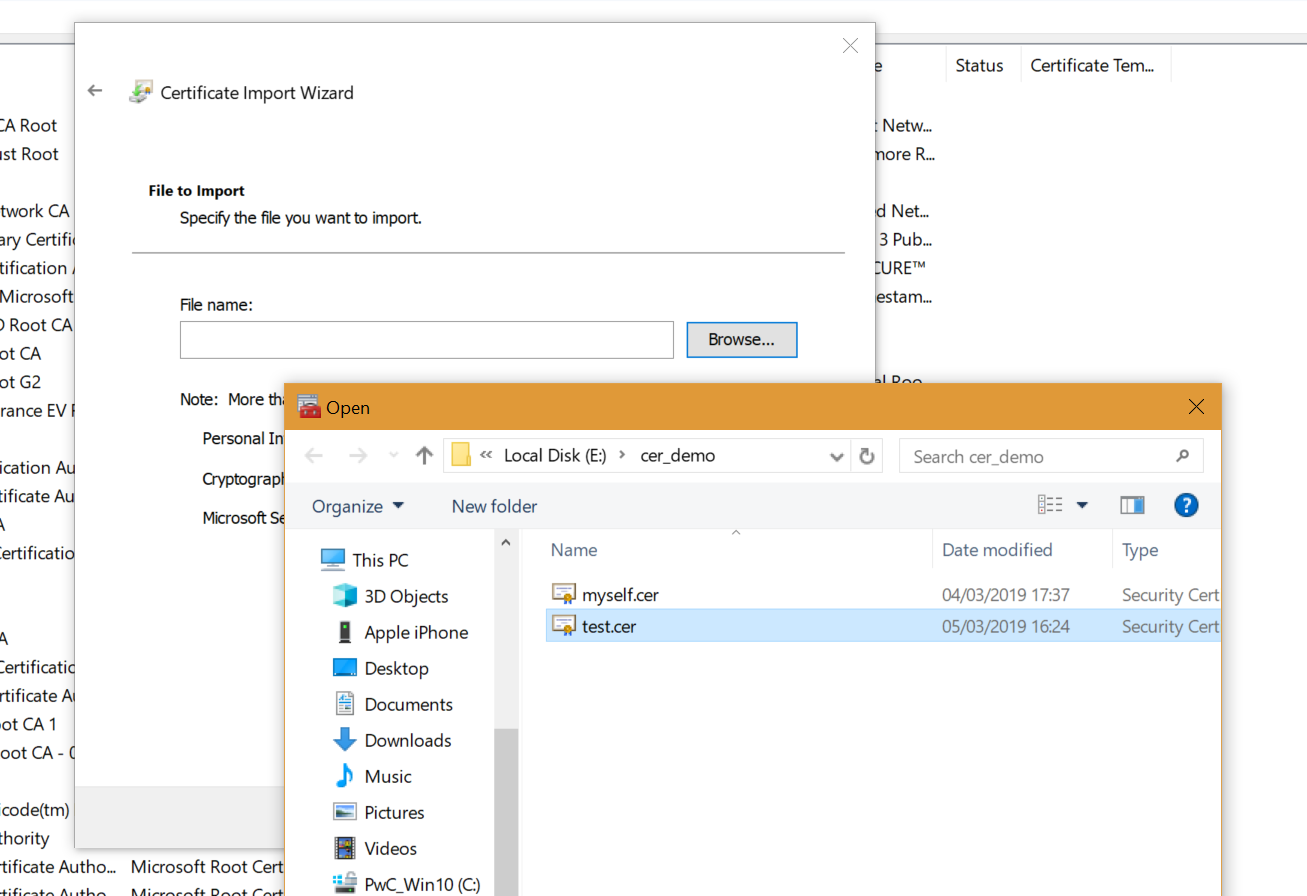
以上工作便完成了证书的创建和添加
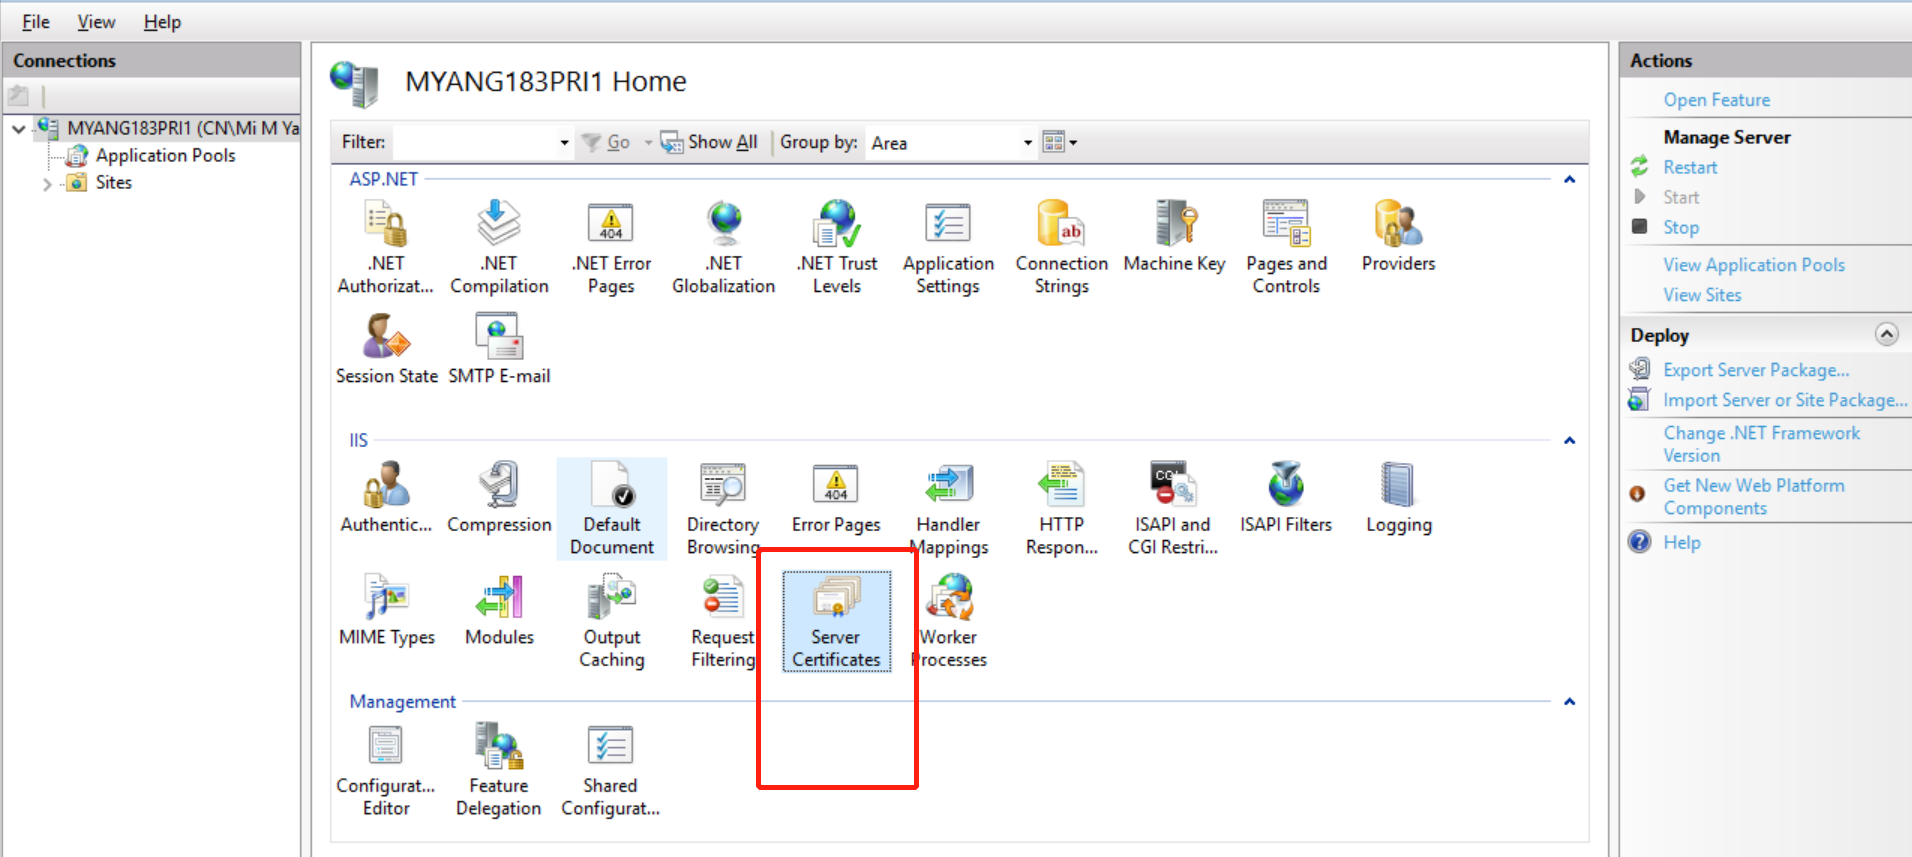
(二)接下来开始部署IIS 站点:
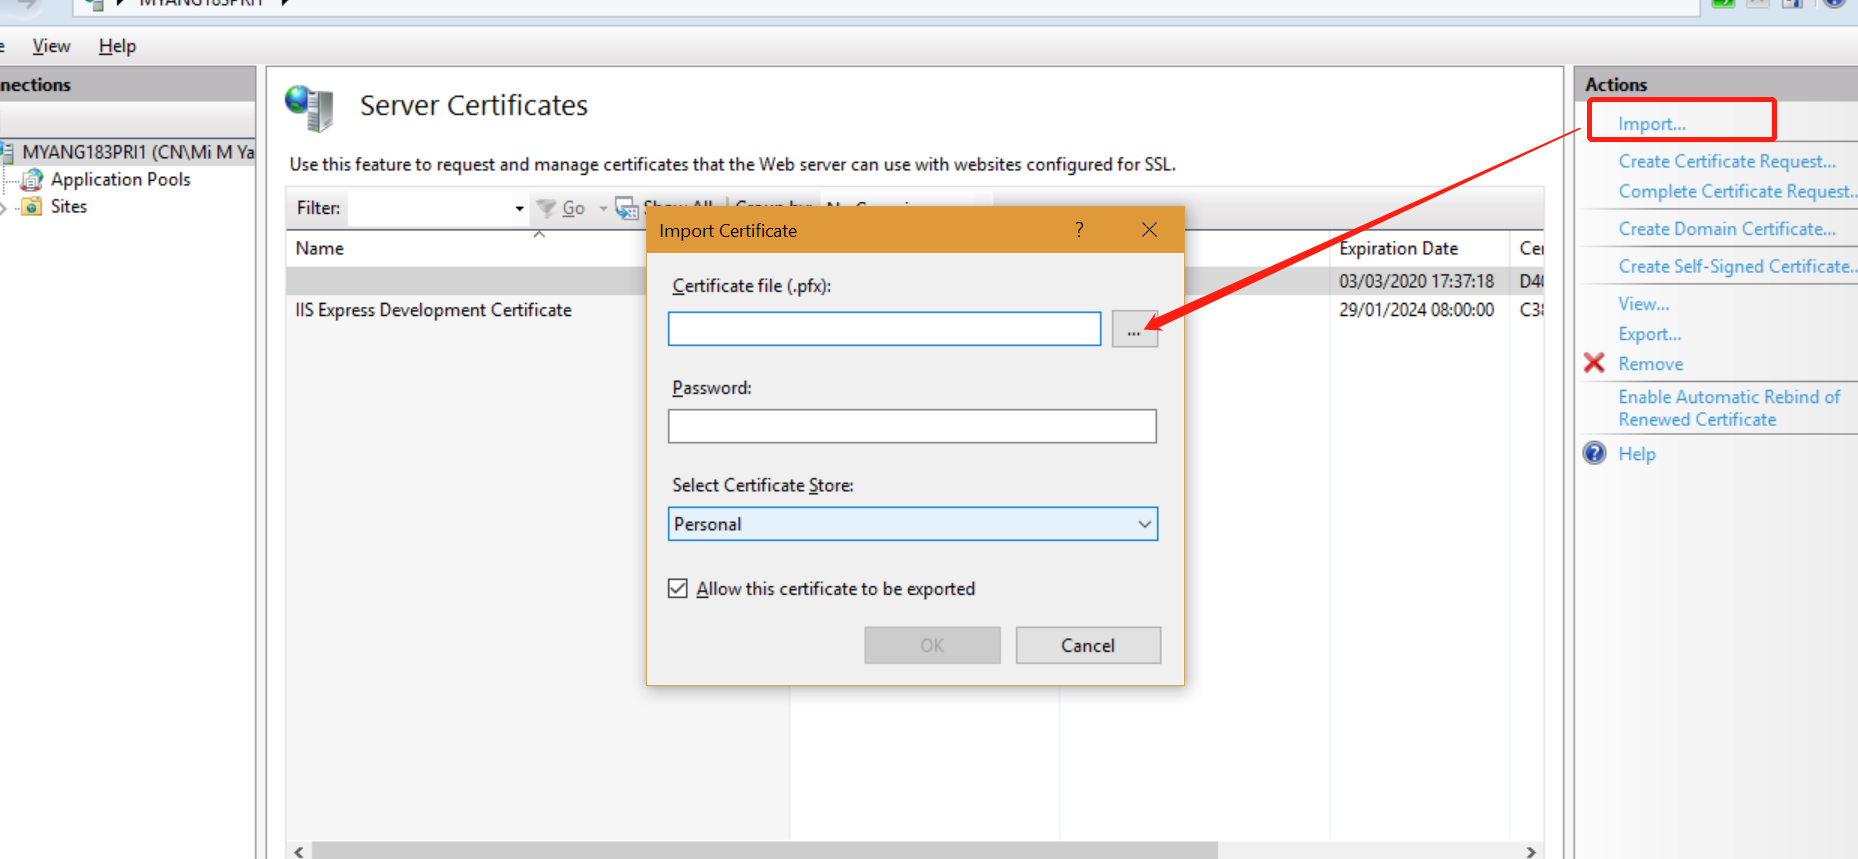
1. 在IIS 管理其中选择 服务端证书
2. 选择导入,找到对应的 .pfx 证书,输入密码后,确认导入
3. 在自己的站点绑定对应的 SSL 证书

完成以上工作后,一个https 站点就已经完成
测试Demo:
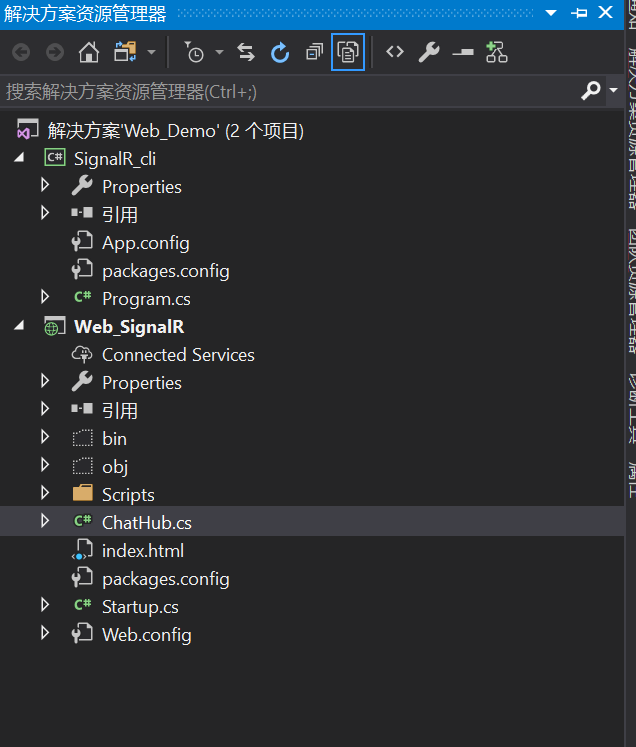
客户端:
 using Microsoft.AspNet.SignalR.Client;

 using System;

 using System.Collections.Generic;

 using System.Linq;

 using System.Security.Cryptography.X509Certificates;

 using System.Text;

 using System.Threading.Tasks;

 namespace SignalR_cli

 {

     class Program

     {

         static HubConnection hubConnection = null;

         static IHubProxy proxy = null;

         static void Main(string[] args)

         {

             //这里连接使用OpenSSL 生成的证书部署的 https 站点

             hubConnection = new HubConnection("https://10.158.229.20:443/");

             //var hubConnection = new HubConnection("http://10.158.229.20:8081/");

             //请求的时候一定带上对应站点部署的证书

             hubConnection.AddClientCertificate(X509Certificate.CreateFromSignedFile(@"E:\cer_demo\myself.cer"));

             proxy = hubConnection.CreateHubProxy("ChatHub");

             hubConnection.Start();

             Console.WriteLine((int)hubConnection.State);

             while (true)

             {

                 try

                 {

                     Console.WriteLine("Input:");

                     var msg = Console.ReadLine();

                     Go(msg);//异步发送消息就好了

                 }

                 catch (Exception e)

                 {

                     Console.WriteLine(e.Message);

                 }

             }

         }

         static async Task Go(string msg)

         {

             await proxy.Invoke("Send", "userCenter", msg);

         }

     }

 }
服务端:参考的官方文档
 using System;

 using System.Collections.Generic;

 using System.Linq;

 using System.Web;

 using Microsoft.AspNet.SignalR;

 namespace Web_SignalR

 {

     public class ChatHub : Hub

     {

         public void Send(string name, string message)

         {

             Clients.All.broadcastMessage(name, message);

         }

     }

 }
 using System;

 using System.Threading.Tasks;

 using Microsoft.Owin;

 using Owin;

 [assembly: OwinStartup(typeof(Web_SignalR.Startup))]

 namespace Web_SignalR

 {

     public class Startup

     {

         public void Configuration(IAppBuilder app)

         {

             // 有关如何配置应用程序的详细信息,请访问 https://go.microsoft.com/fwlink/?LinkID=316888

             app.MapSignalR();

         }

     }

 }
<!DOCTYPE html>
<html>
<head>
<title>SignalR Simple Chat</title>
<style type="text/css">
.container {
background-color: #99CCFF;
border: thick solid #;
padding: 20px;
margin: 20px;
}
</style>
</head>
<body>
<div class="container">
<input type="text" id="message" />
<input type="button" id="sendmessage" value="Send" />
<input type="hidden" id="displayname" />
<ul id="discussion"></ul>
</div>
<!--Script references. -->
<!--Reference the jQuery library. -->
<script src="Scripts/jquery-3.3.1.min.js"></script>
<!--Reference the SignalR library. -->
<script src="Scripts/jquery.signalR-2.2.2.min.js"></script>
<!--Reference the autogenerated SignalR hub script. -->
<script src="signalr/hubs"></script>
<!--Add script to update the page and send messages.-->
<script type="text/javascript">
$(function () {
// Declare a proxy to reference the hub.
var chat = $.connection.chatHub;
// Create a function that the hub can call to broadcast messages.
chat.client.broadcastMessage = function (name, message) {
// Html encode display name and message.
var encodedName = $('<div />').text(name).html();
var encodedMsg = $('<div />').text(message).html();
// Add the message to the page.
$('#discussion').append('<li><strong>' + encodedName
+ '</strong>: ' + encodedMsg + '</li>');
};
// Get the user name and store it to prepend to messages.
$('#displayname').val("test");
// Set initial focus to message input box.
$('#message').focus();
// Start the connection.
$.connection.hub.start().done(function () {
$('#sendmessage').click(function () {
// Call the Send method on the hub.
chat.server.send($('#displayname').val(), $('#message').val());
// Clear text box and reset focus for next comment.
$('#message').val('').focus();
});
});
});
</script>
</body>
</html>
效果演示:

IIS 使用OpenSSL 生成的自签名证书,然后使用SingalR 客户端访问Https 站点通信的更多相关文章
- linux下使用openssl生成 csr crt CA证书
证书文件生成:一.服务器端1.生成服务器端 私钥(key文件);openssl genrsa -des3 -out server.key 1024运行时会提示输入密码,此密码用于加密key文件( ...
- 【Azure 环境】把OpenSSL生产的自签名证书导入到Azure Key Vault Certificate中报错
问题描述 通过本地生成的自签名证书导入到Azure Key Vault Certificate报错. 错误信息 the specified PEM X.509 certificate content ...
- curl+个人证书(又叫客户端证书)访问https站点
摘自http://blog.csdn.net/chary8088/article/details/22990741 curl+个人证书(又叫客户端证书)访问https站点 目前,大公司的OA管理系统( ...
- 用Keytool和OpenSSL生成和签发数字证书
一)keytool生成私钥文件(.key)和签名请求文件(.csr),openssl签发数字证书 J2SDK在目录%JAVA_HOME%/bin提供了密钥库管理工具Keytool,用于管理密 ...
- OPENSSL生成SSL自签证书
OPENSSL生成SSL自签证书 目前,有许多重要的公网可以访问的网站系统(如网银系统)都在使用自签SSL证书,即自建PKI系统颁发的SSL证书,而不是部署支持浏览器的SSL证书. 支持浏览器的SSL ...
- centos7.6使用openssl生成CA签署的证书个人实验笔记
准备:客户端centos6.10 服务端Centos7.6 实验:客户端生成证书请求,服务端颁发证书,最后吊销其中一个证书 1.先在服务端上的/etc/pki/CA/目录生成rsa的私钥: 2.在服 ...
- 一键生成ssl自签名证书脚本
#!/bin/bash -e # * 为必改项 # * 更换为你自己的域名 CN='' # 例如: demo.rancher.com # 扩展信任IP或域名 ## 一般ssl证书只信任域名的访问请求, ...
- C#检测并安装https站点的数字证书,CefSharp和HttpWebRequest通过会话Cookie实现自动登录访问https站点
HttpUtil工具类: using System; using System.Collections.Generic; using System.IO; using System.Linq; usi ...
- requests访问https站点证书告警问题
背景 想使用api的方式去访问公司内部azkaban平台,https站点,azkaban的官方api文档使用的curl语句,如下: curl -k -X POST --data "actio ...
随机推荐
- linux 命令 — sort、uniq
sort uniq sort:对行或者文本文件排序 uniq:去除重复的行 常用 sort -n file.txt 按数字进行排序 sort -r file.txt 按逆序进行排序 sort -M f ...
- https下 http的会被阻塞 This request has been blocked; the content must be served over HTTPS.
如何在HTTPS 网页中引入HTTP资源: Mixed Content? https://segmentfault.com/q/1010000005872734/a-1020000005874533 ...
- C#泛型。
作用: 使用泛型可以实现算法重用. class Program { static void Main(string[] args) { MyClass<string> myClass = ...
- fiddle使用小结
1:保存发出的请求:右键Save,找到selected Sessions 选择 in ArchiveZip 2:更改header 重新发送请求:右键 Unlock For Editing 然后修改He ...
- Linq中的Select与Select many
Select与Select Many 之前在项目中查询数据库中的数据,都是通过sql语句来查询的,但是随着时代的发展,微软在.Net Framework 4.5版中推出的一个主要的特性——LINQ. ...
- [javaEE] Tomcat的安装与配置
下载压缩包,解压缩,好,安装完成 进入解压目录/bin/下面,找到startup.bat,双击,此时如果报错,那么就是没有设置环境变量JAVA_HOME,进入环境变量去设置,JAVA_HOME指向jd ...
- ajax实现跨域访问
ajax跨域访问是一个老生畅谈的问题啦,网上解决方法很多,discuz用的p3p协议,有兴趣的朋友可以了解下,比较常用的是JSONP方法,貌似目前这种方法只支持GET方式,不如POST方式安全. 即使 ...
- SpringMVC 的运行原理
0. 灵魂的拷问 问:SpringMVC 是什么?它有什么作用? 答:SpringMVC 的全称是 Spring Web Model-View-Controller,它是 Spring Fram ...
- Java自动内存管理机制学习(二):垃圾回收器与内存分配策略
备注:本文引自<深入理解Java虚拟机第二版>仅供参考 图片来自:http://csdn.net/WSYW126 垃圾收集器与内存分配策略 概述 GC要完成3件事: 哪些内存需要回收? 什 ...
- layui 自定义表单验证的几个实例
*注:使用本方法请先引入layui依赖的layu.js和layui.css 1.html <input type="text" name="costbudget&q ...