
使用IDEA 搭建一个 SpringBoot + Hibernate + Gradle 项目
现在创建个项目:
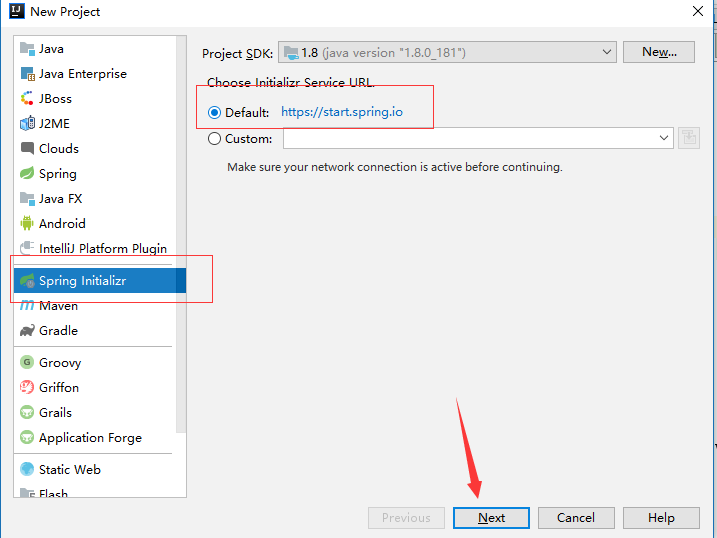
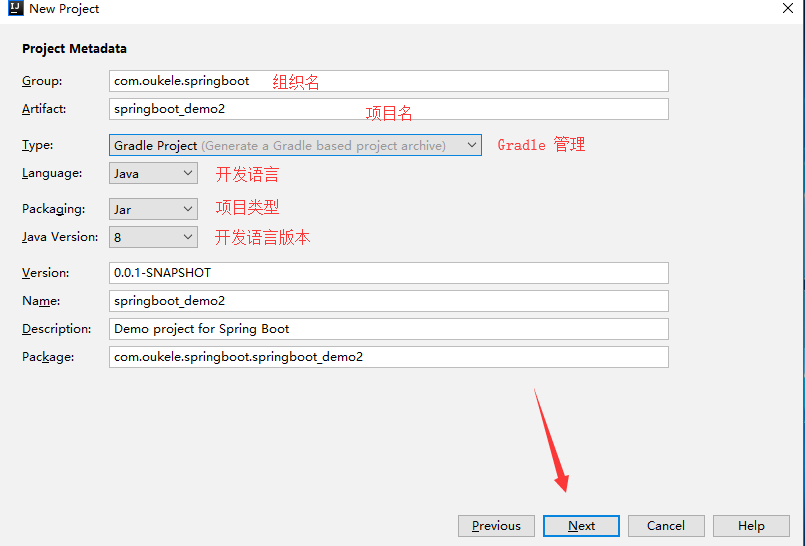
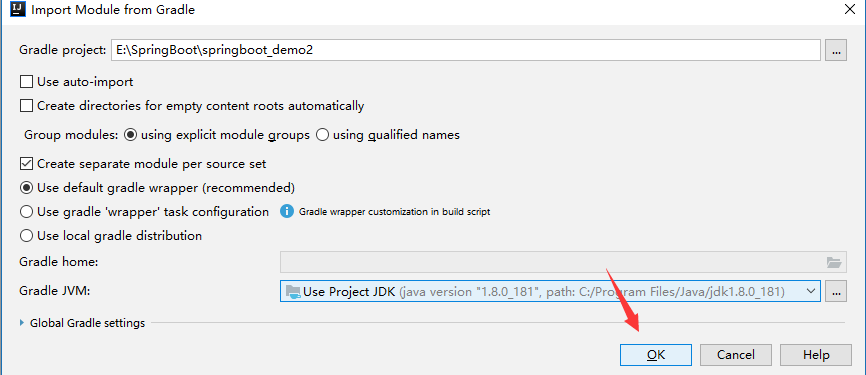
勾上 自已 需要东西。(这里作为演示)

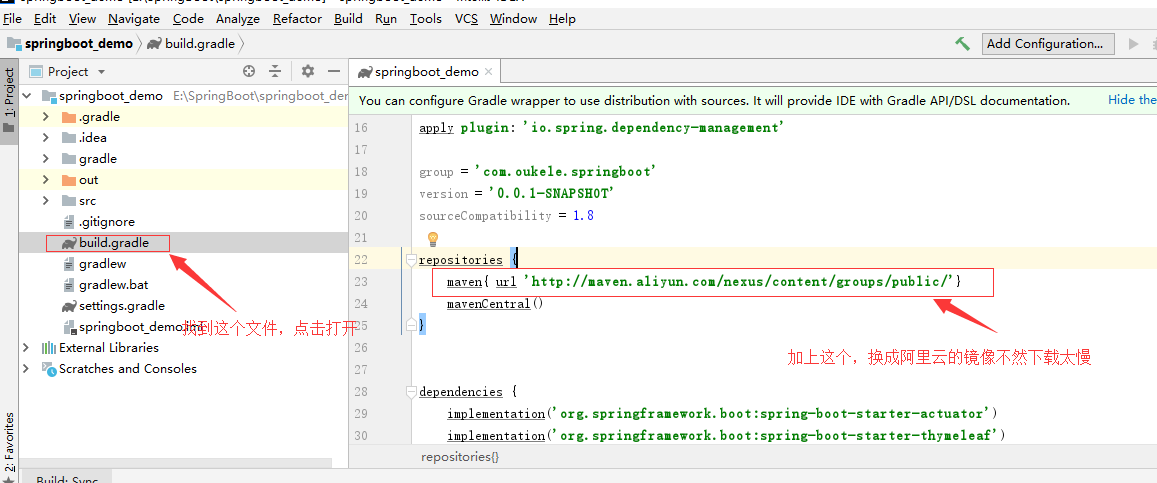
maven{ url 'http://maven.aliyun.com/nexus/content/groups/public/'}
关闭项目,重新打开。
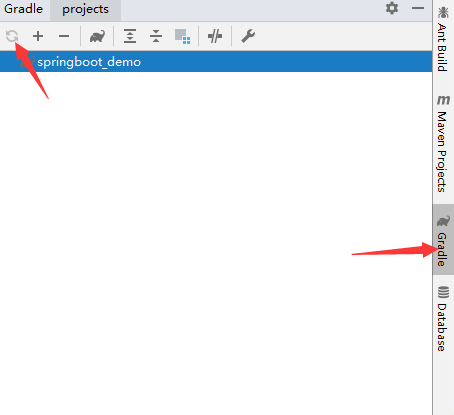
等待,依赖下载完成。

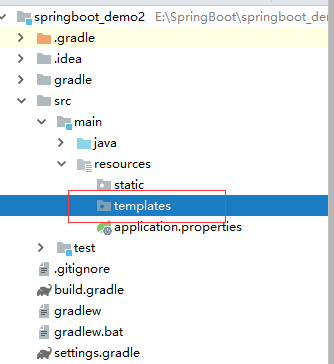
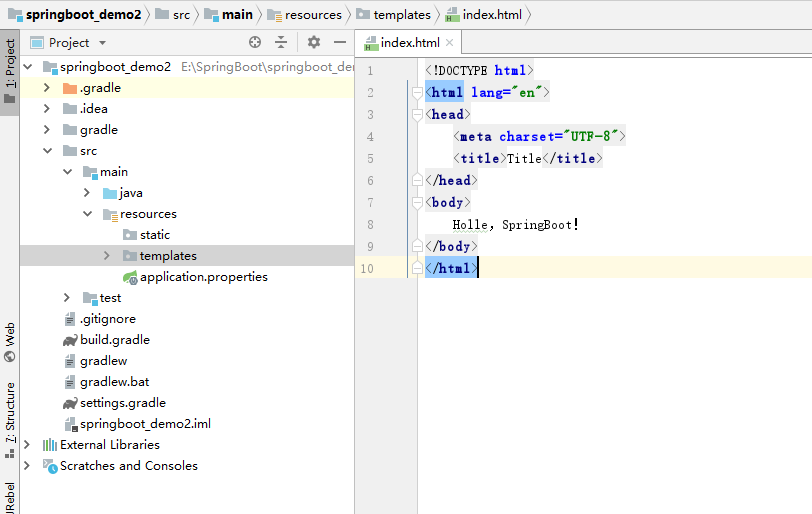
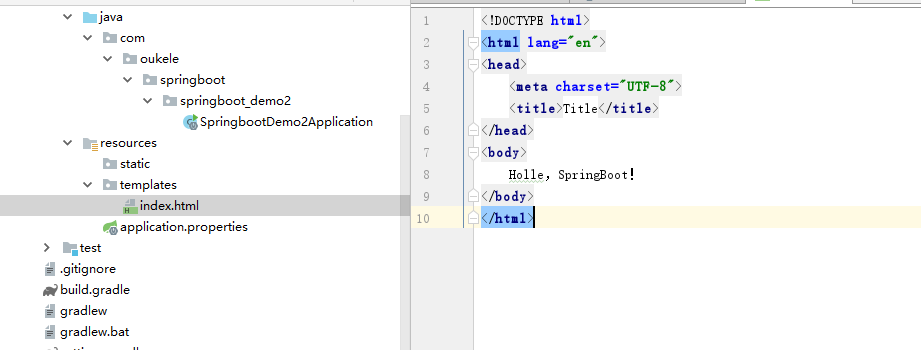
在 templates 文件夹 中 加入 一个 index.html 的文件
到这里,还要配置一下 数据库连接(刚刚加了 jpa),我这里作为演示使用的是 Mariadb数据库
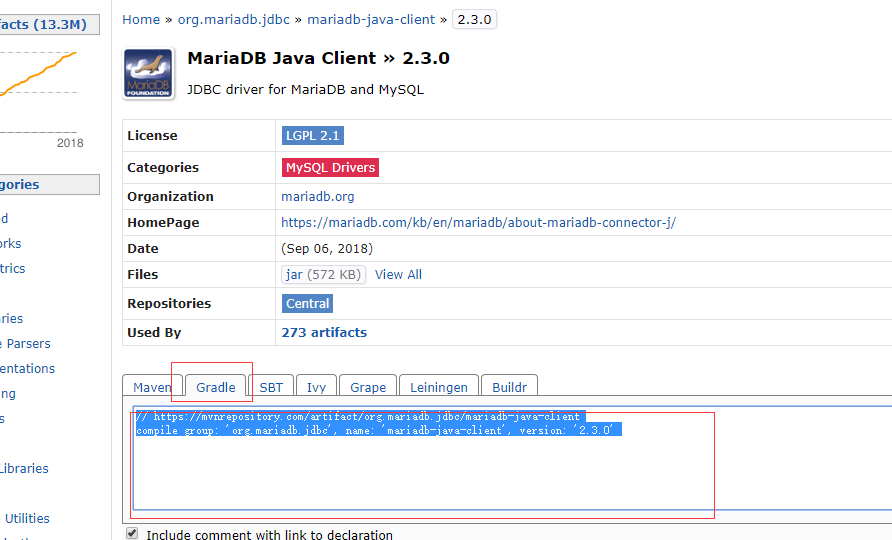
增加,依赖...
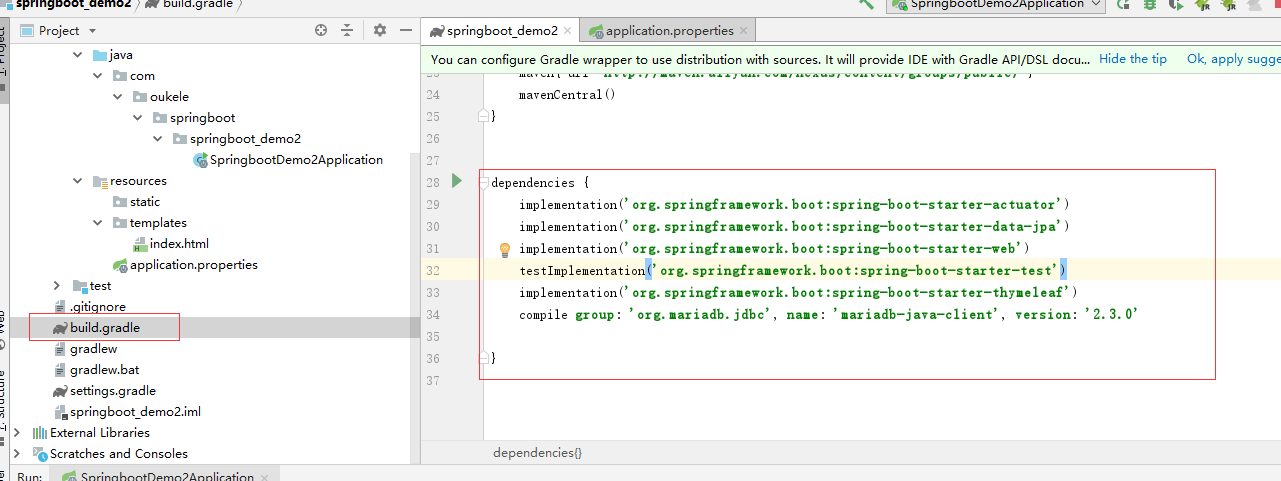
     implementation('org.springframework.boot:spring-boot-starter-actuator')

     implementation('org.springframework.boot:spring-boot-starter-data-jpa')

     implementation('org.springframework.boot:spring-boot-starter-web')

     testImplementation('org.springframework.boot:spring-boot-starter-test')

     implementation('org.springframework.boot:spring-boot-starter-thymeleaf')//视图引擎

     compile group: 'org.mariadb.jdbc', name: 'mariadb-java-client', version: '2.3.0'
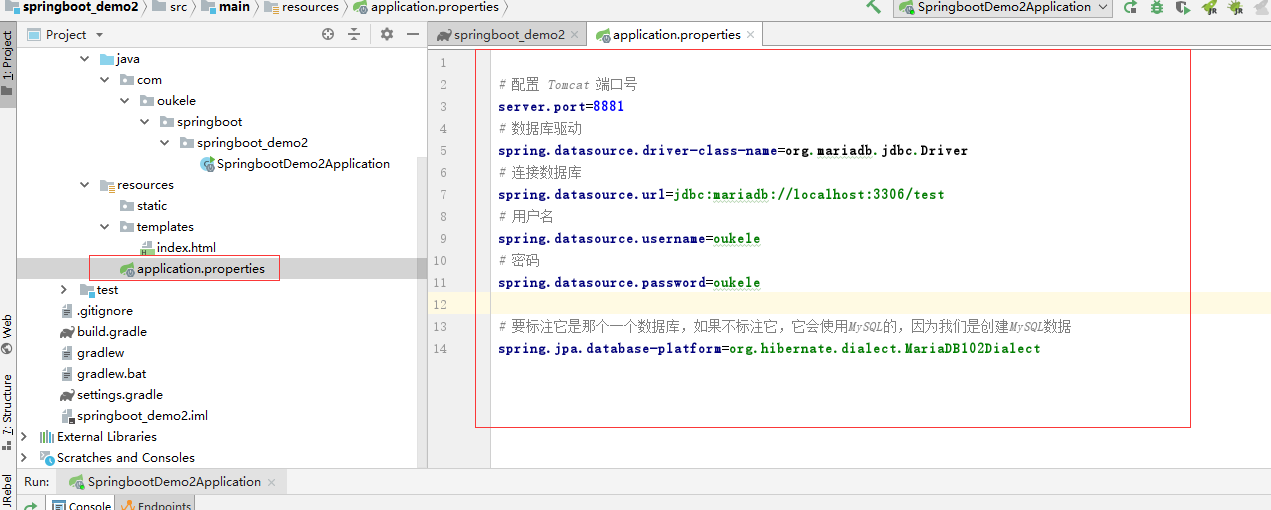
 # 配置 Tomcat 端口号

 server.port=8881

 # 数据库驱动

 spring.datasource.driver-class-name=org.mariadb.jdbc.Driver

 # 连接数据库

 spring.datasource.url=jdbc:mariadb://localhost:3306/test

 # 用户名

 spring.datasource.username=oukele

 # 密码

 spring.datasource.password=oukele

 # 要标注它是那个一个数据库,如果不标注它,它会使用MySQL的,因为我们是创建MySQL数据

 spring.jpa.database-platform=org.hibernate.dialect.MariaDB102Dialect
在 templates 文件夹 中 新建一个 index.html 页面
然后,启动。。
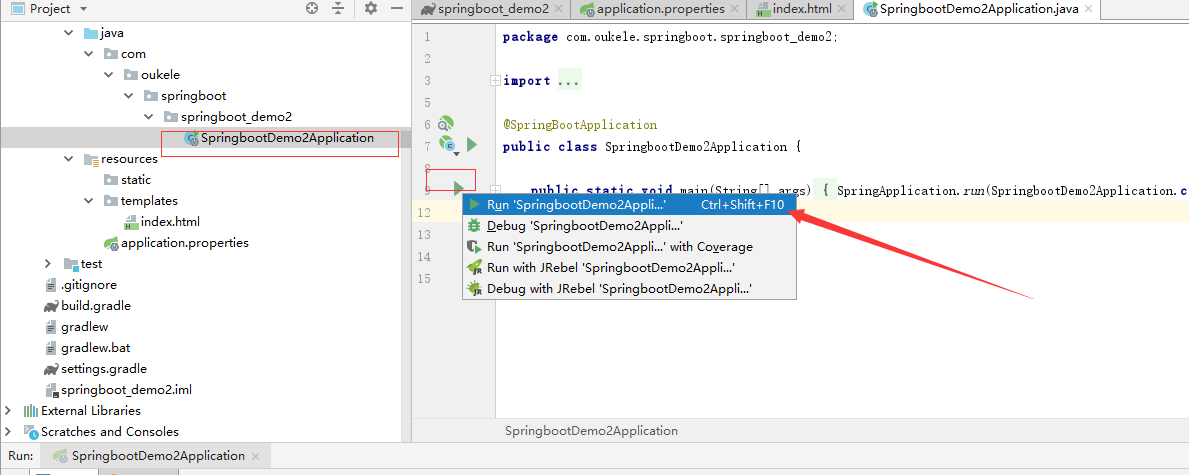
启动,成功

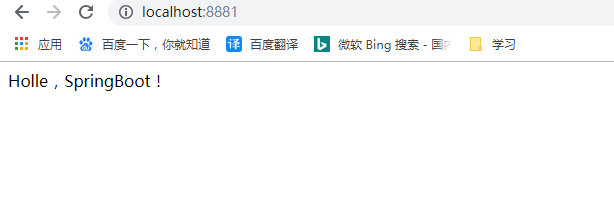
OK啦。
现在,我们去访问数据库,拿到数据吧。
项目结构:
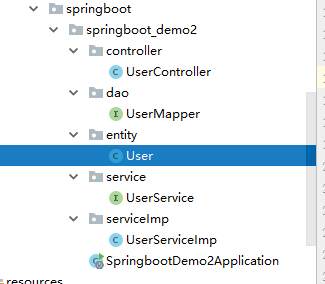
entity包中的User 类
 package com.oukele.springboot.springboot_demo2.entity;

 import javax.persistence.*;

 @Entity

 @Table(name = "user")//数据库的表名

 public class User {

     @Id

     @GeneratedValue(strategy = GenerationType.IDENTITY)//自动增长主键

     private int id;

     @Column(name = "username")//数据库的字段名,数据库 不区分大小写 这个 要注意

     private String name;

     private String password;

     public int getId() {

         return id;

     }

     public void setId(int id) {

         this.id = id;

     }

     public String getName() {

         return name;

     }

     public void setName(String name) {

         this.name = name;

     }

     public String getPassword() {

         return password;

     }

     public void setPassword(String password) {

         this.password = password;

     }

 }
dao 包中的 UserMapper 接口
package com.oukele.springboot.springboot_demo2.dao;

import com.oukele.springboot.springboot_demo2.entity.User;

import org.springframework.data.jpa.repository.JpaRepository;

import org.springframework.stereotype.Repository;

public interface UserMapper extends JpaRepository<User,Integer> {

}
service包中的 UserService 接口
package com.oukele.springboot.springboot_demo2.service;

import com.oukele.springboot.springboot_demo2.entity.User;

import java.util.List;

public interface UserService {

    List<User> listAll();

}
serviceImp 包中的 UserServiceImp 类
package com.oukele.springboot.springboot_demo2.serviceImp;

import com.oukele.springboot.springboot_demo2.dao.UserMapper;

import com.oukele.springboot.springboot_demo2.entity.User;

import com.oukele.springboot.springboot_demo2.service.UserService;

import org.springframework.beans.factory.annotation.Autowired;

import org.springframework.stereotype.Service;

import java.util.List;

@Service

public class UserServiceImp implements UserService {

    @Autowired

    private UserMapper userMapper;

    @Override

    public List<User> listAll() {

        return userMapper.findAll();

    }

}
controller 包 中 的 UserController 类
 package com.oukele.springboot.springboot_demo2.controller;

 import com.oukele.springboot.springboot_demo2.entity.User;

 import com.oukele.springboot.springboot_demo2.serviceImp.UserServiceImp;

 import org.springframework.beans.factory.annotation.Autowired;

 import org.springframework.web.bind.annotation.RequestMapping;

 import org.springframework.web.bind.annotation.RequestMethod;

 import org.springframework.web.bind.annotation.RestController;

 import java.util.List;

 @RestController

 public class UserController {

     @Autowired

     private UserServiceImp userServiceImp;

     @RequestMapping(path = "list",method = RequestMethod.GET)

     public List<User> getList(){

         return userServiceImp.listAll();

     }

 }
重新启动,运行结果:
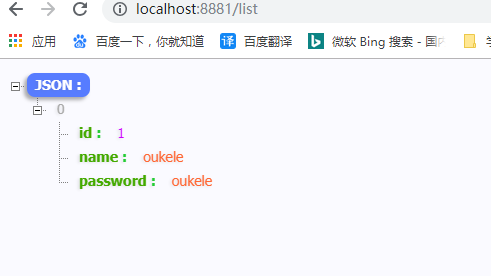
。这样就快速完成了一个 SpringBoot项目。
示例源码下载地址:https://github.com/oukele/SpringBoot-demo1
使用IDEA 搭建一个 SpringBoot + Hibernate + Gradle 项目的更多相关文章
- 使用IDEA 搭建一个SpringBoot + Hibernate + Gradle
---恢复内容开始--- 打开IDEA创建一个新项目: 第一步: 第二步: 第三步: 最后一步: 如果下载的时候时间太久.可以找到build.gradle文件,添加以下代码.如下图 maven{ ur ...
- 手把手搭建一个完整的javaweb项目
手把手搭建一个完整的javaweb项目 本案例使用Servlet+jsp制作,用MyEclipse和Mysql数据库进行搭建,详细介绍了搭建过程及知识点. 下载地址:http://download.c ...
- 小记如何有顺序的搭建一个Spring的web项目
如何有顺序的搭建一个Spring的web项目 一.新建一个简单的maven,war工程 eclipse下如有报错,右键 Deployment 单击 Generate 生成web.xml后可解决报错 二 ...
- 快速搭建一个基于react的项目
最近在学习react,快速搭建一个基于react的项目 1.创建一个放项目文件夹,用编辑器打开 2.打开集成终端输入命令: npm install -g create-react-app 3. cre ...
- react全家桶从0搭建一个完整的react项目(react-router4、redux、redux-saga)
react全家桶从0到1(最新) 本文从零开始,逐步讲解如何用react全家桶搭建一个完整的react项目.文中针对react.webpack.babel.react-route.redux.redu ...
- 5分钟快速搭建一个springboot的项目
现在开发中90%的人都在使用springboot进行开发,你有没有这样的苦恼,如果让你新建一个springboot开发环境的项目,总是很苦恼,需要花费很长时间去调试.今天来分享下如何快速搭建. 一 ...
- 用Eclipse 搭建一个Maven Spring SpringMVC 项目
1: 先创建一个maven web 项目: 可以参照之前的文章: 用Maven 创建一个 简单的 JavaWeb 项目 创建好之后的目录是这样的; 2: 先配置maven 修改pom.xml & ...
- springboot入门(一)--快速搭建一个springboot框架
原文出处 前言在开始之前先简单介绍一下springboot,springboot作为一个微框架,它本身并不提供Spring框架的核心特性以及扩展功能,只是用于快速.敏捷地开发新一代基于Spring框架 ...
- 带你搭建一个简单的mybatis项目:IDEA+spring+springMVC+mybatis+Mysql
最近小编有点闲,突发奇想想重温一下mybatis,然后在脑海中搜索了一下,纳尼,居然不太会用了,想到这里都是泪啊!!现在我所呆的的公司使用的是springboot+hebinate,编程都是使用的JP ...
随机推荐
- SpringMvc框架 解决在RESTFUL接口后加任意 “.xxx” 绕过权限的问题
问题描述: 框架使用的是SpringMVC.SpringSecurity,在做权限拦截的时候发现一个问题,假设对请求路径/user/detail进行了权限拦截,在访问/user/detail.abc的 ...
- centos7安装oracle1201c
root身份安装依赖包: yum -y install binutils compat-libcap1 compat-libstdc++-33 compat-libstdc++-33*.i686 el ...
- oracle:archiver error. Connect internal only, until freed 原因以及错误的处理方法
今天小编遇到这个数据原因,通过查找资料解决了,问题原因就是数据默认存储日志的文件夹满了 1.首先通过cmd命令窗口连接超级管理员,sqlplus / as sysdba; 2.查询db_recover ...
- 小记--------spark的Master的Application注册机制源码分析及Master的注册机制原理分析
原理图解: Master类位置所在:spark-core_2.11-2.1.0.jar的org.apache.spark.deploy.master下的Master类 //截取了部分代码 //处理 ...
- Linux操作系统文档
一 Linux操作系统概述 l为什么要学习Linux操作系统: 1. 大部分服务端都是使用Linux操作系统(Django,爬虫,科学运算等项目是部署到服务器中的) 2. 一些企业和学校(国外学校 ...
- Leaf Sets CodeForces - 1042F (树,最小划分)
大意: 给定树, 求叶子的最小划分, 使得每个划分内任意两个叶子距离不超过k. 任选一个非叶结点, 贪心合并. #include <iostream> #include <sstre ...
- C#进阶之WebAPI(一)
最近出去面试,被问到关于WebAPI的知识,因为项目中没有单独写过WebAPI,使用的时候是和mvc结合在一起使用的,所以,在我的印象中WebAPI和mvc是差不多的,这种答案当然不能让人满意了,于是 ...
- vue入门:(计算属性和侦听器)
methods watch computed 一.methods-方法 在数据渲染是需要基于多个数据时第一种方法,可以采用methods属性中的方法计算返回值来实现,先来看示例: <div id ...
- Golang Gateway API 搭建教程
原文链接 随着微服务的兴起,行业里出现了非常多优秀的微服务网关框架,今天教大家搭建一套国人,用Golang写的微服务网关框架. 这里啰嗦一句,可能到今天还有人不理解什么是微服务,为什么要用微服务.目前 ...
- Tomcat----服务运行的容器
在介绍Tomcat之前,我们先介绍一个概念Servlet. Servlet是一个运行在WEB服务器上的小的Java程序,用来接收和响应从客户端发送过来的请求,通常使用HTTP协议.从下图可以看出Ser ...