sklearn机器学习-特征提取1
scikit-learn机器学习的特征提取部分较多nlp内容,故学到一半学不下去,看完nltk再来补上
scikit-learn机器学习的特征提取这一章感觉讲的不是特别好,所以会结合着来看
首先是Dictvectorizer
from sklearn.feature_extraction import DictVectorizer

onehot_encoder = DictVectorizer()

X = [{'city':'New York'},{'city':'San Francisco'},{'city':'Chapel Hill'}]

print(onehot_encoder.fit_transform(X).toarray())
[[0. 1. 0.]

 [0. 0. 1.]

 [1. 0. 0.]]
这里的toarray方法,在很多one-hot方法中都有,需要注意一下
然后这里必须传入字典形式
measurements = [{'city':'Beijing','country':'CN','temperature':33.},{'city':'London','country':'UK','temperature':12.},{'city':'San Fransisco','country':'USA','temperature':18.}]

#从sklearn.feature_extraction导入DictVectorizer

from sklearn.feature_extraction import DictVectorizer

vec = DictVectorizer()

#输出转化后的特征矩阵

print(vec.fit_transform(measurements).toarray())

#输出各个维度的特征含义

print(vec.get_feature_names_out())
[[ 1.  0.  0.  1.  0.  0. 33.]

 [ 0.  1.  0.  0.  1.  0. 12.]

 [ 0.  0.  1.  0.  0.  1. 18.]]

['city=Beijing' 'city=London' 'city=San Fransisco' 'country=CN'

 'country=UK' 'country=USA' 'temperature']
StandardScalar:
$X = \frac{x-\mu}{\sigma}$
MinMaxScalar:
$X = \frac{x-x_{min}(axis=0)}{x_{max}(axis=0)-x_{min}(axis=0)}$
scale:
$X = \frac{x-x_{mean}}{\sigma}$
或者还可以使用RoubustScalar
from sklearn import preprocessing

import numpy as np

X = np.array([[0,0,5,13,9,1],[0,0,13,15,10,15],[0,3,15,2,0,11]])

print(preprocessing.scale(X))

[[ 0.         -0.70710678 -1.38873015  0.52489066  0.59299945 -1.35873244]

 [ 0.         -0.70710678  0.46291005  0.87481777  0.81537425  1.01904933]

 [ 0.          1.41421356  0.9258201  -1.39970842 -1.4083737   0.33968311]]
或者也可以直接写
from sklearn.preprocessing import scale

import numpy as np

X = np.array([[0,0,5,13,9,1],[0,0,13,15,10,15],[0,3,15,2,0,11]])

sc = scale(X)

print(sc)
词袋模型
希望我能用一段中文描述,多记一下这个CountVectorizer
CountVectorizer是属于常见的特征数值计算类,是一个文本特征提取方法,对于每一个训练文本,只考虑每种词汇在该训练文本中出现的频率,也即ConutVectorizer会将文本中的词语转换为词频矩阵
corpus = ['UNC played Duke in basketball','duke lost the basketball game']

from sklearn.feature_extraction.text import CountVectorizer

vectorizer = CountVectorizer()

print(vectorizer.fit_transform(corpus).todense())

print(vectorizer.vocabulary_)
注意,这里有Duke,还有duke
[[1 1 0 1 0 1 0 1]

 [1 1 1 0 1 0 1 0]]

{'unc': 7, 'played': 5, 'duke': 1, 'in': 3, 'basketball': 0, 'lost': 4, 'the': 6, 'game': 2}
corpus.append("I ate a sandwich")

print(vectorizer.fit_transform(corpus).todense())

print(vectorizer.vocabulary_)

[[0 1 1 0 1 0 1 0 0 1]

 [0 1 1 1 0 1 0 0 1 0]

 [1 0 0 0 0 0 0 1 0 0]]

{'unc': 9, 'played': 6, 'duke': 2, 'in': 4, 'basketball': 1, 'lost': 5, 'the': 8, 'game': 3, 'ate': 0, 'sandwich': 7}
上述文档中,第一行应该是和第二行比较接近,在sklearn中,用eculidean_distances来计算向量间的距离
from sklearn.metrics.pairwise import euclidean_distances

from sklearn.feature_extraction.text import CountVectorizer

corpus = ['UNC played Duke in basketball','Duke lost the basketball game','I ate a sandwich']# 文集

vectorizer =CountVectorizer()#

counts = vectorizer.fit_transform(corpus).todense() #得到文集corpus的特征向量,并将其转为密集矩阵

print(counts)

for x,y in [[0,1],[0,2],[1,2]]:

    dist = euclidean_distances(counts[x],counts[y])

    print('文档{}与文档{}的距离{}'.format(x,y,dist))
[[0 1 1 0 1 0 1 0 0 1]

 [0 1 1 1 0 1 0 0 1 0]

 [1 0 0 0 0 0 0 1 0 0]]

文档0与文档1的距离[[2.44948974]]

文档0与文档2的距离[[2.64575131]]

文档1与文档2的距离[[2.64575131]]
维度太高的话,复杂度会比较大,一般需要用到降维的方法
方法一在上述中用到了,就是所有大写都变成了小写
方法二,停用词过滤,即加上stop_words
vectorizer = CountVectorizer(stop_words='english')

print(vectorizer.fit_transform(corpus).todense())

print(vectorizer.vocabulary_)

[[0 1 1 0 0 1 0 1]

 [0 1 1 1 1 0 0 0]

 [1 0 0 0 0 0 1 0]]

{'unc': 7, 'played': 5, 'duke': 2, 'basketball': 1, 'lost': 4, 'game': 3, 'ate': 0, 'sandwich': 6}
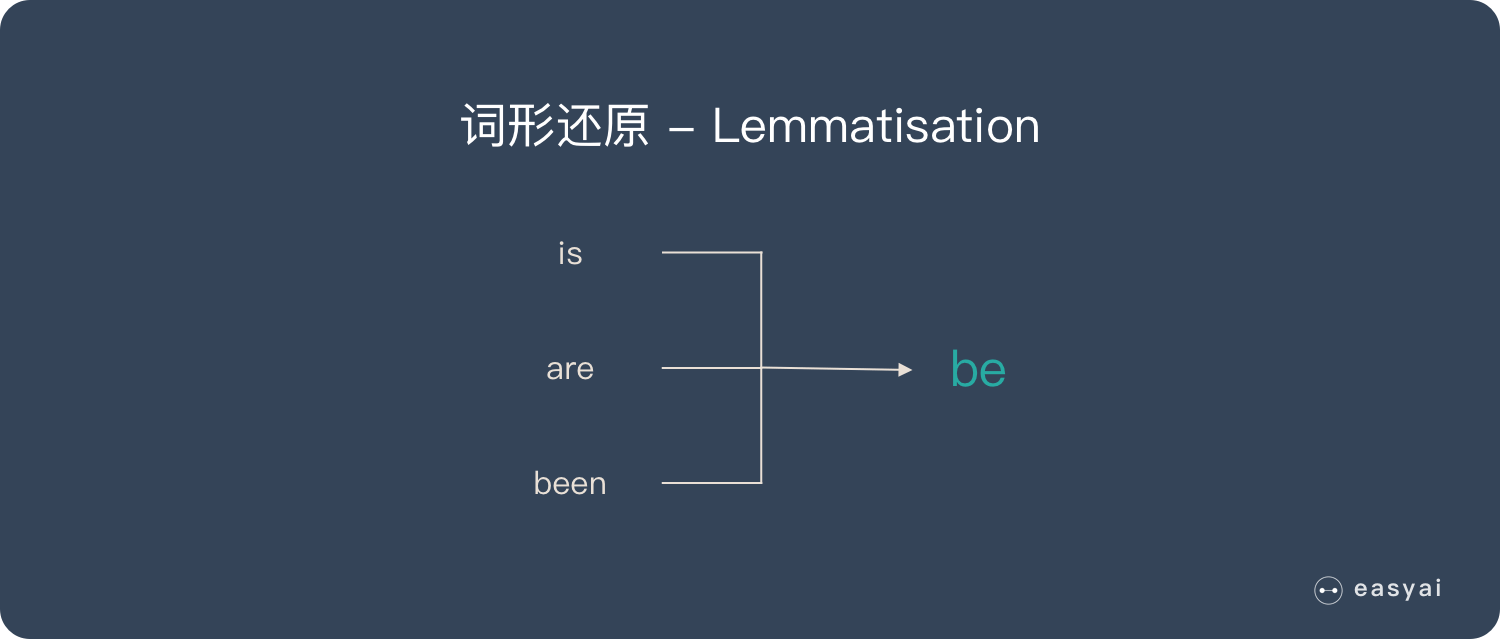
方法三,还是CountVectorizer,这次是词干提取和词形还原
词干提取:去后缀

词形还原:将单词的复杂形态转变成最基础的形态
词干提取主要方法:Porter、Snowball、Lancaster
词形还原主要方法:使用NLTK库,再加上WordNet方法
在实际的代码中,注意一下一下内容的输出
corpus = ['he ate the sandwiches ','Every sandwich was eaten by him']

vectorizer = CountVectorizer(binary=True,stop_words='english')

print(vectorizer.fit_transform(corpus).todense())

print(vectorizer.vocabulary_)

[[1 0 0 1]

 [0 1 1 0]]

{'ate': 0, 'sandwiches': 3, 'sandwich': 2, 'eaten': 1}
corpus = ['he ate the sandwiches every day','Every sandwich was eaten by him']

vectorizer = CountVectorizer(binary=True,stop_words='english')

print(vectorizer.fit_transform(corpus).todense())

print(vectorizer.vocabulary_)

[[1 1 0 0 1]

 [0 0 1 1 0]]

{'ate': 0, 'sandwiches': 4, 'day': 1, 'sandwich': 3, 'eaten': 2}
corpus = ['jack ate the sandwiches every day','Every sandwich was eaten by him']

vectorizer = CountVectorizer(binary=True,stop_words='english')

print(vectorizer.fit_transform(corpus).todense())

print(vectorizer.vocabulary_)

[[1 1 0 1 0 1]

 [0 0 1 0 1 0]]

{'jack': 3, 'ate': 0, 'sandwiches': 5, 'day': 1, 'sandwich': 4, 'eaten': 2}
可以看出,上述的词干提取,并不是简答剔除重复的,而是将无用的信息页剔除掉了,这一点需要注意。同时也反映了CountVectorizer的好用
接下来使用nltk
corpus = ['I am gathering ingredients for the sandwich.','There were many wizards at the gathering.']

from nltk.stem.wordnet import WordNetLemmatizer

lemmatizer = WordNetLemmatizer()

print(lemmatizer.lemmatize('gathering','v'))

print(lemmatizer.lemmatize('gathering','n'))

gather

gathering
sklearn机器学习-特征提取1的更多相关文章
- Python 3 利用 Dlib 19.7 和 sklearn机器学习模型 实现人脸微笑检测
0.引言 利用机器学习的方法训练微笑检测模型,给一张人脸照片,判断是否微笑: 使用的数据集中69张没笑脸,65张有笑脸,训练结果识别精度在95%附近: 效果: 图1 示例效果 工程利用pytho ...
- 使用sklearn机器学习库实现线性回归
import numpy as np # 导入科学技术框架import matplotlib.pyplot as plt # 导入画图工具from sklearn.linear_model imp ...
- Python线性回归算法【解析解,sklearn机器学习库】
一.概述 参考博客:https://www.cnblogs.com/yszd/p/8529704.html 二.代码实现[解析解] import numpy as np import matplotl ...
- 用python+sklearn(机器学习)实现天气预报数据 模型和使用
用python+sklearn机器学习实现天气预报 模型和使用 项目地址 系列教程 0.前言 1.建立模型 a.准备 引入所需要的头文件 选择模型 选择评估方法 获取数据集 b.建立模型 c.获取模型 ...
- 用python+sklearn(机器学习)实现天气预报数据 数据
用python+sklearn机器学习实现天气预报 数据 项目地址 系列教程 勘误表 0.前言 1.爬虫 a.确认要被爬取的网页网址 b.爬虫部分 c.网页内容匹配取出部分 d.写入csv文件格式化 ...
- 用python+sklearn(机器学习)实现天气预报 准备
用python+sklearn机器学习实现天气预报 准备 项目地址 系列教程 0.流程介绍 1. 环境搭建 a.python b.涉及到的机器学习相关库 sklearn panda seaborn j ...
- 5分钟教你玩转 sklearn 机器学习(上)
假期结束,你的状态有没有回归?那么,放空脑袋后,先来学习学习,欢迎大家继续关注腾讯云技术社区. 作者:赵成龙 这是一篇很难写的文章,因为我希望这篇文章能对大家有所帮助.我不会给大家介绍机器学习,数据挖 ...
- sklearn文本特征提取
http://cloga.info/2014/01/19/sklearn_text_feature_extraction/ 文本特征提取 词袋(Bag of Words)表征 文本分析是机器学习算法的 ...
- Feature extraction - sklearn文本特征提取
http://blog.csdn.net/pipisorry/article/details/41957763 文本特征提取 词袋(Bag of Words)表征 文本分析是机器学习算法的主要应用领域 ...
随机推荐
- 转:C++初始化成员列表
转载至:https://blog.csdn.net/zlintokyo/article/details/6524185 C++初始化成员列表和新机制初始化表达式列表有几种用法: 1.如果类存在继承关系 ...
- 基于redis实现未登录购物车
springboot 工程 主要说明购物车流程(故将登录用户信息保存至session) 未登录时 将用户临时key 保存至cookie 有不足之处 请大佬指点 项目源码: https://github ...
- 【Visual Studio】VS 提示图标的含义
一.前言 vs 中提示图标是什么意思 二.正文 信号图标 以下信号图标应用于所有原有的图标并指示它们的辅助功能. 图标 描述 <No Signal Icon> Public. 可从此组件中 ...
- HTML5 版的flappy bird
Flappy Bird这款简单的小游戏累计下载量已经超过5000万次,每天收入至少5万美元.然而,2月10日其开发者Dong Nguyen却将Flappy Bird从苹果App Store和Googl ...
- 解决HDFS无法启动namenode,报错Premature EOF from inputStream;Failed to load FSImage file, see error(s) above for more info
一.情况描述 启动hadoop后发现无法打开hdfs web界面,50070打不开,于是jps发现少了一个namenode: 查看日志信息,发现如下报错: 2022-01-03 23:54:10,99 ...
- 每日所学之自学习大数据的Linux环境配置2
今天设置网络 出现报错 明天找时间解决 不用解决了 刚才试了以下 又能下载了 描述一下问题: cannot find a valid baseurl for repo:base/7/x86_64 如果 ...
- 将项目导入eclipse中出现的jsp页面报错
图片摘自百度经验,实在是每次都会忘了步骤,每次都得重新百度,所以索性自己总结到博客中,下次如果还记不住就直接从博客中看.原谅我实在学渣,呜呜~~~~(>_<)~~~~
- SpringBoot利用自定义注解实现通用的JWT校验方案
利用注解开发一个通用的JWT前置校验功能 设计的预期: 系统中并不是所有的应用都需要JWT前置校验,这就需要额外设计一个注解Annotation来标识这个方法需要JWT前置校验.例如: @GetMap ...
- Python入门-import导入模块功能
1.啥是模块 模块(module):用来实现或者多个功能的Python代码,(包含变量.函数.类),本质就是*.py后缀文件. 包(package):定义了一个由模块和子包组成的Python应用程序执 ...
- JavaScript 数组(Array)对象的方法
JavaScript 数组(Array)对象的方法 concat() 描述:用于连接两个或多个数组.该方法不会改变现有的数组,而仅仅会返回被连接数组的一个副本. 原型:arrayObject.conc ...