Spring Native打包本地镜像,无需通过Graal的maven插件buildtools
简介
在文章《GraalVM和Spring Native尝鲜,一步步让Springboot启动飞起来,66ms完成启动》中,我们介绍了如何使用Spring Native和buildtools插件,打包出本地镜像,也打包成Docker镜像。本文探索一下,如果不通过这个插件来生成镜像。这样我们可以控制更多、了解更多。
创建Spring Boot项目
创建Spring Boot项目,引入Spring Native,我们主要使用的是Spring Native提供的AOT功能。如下:
<dependencies>

  <dependency>

    <groupId>org.springframework.experimental</groupId>

    <artifactId>spring-native</artifactId>

    <version>${spring-native.version}</version>

  </dependency>

  <dependency>

    <groupId>org.springframework.boot</groupId>

    <artifactId>spring-boot-starter-web</artifactId>

  </dependency>

</dependencies>

<build>

  <plugins>

    <plugin>

      <groupId>org.springframework.experimental</groupId>

      <artifactId>spring-aot-maven-plugin</artifactId>

      <version>${spring-native.version}</version>

      <executions>

        <execution>

          <id>test-generate</id>

          <goals>

            <goal>test-generate</goal>

          </goals>

        </execution>

        <execution>

          <id>generate</id>

          <goals>

            <goal>generate</goal>

          </goals>

        </execution>

      </executions>

    </plugin>

  </plugins>

</build>
Build image的时候,我们需要引用依赖库,所以加上下面的插件:
<plugin>

  <artifactId>maven-dependency-plugin</artifactId>

  <executions>

    <execution>

      <phase>package</phase>

      <goals>

        <goal>copy-dependencies</goal>

      </goals>

      <configuration>

        <outputDirectory>${project.build.directory}/lib</outputDirectory>

      </configuration>

    </execution>

  </executions>

</plugin>
接着先编译出Java class,命令如下:
$ mvn clean package
打包本地镜像
前面的命令打包完,在target目录下会有一个lib目录,我们需要用上。通过native-image命令来生成镜像,如下:
$ native-image -cp ./target/classes/:target/lib/* com.pkslow.springboot.SpringbootGraalVMNativeMain Pkslow.SpringbootGraalVMNativeMain
这样就会生成一个可执行文件:Pkslow.SpringbootGraalVMNativeMain
执行如下:
$ ./Pkslow.SpringbootGraalVMNativeMain
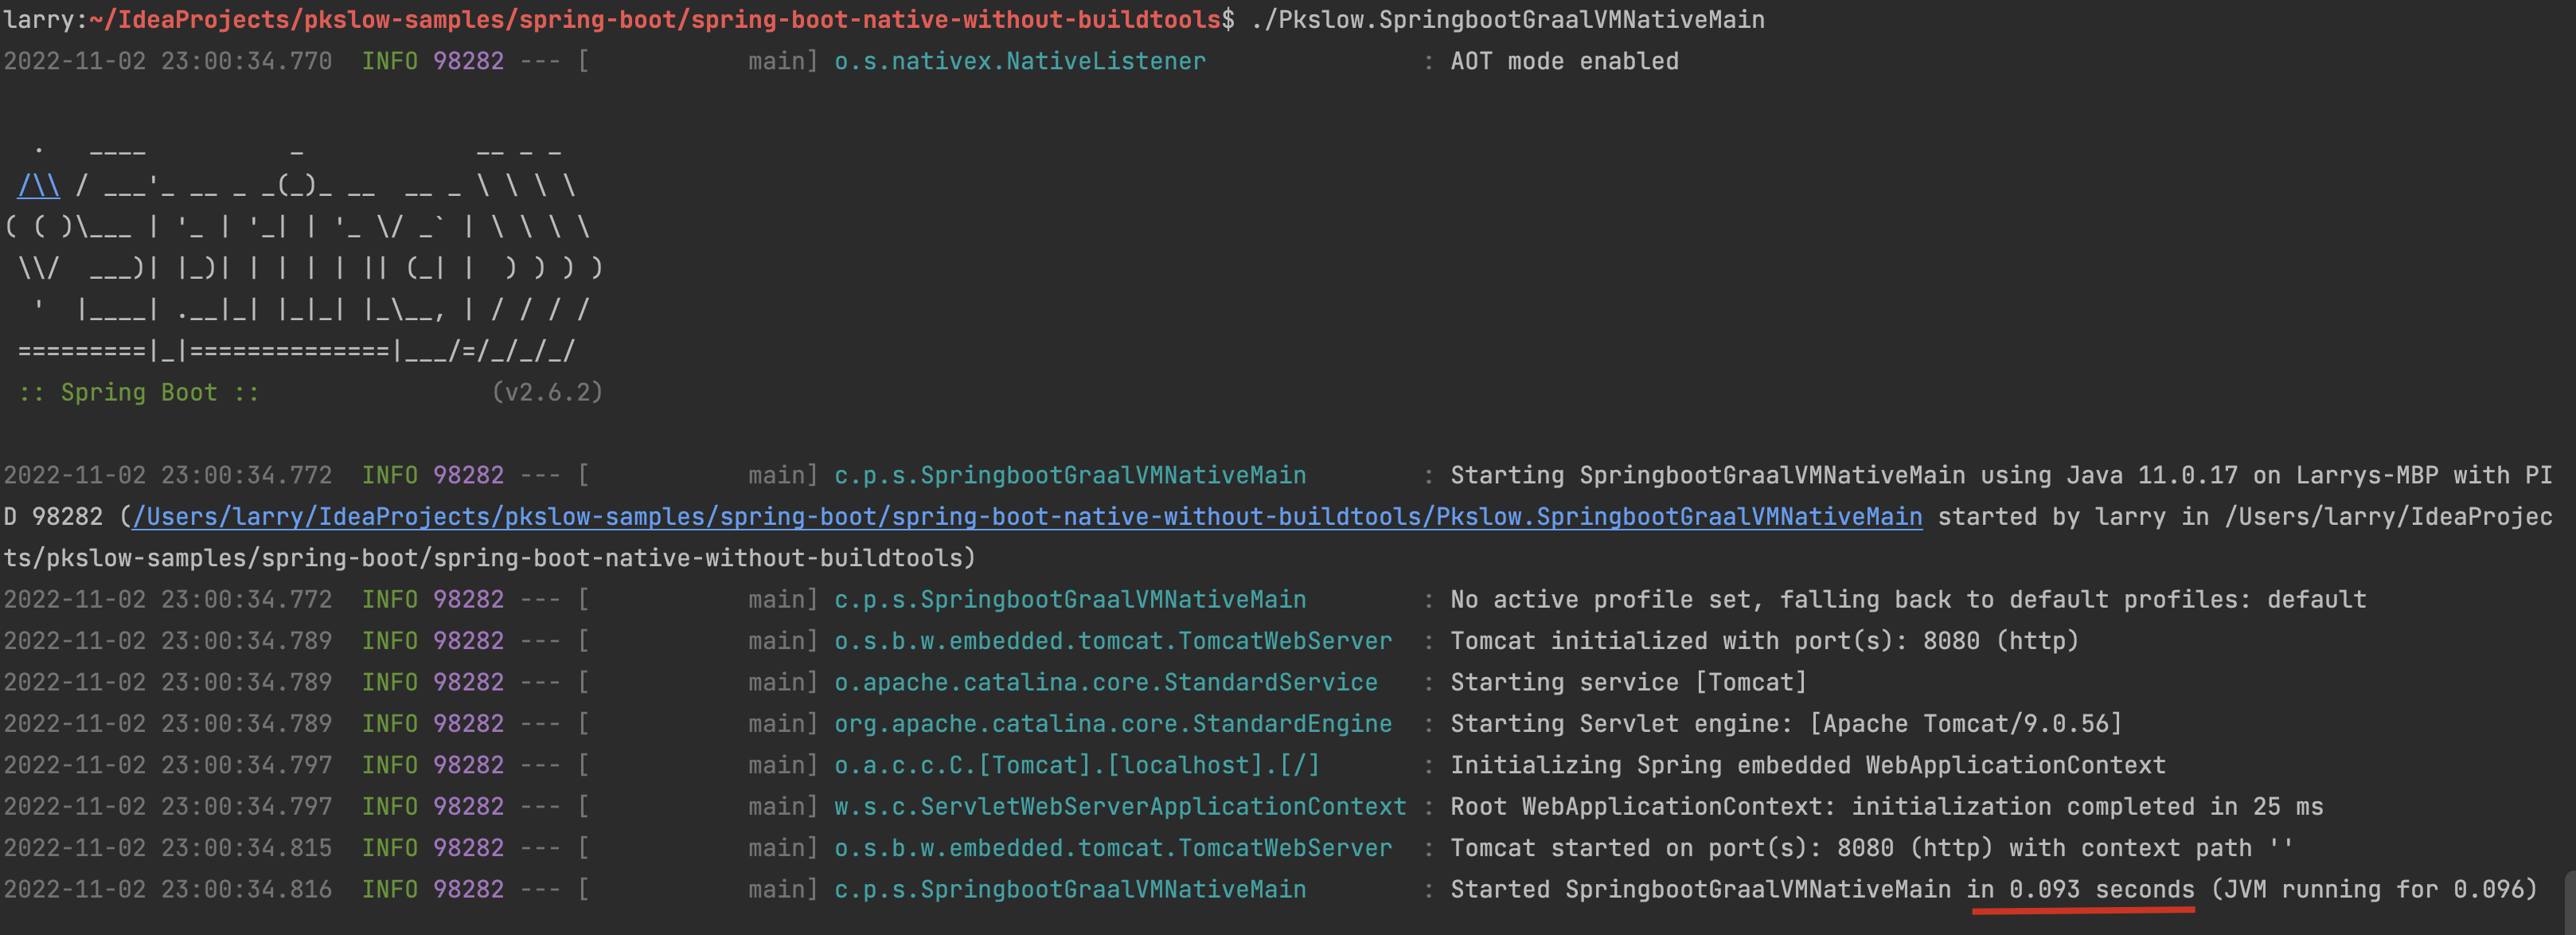
使用了93ms来启动,还是很快的。
访问服务是正常的:
$ curl -i http://localhost:8080/hi-graalvm

HTTP/1.1 200

Content-Type: text/plain;charset=UTF-8

Content-Length: 67

Date: Wed, 02 Nov 2022 15:08:44 GMT

This message is from Spring Boot built/run by GraalVM/Spring Native
创建Docker镜像
先拉取基础镜像:
$ docker pull springci/graalvm-ce:java11-0.12.x
进入容器看一下里面的状况:
$ docker run -it --rm --entrypoint bash springci/graalvm-ce:java11-0.12.x

root@d9b54bdce70a:/# pwd

/

root@d9b54bdce70a:/# java --version

openjdk 11.0.15 2022-04-19

OpenJDK Runtime Environment GraalVM 22.1.1.0-dev (build 11.0.15+10-jvmci-22.1-b06)

OpenJDK 64-Bit Server VM GraalVM 22.1.1.0-dev (build 11.0.15+10-jvmci-22.1-b06, mixed mode, sharing)

root@d9b54bdce70a:/# which java

/opt/java/bin/java

root@d9b54bdce70a:/# which native-image

/opt/java/bin/native-image
准备一下Dockerfile如下:
FROM springci/graalvm-ce:java11-0.12.x

VOLUME /tmp

ARG PORT=8080

ARG TIME_ZONE=Asia/Shanghai

ENV TZ=${TIME_ZONE}

EXPOSE ${PORT}

RUN pwd

RUN mkdir /pkslow-application

WORKDIR /pkslow-application/

RUN cd /pkslow-application

COPY target/classes/ /pkslow-application/classes/

COPY target/lib/ /pkslow-application/lib/

RUN native-image -cp /pkslow-application/classes/:/pkslow-application/lib/* \

    com.pkslow.springboot.SpringbootGraalVMNativeMain \

    Pkslow.SpringbootGraalVMNativeMain

ENTRYPOINT ["/pkslow-application/Pkslow.SpringbootGraalVMNativeMain"]
打包Docker镜像:
$ docker build . -t pkslow/spring-boot-native-without-buildtools:1.0-SNAPSHOT -f src/main/dker/Dockerfile
完成后通过下面命令启动,57ms完成启动:
$ docker run -it -p 8080:8080 --rm pkslow/spring-boot-native-without-buildtools:0-SNAPSHOT

2022-11-02 23:48:40.918  INFO 1 --- [           main] o.s.nativex.NativeListener               : AOT mode enabled

  .   ____          _            __ _ _

 /\\ / ___'_ __ _ _(_)_ __  __ _ \ \ \ \

( ( )\___ | '_ | '_| | '_ \/ _` | \ \ \ \

 \\/  ___)| |_)| | | | | || (_| |  ) ) ) )

  '  |____| .__|_| |_|_| |_\__, | / / / /

 =========|_|==============|___/=/_/_/_/

 :: Spring Boot ::                (v2.6.2)

2022-11-02 23:48:40.920  INFO 1 --- [           main] c.p.s.SpringbootGraalVMNativeMain        : Starting SpringbootGraalVMNativeMain using Java 11.0.15 on 12528bd45fd7 with PID 1 (/pkslow-application/Pkslow.SpringbootGraalVMNativeMain started by root in /pkslow-application)

2022-11-02 23:48:40.920  INFO 1 --- [           main] c.p.s.SpringbootGraalVMNativeMain        : No active profile set, falling back to default profiles: default

2022-11-02 23:48:40.934  INFO 1 --- [           main] o.s.b.w.embedded.tomcat.TomcatWebServer  : Tomcat initialized with port(s): 8080 (http)

2022-11-02 23:48:40.935  INFO 1 --- [           main] o.apache.catalina.core.StandardService   : Starting service [Tomcat]

2022-11-02 23:48:40.935  INFO 1 --- [           main] org.apache.catalina.core.StandardEngine  : Starting Servlet engine: [Apache Tomcat/9.0.56]

2022-11-02 23:48:40.940  INFO 1 --- [           main] o.a.c.c.C.[Tomcat].[localhost].[/]       : Initializing Spring embedded WebApplicationContext

2022-11-02 23:48:40.940  INFO 1 --- [           main] w.s.c.ServletWebServerApplicationContext : Root WebApplicationContext: initialization completed in 19 ms

2022-11-02 23:48:40.963  INFO 1 --- [           main] o.s.b.w.embedded.tomcat.TomcatWebServer  : Tomcat started on port(s): 8080 (http) with context path ''

2022-11-02 23:48:40.964  INFO 1 --- [           main] c.p.s.SpringbootGraalVMNativeMain        : Started SpringbootGraalVMNativeMain in 0.057 seconds (JVM running for 0.061)

2022-11-02 23:48:57.098  INFO 1 --- [nio-8080-exec-1] o.a.c.c.C.[Tomcat].[localhost].[/]       : Initializing Spring DispatcherServlet 'dispatcherServlet'

2022-11-02 23:48:57.098  INFO 1 --- [nio-8080-exec-1] o.s.web.servlet.DispatcherServlet        : Initializing Servlet 'dispatcherServlet'

2022-11-02 23:48:57.098  INFO 1 --- [nio-8080-exec-1] o.s.web.servlet.DispatcherServlet        : Completed initialization in 0 ms
测试正常启动:
$ curl -i http://127.0.0.1:8080/hi-graalvm

HTTP/1.1 200

Content-Type: text/plain;charset=UTF-8

Content-Length: 67

Date: Wed, 02 Nov 2022 15:49:05 GMT

This message is from Spring Boot built/run by GraalVM/Spring Native
为了集成打包镜像到CI/CD中,在pom添加以下插件:
<plugin>

  <groupId>org.codehaus.mojo</groupId>

  <artifactId>exec-maven-plugin</artifactId>

  <version>3.0.0</version>

  <executions>

    <execution>

      <phase>install</phase>

      <goals>

        <goal>exec</goal>

      </goals>

      <configuration>

        <skip>${docker.skip}</skip>

        <executable>docker</executable>

        <arguments>

          <argument>build</argument>

          <argument>.</argument>

          <argument>-t</argument>

          <argument>pkslow/${project.artifactId}:${project.version}</argument>

          <argument>-f</argument>

          <argument>src/main/docker/Dockerfile</argument>

        </arguments>

      </configuration>

    </execution>

  </executions>

</plugin>
通过以下命令即可生成Docker镜像:
$ mvn clean install -Ddocker.skip=false
代码
代码请看GitHub: https://github.com/LarryDpk/pkslow-samples
Spring Native打包本地镜像,无需通过Graal的maven插件buildtools的更多相关文章
- 将spring cloud打包docker镜像
简介:用spring cloud构建微服务后,微服务肯定要docker镜像化然后用rancher等可视化工具管理,这就是走完了一套基本的流程,现在简单介绍下 环境:两台centos7.x的服务器,一台 ...
- 微服务架构 - 搭建docker本地镜像仓库并提供权限校验及UI界面
搭建docker本地镜像仓库并提供权限校验及UI界面 docker本地镜像仓库的作用跟maven私服差不多,特别是公司级或者是小组级开发好的docker仓库可以上传到本地镜像仓库中,需要用时,直接从本 ...
- windows环境下,spring boot服务使用docker打包成镜像并推送到云服务器私有仓库
最近在淘宝上学习springcloud教程,其中有几节课是讲解讲本地springboot服务打包成镜像并推送到云服务器私有仓库,但是教程里面用的事Mac环境,我的是Windows环境,而且课程里面没有 ...
- Spring Native 项目,把 Spring 项目编译成原生程序!
Spring Native 是什么 优点 缺点 原生镜像(native image)和常规 JVM 程序的区别 前置条件:GraalVM 支持的语言 关键特性 GraalVM 下的 Java 微服务 ...
- 使用Maven插件构建Spring Boot应用程序镜像
使用Maven插件构建Spring Boot应用程序的Docker镜像. 环境准备 1.Linux系统 2.安装JDK,Maven 3.安装Docker 应用实践 1.在应用程序根目录下添加Docke ...
- win10 下springcloud打包docker镜像部署。
1:建一个最简单的springcloud应用. 2:在根目录下新建dockerfile,文件如下: FROM openjdk:8-jdk-alpine VOLUME /tmp ARG JAR_FILE ...
- Spring Boot打包瘦身 Docker 使用全过程 动态配置、日志记录配置
springBoot打包的时候代码和jar包打包在同一个jar包里面,会导致jar包非常庞大,在不能连接内网的时候调试代码,每次只改动了java代码就需要把所有的jar包一起上传,导致传输文件浪费了很 ...
- Spring Boot打包部署
date: 2018-11-19 15:30:11 updated: 2018-11-21 08:28:37 Spring Boot打包部署 第一种方式 打包成jar包部署在服务器上 1.1 添加插件 ...
- Spring Native实战(畅快体验79毫秒启动springboot应用)
欢迎访问我的GitHub https://github.com/zq2599/blog_demos 内容:所有原创文章分类汇总及配套源码,涉及Java.Docker.Kubernetes.DevOPS ...
- spring boot 打包war后 部署到外部 tomcat 的具体正确操作【包括修改端口 与 去除请求路径的工程名】
1.前言 工程做好了,总不能放在idea运行吧?不然怎么把项目放到云服务器呢?[这一篇随笔不讲解发布的云服务器的操作,在其他随笔有详细记载.] 解决的方案是把springboot 工程 打包成war文 ...
随机推荐
- 事件循环Event Loop
在 事件循环 期间的某个时刻,运行时会从最先进入队列的消息开始处理队列中的消息.被处理的消息会被移出队列,并作为输入参数来调用与之关联的函数.正如前面所提到的,调用一个函数总是会为其创造一个新的栈帧. ...
- 【k8s】k8s pv、pvc无法删除问题。
一般删除步骤为:先删除pod再删除pvc最后删除pv 遇到的问题 但是遇到pv使用处于"Terminating"状态,而且删不掉.如下图: 解决办法 直接删除k8s中的记录: ku ...
- 编辑距离(Minimum Edit Distance)
编辑距离(Minimum Edit Distance,MED),也叫 Levenshtein Distance.他的含义是计算字符串a转换为字符串b的最少单字符编辑次数.编辑操作有:插入.删除.替换( ...
- java将流量KB转换为GB、MB、KB格式
/** * 转换流量格式为xxGBxxMBxxKB * @param flow 156165(xxxxxx) */ public String changeFlowFormat(String flow ...
- golang实现一个简单的http代理
代理是网络中的一项重要的功能,其功能就是代理网络用户去取得网络信息.形象的说:它是网络信息的中转站,对于客户端来说,代理扮演的是服务器的角色,接收请求报文,返回响应报文:对于web服务器来说,代理扮演 ...
- 某厂面试:如何优雅使用 SPI 机制
代码不多,文章可能有点长.朋友面试某厂问到的 SPI 机制,联想到自己项目最近写到的 SPI 场景,文章简要描述下 SPI 机制的发展历程 产出背景 因为最近项目中使用分库分表以及数据加密使用到了 S ...
- 记一次mybatis性能问题分析过程
说明 今天发现个2个问题,一是mybatisplus执行一条某个字段值比较长(约1.8M的文本)的INSERT语句耗时要90s+;二是读取这个1.8M文本返回给前端耗时6min.查查查查了半天搞不清楚 ...
- 前端学习 Nginx
前端学习 nginx 本篇主要讲解 nginx 常用命令.基础概念(正向/反向代理.负载均衡.动静分离.高可用).配置文件结构,并通过简单的实验来体验反向代理和负载均衡,最后说一下 nginx 原理. ...
- LayuI 动态下拉框和动态设置选中
动态下拉框 //下拉框异步加载 function asyncSelect(thisId, grade, selectNodeName) { $("#" + selectNodeNa ...
- linux配置 python 开发环境sublime text及一些使用心得
前言 一直以来我都使用 sublime text 作为主流开发的 ide ,但其实我开始在我的 linux mint 系统使用 sublime text 配置 python3 的开发环境踩过的坑又何止 ...