源码安装apche
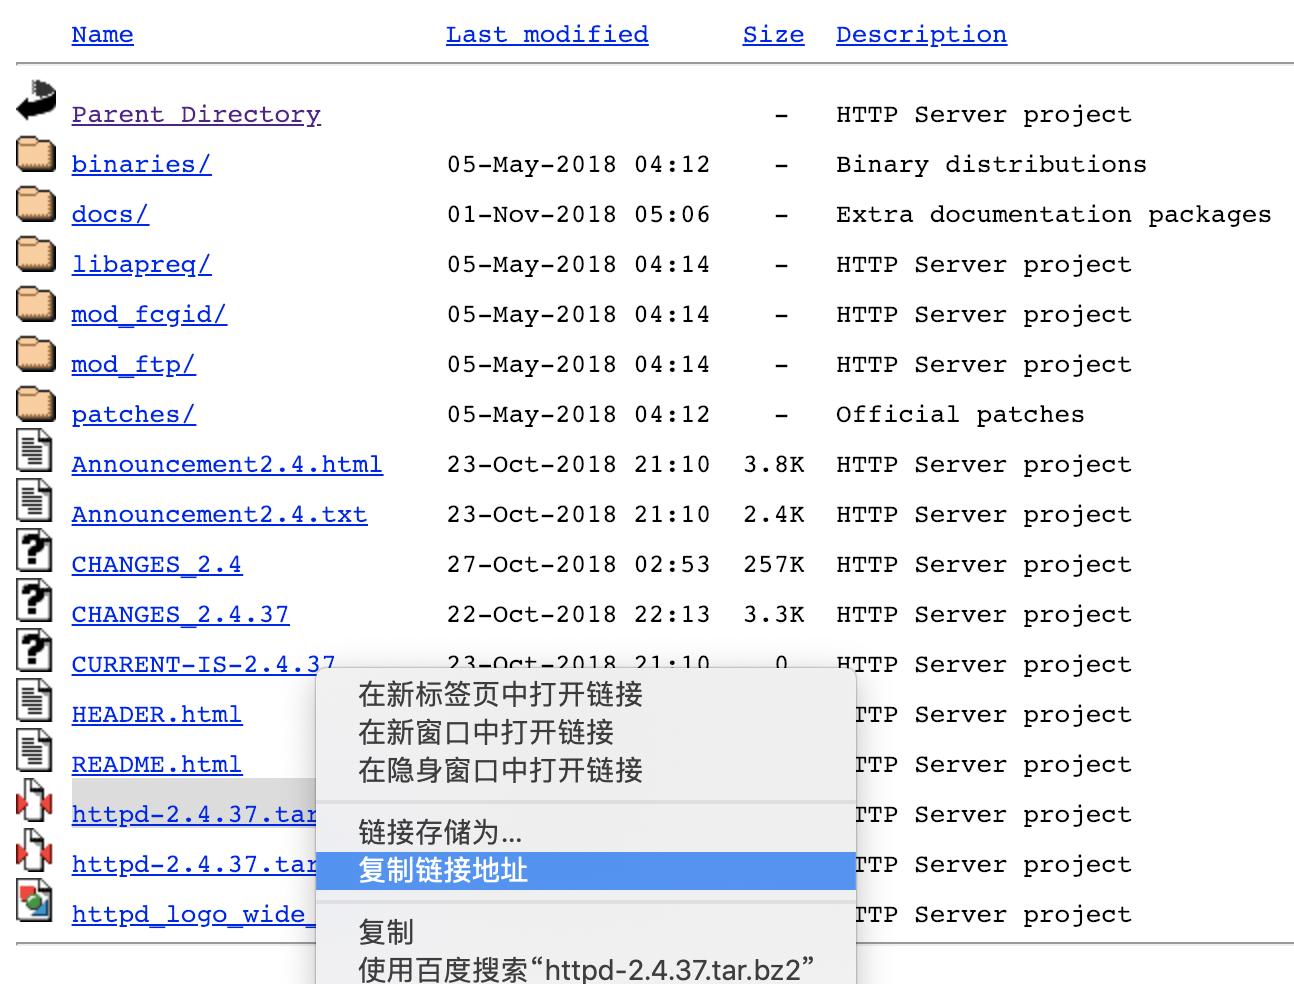
下载apache的源码包文件
[root@centos-linux-02 ~]# cd /usr/local/src/
[root@centos-linux-02 src]# ls
httpd-2.4.37.tar.bz2
这时候去解压,解压命令:
tar -xvf httpd-2.4.37.tar.bz2
[root@centos-linux-02 src]# ls
httpd-2.4.37 httpd-2.4.37.tar.bz2
进入到httpd-2.4.37目录下执行:./configure
这个时候你就会发现报错喽,显示如下:
[root@centos-linux-02 httpd-2.4.37]# ./configure
checking for chosen layout... Apache
checking for working mkdir -p... yes
checking for grep that handles long lines and -e... /usr/bin/grep
checking for egrep... /usr/bin/grep -E
checking build system type... x86_64-pc-linux-gnu
checking host system type... x86_64-pc-linux-gnu
checking target system type... x86_64-pc-linux-gnu
configure:
configure: Configuring Apache Portable Runtime library...
configure:
checking for APR... no
configure: error: APR not found. Please read the documentation
好吧,通过提示,我们可以看到缺少APR,接下来去下载APR包
解压所下载的包后,我们先去安装apr
[root@centos-linux-02 src]# cd apr-1.6.5/
[root@centos-linux-02 apr-1.6.5]# ./configure
checking build system type... x86_64-pc-linux-gnu
checking host system type... x86_64-pc-linux-gnu
checking target system type... x86_64-pc-linux-gnu
Configuring APR library
Platform: x86_64-pc-linux-gnu
checking for working mkdir -p... yes
APR Version: 1.6.5
checking for chosen layout... apr
checking for gcc... no
checking for cc... no
checking for cl.exe... no
configure: error: in `/usr/local/src/apr-1.6.5':
configure: error: no acceptable C compiler found in $PATH
See `config.log' for more details
这个时候又看到报错啦,好吧,通过提示我们可以看到缺少gcc环境,为此安装gcc编译环境
yum install gcc
ok,然后再次去执行./configure
然后编译安装:make && make install
[root@centos-linux-02 apr-1.6.5]# ls /usr/local/apr/
bin build-1 include lib
此时代表安装成功apr
安装apr-unit
去apr-unit目录下去执行./configure
[root@centos-linux-02 apr-util-1.6.1]# ./configure
checking build system type... x86_64-pc-linux-gnu
checking host system type... x86_64-pc-linux-gnu
checking target system type... x86_64-pc-linux-gnu
checking for a BSD-compatible install... /usr/bin/install -c
checking for working mkdir -p... yes
APR-util Version: 1.6.1
checking for chosen layout... apr-util
checking for gcc... gcc
checking whether the C compiler works... yes
checking for C compiler default output file name... a.out
checking for suffix of executables...
checking whether we are cross compiling... no
checking for suffix of object files... o
checking whether we are using the GNU C compiler... yes
checking whether gcc accepts -g... yes
checking for gcc option to accept ISO C89... none needed
Applying apr-util hints file rules for x86_64-pc-linux-gnu
checking for APR... no
configure: error: APR could not be located. Please use the --with-apr option
好吧,又报错哈哈,通过提示我们可以看到这是让我们使用--with-apr参数去指定刚刚安装完的apr路径,那么开始吧
./configure --help去查看执行命令参数与含义
Optional Packages:
--with-PACKAGE[=ARG] use PACKAGE [ARG=yes]
--without-PACKAGE do not use PACKAGE (same as --with-PACKAGE=no)
--with-apr=PATH prefix for installed APR or the full path to apr-config
嗯,现在知道该怎么写了,
./configure --with-apr=/usr/local/apr
然后去编译并安装
make && make install
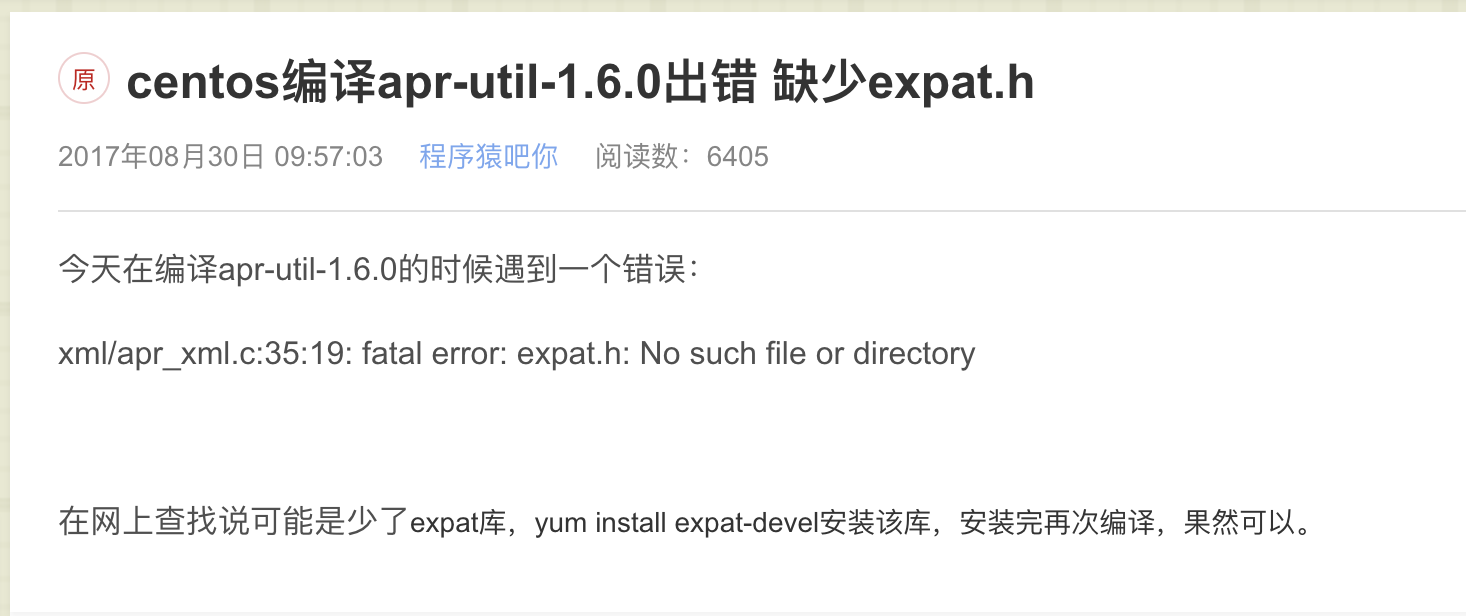
好吧,这次在编译的时候,出现了错误,错误如下:
xml/apr_xml.c:35:19: 致命错误:expat.h:没有那个文件或目录
#include <expat.h>
^
编译中断。
make[1]: *** [xml/apr_xml.lo] 错误 1
make[1]: 离开目录“/usr/local/src/apr-util-1.6.1”
make: *** [all-recursive] 错误 1
通过报错分析,应该是缺少expat,好吧,我们百度一下看看这是咋回事呢
那我们知道原因后,就安装呗
yum install expat-devel
这次编译安装过程就舒服多了,最后我们看到如下提示:
----------------------------------------------------------------------
Libraries have been installed in:
/usr/local/apr/lib
If you ever happen to want to link against installed libraries
in a given directory, LIBDIR, you must either use libtool, and
specify the full pathname of the library, or use the '-LLIBDIR'
flag during linking and do at least one of the following:
- add LIBDIR to the 'LD_LIBRARY_PATH' environment variable
during execution
- add LIBDIR to the 'LD_RUN_PATH' environment variable
during linking
- use the '-Wl,-rpath -Wl,LIBDIR' linker flag
- have your system administrator add LIBDIR to '/etc/ld.so.conf'
See any operating system documentation about shared libraries for
more information, such as the ld(1) and ld.so(8) manual pages.
----------------------------------------------------------------------
好吧,一看就知道安装到/usr/local/apr/lib下了
既然都装完了,那么我们去安装httpd去呗
在httpd下执行./configure
又报错了:
checking whether gcc accepts -g... yes
checking for gcc option to accept ISO C89... none needed
checking how to run the C preprocessor... gcc -E
checking for gcc option to accept ISO C99... -std=gnu99
checking for pcre-config... false
configure: error: pcre-config for libpcre not found. PCRE is required and available from http://pcre.org/
这次错误显然就是PCRE没有安装啊,嗯,源码编译真烦呢,为啥我不直接yum呢,哈哈
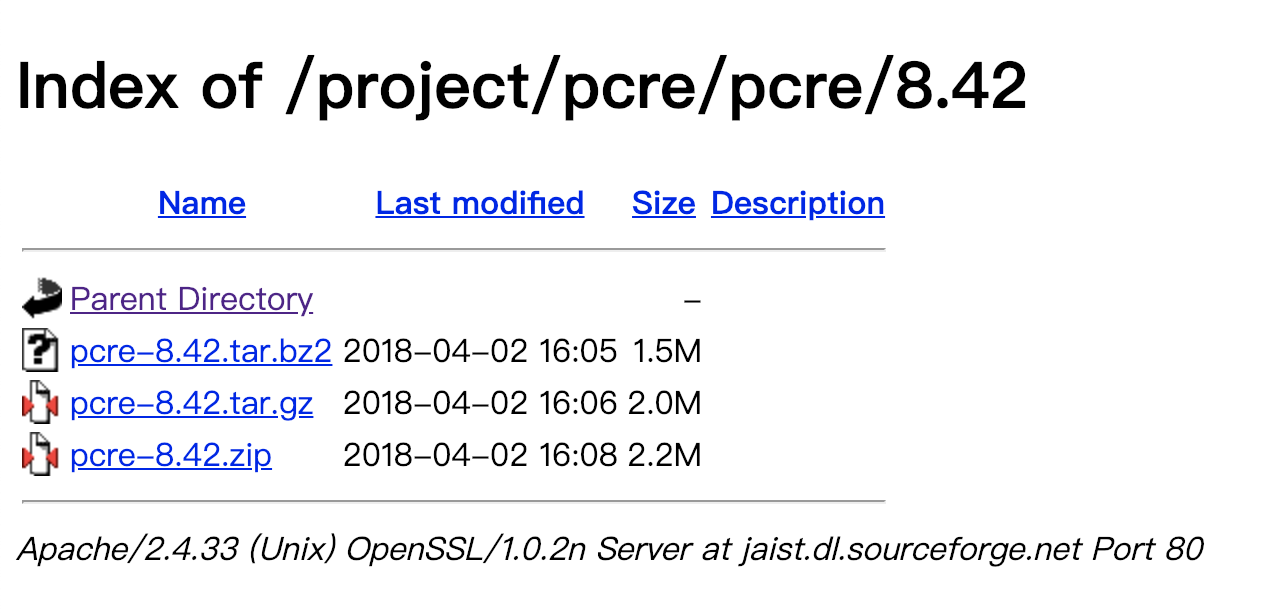
下载PCRE:
下载并解压:
tar -xvf pcre-8.42.tar.gz
进入pcre目录执行:./configure
查看执行结果发现,又不称心如意
configure: error: Invalid C++ compiler or C++ compiler flags
这明显是还需要gcc-c++环境啊,果断安装:
yum install gcc-c++
编译安装:
make && make install
这次终于可以去httpd目录执行./configure了吧,然后没有发现报错呢
编译安装httpd:
make && make install
好了,几经波折,我们去 /usr/local/apache2/bin 目录下找apachectl
执行启动脚本:
./apachectl
查看进程:
[root@centos-linux-02 bin]# ps -ef|grep httpd
root 16123 1 0 17:59 ? 00:00:00 /usr/local/apache2/bin/httpd
daemon 16124 16123 0 17:59 ? 00:00:00 /usr/local/apache2/bin/httpd
daemon 16125 16123 0 17:59 ? 00:00:00 /usr/local/apache2/bin/httpd
daemon 16126 16123 0 17:59 ? 00:00:00 /usr/local/apache2/bin/httpd
root 16209 4151 0 17:59 pts/0 00:00:00 grep --color=auto httpd
到此,apache的源码安装结束。
ok,最后我们来总结一下需要用到的源码包和编译环境
apr-1.6.5.tar.bz2
apr-util-1.6.1.tar.bz2
httpd-2.4.37.tar.bz2
pcre-8.42.tar.gz
gcc
gcc-c++
PCRE
expat-devel
- 基于cdh5.10.x hadoop版本的apache源码编译安装spark
参考文档:http://spark.apache.org/docs/1.6.0/building-spark.html spark安装需要选择源码编译方式进行安装部署,cdh5.10.0提供默认的二进 ...
- Apache源码编译安装脚本
Apache是开源的的.最流行的Web服务器软件之一,它快速.可靠并且可通过简单的API扩充,将Perl/Python/PHP等解释器编译到服务器中.Apache的模块超多,以及具有运行稳定,强大 ...
- centos 7.1 apache 源码编译安装
Apache编译安装 一,需要软件: http://mirrors.cnnic.cn/apache//apr/apr-1.5.2.tar.gz 1.apr-1.5.2.tar.gz http://mi ...
- apache源码编译安装详解
查看是否安装 rpm -qa httpd 如果已安装,则卸载:rpm -e 卸载 --nodeps 不考虑意外 下载 wget http://mirrors.sohu.c ...
- Centos7.X 源码编译安装subversion svn1.8.x
说明:SVN(subversion)的运行方式有两种:一种是基于Apache的http.https网页访问形式:还有一种是基于svnserve的独立服务器模式.SVN的数据存储方式也有两种:一种是在B ...
- Apache源码包安装和子配置文件介绍--update.2014-12-5
安装apache: 官网:http://httpd.apache.org/download.cgi#apache24 1.wget http://mirror.bit.edu.cn/apache//h ...
- centos 6.5源码编译安装subversion 1.8.10
一.简介 CentOS 6.5的yum源可以安装的SVN客户端版本太低了,1.6.11,所以需要升级到1.8.10,而官网有没有找到1.8.10的安装包,只能选择源码编译安装. 二.安装步骤 参考官网 ...
- Linux系统 - 源码编译安装Nginx
什么是Nginx? Nginx ("engine x") 是一个高性能的 HTTP 和 反向代理 服务器,也是一个 IMAP/POP3/SMTP 代理服务器,在高连接并发的情况下N ...
- Linux 从源码编译安装 OpenSSH
https://blog.csdn.net/bytxl/article/details/46639073 Linux 从源码编译安装 OpenSSH以及各问题解决 2015年06月25日 17:37: ...
随机推荐
- 初见UDP_Client
from socket import *ip_prot = ('192.168.55.1',8080)buffer_size = 1024udp_client = socket(AF_INET,SOC ...
- JWT加密
JWT是一种加密算法,为了防止请求的信息在传输途中被拦截修改 JWT的引用: install-package jwt JWF由三部分组成:Header,Payload,Signature Payloa ...
- bzoj 1814 Fornula 1
Formula 1 题意 在\(n*m\)的矩阵中,有些格子有树,没有树的格子不能到达,找一条回路,吃完所有的树,求有多少种方法. 解法 因为只要一条回路,所以我们必须维护插头的连通性. 具体的可以参 ...
- 【安装配置Redis】
目录 安装 配置 Redis官网:https://redis.io Redis是完全开源免费的,遵守BSD协议. Redis是一个高性能的key-value数据库. @ *** Redis具有以下特点 ...
- Java String 字符串截取和获取文件的上级目录
public String test() { String root = ServletActionContext.getServletContext().getRealPath("/&qu ...
- windows关于定时执行的php脚本
根据业务需求,需要服务器每天定时执行一些脚本,如后台提交数据,定时处理数据库等. 最初的思路是在某个控制器里写好方法,加入code验证,定期的用计划任务去访问.由于window计划任务这方面比较low ...
- sql server 与 mysql在自定以数据类型的区别
sql server 中可以使用 create TYPE postal_code FORM varchar(6) not null; 用于限定邮编的数据位数,他基于varchar数据类型 注意: ...
- Nginx 项目部署和配置
nginx 作为代理服务器,需要代理多个项目的话配置如下: server { listen 80; server_name localhost; #charset koi8-r; #ac ...
- Winserver服务器-AD字段对照简图
AD字段对照简图
- Eureka Server的REST端点
Eureka Server的REST端点 Windows下面可以安装Curl: 使用more命令可以显示xml内容: D:\Java\IdeaProjects>more rest-api-tes ...