在CentOS7(虚拟机)下通过源码安装Postgresql10以及基本配置
操作系统:CentOS7
安装文件:postgresql-10.0.tar.gz
系统环境:gcc、Python
1:源码安装
[postgres@localhost ~]# tar zxvf postgresql-10.0.tar.gz

[postgres@localhost ~]# mv postgresql-10.0 /usr/local/pgsql/

[postgres@localhost ~]# cd /usr/local/pgsql/

[root@localhost pgsql]# ./configure --prefix=/usr/local/pgsql --without-readline --without-zlib

[root@localhost pgsql]# make

[root@localhost pgsql]# make install
2:添加postgres用户,设置目录权限
[root@localhost ~]# adduser postgres

[root@localhost ~]# passwd postgres

[root@localhost ~]# mkdir -p /usr/local/pgsql/data

[root@localhost ~]# chown -R posgres:root /usr/local/pgsql/

[root@localhost ~]# chown -R postgres:root /usr/local/pgsql/
3:设置环境变量
[root@localhost ~]# su - postgres

[postgres@localhost ~]$ vim ~/.bash_profile

PATH=$PATH:/usr/local/pgsql/bin

[postgres@localhost ~]$ source ~/.bash_profile
4:添加启动服务
()添加启动服务

[root@localhost ~]# cp /usr/local/pgsql/contrib/start-scripts/linux /etc/init.d/postgresql

[root@localhost ~]# chmod u+x /etc/init.d/postgresql

()添加开机自启动

[root@localhost ~]# chkconfig --add postgresql

()启动服务

[root@localhost ~]# service postgresql start

Starting PostgreSQL: ok
5:切换到postgres用户,初始化数据库
[postgres@localhost data]$ /usr/local/pgsql/bin/initdb -D /usr/local/pgsql/data

The files belonging to this database system will be owned by user "postgres".

This user must also own the server process.

The database cluster will be initialized with locale "zh_CN.UTF-8".

The default database encoding has accordingly been set to "UTF8".

initdb: could not find suitable text search configuration for locale "zh_CN.UTF-8"

The default text search configuration will be set to "simple".

Data page checksums are disabled.

fixing permissions on existing directory /usr/local/pgsql/data ... ok

creating subdirectories ... ok

selecting default max_connections ...

selecting default shared_buffers ... 128MB

selecting dynamic shared memory implementation ... posix

creating configuration files ... ok

running bootstrap script ... ok

performing post-bootstrap initialization ... ok

syncing data to disk ... ok

WARNING: enabling "trust" authentication for local connections

You can change this by editing pg_hba.conf or using the option -A, or

--auth-local and --auth-host, the next time you run initdb.

Success. You can now start the database server using:

    /usr/local/pgsql/bin/pg_ctl -D /usr/local/pgsql/data -l logfile start
6:修改postgresql配置
()允许所有连接

[postgres@localhost ~]$ vi /usr/local/pgsql/data/pg_hba.conf

# IPv4 local connections:

host    all             all             0.0.0.0/            trust

()侦听所有连接

[postgres@localhost ~]$ vi /usr/local/pgsql/data/postgresql.conf

listen_addresses = '*'

logging_collector = on
7:启动数据库
[postgres@localhost data]$  /usr/local/pgsql/bin/pg_ctl -D /usr/local/pgsql/data -l logfile start

waiting for server to start.... done

server started
8:设置postgres用户的密码
[postgres@localhost ~]$ psql

psql (10.0)

Type "help" for help.

postgres=# \password

Enter new password:

Enter it again:
9:查看当前数据库列表

10:创建角色、数据库,切换数据库、用户
postgres=# create role test login password 'test';

CREATE ROLE

postgres=# create database testdb with owner=test;

CREATE DATABASE

postgres=# \c testdb;

You are now connected to database "testdb" as user "postgres".

testdb=# \c - test;

You are now connected to database "testdb" as user "test".

testdb=>
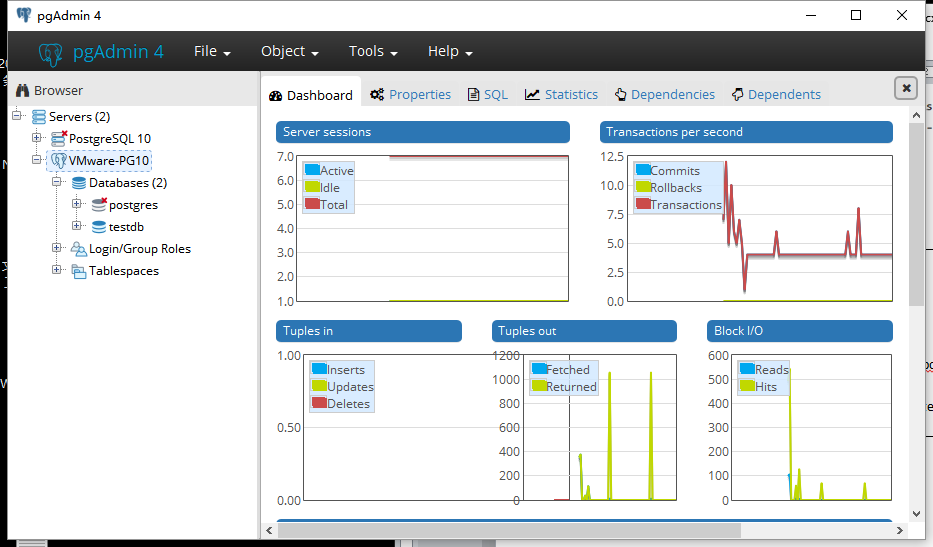
11:本地通过pgAdmin4进行连接
在CentOS7(虚拟机)下通过源码安装Postgresql10以及基本配置的更多相关文章
- Centos7 linux下通过源码安装redis以及使用
下载redis安装包 wget http://download.redis.io/releases/redis-5.0.3.tar.gz 解压压缩包 tar -zxvf redis-.tar.gz y ...
- linux下通过源码安装git
1.移除旧版本git [root@Git ~]# git --version ## 查看自带的版本git version 1.8.3.1 [root@Git ~]# yum remove git ## ...
- Linux下通过源码编译安装程序
本文简单的记录了下,在linux下如何通过源码安装程序,以及相关的知识.(大神勿喷^_^) 一.程序的组成部分 Linux下程序大都是由以下几部分组成: 二进制文件:也就是可以运行的程序文件 库文件: ...
- 通过源码安装PostgresSQL
通过源码安装PostgresSQL 1.1 下载源码包环境: Centos6.8 64位 yum -y install bison flex readline-devel zlib-devel yum ...
- 在centos6.7通过源码安装python3.6.7报错“zipimport.ZipImportError: can't decompress data; zlib not available”
在centos6.7通过源码安装python3.6.7报错: zipimport.ZipImportError: can't decompress data; zlib not available 从 ...
- Ubuntu 14.04 卸载通过源码安装的库
cd cere-solvermkdir buildcd buildcmake ..sudo makesudo make install 卸载通过以上方式源码安装的库 再次进入buildsudo mak ...
- 【Git】CentOS7 通过源码安装Git
yum源仓库里的Git版本更新不及时,最新版的Git是1.8.3,但是官方的最新版早已经更新到2.9.5.想要安装最新版本Git,只能下载源码进行安装 建议最好更新git为较新版本,便于使用 1.查看 ...
- Linux下通过源码编译安装程序(configure/make/make install的作用,然后在/etc/profile文件里修改PATH环境变量)
一.程序的组成部分 Linux下程序大都是由以下几部分组成: 二进制文件:也就是可以运行的程序文件 库文件:就是通常我们见到的lib目录下的文件 配置文件:这个不必多说,都知道 帮助文档:通常是我们在 ...
- CentOS7通过源码安装nginx
需要先安装安装环境和库: yum install gcc-c++ yum install -y pcre pcre-devel yum install -y zlib zlib-devel yum i ...
随机推荐
- 支持辉光效果的Label
支持辉光效果的Label 效果 源码 https://github.com/YouXianMing/UI-Component-Collection 中的 FBGlowLabel // // FBGlo ...
- 每天定时备份mysql数据库任务
需求: 1,每天4点备份mysql数据: 2,为节省空间,删除超过3个月的所有备份数据: 3,删除超过7天的备份数据,保留3个月里的 10号 20号 30号的备份数据: #创建shell文件 vim ...
- ImageView和onTouchListener实现,点击查看图片细节
这是来自疯狂android讲义上的例子,其实没啥意思.就是用监听器获取到手指的坐标,然后根据这个坐标开始绘制一个图片.(这里的绘制方式有些问题,所以凑合看看吧.) 首先,还是布局文件(两个ImageV ...
- float浮点数的四舍五入
瑞生网http://www.rationmcu.com版权所有 前几天,有个小伙伴在做实验过程中,发现了一个奇怪的现象,这个现象就是… 他在用printf输出浮点数的时候,想把数据保留到小数点后的两位 ...
- [转]php cli命令 自定义参数传递
FROM :http://www.cnblogs.com/zcy_soft/archive/2011/12/10/2283437.html 所有的PHP发行版,不论是编译自源代码的版本还是预创建的版本 ...
- spring mvc 接受前台json @RequestBody json 属性 空 使用 JsonProperty spring mvc 获取json转乘bean
请给json序列序列化成的javabean 属性加上 @JsonProperty(value = "real_name") 否则 springmvc 可能接受不到数据 ja ...
- nginx源代码分析之内存池实现原理
建议看本文档时结合nginx源代码. 1.1 什么是内存池?为什么要引入内存池? 内存池实质上是接替OS进行内存管理.应用程序申请内存时不再与OS打交道.而是从内存池中申请内存或者释放内存到内存池 ...
- Maven 默认插件以及功能
Maven 默认插件 已知 Maven 使用 plugin 来执行实际操作的,在默认情况下,Maven 会绑定以下几个插件来完成基本操作. plugin function life cycle pha ...
- Go语言之高级篇beego框架安装与使用
一.beego框架 1.beego框架简介 beego 是一个快速开发 Go 应用的 HTTP 框架,他可以用来快速开发 API.Web 及后端服务等各种应用,是一个 RESTful 的框架,主要设计 ...
- fatal error LNK1104: 无法打开文件“libc.lib”的问题 (转)
今天,编译程序的时候,意外遇到了一个错误,就是VS2008一直提示:fatal error LNK1104: 无法打开文件“libc.lib”,后来在网上查找了很多资料,终于知道原因了... 如果将用 ...