Vite-Admin后台管理系统|vite4+vue3+pinia前端后台框架实例
基于vite4.x+vue3+pinia前端后台管理系统解决方案ViteAdmin。
前段时间分享了一篇vue3自研pc端UI组件库VEPlus。这次带来最新开发的基于vite4+vue3+pinia技术栈搭配ve-plus组件库构建的中后台权限管理系统框架。支持vue-i18n国际化多语言、动态路由鉴权、4种布局模板及tab页面缓存等功能。

技术栈
- 编码工具:Cursor+Sublime
- 框架技术:vite4+vue3+pinia+vue-router
- UI组件库:ve-plus (基于vue3自研ui组件库)
- 样式处理:sass^1.58.3
- 图表组件:echarts^5.4.2
- 国际化方案:vue-i18n^9.2.2
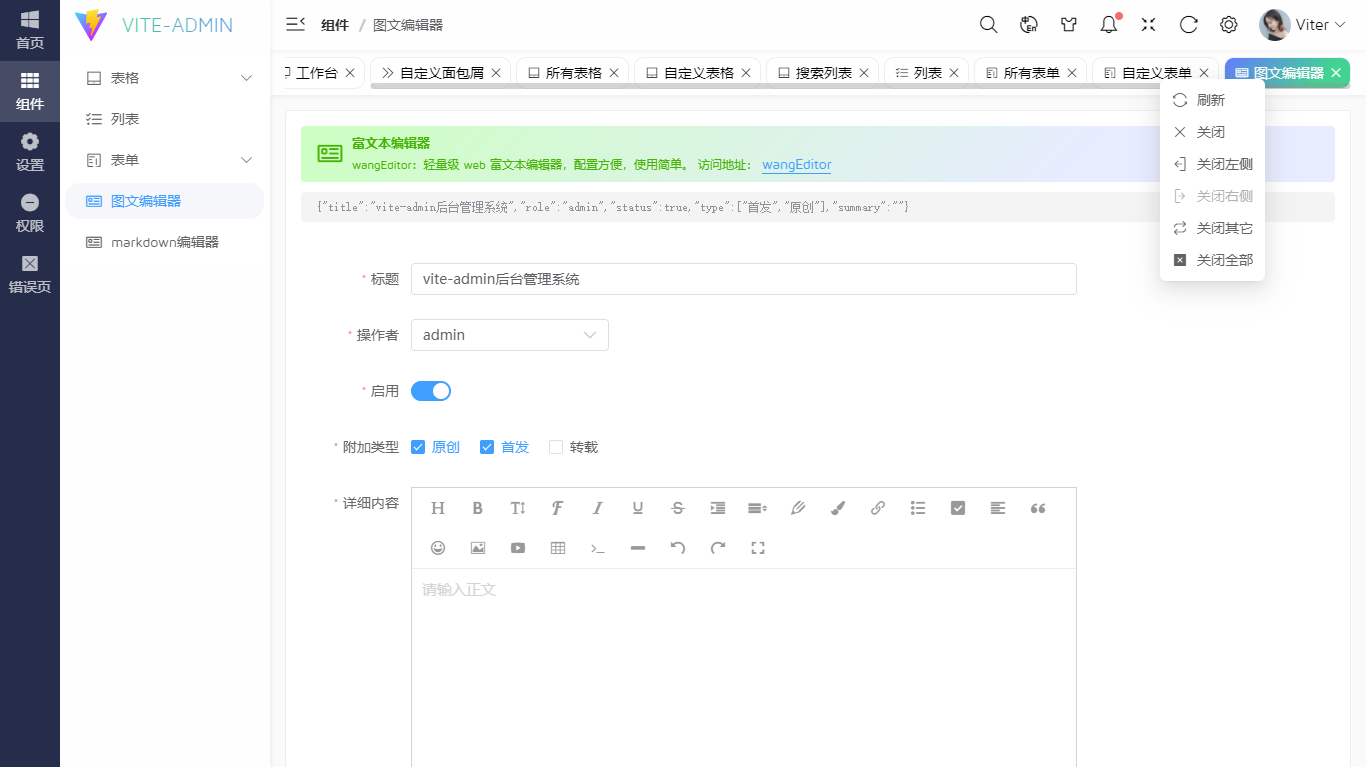
- 富文本编辑器组件:wangeditor^4.7.15
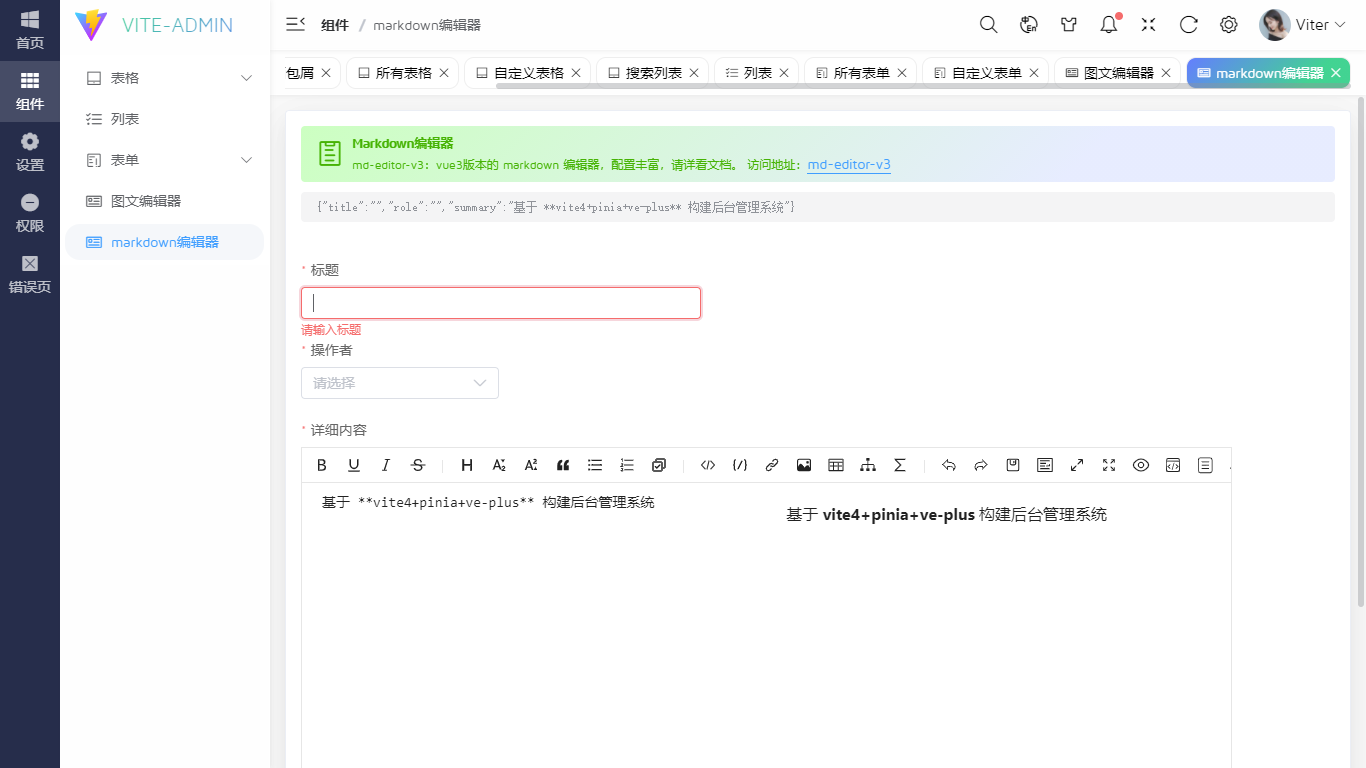
- markdown编辑器:md-editor-v3^2.11.0
- 数据模拟:mockjs^1.1.0

功能点
- 最新前端技术栈vite4、vue3、pinia、vue-router、vue-i18n、ve-plus。
- 支持中文/英文/繁体多语言模式切换。
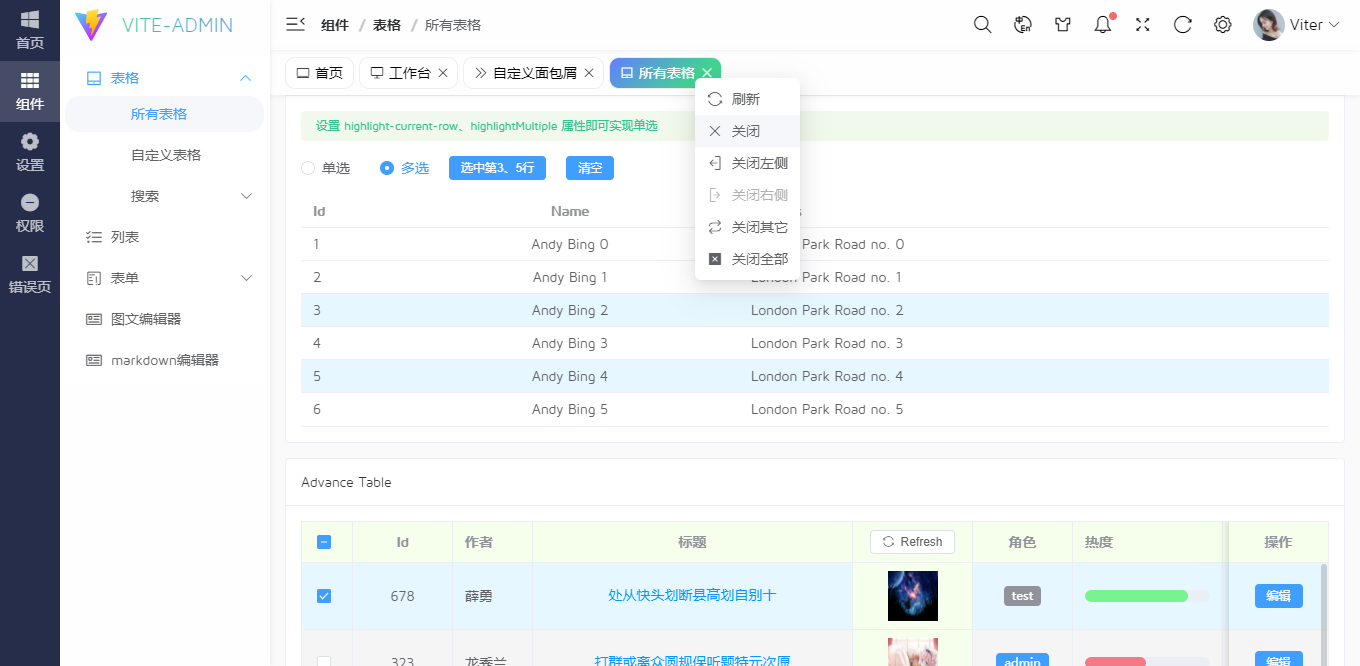
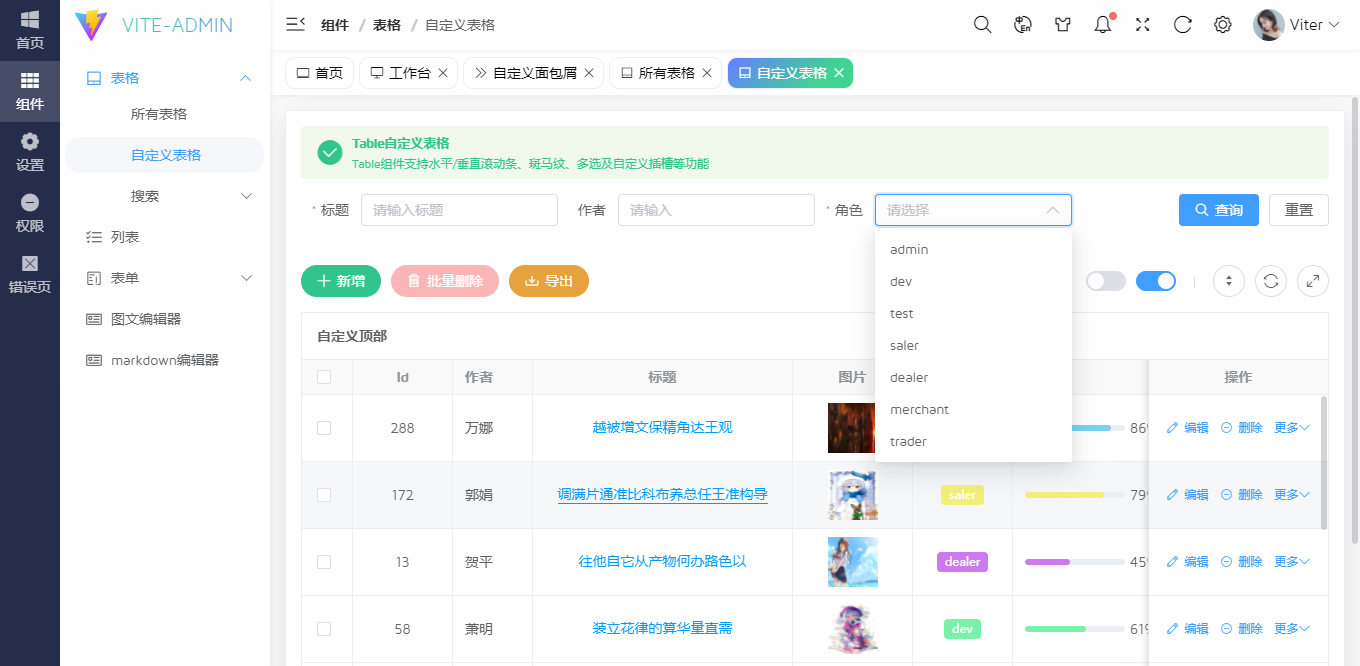
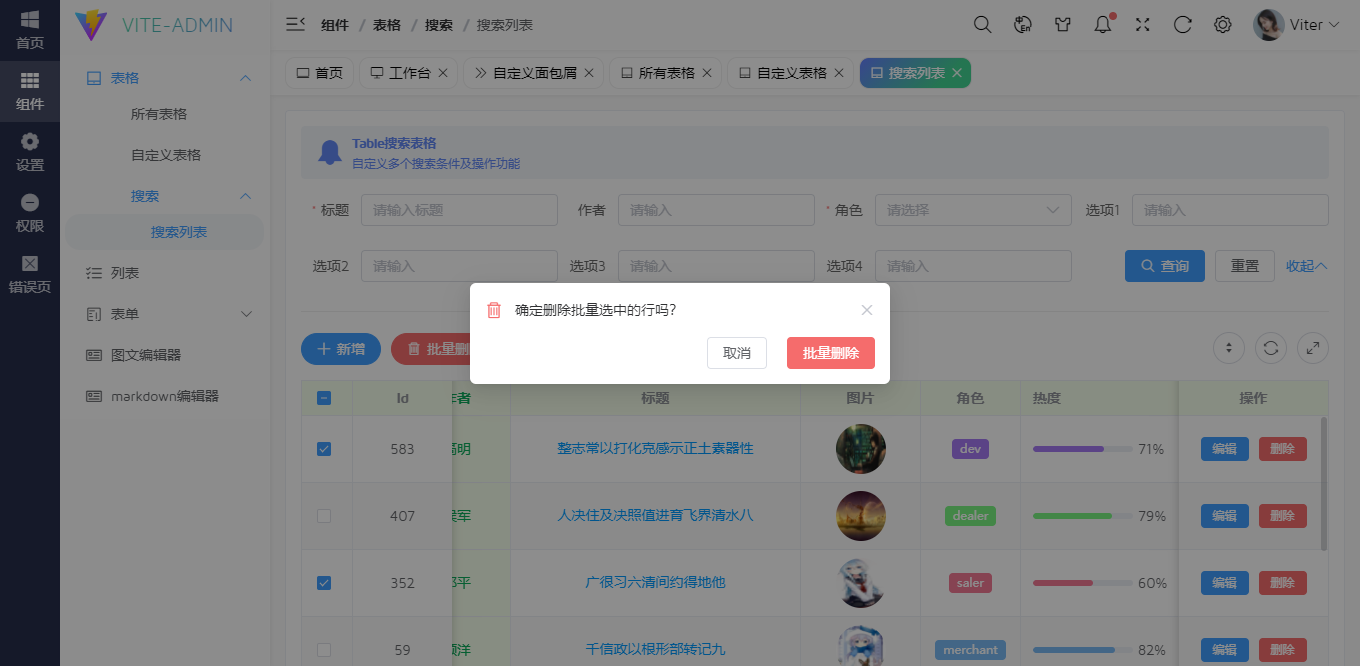
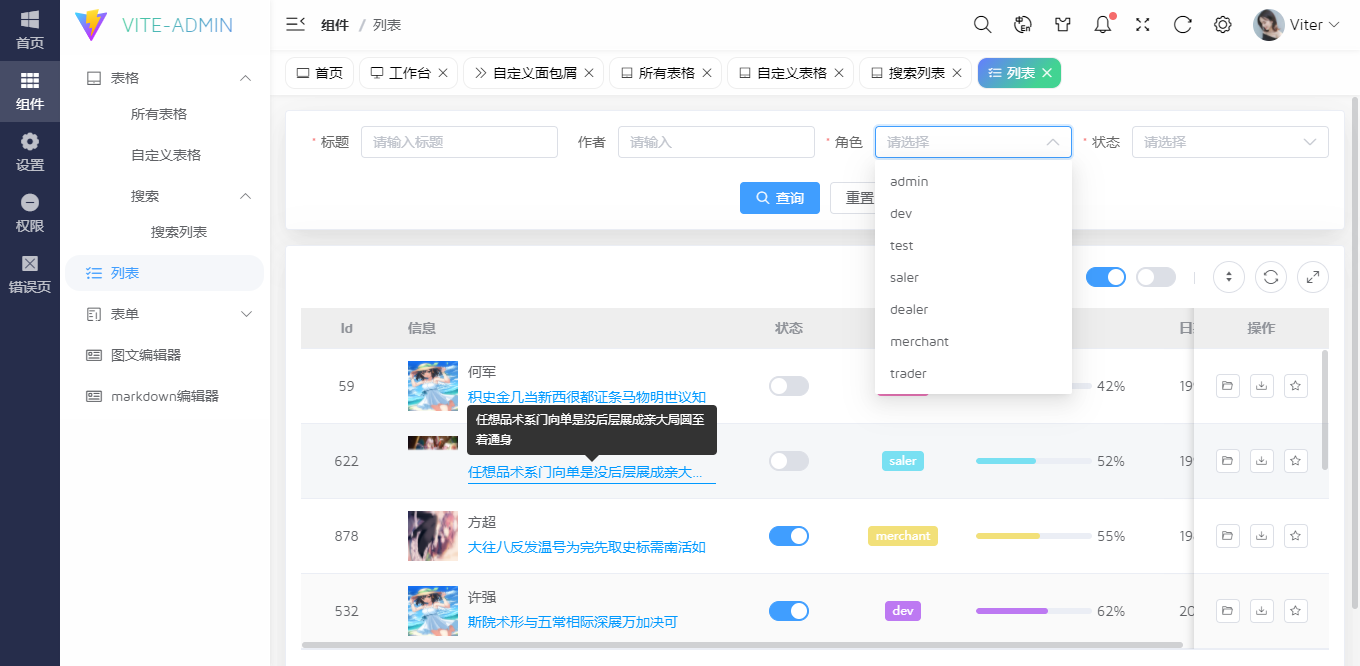
- 支持表格单选/多选、边框/隔行换色、横向/纵向虚拟滚动条等功能。
- 搭配高颜值的vue3-plus组件库,风格更加统一。
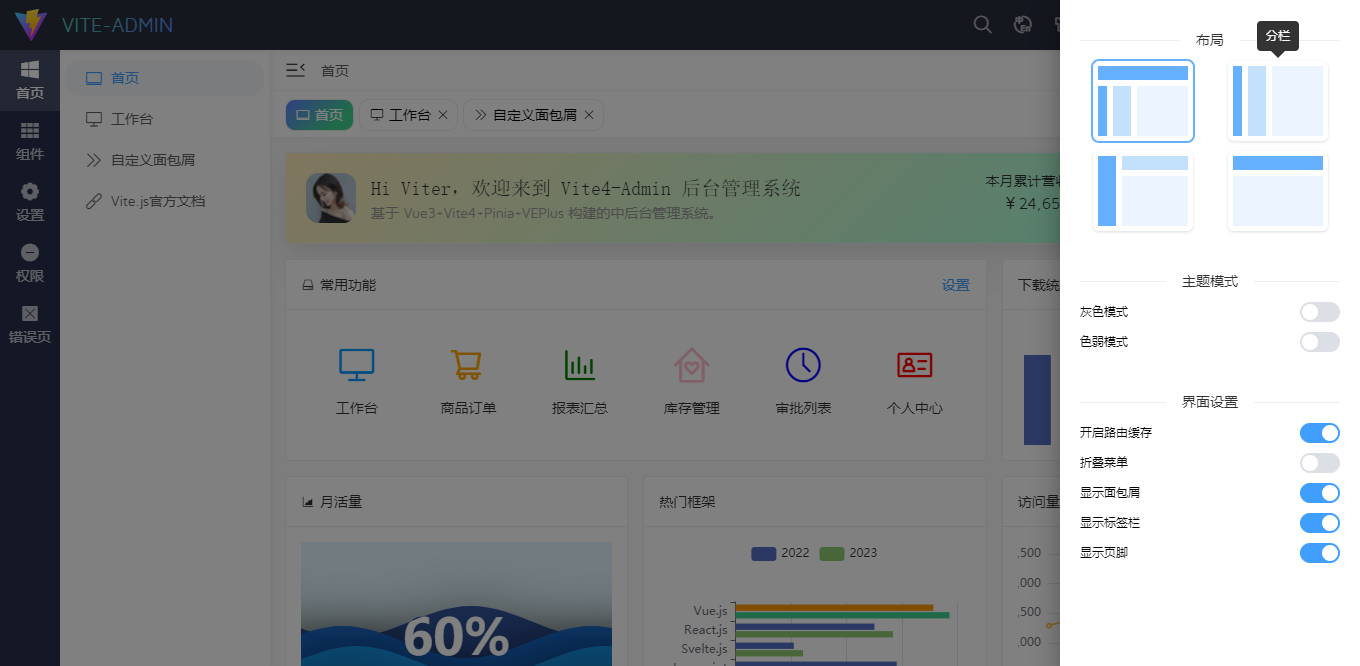
- 内置多个模板布局样式
- 支持动态路由权限控制
- 支持tabs动态路由缓存
- 高效率开发,整个框架已经搭建完毕,只需定制化相应模块即可。
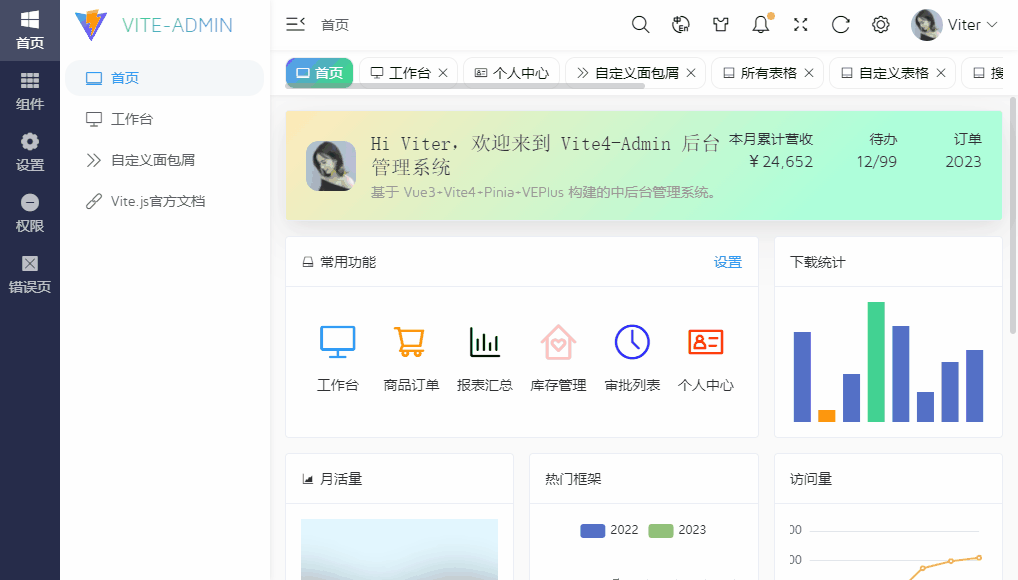

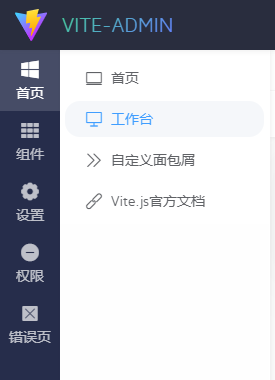
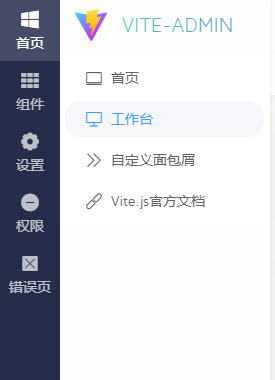
项目页面结构

整体采用vue3 setup语法糖模式开发,搭配ve-plus轻量级组件库,使得界面清新且运行极速。
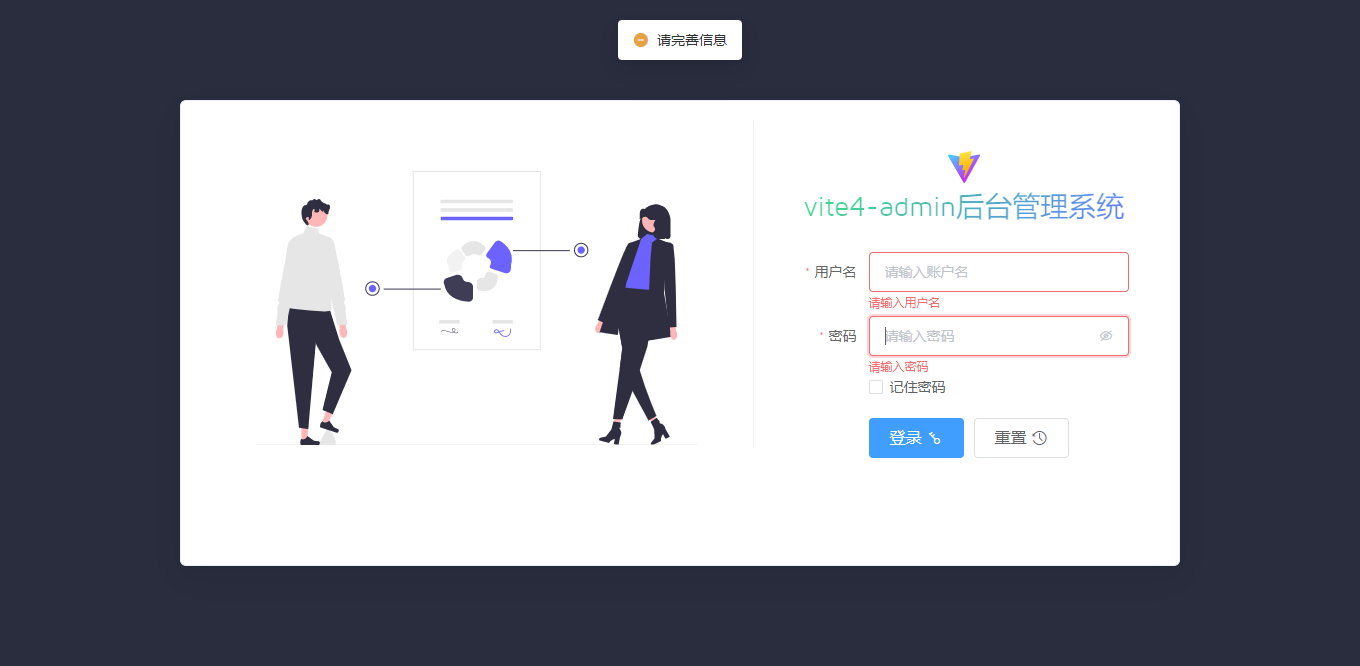
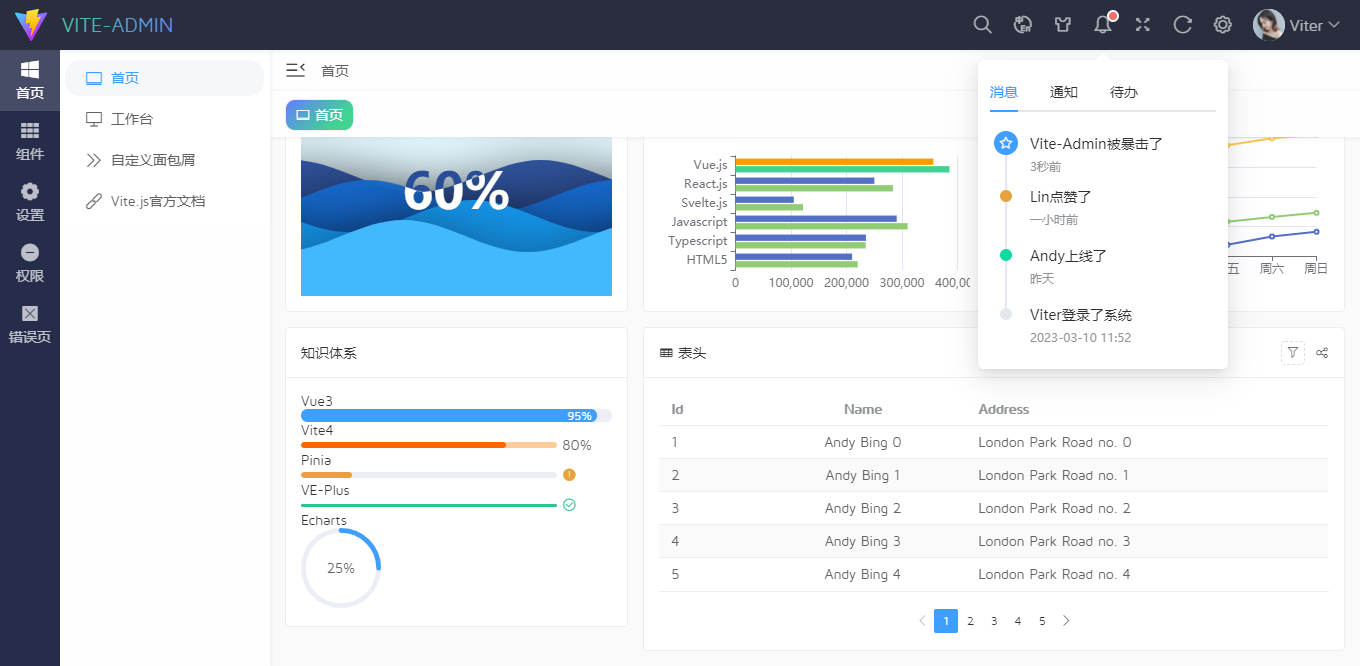
效果图


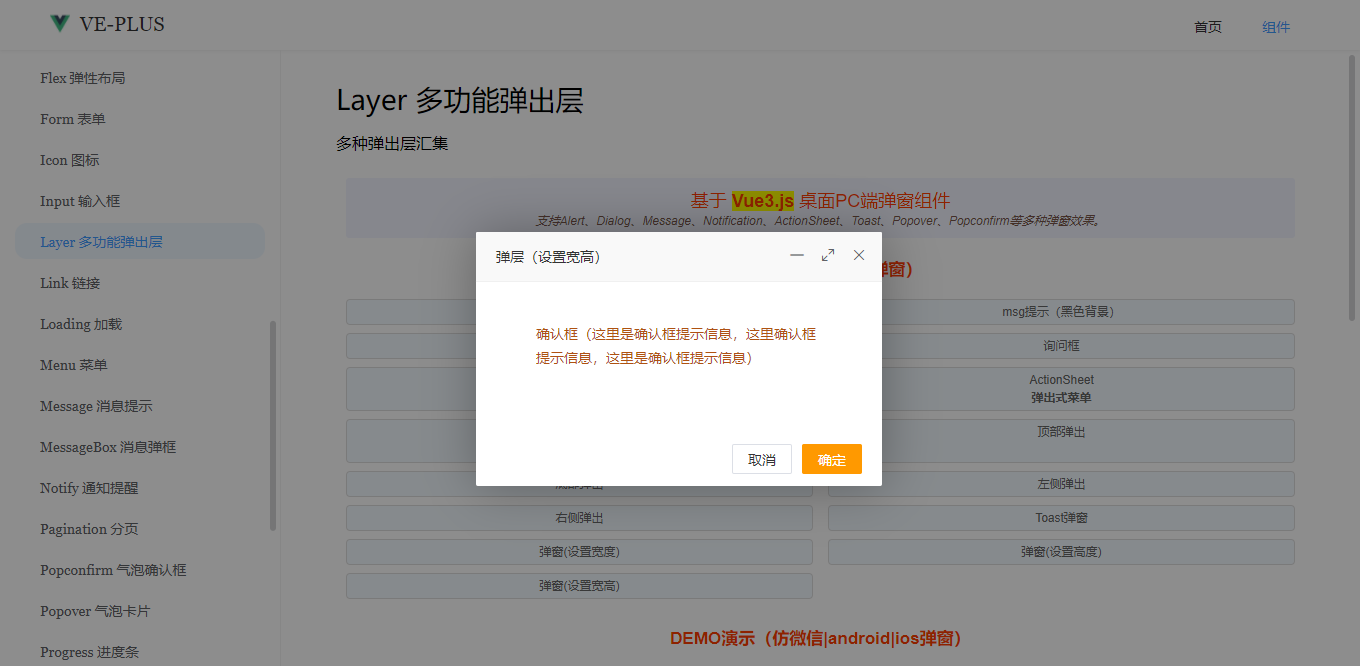
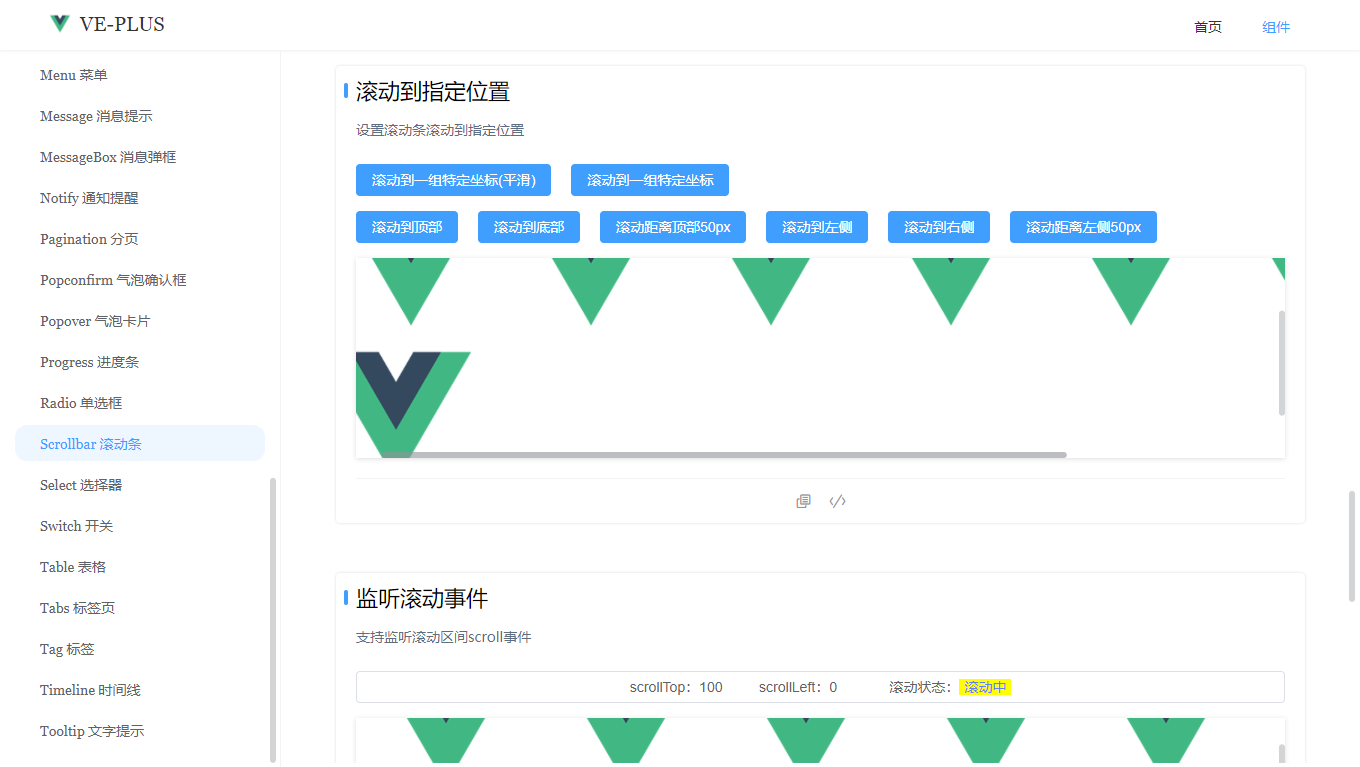
Vue3 UI VEPlus组件
ve-plus:基于vue3开发的pc端组件库,包含了40+常用的功能组件,易于上手。
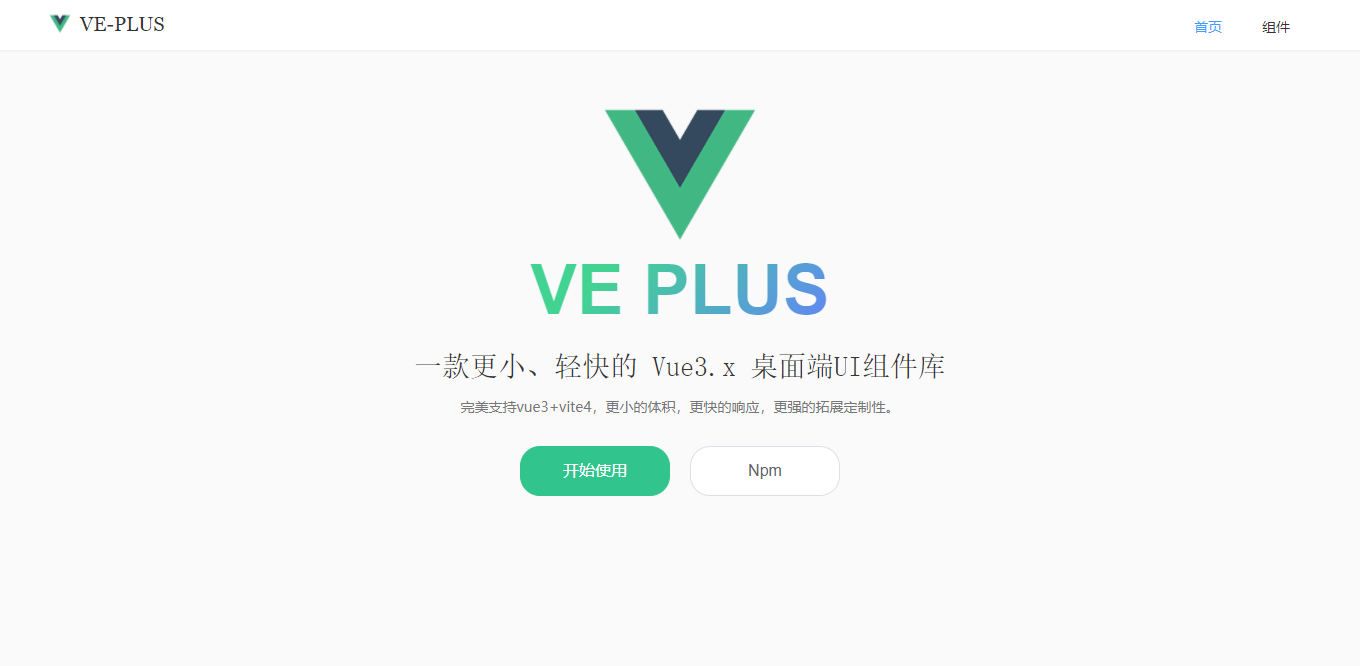
veplus整合了vue3.js开发的两个独立插件vue3-layer弹窗、vue3-scrollbar虚拟滚动条组件。
快速安装
npm install ve-plus -S

cnpm install ve-plus -S

yarn add ve-plus
具体的使用方法,大家可以去看看这篇分享文章。
https://www.cnblogs.com/xiaoyan2017/p/17170454.html
Vite-Admin布局模块
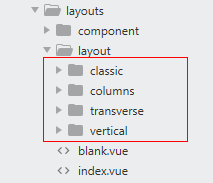
公共布局文件在layouts目录,提供了4种经典的布局模板。
<script setup>

    import { computed } from 'vue'

    import { appStore } from '@/store/modules/app'

    // 引入布局模板

    import Classic from './layout/classic/index.vue'

    import Columns from './layout/columns/index.vue'

    import Vertical from './layout/vertical/index.vue'

    import Transverse from './layout/transverse/index.vue'

    const store = appStore()

    const config = computed(() => store.config)

    const LayoutConfig = {

        classic: Classic,

        columns: Columns,

        vertical: Vertical,

        transverse: Transverse

    }

</script>

<template>

    <div class="veadmin__container" :style="{'--themeSkin': store.config.skin}">

        <component :is="LayoutConfig[config.layout]" />

    </div>

</template>
主模板main.vue提供了Permission权限控制及KeepAlive路由缓存。
<!-- 主缓存模板 -->

<script setup>

    import { ref } from 'vue'

    import { useRoutes } from '@/hooks/useRoutes'

    import { tabsStore } from '@/store/modules/tabs'

    import Permission from '@/components/Permission.vue'

    import Forbidden from '@/views/error/forbidden.vue'

    const { route } = useRoutes()

    const store = tabsStore()

</script>

<template>

    <Scrollbar autohide gap="2">

        <div class="ve__layout-main__wrapper">

            <!-- 路由鉴权 -->

            <Permission :roles="route?.meta?.roles">

                <template #tips>

                    <Forbidden />

                </template>

                <!-- 路由缓存 -->

                <router-view v-slot="{ Component }">

                    <transition name="ve-slide-right" mode="out-in" appear>

                        <KeepAlive :include="store.cacheViews">

                            <component v-if="store.reload" :is="Component" :key="route.path" />

                        </KeepAlive>

                    </transition>

                </router-view>

            </Permission>

        </div>

    </Scrollbar>

</template>
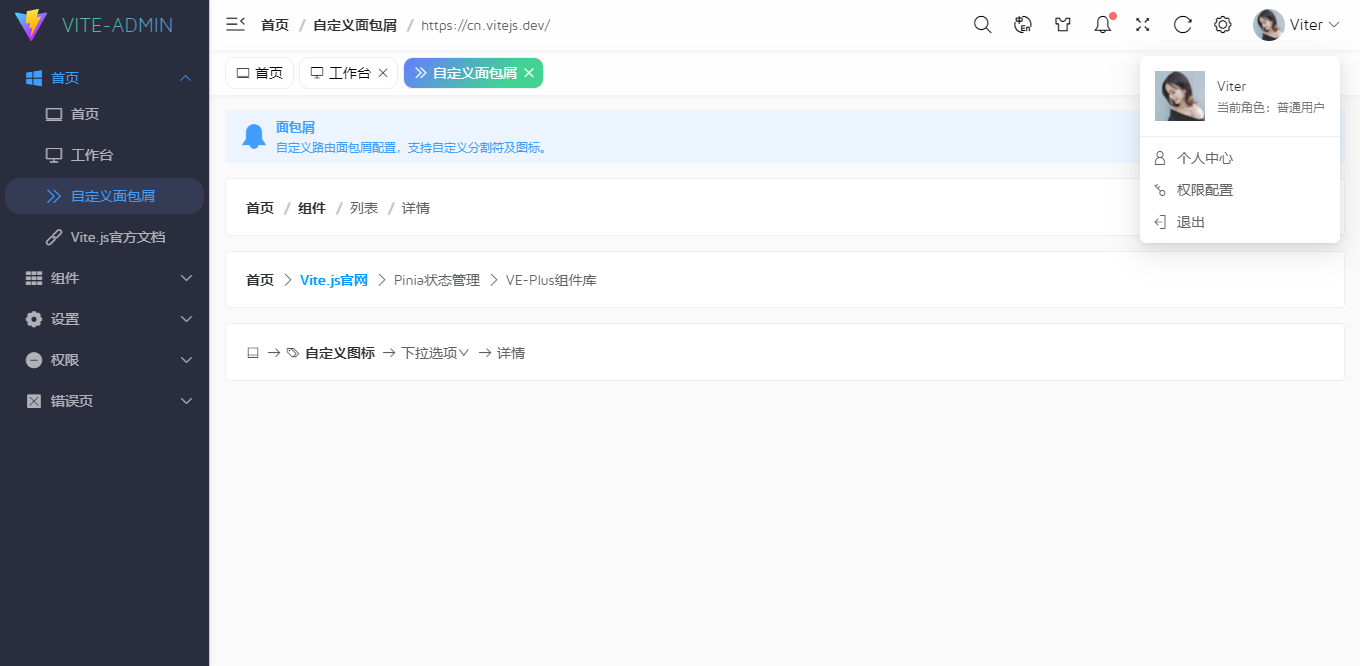
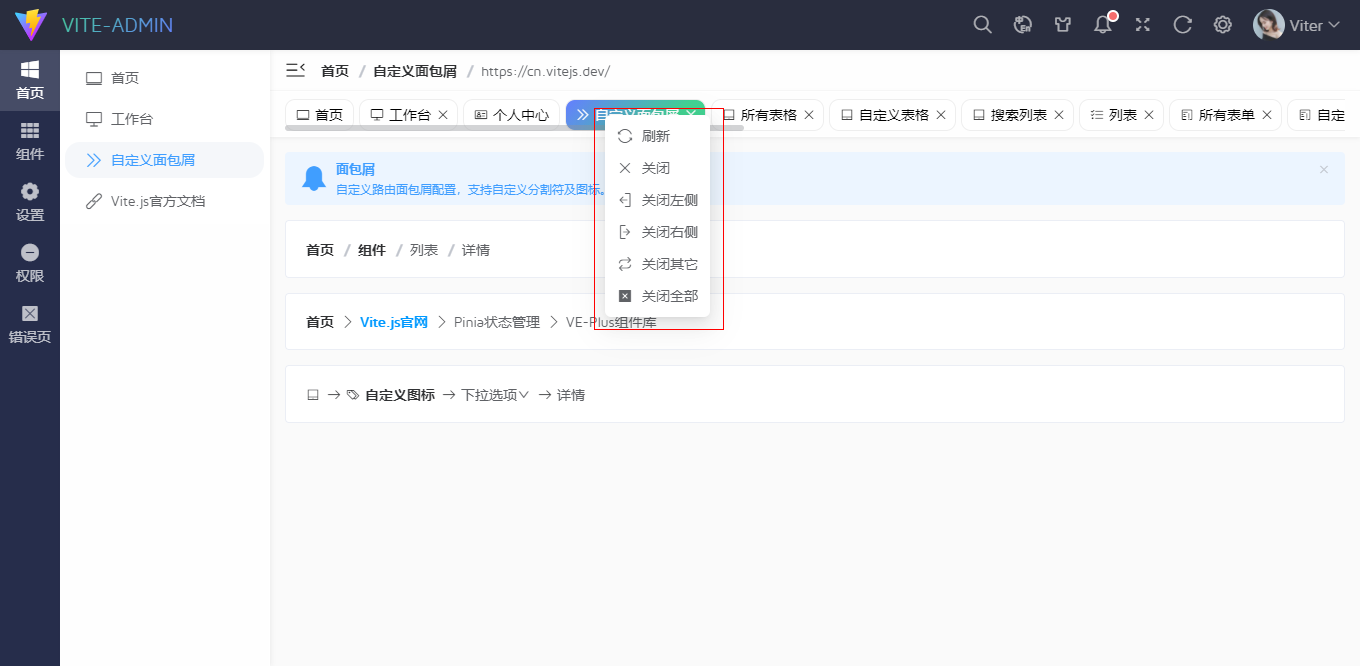
自定义路由菜单RouteMenu
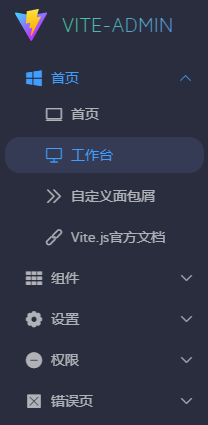

如上图:路由菜单组件只需传入配置参数,即可切换不同的模式。
<RouteMenu :rootRouteEnable="false" />

<RouteMenu

    rootRouteEnable

    collapsed

    background="#292d3e"

    backgroundHover="#353b54"

    color="rgba(235,235,235,.7)"

/>

<RouteMenu

    mode="horizontal"

    background="#292d3e"

    backgroundHover="#353b54"

    color="rgba(235,235,235,.7)"

/>
RouteMenu.vue模板
<!-- 路由菜单 -->

<script setup>

  import { ref, computed, h, watch, nextTick } from 'vue'

  import { useI18n } from 'vue-i18n'

  import { Icon, useLink } from 've-plus'

  import { useRoutes } from '@/hooks/useRoutes'

  import { appStore } from '@/store/modules/app'

  // 引入路由集合

  import mainRoutes from '@/router/modules/main.js'

  const props = defineProps({

    // 菜单模式(vertical|horizontal)

    mode: { type: String, default: 'vertical' },

    // 是否开启一级路由菜单

    rootRouteEnable: { type: Boolean, default: true },

    // 是否要收缩

    collapsed: { type: Boolean, default: false },

    // 菜单背景色

    background: String,

    // 滑过背景色

    backgroundHover: String,

    // 菜单文字颜色

    color: String,

    // 菜单激活颜色

    activeColor: String

  })

  const { t } = useI18n()

  const { jumpTo } = useLink()

  const { route, getActiveRoute, getCurrentRootRoute, getTreeRoutes } = useRoutes()

  const store = appStore()

  const rootRoute = computed(() => getCurrentRootRoute(route))

  const activeKey = ref(getActiveRoute(route))

  const menuOptions = ref(getTreeRoutes(mainRoutes))

  const menuFilterOptions = computed(() => {

    if(props.rootRouteEnable) {

      return menuOptions.value

    }

    // 过滤掉一级菜单

    return menuOptions.value.find(item => item.path == rootRoute.value && item.children)?.children

  })

  console.log('根路由地址::>>', rootRoute.value)

  console.log('过滤后路由地址::>>', menuFilterOptions.value)

  watch(() => route.path, () => {

    nextTick(() => {

      activeKey.value = getActiveRoute(route)

    })

  })

  // 批量渲染图标

  const batchRenderIcon = (option) => {

    return h(Icon, {name: option?.meta?.icon})

  }

  // 批量渲染标题

  const batchRenderLabel = (option) => {

    return t(option?.meta?.title)

  }

  // 路由菜单更新

  const handleUpdate = ({key}) => {

    jumpTo(key)

  }

</script>

<template>

  <Menu

    class="veadmin__menus"

    v-model="activeKey"

    :options="menuFilterOptions"

    :mode="mode"

    :collapsed="collapsed && store.config.collapse"

    iconSize="18"

    key-field="path"

    :renderIcon="batchRenderIcon"

    :renderLabel="batchRenderLabel"

    :background="background"

    :backgroundHover="backgroundHover"

    :color="color"

    :activeColor="activeColor"

    @change="handleUpdate"

    style="border: 0;"

  />

</template>
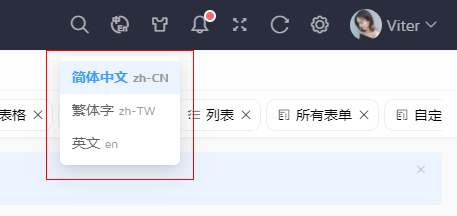
vue-i18n国际化解决方案
vite-admin支持中英文/繁体三种语言模式,使用 "vue-i18n": "^9.2.2" 组件。

/**

 * 国际化配置

 * @author YXY

 */

import { createI18n } from 'vue-i18n'

import { appStore } from '@/store/modules/app'

// 引入语言配置

import enUS from './en-US'

import zhCN from './zh-CN'

import zhTW from './zh-TW'

// 默认语言

export const langVal = 'zh-CN'

export default async (app) => {

    const store = appStore()

    const lang = store.lang || langVal

    const i18n = createI18n({

        legacy: false,

        locale: lang,

        messages: {

            'en': enUS,

            'zh-CN': zhCN,

            'zh-TW': zhTW

        }

    })

    app.use(i18n)

}
Lang.vue模板
<script setup>

  import { ref } from 'vue'

  import { useI18n } from 'vue-i18n'

  import { appStore } from '@/store/modules/app'

  const { locale } = useI18n()

  const store = appStore()

  const langVal = ref(locale.value)

  const langOptions = ref([

    {key: "zh-CN", label: "简体中文"},

    {key: "zh-TW", label: "繁体字"},

    {key: "en", label: "英文"},

  ])

  const changeLang = () => {

    // 设置locale语言

    locale.value = langVal.value

    store.lang = locale.value

    // store.setLang(locale.value)

  }

</script>

<template>

  <Dropdown v-model="langVal" :options="langOptions" placement="bottom" @change="changeLang">

    <div class="toolbar__item"><Icon name="ve-icon-lang" size="20" cursor /></div>

    <template #label="{item}">

      <div>

        {{item.label}} <span style="color: #999; font-size: 12px;">{{item.key}}</span>

      </div>

    </template>

  </Dropdown>

</template>
Vue3动态图表Hooks
vite-admin支持动态图表,使用 "echarts": "^5.4.2" 组件。

/**

 * 动态图表Hooks

 * @author YXY

 */

import { onMounted, onBeforeUnmount, ref } from 'vue'

import * as echarts from 'echarts'

import { useResizeObserver } from 've-plus'

export function useEcharts(node, options) {

    let chartNode

    let chartRef = ref(null)

    const resizeHandle = () => {

        chartNode && chartNode.resize()

    }

    onMounted(() => {

        if(node.value) {

            chartNode = echarts.init(node.value)

            chartNode.setOption(options)

            chartRef.value = chartNode

        }

    })

    onBeforeUnmount(() => {

        chartNode.dispose()

    })

    // 自适应图表

    useResizeObserver(node, resizeHandle)

    return chartRef

}
通过useResizeObserver函数,支持图表自适应大小。
网站动态标题title
通过监听路由route更改,动态设置网站标题。
/**

 * 设置网站标题

 * @author YXY

 */

import { watch, unref } from 'vue'

import { useRouter } from 'vue-router'

import { useI18n } from 'vue-i18n'

export function useTitle() {

    const { VITE_APP_TITLE } = import.meta.env

    const { currentRoute } = useRouter()

    const { t, locale } = useI18n()

    watch(

        () => [currentRoute.value.path, locale.value],

        () => {

            console.log('开始监听标题变化........')

            const route = unref(currentRoute)

            const title = route?.meta?.title ? `${t(route?.meta?.title)} - ${VITE_APP_TITLE}` : VITE_APP_TITLE

            console.log('监听标题', title)

            document.title = title

        },

        {immediate: true}

    )

}
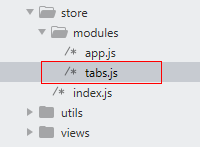
动态路由缓存
ve-admin支持keepalive路由缓存功能。使用 pinia 替代 vuex 状态管理,使用 pinia-plugin-persistedstate 持久化存储。
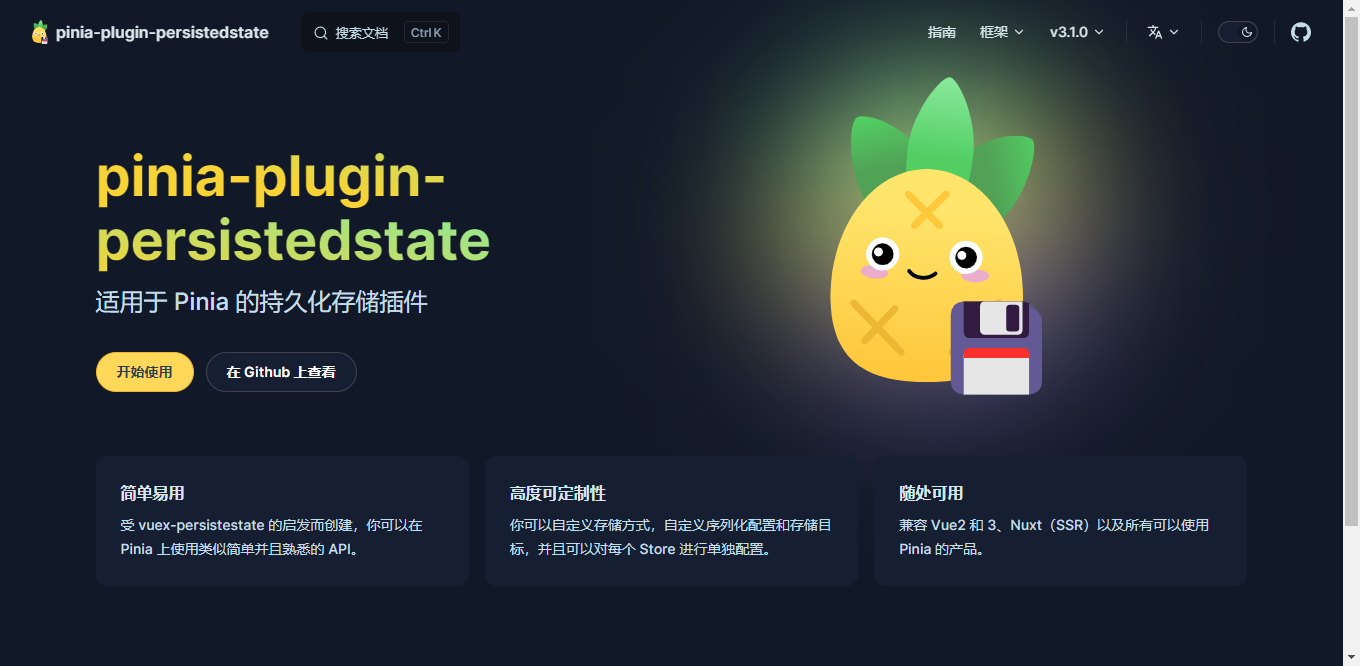
https://prazdevs.github.io/pinia-plugin-persistedstate/zh/
TabsView.vue模板
<script setup>

  import { ref, computed, watch, nextTick, h } from 'vue'

  import { useRouter, useRoute } from 'vue-router'

  import { useI18n } from 'vue-i18n'

  import { appStore } from '@/store/modules/app'

  import { tabsStore } from '@/store/modules/tabs'

  const { t } = useI18n()

  const router = useRouter()

  const route = useRoute()

  const app = appStore()

  const store = tabsStore()

  const tabKey = ref(route.path)

  const tabOptions = computed(() => store.tabViews)

  // 滚动到当前路由

  const scrollToActiveRoute = () => {

    nextTick(() => {

      const activeRef = scrollbarRef.value.scrollbarWrap.querySelector('.actived').offsetLeft

      scrollbarRef.value.scrollTo({left: activeRef, top: 0, behavior: 'smooth'})

    })

  }

  // 监听路由(增加标签/缓存)

  watch(() => route.path, () => {

    tabKey.value = route.path

    const params = {

      path: route.path,

      name: route.name,

      meta: {

        ...route.meta

      }

    }

    store.addTabs(params)

    scrollToActiveRoute()

  }, {

    immediate: true

  })

  // 右键菜单

  const scrollbarRef = ref()

  const selectedTab = ref({})

  const contextmenuRef = ref()

  const contextmenuOptions = ref([

    { key: 'refresh', icon: 've-icon-reload', label: 'tabview__contextmenu-refresh' },

    { key: 'close', icon: 've-icon-close', label: 'tabview__contextmenu-close' },

    { key: 'closeLeft', icon: 've-icon-logout', label: 'tabview__contextmenu-closeleft' },

    { key: 'closeRight', icon: 've-icon-logout1', label: 'tabview__contextmenu-closeright' },

    { key: 'closeOther', icon: 've-icon-retweet', label: 'tabview__contextmenu-closeother' },

    { key: 'closeAll', icon: 've-icon-close-square', label: 'tabview__contextmenu-closeall' },

  ])

  const handleRenderLabel = (option) => {

    return t(option?.label)

  }

  // 是否第一个标签

  const isFirstTab = () => {

    return selectedTab.value.path === store.tabViews[0].path || selectedTab.value.path === '/home/index'

  }

  // 是否最后一个标签

  const isLastTab = () => {

    return selectedTab.value.path === store.tabViews[store.tabViews.length - 1].path

  }

  const openContextMenu = (tab, e) => {

    selectedTab.value = tab

    contextmenuOptions.value[1].disabled = tab.meta?.isAffix

    contextmenuOptions.value[2].disabled = isFirstTab()

    contextmenuOptions.value[3].disabled = isLastTab()

    // 设置坐标

    contextmenuRef.value.setPos(e.clientX, e.clientY)

    contextmenuRef.value.show()

  }

  const changeContextMenu = (v) => {

    if(v.key == 'refresh') {

      if(tabKey.value !== selectedTab.value.path) {

        router.push(selectedTab.value.path)

      }

      store.reloadTabs()

      return

    }else if(v.key == 'close') {

      store.removeTabs(selectedTab.value)

    }else if(v.key == 'closeLeft') {

      store.removeLeftTabs(selectedTab.value)

    }else if(v.key == 'closeRight') {

      store.removeRightTabs(selectedTab.value)

    }else if(v.key == 'closeOther') {

      store.removeOtherTabs(selectedTab.value)

    }else if(v.key == 'closeAll') {

      store.clearTabs()

    }

    updateTabRoute()

  }

  // 跳转更新路由

  const updateTabRoute = () => {

    const lastTab = store.tabViews.slice(-1)[0]

    if(lastTab && lastTab.path) {

      router.push(lastTab.path)

    }else {

      router.push('/')

    }

  }

  // 切换tab

  const changeTab = (tab) => {

    router.push(tab.path)

  }

  // 关闭tab

  const closeTab = (tab) => {

    store.removeTabs(tab)

    updateTabRoute()

  }

</script>

<template>

  <div v-if="app.config.tabsview" class="veadmin__tabsview">

    <Scrollbar ref="scrollbarRef" mousewheel>

      <ul class="tabview__wrap">

        <li

          v-for="(tab,index) in tabOptions" :key="index"

          :class="{'actived': tabKey == tab.path}"

          @click="changeTab(tab)"

          @contextmenu.prevent="openContextMenu(tab, $event)"

        >

          <Icon class="tab-icon" :name="tab.meta?.icon" />

          <span class="tab-title">{{$t(tab.meta?.title)}}</span>

          <Icon v-if="!tab.meta?.isAffix" class="tab-close" name="ve-icon-close" @click.prevent.stop="closeTab(tab)" />

        </li>

      </ul>

    </Scrollbar>

  </div>

  <!-- 右键菜单 -->

  <Dropdown

    ref="contextmenuRef"

    trigger="manual"

    :options="contextmenuOptions"

    fixed="true"

    :render-label="handleRenderLabel"

    @change="changeContextMenu"

    style="height: 0;"

  />

</template>
/**

 * 状态管理 Pinia

 */

import { createPinia } from 'pinia'

// 引入pinia本地持久化存储

import piniaPluginPersistedstate from 'pinia-plugin-persistedstate'

const pinia = createPinia()

pinia.use(piniaPluginPersistedstate)

export default pinia
/**

 * 标签栏缓存状态管理

 * 在setup store中

 * ref() 就是 state 属性

 * computed() 就是 getters

 * function() 就是 actions

 * @author YXY

 * Q:282310962 WX:xy190310

 */

import { ref, nextTick } from 'vue'

import { useRoute } from 'vue-router'

import { defineStore } from 'pinia'

import { appStore } from '@/store/modules/app'

export const tabsStore = defineStore('tabs', () => {

        const currentRoute = useRoute()

        const store = appStore()

        /*state*/

        const tabViews = ref([]) // 标签栏列表

        const cacheViews = ref([]) // 缓存列表

        const reload = ref(true) // 刷新标识

        // 判断tabViews某个路由是否存在

        const tabIndex = (route) => {

            return tabViews.value.findIndex(item => item?.path === route?.path)

        }

        /*actions*/

        // 新增标签

        const addTabs = (route) => {

            const index = tabIndex(route)

            if(index > -1) {

                tabViews.value.map(item => {

                    if(item.path == route.path) {

                        // 当前路由缓存

                        return Object.assign(item, route)

                    }

                })

            }else {

                tabViews.value.push(route)

            }

            // 更新keep-alive缓存

            updateCacheViews()

        }

        // 移除标签

        const removeTabs = (route) => {

            const index = tabIndex(route)

            if(index > -1) {

                tabViews.value.splice(index, 1)

            }

            updateCacheViews()

        }

        // 移除左侧标签

        const removeLeftTabs = (route) => {

            const index = tabIndex(route)

            if(index > -1) {

                tabViews.value = tabViews.value.filter((item, i) => item?.meta?.isAffix || i >= index)

            }

            updateCacheViews()

        }

        // 移除右侧标签

        const removeRightTabs = (route) => {

            const index = tabIndex(route)

            if(index > -1) {

                tabViews.value = tabViews.value.filter((item, i) => item?.meta?.isAffix || i <= index)

            }

            updateCacheViews()

        }

        // 移除其它标签

        const removeOtherTabs = (route) => {

            tabViews.value = tabViews.value.filter(item => item?.meta?.isAffix || item?.path === route?.path)

            updateCacheViews()

        }

        // 移除所有标签

        const clearTabs = () => {

            tabViews.value = tabViews.value.filter(item => item?.meta?.isAffix)

            updateCacheViews()

        }

        // 更新keep-alive缓存

        const updateCacheViews = () => {

            cacheViews.value = tabViews.value.filter(item => store.config.keepAlive || item?.meta?.isKeepAlive).map(item => item.name)

            console.log('cacheViews缓存路由>>:', cacheViews.value)

        }

        // 移除keep-alive缓存

        const removeCacheViews = (route) => {

            cacheViews.value = cacheViews.value.filter(item => item !== route?.name)

        }

        // 刷新路由

        const reloadTabs = () => {

            removeCacheViews(currentRoute)

            reload.value = false

            nextTick(() => {

                updateCacheViews()

                reload.value = true

                document.documentElement.scrollTo({ left: 0, top: 0 })

            })

        }

        // 清空缓存

        const clear = () => {

            tabViews.value = []

            cacheViews.value = []

        }

        return {

            tabViews,

            cacheViews,

            reload,

            addTabs,

            removeTabs,

            removeLeftTabs,

            removeRightTabs,

            removeOtherTabs,

            clearTabs,

            reloadTabs,

            clear

        }

    },

    // 本地持久化存储(默认存储localStorage)

    {

        // persist: true

        persist: {

            storage: localStorage,

            paths: ['tabViews', 'cacheViews']

        }

    }

)
vite.config.js配置文件
import { defineConfig, loadEnv } from 'vite'

import vue from '@vitejs/plugin-vue'

import { resolve } from 'path'

import { wrapEnv } from './src/utils/env'

// https://vitejs.dev/config/

export default defineConfig(({ mode }) => {

    const viteEnv = loadEnv(mode, process.cwd())

    const env = wrapEnv(viteEnv)

    return {

        plugins: [vue()],

        // base: '/',

        // mode: 'development', // development|production

        /*构建选项*/

        build: {

            // minify: 'esbuild', // 打包方式 esbuild(打包快)|terser

            // chunkSizeWarningLimit: 2000, // 打包大小警告

            // rollupOptions: {

            //     output: {

            //         chunkFileNames: 'assets/js/[name]-[hash].js',

            //         entryFileNames: 'assets/js/[name]-[hash].js',

            //         assetFileNames: 'assets/[ext]/[name]-[hash].[ext]',

            //     }

            // }

        },

        esbuild: {

            // 打包去除 console.log 和 debugger

            drop: env.VITE_DROP_CONSOLE ? ['console', 'debugger'] : []

        },

        /*开发服务器选项*/

        server: {

            // 端口

            port: env.VITE_PORT,

            // 是否浏览器自动打开

            open: env.VITE_OPEN,

            // 开启https

            https: env.VITE_HTTPS,

            // 代理配置

            proxy: {

                // ...

            }

        },

        resolve: {

            // 设置别名

            alias: {

                '@': resolve(__dirname, 'src'),

                '@assets': resolve(__dirname, 'src/assets'),

                '@components': resolve(__dirname, 'src/components'),

                '@views': resolve(__dirname, 'src/views'),

                // 解决vue-i18n警告提示:You are running the esm-bundler build of vue-i18n.

                'vue-i18n': 'vue-i18n/dist/vue-i18n.cjs.js'

            }

        }

    }

})
Okra,基于 vite4.x+pinia+vePlus 开发后台管理系统模板就分享到这里,希望对大家有些帮助哈~~
最后附上两个最近实例项目
https://www.cnblogs.com/xiaoyan2017/p/16830689.html
https://www.cnblogs.com/xiaoyan2017/p/16701624.html

/** * 状态管理 Pinia util * @author YXY */
import { createPinia } from 'pinia'// 引入pinia本地持久化存储import piniaPluginPersistedstate from 'pinia-plugin-persistedstate'
const pinia = createPinia()pinia.use(piniaPluginPersistedstate)
export default pinia
Vite-Admin后台管理系统|vite4+vue3+pinia前端后台框架实例的更多相关文章
- 后台管理系统-使用AdminLTE搭建前端
返回总目录<ABP项目实战-后台管理系统-目录> 安装AdminLte 我们通过Nuget包管理器安装AdminLte 引用三方组件 因为AdminLte使用到了很多三方的组件,所以我们需 ...
- ASP.NET MVC5+EF6+EasyUI 后台管理系统(61)-如何使用框架来开发
系列目录 前言: 有些园友经常问如何正确快速开发,但是我告诉你没有什么帮助文档比自己动手做更加实在,不用代码生成器 这一节专门抽了些时间来非常非常详细演示这个框架的数据流,废话不多说,现在开始!下面看 ...
- 我最近做了一个react的后台管理系统,用于快速创建后台项目模板
react-ant-admin 此框架使用与二次开发,前端框架使用react,UI框架使用ant-design,全局数据状态管理使用redux,ajax使用库为axios.用于快速搭建中后台页面.欢迎 ...
- LeeCX - 开源后台管理系统简单介绍
我们在github上开源了一个后台管理系统,使用了前端css框架并且简单的封装了一下,技术的将会不间断更新,详细可以点击原文链接.具体介绍如下: LeeCX 开源后台管理系统,前端基于bootstra ...
- django后台管理系统(admin)的简单使用
目录 django后台管理系统的使用 检查配置文件 检查根urls.py文件 启动项目,浏览器输入ip端口/admin 如: 127.0.0.1/8000/admin 回车 注册后台管理系统超级管理 ...
- Serverless + Egg.js 后台管理系统实战
本文将介绍如何基于 Egg.js 和 Serverless 实现一个后台管理系统 作为一名前端开发者,在选择 Nodejs 后端服务框架时,第一时间会想到 Egg.js,不得不说 Egg.js 是一个 ...
- springboot学习笔记:11.springboot+shiro+mysql+mybatis(通用mapper)+freemarker+ztree+layui实现通用的java后台管理系统(权限管理+用户管理+菜单管理)
一.前言 经过前10篇文章,我们已经可以快速搭建一个springboot的web项目: 今天,我们在上一节基础上继续集成shiro框架,实现一个可以通用的后台管理系统:包括用户管理,角色管理,菜单管理 ...
- ASP.NET MVC5+EF6+EasyUI 后台管理系统(1)-前言与目录(持续更新中...)
开发工具:VS2015(2012以上)+SQL2008R2以上数据库 您可以有偿获取一份最新源码联系QQ:729994997 价格 666RMB 升级后界面效果如下: 任务调度系统界面 http: ...
- [ABP项目实战]-后台管理系统-目录
学习ABP也有一段时间了,但是总是学习了后面的忘记了前面的,为了巩固所学到的知识以及记录所学到的东西,因此有了本系列的诞生. ABP ASP.NET Boilerplate Project(ABP.N ...
- ASP.NET MVC5+EF6+EasyUI 后台管理系统(1)-前言与目录(转)
开发工具:VS2015(2012以上)+SQL2008R2以上数据库 您可以有偿获取一份最新源码联系QQ:729994997 价格 666RMB 升级后界面效果如下: 日程管理 http://ww ...
随机推荐
- dom和dom4j
https://www.cnblogs.com/avivahe/p/5493060.html DOM.SAX.JDOM.DOM4J的区别
- SQL Network Interfaces, error: 50 - 发生了 Local Database Runtime 错误。无法创建自动实例
1. sqllocaldb delete MSSQLLocalDB 2. sqllocaldb create
- C/C++ 顺序表的初始化、添加、插入、删除(删除顺序表中指定的所有元素)
#include <iostream> #include <stdlib.h> #define MAX_SIZE 100 using namespace std; typede ...
- python求列表中某个值第一次出现的位置
x=[2,1,1] print(x.index(1)) 结果为1
- 转载:VMware Esxi开通SSH功能
转载:https://www.cnblogs.com/dsl146/p/13739953.html ESXi 5.5是直接安装在物理主机上的一个虚拟机系统,本质上是一个Linux系统.平时可以通过VM ...
- Web服务器2
Web服务器2 基于华为鲲鹏云服务器CentOS中(或Ubuntu),使用Linux Socket实现: Web服务器的客户端服务器,提交程序运行截图 实现GET即可,请求,响应要符合HTTP协议规范 ...
- Java8中Stream()流的用法总结
简单的集合遍历 foreach遍历 import java.util.ArrayList; import java.util.List; /** * @author rx * @date 2022/6 ...
- nginx学习之路
nginx反向代理服务器 1.技术选型 nginx主要能实现的功能有负载均衡,反向代理,动静分离.选择nginx主要为了实现反向代理以及负载均衡功能, *为什么要实现反向代理 传统项目直接暴露在外网入 ...
- vue下拉选择select option el-cascader删除重选值的问题
select当下拉值多的时候 以及input cascader级联选择一个值后 后面我不想要了 vue 提供了一个关键字 可以帮你全部清空 这个关键字就是:clearable
- Python中的startswith()函数用法
函数:startswith() 作用:判断字符串是否以指定字符或子字符串开头 一.函数说明语法:string.startswith(str, beg=0,end=len(string)) ...