使用NodeJsScan扫描nodejs代码检查安全性
使用NodeJsScan扫描nodejs代码检查安全性
1.下载源码:https://github.com/ajinabraham/NodeJsScan
2.下载Windows版docker toolbox: http://get.daocloud.io/#install-toolbox
3.下载PostgreSQL安装详细步骤(windows)
http://blog.chinaunix.net/uid-354915-id-3498734.html
https://www.enterprisedb.com/downloads/postgres-postgresql-downloads
https://www.pgadmin.org/
user:postgres,pw:admin,port:5432
4.重启电脑,打开pgAdmin4程序
http://127.0.0.1:49908/browser/
创建一个数据库nodejsscan
=================
https://ajinabraham.github.io/NodeJsScan/
安装Python3.7 设置环境变量
D:\Python\Python37\Scripts\
D:\Python\Python37\
cmd命令行
d:
cd D:\pyworkspace\NodeJsScan>
先升级pip
python -m pip install --upgrade pip
安装依赖包
pip3 install -r requirements.txt
执行命令
python migrate.py # Run once to create database entries required
python app.py # Testing Environment
gunicorn -b 0.0.0.0:9090 app:app # Production Environment
-----------------
D:\pyworkspace\NodeJsScan>python app.py
* Serving Flask app "app" (lazy loading)
* Environment: production
WARNING: Do not use the development server in a production environment.
Use a production WSGI server instead.
* Debug mode: off
* Running on http://0.0.0.0:9090/ (Press CTRL+C to quit)
===========================
pip install nodejsscan
-----------------
Docker
docker build -t nodejsscan .
docker run -it -p 9090:9090 nodejsscan
-------------------
D:\pyworkspace\NodeJsScan> docker build -t nodejsscan .
要执行多次下载很多东西后才成功
Successfully built 829f23dfd371
Successfully tagged nodejsscan:latest
-----------------
docker run -it -p 9090:9090 nodejsscan
LOG: database system was shut down at 2018-08-03 09:48:02 UTC
LOG: MultiXact member wraparound protections are now enabled
LOG: database system is ready to accept connections
LOG: autovacuum launcher started
[INFO] Table entries created!
[2018-08-03 09:48:09 +0000] [57] [INFO] Starting gunicorn 19.9.0
[2018-08-03 09:48:09 +0000] [57] [INFO] Listening at: http://0.0.0.0:9090 (57)
[2018-08-03 09:48:09 +0000] [57] [INFO] Using worker: sync
[2018-08-03 09:48:09 +0000] [60] [INFO] Booting worker with pid: 60
=========================
在另外一个控制台,cmd进入到对应js文件目录下执行nodejsscan -d 文件夹名称
d:
D:\nodejsspace>nodejsscan -d yourjsdir
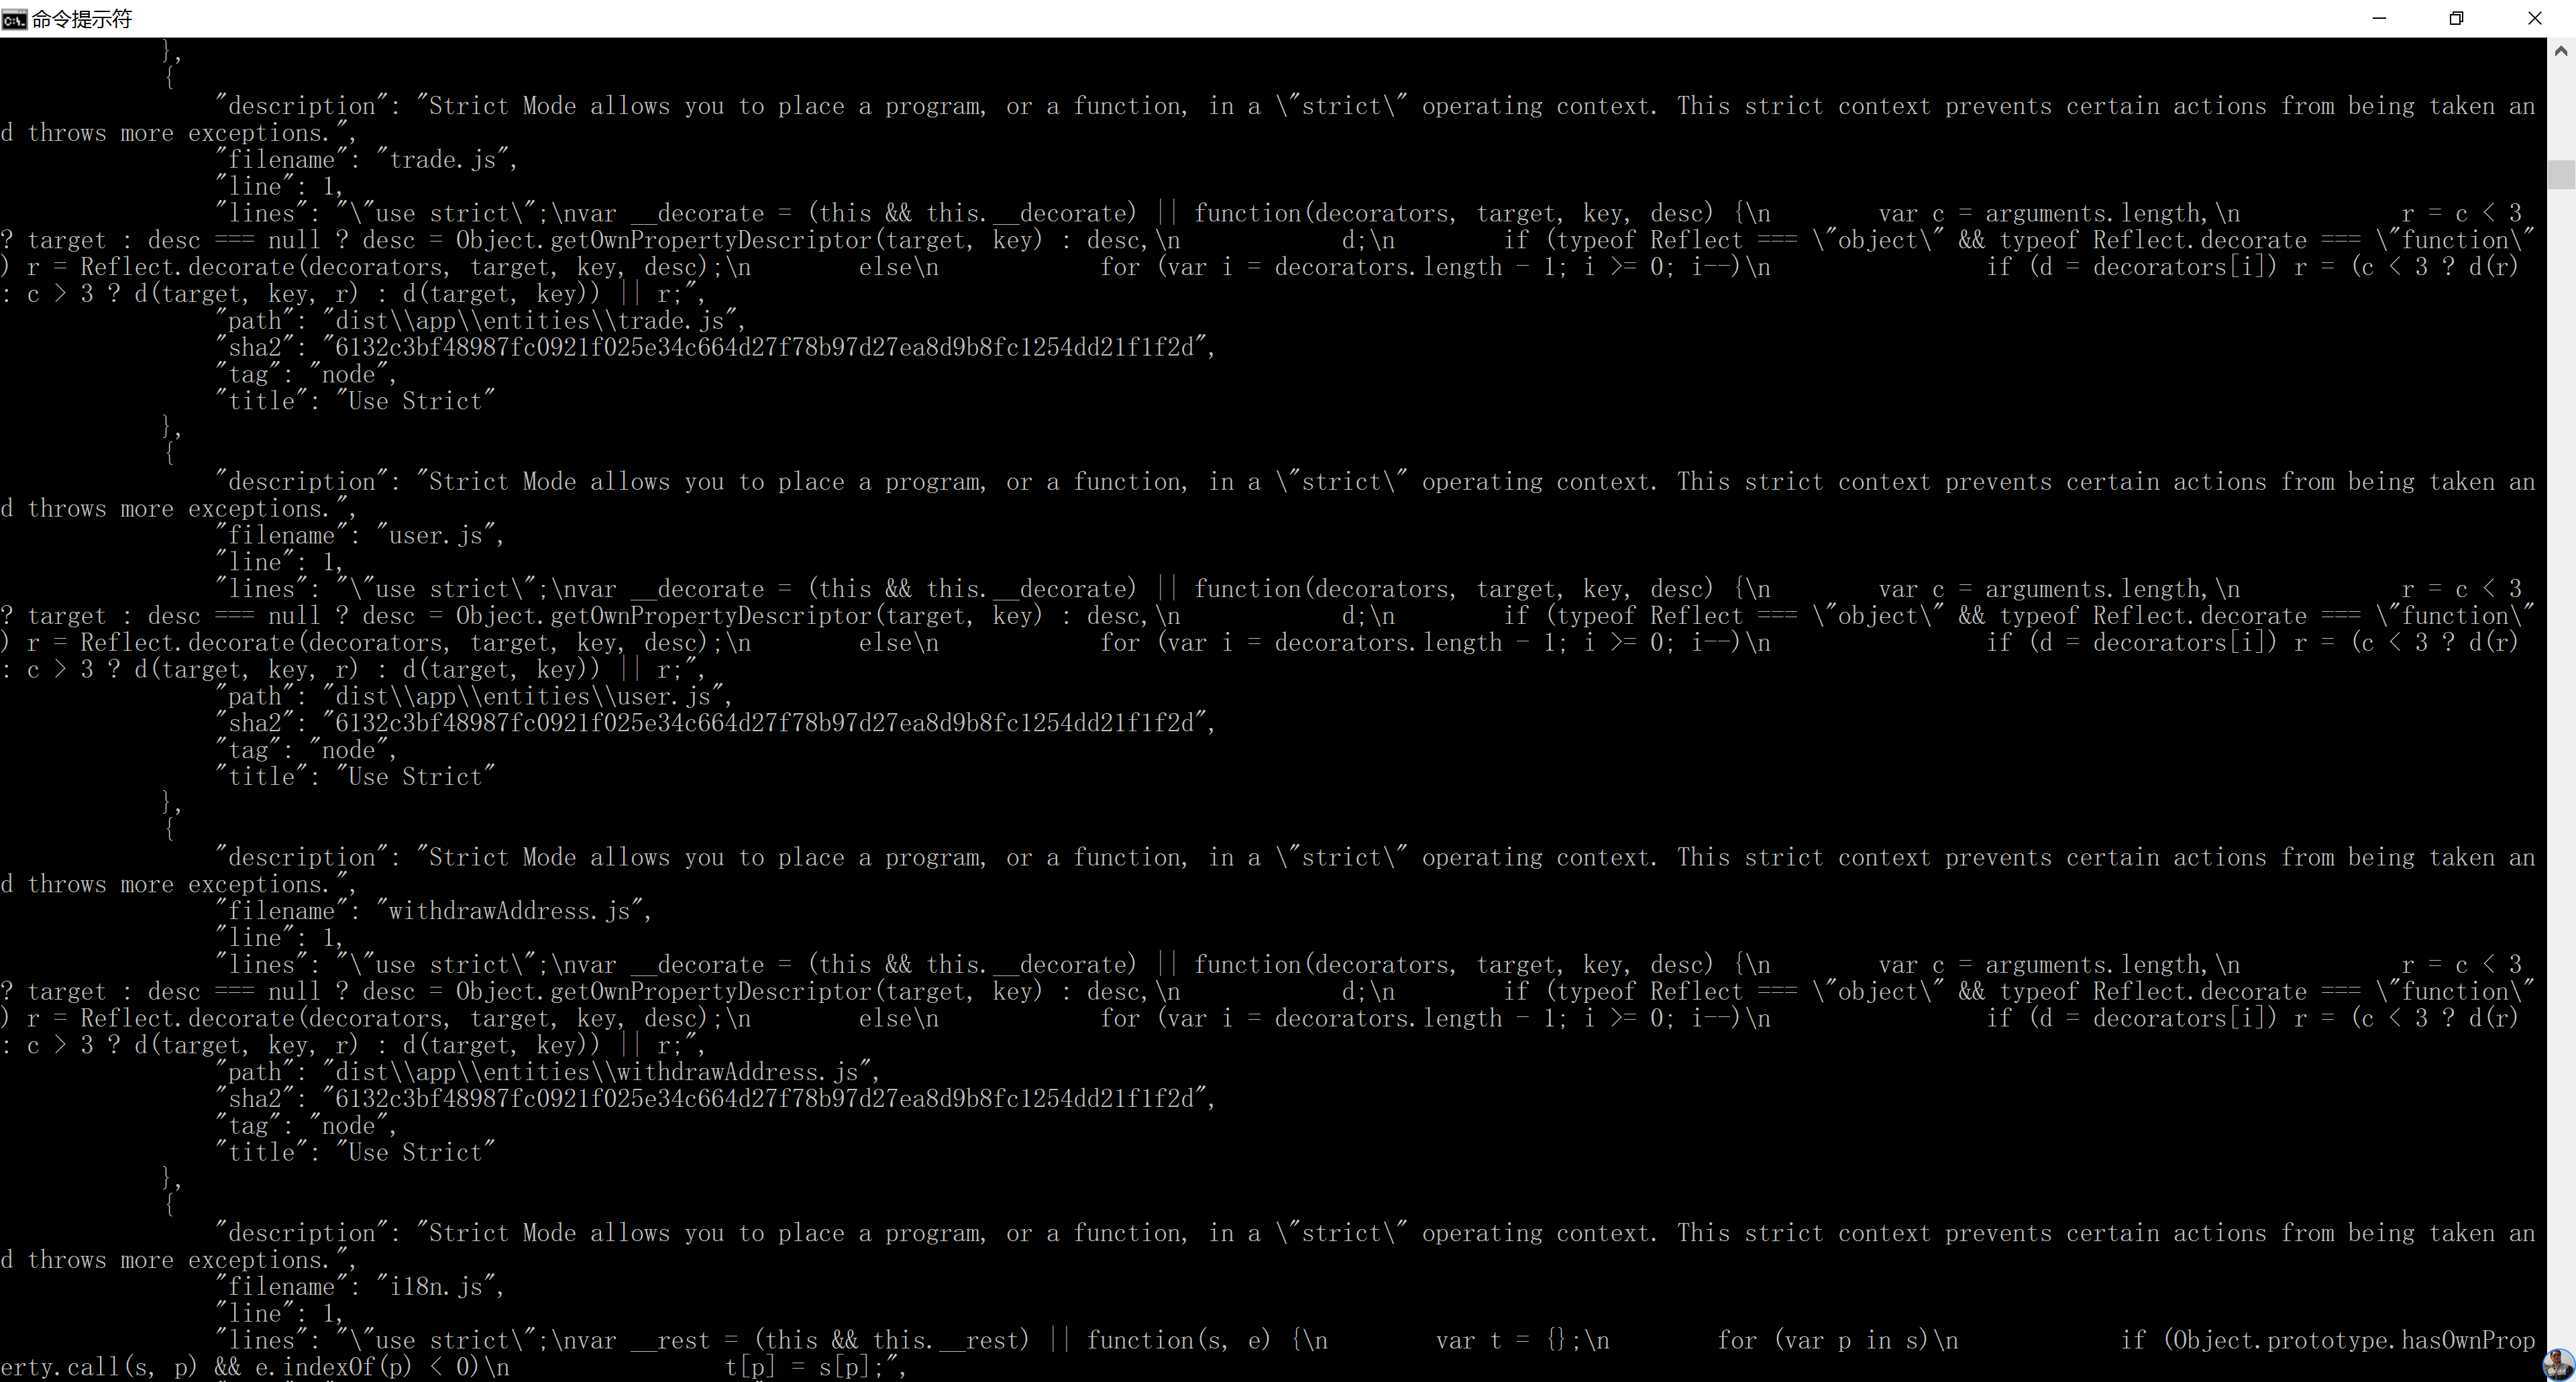
输出类似:
[INFO] Running Static Analyzer on - yourjsdir
{
"files": [
{
"\\app.js": "yourjsdir\\app.js"
},
示例如下:
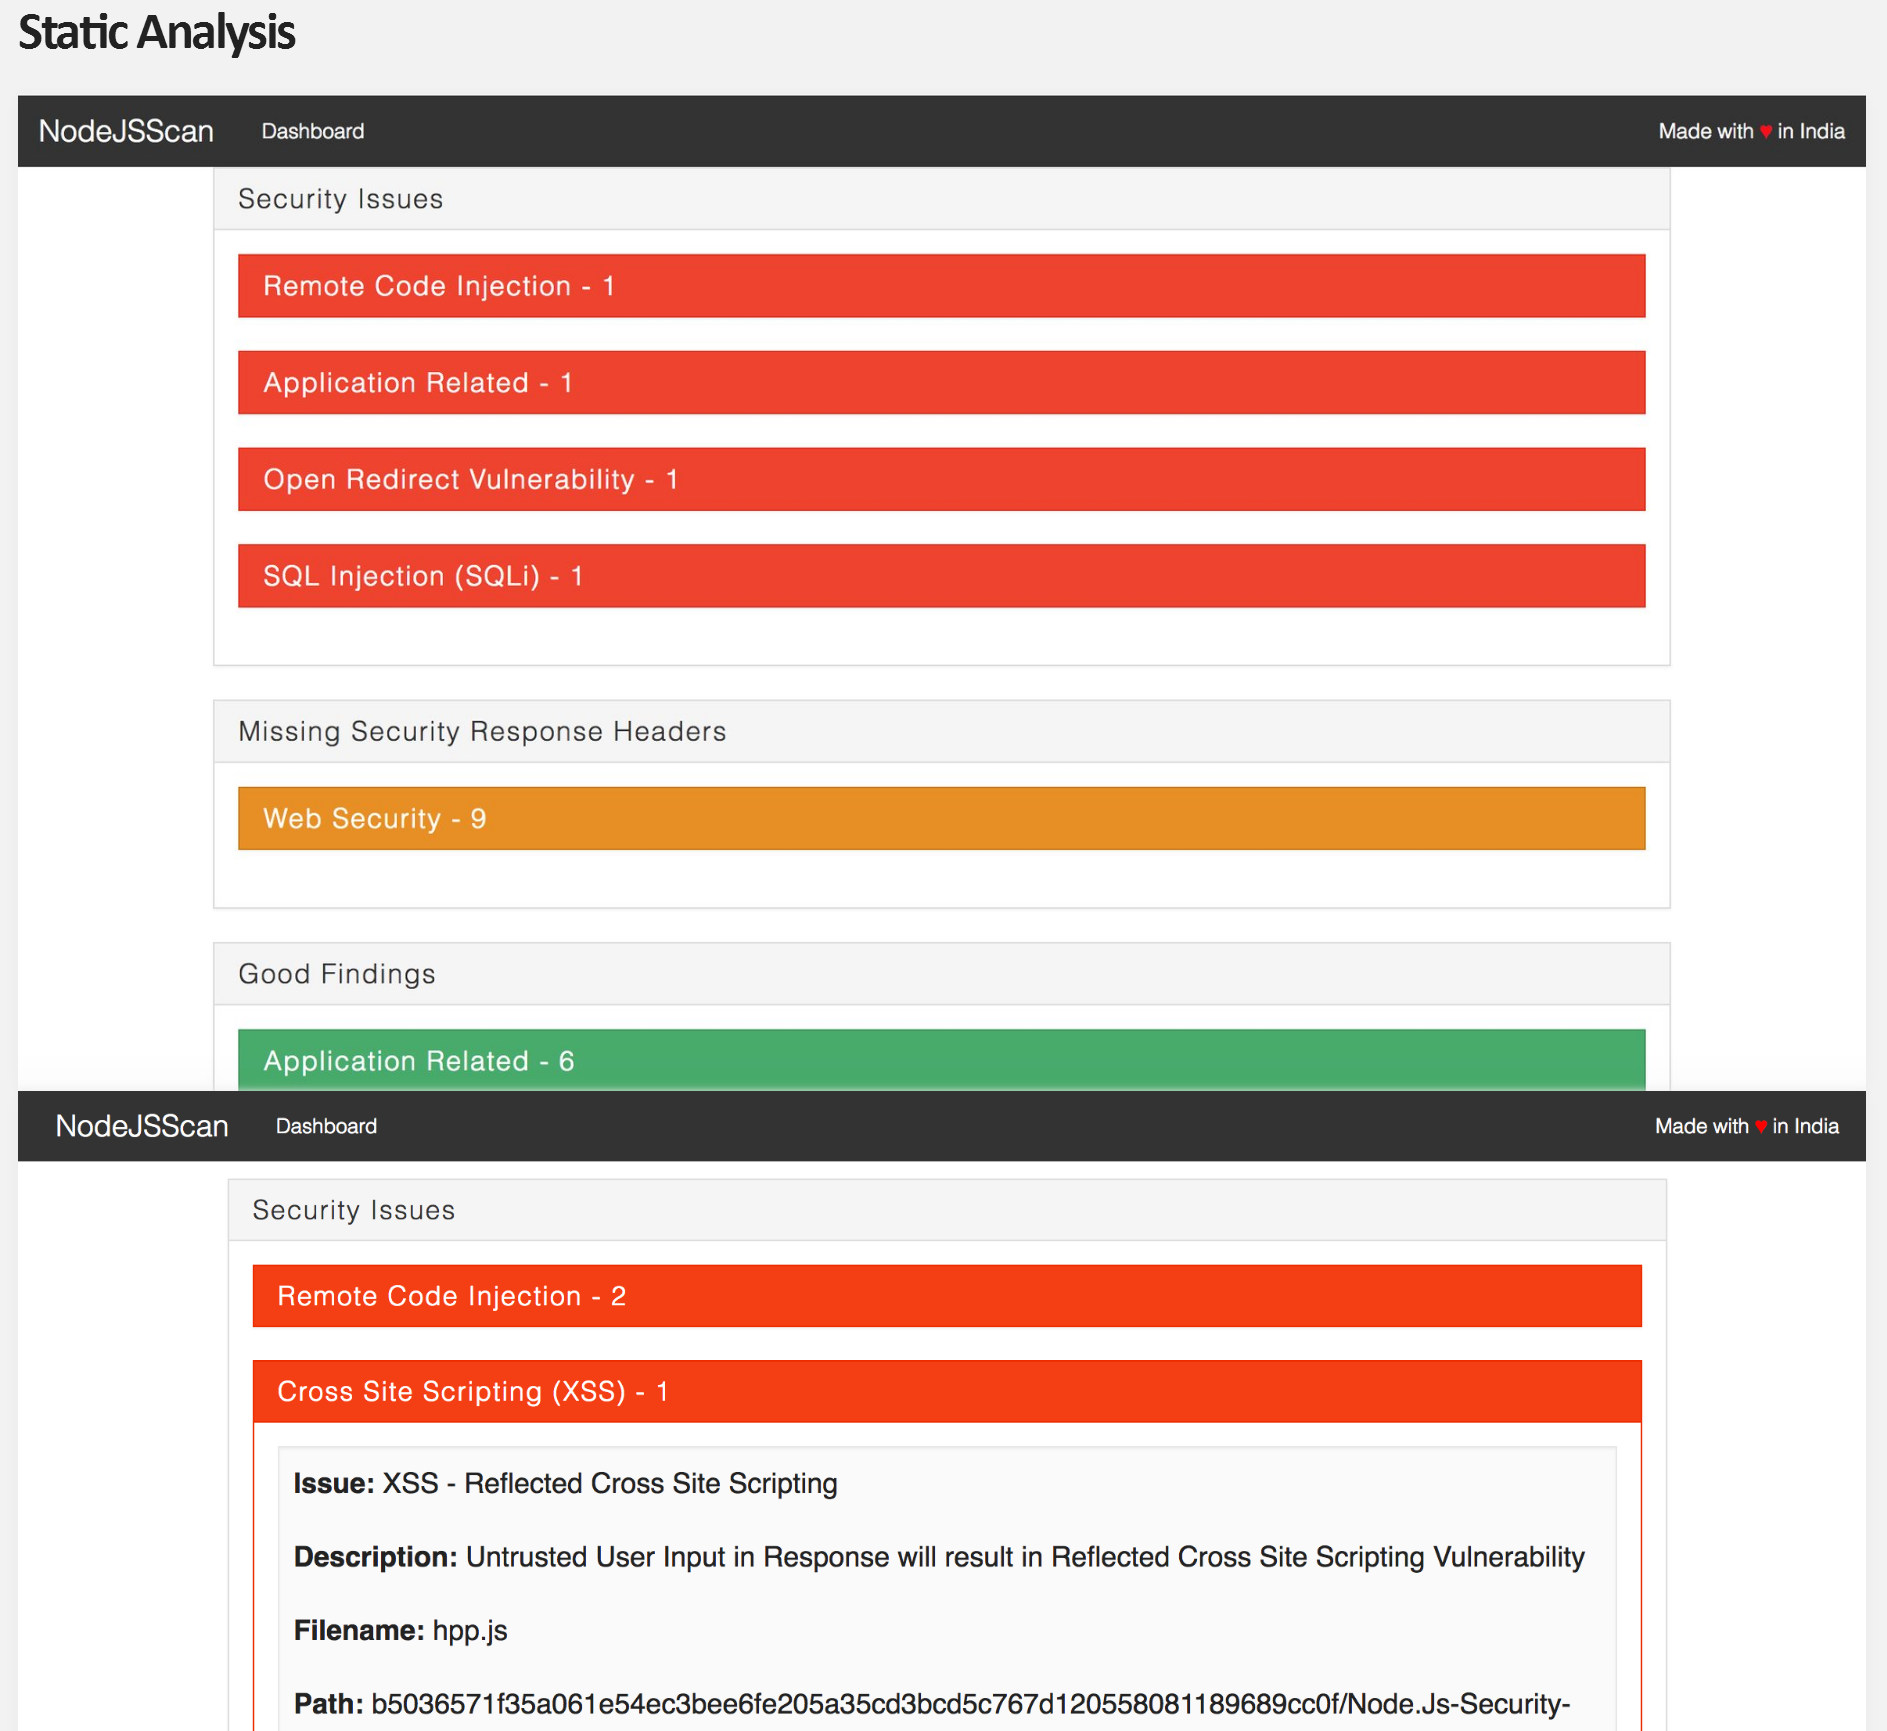
另外,部署后可以在网页版查看的

=========================
可能遇到的错误:
'pip3' 不是内部或外部命令,也不是可运行的程序
解决办法:要添加Python的环境变量
D:\Program Files (x86)\pgAdmin 4\v3\venv\Scripts
pip3 install -r requirements.txt
Fatal error in launcher: Unable to create process using '"'
python -m pip3 install -r requirements.txt
D:\Program Files (x86)\pgAdmin 4\v3\venv\Scripts\python.exe: No module named pip3
要先安装pip3,或者升级,或者改成php命令执行
----------------
pip3 install -r requirements.txt
python3 migrate.py # Run once to create database entries required
python3 app.py # Testing Environment
gunicorn -b 0.0.0.0:9090 app:app # Production Environment
--------------
pip3 install -r requirements.txt
python migrate.py # Run once to create database entries required
python app.py # Testing Environment
gunicorn -b 0.0.0.0:9090 app:app # Production Environment
-----------------
docker run -it -p 9090:9090 nodejsscan
D:\pyworkspace\NodeJsScan>docker run -it -p 9090:9090 nodejsscan
Unable to find image 'nodejsscan:latest' locally
docker: Error response from daemon: pull access denied for nodejsscan, repository does not exist or may require 'docker login'.
See 'docker run --help'.
The files belonging to this database system will be owned by user "postgres".
This user must also own the server process.
================
node防xss攻击插件
var xss = require('node-xss').clean;

router.post("/orders/insert-orders", function (req, res) {

    //对请求体做xss过滤

    var data = xss(req.body);

    var url = urlMap.englishlistenspeakserver + '/orders/insert-orders';

    var options = {

        url: url,

        method: 'POST',

        json: true,

        qs: data

    };

    request(options, function (error, response, body) {

        res.send(body);

    })

});
使用NodeJsScan扫描nodejs代码检查安全性的更多相关文章
- Nodejs + Jshint自动化静态代码检查
1. 目的 提交代码前能够自动化静态代码检查,提高代码质量 2. 准备 1. Nodejs安装: 官方地址:http://nodejs.org/ 安装说明:根据电脑配置下载对应的版本进行 ...
- 代码检查工具jshint和csslint
前面的话 Douglas Crockford大神根据自己的理念用JavaScript写了一个JavaScript代码规范检查工具,这就是JSLint.后来非常流行,也的确帮助了广大的JavaScrip ...
- 在Jenkins中使用sonar进行静态代码检查
要解决的问题 jenkins自动构建完成后,希望能通过sonar静态代码检查生成一份报告,给与开发人员对当前代码的做一个质量评估和修改意见 1.安装并配置sonar服务器 懒得说,跟着官方文档走就行, ...
- 值得细读!如何系统有效地提升Android代码的安全性?
众所周知,代码安全是Android开发工作中的一大核心要素. 11月3日,安卓巴士全球开发者论坛线下系列沙龙第七站在成都顺利举办.作为中国领先的安卓开发者社区,安卓巴士近年来一直致力于在全国各大城市举 ...
- Jenkins代码检查
目录 一.静态代码分析 二.规范检查 PMD进行检查 分析器区别 三.持续代码质量检测 Maven与SonarQube集成 Jenkins与SonarQube集成 代码扫描 SonarQube集成p3 ...
- 最近开始研究PMD(一款采用BSD协议发布的Java程序代码检查工具)
PMD是一款采用BSD协议发布的Java程序代码检查工具.该工具可以做到检查Java代码中是否含有未使用的变量.是否含有空的抓取块.是否含有不必要的对象等.该软件功能强大,扫描效率高,是Java程序员 ...
- JavaScript代码检查工具 — JSHint
静态代码检查是开发工作中不可缺少的一环,毕竟对于程序化的工作人的眼睛是不可靠的,更何况是自己的眼睛看自己的代码.即使最后的运行结果通过,但可能存在一些未定义的变量.定义了但最后没用过的变量.分号有没有 ...
- 将nodejs代码部署到阿里云服务器
概述 最近在做一个小项目,其中用nodejs做了个数据转发的接口,之后需要将这部分代码部署到服务器上面,并使用Nginx做反向代理.期间使用搜索引擎大量查阅了其他同鞋的经验,不过写的大多很笼统,因此踩 ...
- Android ------ 美团的Lint代码检查实践
概述 Lint是Google提供的Android静态代码检查工具,可以扫描并发现代码中潜在的问题,提醒开发人员及早修正,提高代码质量.除了Android原生提供的几百个Lint规则,还可以开发自定义L ...
随机推荐
- Docker 架构(四)
Docker 使用客户端-服务器 (C/S) 架构模式,使用远程 API 来管理和创建 Docker 容器. Docker 容器通过 Docker 镜像来创建. 容器与镜像的关系类似于面向对象编程中的 ...
- wx.Panel
Panel是窗口的容器,通常其大小与Frame一样,在其上放置各种控件,这样可将窗口内容与工具栏及状态栏区分开,能过TAB键可遍历Panel中的元素 小构件,如按钮,文本框等被放置在面板窗口. w ...
- edraw的符号制作
1.选中要制作的符号,在"符号"->"保存符号",这将保存为两个文件,1个是ede,另一个是png文件. 2. 3.名称,提示,随意写,只要你明白什么意思 ...
- strlen函数细节
strlen所作的仅仅是一个计数器的工作,它从内存的某个位置(可以是字符串开头,中间某个位置,甚至是某个不确定的内存区域)开始扫描,直到碰到第一个字符串结束符'\0'为止,然后返回计数器值. 原型: ...
- 常见的local variable 'x' referenced before assignment问题
def fun1(): x = 5 def fun2(): x *= 2 return x return fun2() 如上代码,调用fun1() 运行会出错:UnboundLocalError: l ...
- [django]django配合前端vue前后端联调,django服务端解决跨域(django-cors-headers)
django内部csrf post提交数据解决 https://www.cnblogs.com/iiiiiher/articles/9164940.html 前端写了个页面,里面$.post发现403 ...
- 使用spring的aop对Struts2的Action拦截后出现依赖注入为空问题
两种解决方案: 1.action类继承ActionSupport了后,出现依赖注入为空,要在applicationContext.xml配置中加入:<aop:aspectj-autoproxy ...
- 《全栈性能Jmeter》-4JMeter脚本开发
- (已解决)#warning:尚未配置[微信]URL Scheme:wx4868b35061f87884, 无法使用进行授权。
#warning:尚未配置[微信]URL Scheme:wx4868b35061f87884, 无法使用进行授权. (说白了就是注册白名单) ” -canOpenURL: failed for URL ...
- 漏洞复现:Struts2 远程代码执行漏洞(S2-033)
docker pull medicean/vulapps:s_struts2_s2-033 docker run -d -p 80:8080 medicean/vulapps:s_struts2_s2 ...