Vue cli路由
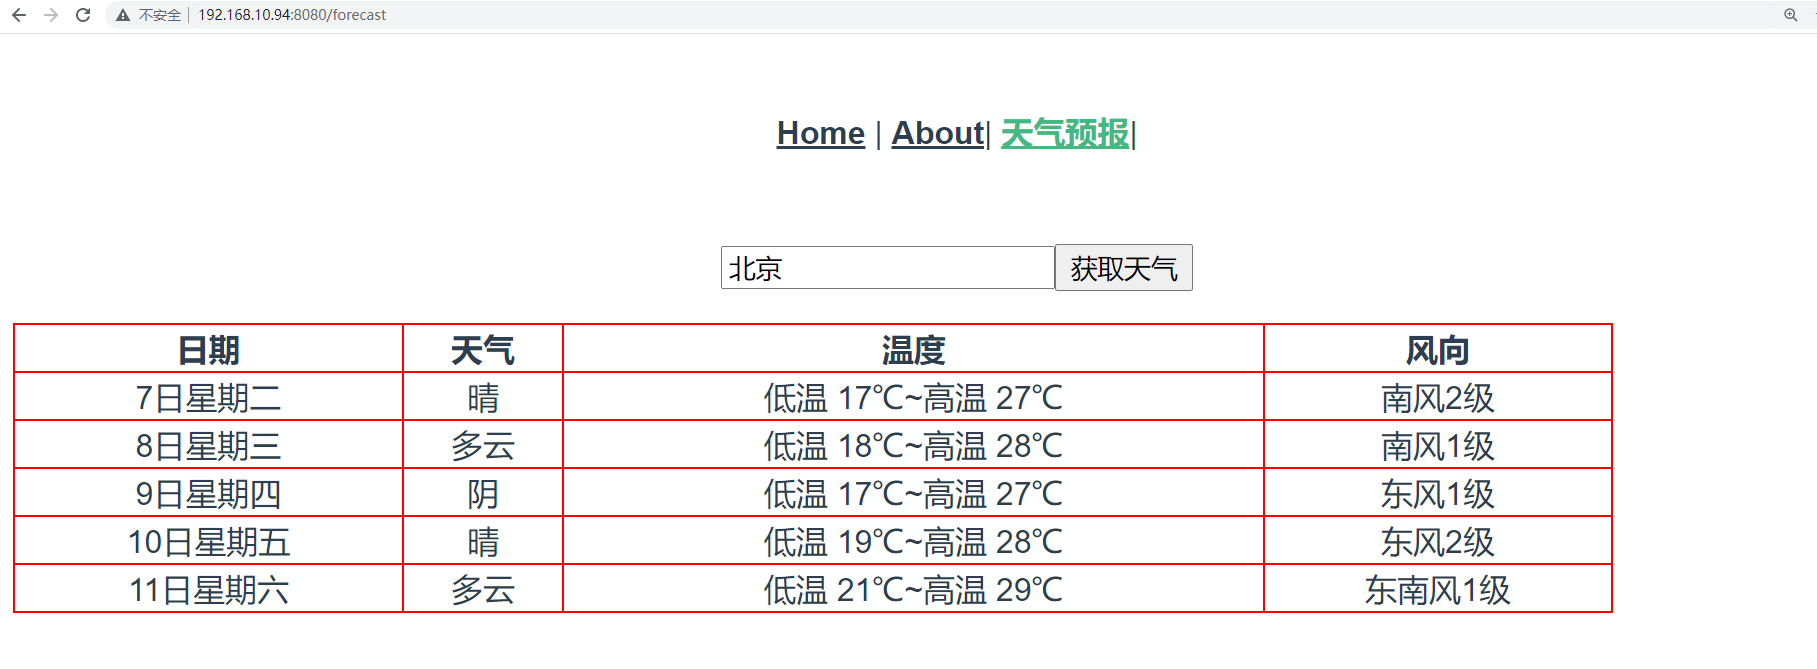
上面是将Forecast组件作为了Home的子组件使用,现在我们将其作为一个路由组件使用。
在router/index.js路由系统注册路由:
{

        path: '/forecast',

        name: 'Forecast',

        // route level code-splitting

        // this generates a separate chunk (about.[hash].js) for this route

        // which is lazy-loaded when the route is visited.

        component: () => import(/* webpackChunkName: "about" */ '../components/Forecast.vue')

    },
app.Vue中更新为:
<template>

  <div id="nav">

    <router-link to="/">Home</router-link> |

    <router-link to="/about">About</router-link>|

    <router-link to="/forecast">天气预报</router-link>

  </div>

  <router-view/>

</template>
1、路由跳转
vue-router提供了2种写法让我们实现页面跳转。
(1)通过router-link来跳转
正如App.Vue中的使用:
<template>

  <div id="nav">

    <router-link to="/">Home</router-link> |

    <router-link to="/about">About</router-link>|

    <router-link to="/forecast">天气预报</router-link>|

  </div>

  <router-view/>

</template>
(2)通过this.$router来跳转
<template>

  <div id="nav">

    <router-link to="/">Home</router-link> |

    <router-link to="/about">About</router-link>|

    <router-link to="/forecast">天气预报</router-link>|

     <a href="" @click.prevent="gohome">Home</a>

  </div>

  <router-view/>

</template>

<script>

export default {

  name: 'App',  // 组件名

  data(){

    return {

      user:"root",

    }

  },

  methods:{

    gohome(){

      // 页面跳转

      if(this.user === "root"){

         this.$router.push("/"); // ajax页面跳转到指定的路由地址

        // this.$router.back(); // 跳转返回上一页

        // this.$router.go(-1); // -1相当于back,后退一页

        // this.$router.go(1); // 1表示forward,前进一页

      }

    }

  },

}

</script>

<style>

#app {

  font-family: Avenir, Helvetica, Arial, sans-serif;

  -webkit-font-smoothing: antialiased;

  -moz-osx-font-smoothing: grayscale;

  text-align: center;

  color: #2c3e50;

}

#nav {

  padding: 30px;

}

#nav a {

  font-weight: bold;

  color: #2c3e50;

}

#nav a.router-link-exact-active {

  color: #42b983;

}

</style>
2、传递参数
vue-router提供了2种用于开发中传递参数的方式给我们使用。
(1)路径参数
url地址的路径作为变量,传递参数到下一个页面组件中进行获取使用。
注册路由:
 {

        path: '/article/:year/:month',

        name: 'Article',

        // route level code-splitting

        // this generates a separate chunk (about.[hash].js) for this route

        // which is lazy-loaded when the route is visited.

        component: () => import(/* webpackChunkName: "about" */ '../components/Article.vue')

    },
创建Article.vue:
<template>

  <h3>

    查询{{year}}年{{month}}的系列文章

  </h3>

</template>

<script>

export default {

  name: "Article",

  data(){

    return {

      year: 0,

      month: 0,

    }

  },

  created() {

    this.year = this.$route.params.year;

    this.month = this.$route.params.month;

  }

}

</script>

<style scoped>

</style>
最后在App.Vue中添加:
<router-link to="/article/2000/12">文章列表</router-link>|

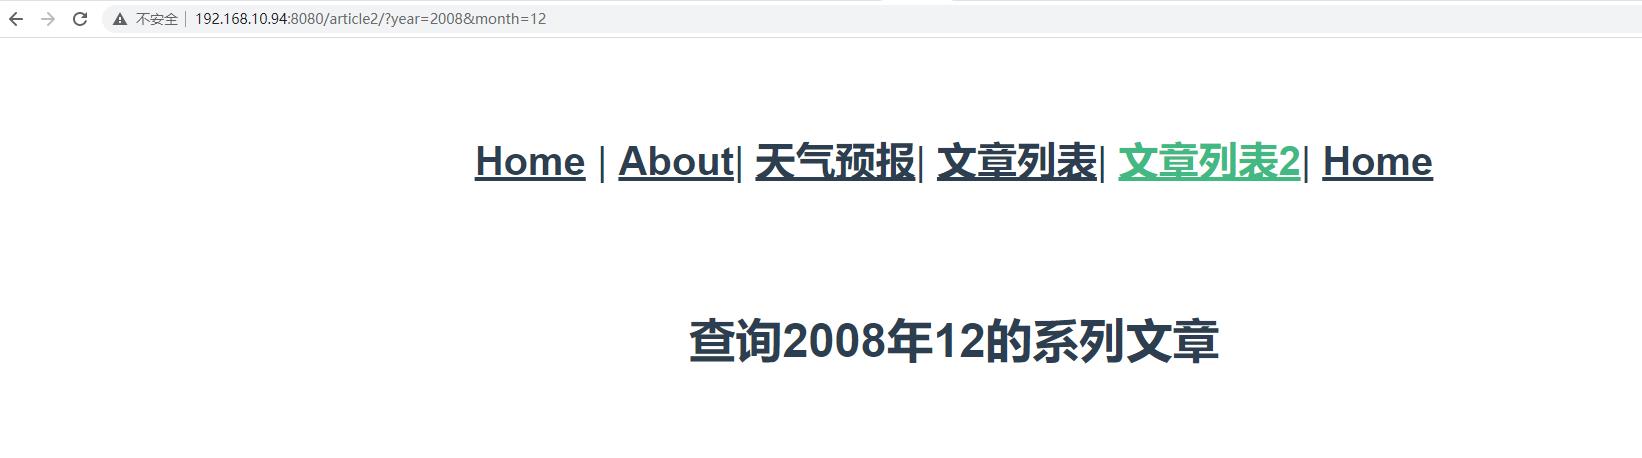
(2)查询参数
url地址的查询字符串作为参数,在下一个页面组件中进行获取使用。
注册路由:
 {

        path: '/article2/',

        name: 'Article2',

        // route level code-splitting

        // this generates a separate chunk (about.[hash].js) for this route

        // which is lazy-loaded when the route is visited.

        component: () => import(/* webpackChunkName: "about" */ '../components/Article2.vue')

    },
创建Article2.vue:
<template>

  <h3>

    查询{{year}}年{{month}}的系列文章

  </h3>

</template>

<script>

export default {

  name: "Article",

  data(){

    return {

      year: 0,

      month: 0,

    }

  },

  created() {

    this.year = this.$route.query.year

    this.month = this.$route.query.month

  }

}

</script>

<style scoped>

</style>
最后在App.Vue中添加:
<router-link to="/article2/?year=2008&month=12">文章列表2</router-link>|
Vue cli路由的更多相关文章
- vue cli 3
介绍 Vue CLI 是一个基于 Vue.js 进行快速开发的完整系统 通过 @vue/cli 搭建交互式的项目脚手架. 通过 @vue/cli + @vue/cli-service-global 快 ...
- Vue Cli安装以及使用
因为公司项目要用vue框架,所以会用vue-cli来新建项目.用过vue的都知道,要全局安装vue以及脚手架vue-cli,然后执行vue init webpack projectname来新建v ...
- Vue技术点整理-Vue CLI安装详解
一,脚手架安装 Node 版本要求 Vue CLI 需要 Node.js +).你可以使用 nvm 或 nvm-windows 在同一台电脑中管理多个 Node 版本. 1,全局安装Vue CLI ...
- [Vue 牛刀小试]:第十七章 - 优化 Vue CLI 3 构建的前端项目模板(1)- 基础项目模板介绍
一.前言 在上一章中,我们开始通过 Vue CLI 去搭建属于自己的前端 Vue 项目模板,就像我们 .NET 程序员在使用 asp.net core 时一样,我们更多的会在框架基础上按照自己的开发习 ...
- vue cli 4.0.5 的使用
vue cli 4.0.5 的使用 现在的 vue 脚手架已经升级到4.0的版本了,前两日vue 刚发布了3.0版本,我看了一下cli 4 和cli 3 没什么区别,既然这样,就只总结一下vue cl ...
- vue/cli新旧版本安装方式
一.老版本安装 Shift+鼠标右键 选择打开命令窗口 1.创建项目之前,需先确保本机已经安装node 在命令窗口中执行node -v npm -v 2.一般情况下用npm安装东西比较慢,可以使用淘 ...
- [转]Vue CLI 3搭建vue+vuex 最全分析
原文地址:https://my.oschina.net/wangnian/blog/2051369 一.介绍 Vue CLI 是一个基于 Vue.js 进行快速开发的完整系统.有三个组件: CLI:@ ...
- 使用Vue CLI脚手架搭建vue项目
本次是使用@vue/cli 3.11.0版本搭建的vue项目 1. 首先确保自己的电脑上的Node.js的版本是8.9版本或者以上 2. 全局安装vue/cli npm install @vue/cl ...
- vue/cli 3.0脚手架搭建
在vue 2.9.6中,搭建vue-cli脚手架的流程是这样的: 首先 全局安装vue-cli,在cmd中输入命令: npm install --global vue-cli 安装成功: 安装完成 ...
- VUE CLI环境搭建文档
VUE CLI环境搭建文档 1.安装Node.js 下载地址 https://nodejs.org/zh-cn/download/ 2.全局安装VUE CLI win+R键打开运行cmd窗口输入一下代 ...
随机推荐
- HuffmanTree,哈夫曼树的原理和c++实现
目录 一.什么是哈夫曼树 二.构造哈夫曼树 三.路径.编码.解码 四.代码 一.什么是哈夫曼树 哈夫曼树又称为最优树. 通过权值来构造树,权值越大,离根节点越近 经常用于无损压缩算法 用于需要优化存储 ...
- 20个Python 正则表达式应用与技巧
本文分享自华为云社区<Python 正则表达式大揭秘应用与技巧全解析>,作者:柠檬味拥抱. Python 中的 re 模块是用于处理正则表达式的强大工具.正则表达式是一种用来匹配字符串的模 ...
- js es6 Proxy
传统的get,set ES6 中引入Proxies,让你可以自定义Object的基本操作.例如,get就是Object的基础操作方法. const obj = { val: 10 }; console ...
- vue3.0体验版生命周期
使用方法:cnpm install --save @vue/composition-api在组件内引入 把上图的 onMounted 换成(2.6->3.0) beforeCreate-> ...
- 【笔记】go语言--接口
[笔记]go语言--接口 接口的概念 强类型语言:熟悉接口的概念 弱类型语言:没(少)有接口的概念 接口的详解︰使用Google Guice实现依赖注入 curl 是获取http请求的命令工具 cur ...
- EventBridge 特性介绍|以 IaC 的方式使用 EventBridge
简介:本文将重点介绍 EventBridge 和 IaC 的重点概念和特性,然后演示如何应用 IaC 理念自动化部署 EventBridge 来使用这些概念和特性. 作者:王川(弗丁) 引言 Eve ...
- 一文了解阿里一站式图计算平台GraphScope
简介: 随着大数据的爆发,图数据的应用规模不断增长,现有的图计算系统仍然存在一定的局限.阿里巴巴拥有全球最大的商品知识图谱,在丰富的图场景和真实应用的驱动下,阿里巴巴达摩院智能计算实验室研发并开源了全 ...
- Fluid 给数据弹性一双隐形的翅膀 -- 自定义弹性伸缩
简介: 弹性伸缩作为 Kubernetes 的核心能力之一,但它一直是围绕这无状态的应用负载展开.而 Fluid 提供了分布式缓存的弹性伸缩能力,可以灵活扩充和收缩数据缓存. 它基于 Runtime ...
- [GPT] nodejs 什么情况下可以使用 import 来引入 export 的模块
在 Node.js 中,原生并不支持 ES6 的 import 语句来引入模块. 不过从 Node.js v12 开始,通过实验性功能(--experimental-modules)可以使用 .mjs ...
- 2019-8-31-C#-简单读取文件
title author date CreateTime categories C# 简单读取文件 lindexi 2019-08-31 16:55:58 +0800 2018-07-19 16:48 ...