Apache CXF实现Web Service(1)——不借助重量级Web容器和Spring实现一个纯的JAX-WS web service
废话少说,先在Eclipse中新建一个Java Project
(可以不是WTP的Dynamic Web Project)
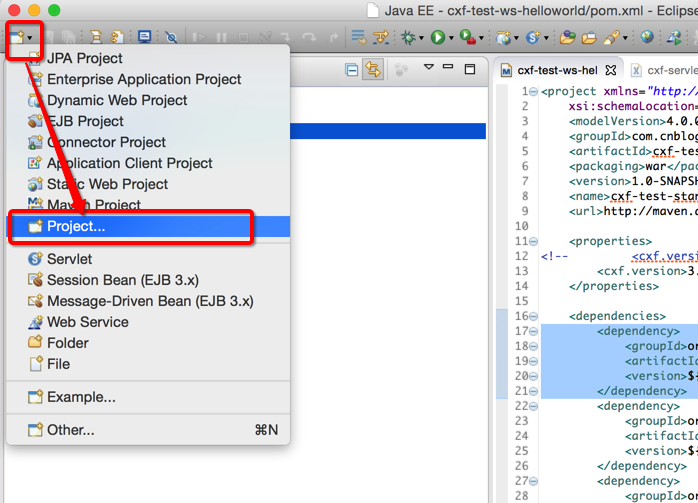
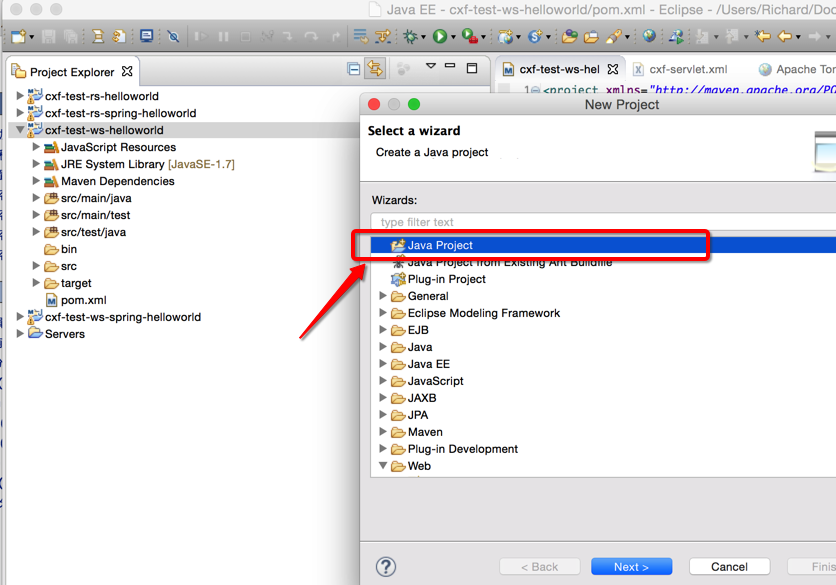
选择Java Project
再看pom.xml
我们使用cxf 3.1.4版本,
<project xmlns="http://maven.apache.org/POM/4.0.0" xmlns:xsi="http://www.w3.org/2001/XMLSchema-instance"

    xsi:schemaLocation="http://maven.apache.org/POM/4.0.0 http://maven.apache.org/maven-v4_0_0.xsd">

    <modelVersion>4.0.0</modelVersion>

    <groupId>com.cnblog.richaaaard.cxfstudy</groupId>

    <artifactId>cxf-test-standalone-ws-helloworld</artifactId>

    <packaging>war</packaging>

    <version>1.0-SNAPSHOT</version>

    <name>cxf-test-standalone-ws-helloworld Maven Webapp</name>

    <url>http://maven.apache.org</url>

    <properties>

<!-- <cxf.version>2.7.18</cxf.version> -->
<!-- 注意使用2.x.x版本的同学,下面例子中引入cxf-bundle-jaxrs是不必要的,因为jaxws启动一个服务需要类JaxWsServerFactoryBean在cxf-rt-frontend-jaxws.jar中-->
        <cxf.version>3.1.4</cxf.version>

    </properties>

    <dependencies>

        <dependency>

            <groupId>org.apache.cxf</groupId>

            <artifactId>cxf-rt-frontend-jaxws</artifactId>

            <version>${cxf.version}</version>

        </dependency>

        <dependency>

            <groupId>org.apache.cxf</groupId>

            <artifactId>cxf-rt-transports-http</artifactId>

            <version>${cxf.version}</version>

        </dependency>

        <dependency>

            <groupId>org.apache.cxf</groupId>

            <artifactId>cxf-rt-transports-http-jetty</artifactId>

            <version>${cxf.version}</version>

        </dependency>

        <dependency>

            <groupId>org.apache.cxf</groupId>

            <artifactId>cxf-rt-ws-security</artifactId>

            <version>${cxf.version}</version>

        </dependency>

        <dependency>

            <groupId>org.apache.cxf</groupId>

            <artifactId>cxf-rt-ws-policy</artifactId>

            <version>${cxf.version}</version>

        </dependency>

<!--         <dependency>   -->

<!--             <groupId>org.apache.cxf</groupId>   -->

<!--             <artifactId>cxf-bundle-jaxrs</artifactId>   -->

<!--             <version>${cxf.version}</version>   -->

<!--         </dependency>   -->

        <dependency>

            <groupId>javax.ws.rs</groupId>

            <artifactId>jsr311-api</artifactId>

            <version>1.1.1</version>

        </dependency>

        <dependency>

            <groupId>org.slf4j</groupId>

            <artifactId>slf4j-api</artifactId>

            <version>1.5.8</version>

        </dependency>

        <dependency>

            <groupId>org.slf4j</groupId>

            <artifactId>slf4j-simple</artifactId>

            <version>1.5.8</version>

        </dependency>

        <dependency>

            <groupId>commons-httpclient</groupId>

            <artifactId>commons-httpclient</artifactId>

            <version>3.0</version>

        </dependency>

        <dependency>

            <groupId>commons-io</groupId>

            <artifactId>commons-io</artifactId>

            <version>2.3</version>

        </dependency>

        <dependency>

            <groupId>junit</groupId>

            <artifactId>junit</artifactId>

            <version>4.8.1</version>

            <scope>test</scope>

        </dependency>

    </dependencies>

    <build>

        <finalName>cxfstudy</finalName>

        <resources>

            <resource>

                <directory>src/main/resources</directory>

            </resource>

            <resource>

                <directory>src/main/java</directory>

                <includes>

                    <include>**</include>

                </includes>

                <excludes>

                    <exclude>**/*.java</exclude>

                </excludes>

            </resource>

        </resources>

        <plugins>

            <plugin>

                <groupId>org.mortbay.jetty</groupId>

                <artifactId>maven-jetty-plugin</artifactId>

                <configuration>

                    <contextPath>/</contextPath>

                    <connectors>

                        <connector implementation="org.mortbay.jetty.nio.SelectChannelConnector">

                            <port>9000</port>

                        </connector>

                    </connectors>

                </configuration>

            </plugin>

            <plugin>

                <groupId>org.apache.maven.plugins</groupId>

                <artifactId>maven-compiler-plugin</artifactId>

                <configuration>

                    <source>1.7</source>

                    <target>1.7</target>

                </configuration>

            </plugin>

        </plugins>

    </build>

</project>
另外有例子给出的slf4j是slf4j-jdk14 (http://mvnrepository.com/artifact/org.slf4j/slf4j-jdk14)的版本,如果用jdk5以上的同学可以将其替换成slf4j-simple实现。
CXF Web Service (Annotation)实现,上代码
CXF支持两种方式发布一个web service,一种是Java Annotation(Bottom up),另外一种是先定义好wsdl和xsd schema然后通过工具生成(Top down),我们这里的例子先介绍Java Annotation。
首先我们需要定义一个web service接口类HelloWorld,并加上Annotation
package com.cnblog.richaaaard.cxftest.standalone.ws.helloworld.services;

import javax.jws.WebMethod;

import javax.jws.WebParam;

import javax.jws.WebResult;

import javax.jws.WebService;

@WebService

public interface HelloWorld {

    @WebMethod

    @WebResult String sayHi(@WebParam String text);

}
在此我们先不介绍 @WebService、 @WebMethod、@WebResult还有@WebParam如何工作的。
然后我们需要用HelloWorldImpl来实现这个接口类,
package com.cnblog.richaaaard.cxftest.standalone.ws.helloworld.services;

public class HelloWorldImpl implements HelloWorld {

	public String sayHi(String name) {

        String msg = "Hello " + name + "!";

        return msg;

    }

}
发布一个Web Service
我们先用一个最简单的方式,使用javax.xml.ws.Endpoint来发布
package com.cnblog.richaaaard.cxftest.standalone.ws.helloworld.server;

import javax.xml.ws.Endpoint;

import com.cnblog.richaaaard.cxftest.standalone.ws.helloworld.services.HelloWorldImpl;

public class SimpleServer {

    public static void main(String[] args) throws Exception {

        System.out.println("Starting Server");

    	HelloWorldImpl implementor = new HelloWorldImpl();

    	String address = "http://localhost:9000/ws/HelloWorld";

    	Endpoint.publish(address, implementor);

    }

}
注意:这里的address路径是大小写敏感的,如果发布成"http://localhost:9000/ws/helloWorld",而客户端使用/HelloWorld会找不到服务。
直接Run As..-> Java Application

我们可以在Eclipse中看到一个jetty服务正常运行
Starting Server

128 [main] INFO org.apache.cxf.service.factory.ReflectionServiceFactoryBean - Creating Service {http://services.helloworld.ws.standalone.cxftest.richaaaard.cnblog.com/}HelloWorldImplService from class com.cnblog.richaaaard.cxftest.standalone.ws.helloworld.services.HelloWorld

487 [main] INFO org.apache.cxf.endpoint.ServerImpl - Setting the server's publish address to be http://localhost:9000/ws/HelloWorld

506 [main] INFO org.eclipse.jetty.server.Server - jetty-8.1.15.v20140411

554 [main] INFO org.eclipse.jetty.server.AbstractConnector - Started SelectChannelConnector@localhost:9000
此时,我们通过浏览器访问http://localhost:9000/ws/HelloWorld?WSDL

如何访问我们发布的这个服务呢?
我们利用jaxws中的JaxWsProxyFactoryBean来消费这个服务
package com.cnblog.richaaaard.cxftest.standalone.ws.helloworld.client;

import org.apache.cxf.interceptor.LoggingInInterceptor;

import org.apache.cxf.interceptor.LoggingOutInterceptor;

import org.apache.cxf.jaxws.JaxWsProxyFactoryBean;

import com.cnblog.richaaaard.cxftest.standalone.ws.helloworld.services.HelloWorld;

public class Client {

    public static void main(String[] args) {

        JaxWsProxyFactoryBean factory = new JaxWsProxyFactoryBean();

        factory.getInInterceptors().add(new LoggingInInterceptor());

        factory.getOutInterceptors().add(new LoggingOutInterceptor());

        factory.setServiceClass(HelloWorld.class);

        factory.setAddress("http://localhost:9000/ws/HelloWorld");

        HelloWorld helloworld = (HelloWorld) factory.create();

        String reply = helloworld.sayHi("HI");

        System.out.println("Server said: " + reply);

        System.exit(0);

    }

}
同样右键选择Client.java,Run As.. ->Java Application,我们可以看到运行后台执行的日志最后成功返回“Server said: Hello HI!”
114 [main] INFO org.apache.cxf.service.factory.ReflectionServiceFactoryBean - Creating Service {http://services.helloworld.ws.standalone.cxftest.richaaaard.cnblog.com/}HelloWorldService from class com.cnblog.richaaaard.cxftest.standalone.ws.helloworld.services.HelloWorld

531 [main] INFO org.apache.cxf.services.HelloWorldService.HelloWorldPort.HelloWorld - Outbound Message

---------------------------

ID: 1

Address: http://localhost:9000/ws/HelloWorld

Encoding: UTF-8

Http-Method: POST

Content-Type: text/xml

Headers: {Accept=[*/*], SOAPAction=[""]}

Payload: <soap:Envelope xmlns:soap="http://schemas.xmlsoap.org/soap/envelope/"><soap:Body><ns2:sayHi xmlns:ns2="http://services.helloworld.ws.standalone.cxftest.richaaaard.cnblog.com/"><arg0>HI</arg0></ns2:sayHi></soap:Body></soap:Envelope>

--------------------------------------

748 [main] INFO org.apache.cxf.services.HelloWorldService.HelloWorldPort.HelloWorld - Inbound Message

----------------------------

ID: 1

Response-Code: 200

Encoding: UTF-8

Content-Type: text/xml;charset=UTF-8

Headers: {Content-Length=[258], content-type=[text/xml;charset=UTF-8], Server=[Jetty(8.1.15.v20140411)]}

Payload: <soap:Envelope xmlns:soap="http://schemas.xmlsoap.org/soap/envelope/"><soap:Body><ns2:sayHiResponse xmlns:ns2="http://services.helloworld.ws.standalone.cxftest.richaaaard.cnblog.com/"><return>Hello HI!</return></ns2:sayHiResponse></soap:Body></soap:Envelope>

--------------------------------------

Server said: Hello HI!
上面Outbound Message和Inbound Message是我们加的两个Logging Interceptor输出的日志,关于Interceptor的原理和更多使用方式,会专题介绍。
这样就完成了一个Web Service的发布和消费
*服务端的扩展
除了用一个最简单的javax.xml.ws.Endpoint来发布CXF web service,我们还可以使用cxf-rt-frontend-jaxws.jar中的JaxWsServerFactoryBean来发布一个web service,它可以让我们更多的控制web service的行为,比如说加Logging Interceptor之类
package com.cnblog.richaaaard.cxftest.standalone.ws.helloworld.server;

import org.apache.cxf.interceptor.LoggingInInterceptor;

import org.apache.cxf.interceptor.LoggingOutInterceptor;

import org.apache.cxf.jaxws.JaxWsServerFactoryBean;

import com.cnblog.richaaaard.cxftest.standalone.ws.helloworld.services.HelloWorld;

import com.cnblog.richaaaard.cxftest.standalone.ws.helloworld.services.HelloWorldImpl;

public class Server {

    public static void main(String[] args) throws Exception {

    	JaxWsServerFactoryBean factory = new JaxWsServerFactoryBean();

        factory.setServiceClass(HelloWorld.class);

        HelloWorldImpl implementor = new HelloWorldImpl();

        factory.setServiceBean(implementor);

        factory.getInInterceptors().add(new LoggingInInterceptor());

        factory.getOutInterceptors().add(new LoggingOutInterceptor());

        factory.setAddress("http://localhost:9000/ws/HelloWorld");

        factory.create();

        System.out.println("Server start...");

        Thread.sleep(60 * 1000);

        System.out.println("Server exit...");

        System.exit(0);

    }

}
参考:
http://blog.csdn.net/kongxx/article/details/7525476
https://cwiki.apache.org/confluence/display/CXF20DOC/A+simple+JAX-WS+service
Apache CXF实现Web Service(1)——不借助重量级Web容器和Spring实现一个纯的JAX-WS web service的更多相关文章
- Apache CXF实现Web Service(2)——不借助重量级Web容器和Spring实现一个纯的JAX-RS(RESTful) web service
实现目标 http://localhost:9000/rs/roomservice 为入口, http://localhost:9000/rs/roomservice/room为房间列表, http: ...
- 【源码解析】凭什么?spring boot 一个 jar 就能开发 web 项目
问题 为什么开发web项目,spring-boot-starter-web 一个jar就搞定了?这个jar做了什么? 通过 spring-boot 工程可以看到所有开箱即用的的引导模块 spring- ...
- Apache CXF实现Web Service(3)——Tomcat容器和不借助Spring的普通Servlet实现JAX-RS(RESTful) web service
起步 参照这一系列的另外一篇文章: Apache CXF实现Web Service(2)——不借助重量级Web容器和Spring实现一个纯的JAX-RS(RESTful) web service 首先 ...
- Apache CXF实现Web Service(4)——Tomcat容器和Spring实现JAX-RS(RESTful) web service
准备 我们仍然使用 Apache CXF实现Web Service(2)——不借助重量级Web容器和Spring实现一个纯的JAX-RS(RESTful) web service 中的代码作为基础,并 ...
- Apache CXF实现Web Service(5)—— GZIP使用
Apache CXF实现Web Service(5)-- GZIP使用 参考来源: CXF WebService整合Spring Apache CXF实现Web Service(1)--不借助重量级W ...
- Apache CXF实现WebService入门教程(附完整源码)
Apache CXF实现WebService非常简单实用,只需要几步就可以实现一个简单的web service. 首先我们需要新建一个maven项目,在pom中添加依赖和jetty作为测试的web s ...
- Apache CXF入门
CXF简介 Apache CXF = Celtix + XFire,开始叫 Apache CeltiXfire,后来更名为 Apache CXF 了.CXF 继承了 Celtix 和 XFire 两大 ...
- maven搭建webservice apache cxf实现
用 web方式发布 webService 服务端.客户端 一.服务器端搭建 1.首先创建 一个web工程(增加Maven依赖) 2.增加Maven依赖包,如下: <project xmlns=& ...
- Spring 4 集成Apache CXF开发JAX-RS Web Service
什么是JAX-RS 在JSR-311规范中定义,即Java API for RESTful Web Services,一套Java API,用于开发 RESTful风格的Webservice. 工程概 ...
随机推荐
- python 小技巧(import模块、查询类继承关系、安装包)
作者:Vamei 出处:http://www.cnblogs.com/vamei 欢迎转载,也请保留这段声明.谢谢! 在这里列举一些我使用Python时积累的小技巧.这些技巧是我在使用Python过程 ...
- linux 病毒 sfewfesfs
由于昨天在内网服务器A不小心rm -fr / ,导致服务器A完蛋,重装系统后,不知道啥原因,局域网瘫痪不能上网,最后发现内网服务器A的一个进程sfewfesfs cpu 300%.路由器被网络阻塞啦. ...
- Android系统编译脚本理解
android源码编译步骤: 1. repo sync 代码(下载代码) 2.start branch(用哪个分支,git相关) 3. 到根目录(android目录) $cd android/ 4. ...
- hdu 4857 逃生
题目连接 http://acm.hdu.edu.cn/showproblem.php?pid=4857 逃生 Description 糟糕的事情发生啦,现在大家都忙着逃命.但是逃命的通道很窄,大家只能 ...
- JavaScript高级程序设计之表单基础
A FORM <form id='form' action='http://a-response-url' method="post"> <!--maxlengt ...
- ios中怎么获得当前版本号
NSString *version = [NSBundle mainBundle].infoDictionary[(__bridge NSString *)kCFBundleVersionKey];
- 六大Nagios常见问题解决办法
Nagios常见问题1: It appears as though you do not have permission to view information for any of the host ...
- C# DateTime详解
//今天DateTime.Now.Date.ToShortDateString();//昨天,就是今天的日期减一DateTime.Now.AddDays(-1).ToShortDateString() ...
- iOS七大手势之(平移、捏合、轻扫、屏幕边缘轻扫)手势识别器方法
使用手势很简单,分为两步: 创建手势实例.当创建手势时,指定一个回调方法,当手势开始,改变.或结束时,回调方法被调用. 添加到需要识别的View中.每个手势只对应一个View,当屏幕触摸在View的边 ...
- [iOS]深入浅出 iOS 之多线程 NSThread
OS 支持多个层次的多线程 编程,层次越高的抽象程度越高,使用起来也越方便,也是苹果最推荐使用的方法. 下面简要说明这三种不同范式: Thread 是这三种范式里面相对轻量级的,但也是使用起 ...