玩转spring boot——结合redis
前言
Redis 是一个高性能的key-value数据库。 redis的出现,很大程度补偿了memcached这类key/value存储的不足,在部 分场合可以对关系数据库起到很好的补充作用。它提供了Java,C/C++,C#,PHP,JavaScript,Perl,Object-C,Python,Ruby,Erlang等客户端,使用很方便。使用redis有两种场景:1.缓存。2.高热数据存储(无非还是缓存),弥补关系型数据库的不足。
一、准备工作
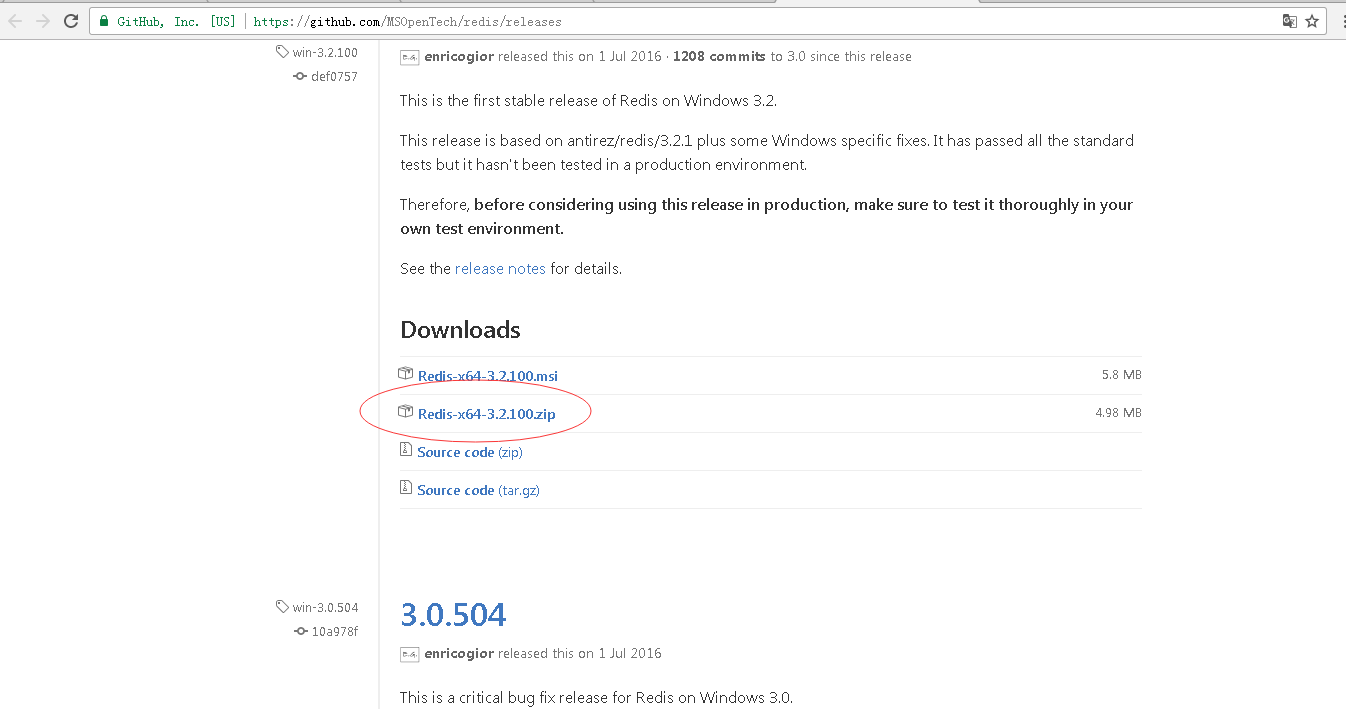
下载redis的windows版zip包:https://github.com/MSOpenTech/redis/releases
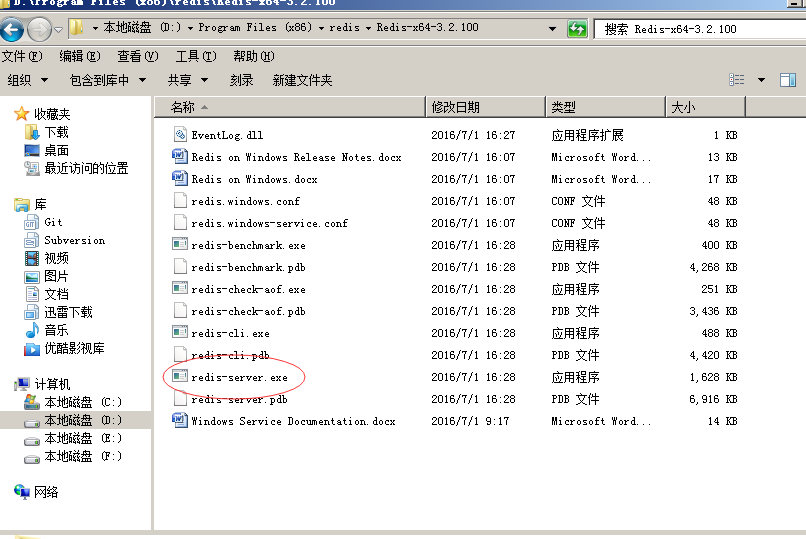
运行redis-server.exe程序
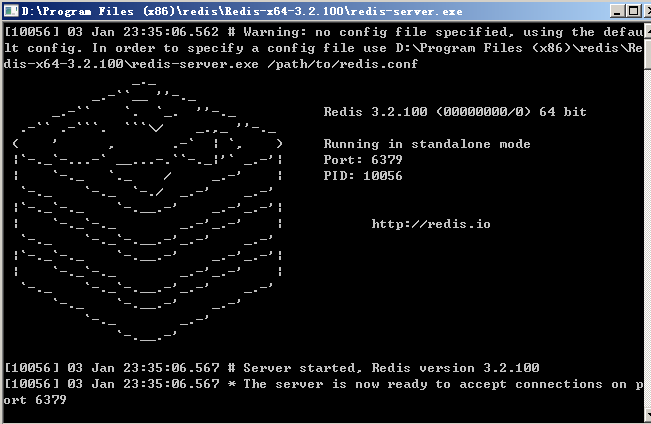
出现黑色窗口表示redis服务已启动。
二、与spring boot结合
参考官方例子:http://spring.io/guides/gs/messaging-redis/
修改pom.xml:
<project xmlns="http://maven.apache.org/POM/4.0.0" xmlns:xsi="http://www.w3.org/2001/XMLSchema-instance"

    xsi:schemaLocation="http://maven.apache.org/POM/4.0.0 http://maven.apache.org/xsd/maven-4.0.0.xsd">

    <modelVersion>4.0.0</modelVersion>

    <groupId>com.github.carter659</groupId>

    <artifactId>spring08</artifactId>

    <version>0.0.1-SNAPSHOT</version>

    <packaging>jar</packaging>

    <parent>

        <groupId>org.springframework.boot</groupId>

        <artifactId>spring-boot-starter-parent</artifactId>

        <version>1.4.2.RELEASE</version>

    </parent>

    <name>spring08</name>

    <url>http://maven.apache.org</url>

    <properties>

        <project.build.sourceEncoding>UTF-8</project.build.sourceEncoding>

        <java.version>1.8</java.version>

    </properties>

    <dependencies>

        <dependency>

            <groupId>org.springframework.boot</groupId>

            <artifactId>spring-boot-starter</artifactId>

        </dependency>

        <dependency>

            <groupId>org.springframework.boot</groupId>

            <artifactId>spring-boot-starter-redis</artifactId>

        </dependency>

        <dependency>

            <groupId>org.springframework.boot</groupId>

            <artifactId>spring-boot-starter-thymeleaf</artifactId>

        </dependency>

        <dependency>

            <groupId>org.springframework.boot</groupId>

            <artifactId>spring-boot-devtools</artifactId>

            <optional>true</optional>

        </dependency>

    </dependencies>

    <build>

        <plugins>

            <plugin>

                <groupId>org.springframework.boot</groupId>

                <artifactId>spring-boot-maven-plugin</artifactId>

            </plugin>

        </plugins>

    </build>

</project>
pom.xml
修改入口类文件“App.java”:
package com.github.carter659.spring08;

import org.springframework.boot.SpringApplication;

import org.springframework.boot.autoconfigure.SpringBootApplication;

import org.springframework.context.annotation.Bean;

import org.springframework.data.redis.connection.RedisConnectionFactory;

import org.springframework.data.redis.core.StringRedisTemplate;

/**

 * 博客出处:http://www.cnblogs.com/GoodHelper/

 * @author 刘冬

 *

 */

@SpringBootApplication

public class App {

    public static void main(String[] args) {

        SpringApplication.run(App.class, args);

    }

    @Bean

    StringRedisTemplate template(RedisConnectionFactory connectionFactory) {

        return new StringRedisTemplate(connectionFactory);

    }

}
App.java
添加控制器“MainController.java”文件:
package com.github.carter659.spring08;

import java.util.HashMap;

import java.util.Map;

import org.springframework.beans.factory.annotation.Autowired;

import org.springframework.data.redis.core.StringRedisTemplate;

import org.springframework.stereotype.Controller;

import org.springframework.web.bind.annotation.GetMapping;

import org.springframework.web.bind.annotation.PostMapping;

import org.springframework.web.bind.annotation.ResponseBody;

/**

 * 博客出处:http://www.cnblogs.com/GoodHelper/

 *

 * @author 刘冬

 *

 */

@Controller

public class MainController {

    private static final String STR_REDIS_KEY = "key:name";

    @Autowired

    private StringRedisTemplate redisTemplate;

    @GetMapping("/")

    public String index() {

        return "index";

    }

    @PostMapping("/setString")

    public @ResponseBody Map<String, Object> setString(String value) {

        redisTemplate.opsForValue().set(STR_REDIS_KEY, value);

        Map<String, Object> map = new HashMap<>();

        map.put("msg", "ok");

        return map;

    }

    @PostMapping("/getString")

    public @ResponseBody Map<String, Object> getString() {

        String value = redisTemplate.opsForValue().get(STR_REDIS_KEY);

        Map<String, Object> map = new HashMap<>();

        map.put("value", value);

        map.put("msg", "ok");

        return map;

    }

}
MainController.java
新建模板src/main/resources/templates/index.html:
<!DOCTYPE html>

<html xmlns:th="http://www.thymeleaf.org">

<head>

<meta http-equiv="Content-Type" content="text/html; charset=UTF-8" />

<title>玩转spring boot——结合redis</title>

<script src="//cdn.bootcss.com/angular.js/1.5.6/angular.min.js"></script>

<script type="text/javascript">

    /*<![CDATA[*/

    var app = angular.module('app', []);

    app.controller('MainController', function($rootScope, $scope, $http) {

        $scope.value = '刘冬';

        //保存

        $scope.setString = function() {

            $http({

                url : '/setString?value=' + $scope.value,

                method : 'POST'

            });

        }

        $scope.getString = function() {

            $http({

                url : '/getString',

                method : 'POST'

            }).success(function(r) {

                $scope.result = JSON.stringify(r)

            });

        }

    });

    /*]]>*/

</script>

</head>

<body ng-app="app" ng-controller="MainController">

    <h1>玩转spring boot——结合redis</h1>

    <h4>

        <a href="http://www.cnblogs.com/GoodHelper/">from 刘冬的博客</a>

    </h4>

    <input type="text" ng-model="value" />

    <input type="button" value="设置" ng-click="setString()" />

    <br />

    <br />

    <input type="button" value="获取" ng-click="getString()" />

    <br />

    <h3>结果:</h3>

    <p>{{result}}</p>

    <br />

    <a href="http://www.cnblogs.com/GoodHelper/">点击访问原版博客</a>

</body>

</html>
index.html
运行效果:
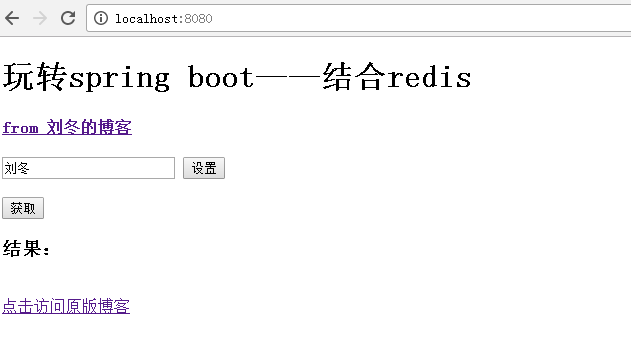
点击获取,提示未空,再设置:
与redis的简单结合就实现了。
三、redis缓存集成
添加“Order.java”类文件:
package com.github.carter659.spring08;

import java.io.Serializable;

import java.util.Date;

/**

 * 博客出处:http://www.cnblogs.com/GoodHelper/

 *

 * @author 刘冬

 *

 */

public class Order implements Serializable {

    /**

     *

     */

    private static final long serialVersionUID = 1L;

    public String id;

    public String no;

    public Date date;

    public int quantity;

    /**

     * 省略 get set

     */

}
Order
注意,一定要实现“Serializable”接口。
新建“OrderDao.java”类文件:
package com.github.carter659.spring08;

import java.util.Date;

import org.springframework.cache.annotation.Cacheable;

import org.springframework.stereotype.Component;

/**

 * 博客出处:http://www.cnblogs.com/GoodHelper/

 *

 * @author 刘冬

 *

 */

@Component

public class OrderDao {

    /**

     * 假设从数据库获取的订单数据

     *

     * @param id

     * @return

     */

    @Cacheable(value = "order", key = "'.id.'+#id")

    public Order get(String id) {

        Order order = new Order();

        order.id = id;

        order.no = "No.00001";

        order.date = new Date();

        order.quantity = 100;

        return order;

    }

}
OrderDao.java
在方法“public Order get(String id)”上加“@Cacheable”注解
此方法模拟数据库的查询,如果是第一次查询,返回当前时间(new Date())。如果在缓存中查询,则时间是之前的。
控制器“MainController.java”增加“orderDao”字段和“get”方法:
@Autowired

private OrderDao orderDao;
@PostMapping("/get")

public @ResponseBody Order get(@RequestParam String id) {

    return orderDao.get(id);

}
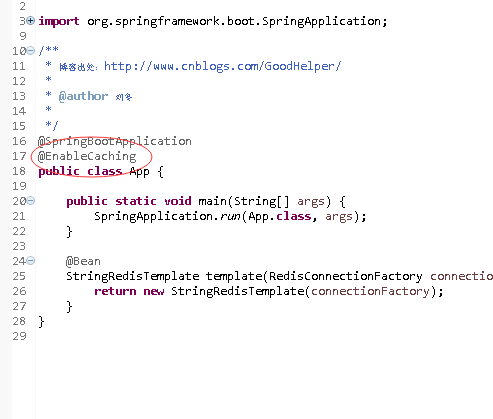
在App类中加入启动缓存的注解“@EnableCaching”:
package com.github.carter659.spring08;

import org.springframework.boot.SpringApplication;

import org.springframework.boot.autoconfigure.SpringBootApplication;

import org.springframework.cache.annotation.EnableCaching;

import org.springframework.context.annotation.Bean;

import org.springframework.data.redis.connection.RedisConnectionFactory;

import org.springframework.data.redis.core.StringRedisTemplate;

/**

 * 博客出处:http://www.cnblogs.com/GoodHelper/

 *

 * @author 刘冬

 *

 */

@SpringBootApplication

@EnableCaching

public class App {

    public static void main(String[] args) {

        SpringApplication.run(App.class, args);

    }

    @Bean

    StringRedisTemplate template(RedisConnectionFactory connectionFactory) {

        return new StringRedisTemplate(connectionFactory);

    }

}
修改之前的index.html文件
<!DOCTYPE html>

<html xmlns:th="http://www.thymeleaf.org">

<head>

<meta http-equiv="Content-Type" content="text/html; charset=UTF-8" />

<title>玩转spring boot——结合redis</title>

<script src="//cdn.bootcss.com/angular.js/1.5.6/angular.min.js"></script>

<script type="text/javascript">

    /*<![CDATA[*/

    var app = angular.module('app', []);

    app.controller('MainController', function($rootScope, $scope, $http) {

        $scope.value = '刘冬';

        $scope.id = '123456';

        //保存

        $scope.setString = function() {

            $http({

                url : '/setString?value=' + $scope.value,

                method : 'POST'

            });

        }

        $scope.getString = function() {

            $http({

                url : '/getString',

                method : 'POST'

            }).success(function(r) {

                $scope.result = JSON.stringify(r)

            });

        }

        $scope.getOrder = function() {

            $http({

                url : '/get?id=' + $scope.id,

                method : 'POST'

            }).success(function(r) {

                $scope.result = JSON.stringify(r)

            });

        }

    });

    /*]]>*/

</script>

</head>

<body ng-app="app" ng-controller="MainController">

    <h1>玩转spring boot——结合redis</h1>

    <h4>

        <a href="http://www.cnblogs.com/GoodHelper/">from 刘冬的博客</a>

    </h4>

    <input type="text" ng-model="value" />

    <input type="button" value="设置" ng-click="setString()" />

    <br />

    <br />

    <input type="button" value="获取" ng-click="getString()" />

    <br />

    <br />

    <input type="text" ng-model="id" />

    <br />

    <input type="button" value="获取订单" ng-click="getOrder()" />

    <br />

    <br />

    <h3>结果:</h3>

    <p>{{result}}</p>

    <br />

    <a href="http://www.cnblogs.com/GoodHelper/">点击访问原版博客</a>

</body>

</html>
index.html
运行效果:
第一遍查询生成当前时间,之后再查询则时间不变
代码:https://github.com/carter659/spring-boot-08.git

如果你觉得我的博客对你有帮助,可以给我点儿打赏,左侧微信,右侧支付宝。
有可能就是你的一点打赏会让我的博客写的更好:)
玩转spring boot——结合redis的更多相关文章
- 玩转spring boot——开篇
很久没写博客了,而这一转眼就是7年.这段时间并不是我没学习东西,而是园友们的技术提高的非常快,这反而让我不知道该写些什么.我做程序已经有十几年之久了,可以说是彻彻底底的“程序老炮”,至于技术怎么样?我 ...
- 玩转spring boot——properties配置
前言 在以往的java开发中,程序员最怕大量的配置,是因为配置一多就不好统一管理,经常出现找不到配置的情况.而项目中,从开发测试环境到生产环境,往往需要切换不同的配置,如测试数据库连接换成生产数据库连 ...
- 玩转spring boot——负载均衡与session共享
前言 当项目上线后,如果要修复bug或扩充功能,都需要重启tomcat服务.此时,正在使用应用的用户们就需要等待服务器的重启,而这就会造成不好的用户体验.还有,当仅仅只有一台tomcat服务时,如果 ...
- 玩转spring boot——快速开始
开发环境: IED环境:Eclipse JDK版本:1.8 maven版本:3.3.9 一.创建一个spring boot的mcv web应用程序 打开Eclipse,新建Maven项目 选择quic ...
- 玩转spring boot——AOP与表单验证
AOP在大多数的情况下的应用场景是:日志和验证.至于AOP的理论知识我就不做赘述.而AOP的通知类型有好几种,今天的例子我只选一个有代表意义的“环绕通知”来演示. 一.AOP入门 修改“pom.xml ...
- 玩转spring boot——结合JPA入门
参考官方例子:https://spring.io/guides/gs/accessing-data-jpa/ 接着上篇内容 一.小试牛刀 创建maven项目后,修改pom.xml文件 <proj ...
- 玩转spring boot——结合JPA事务
接着上篇 一.准备工作 修改pom.xml文件 <project xmlns="http://maven.apache.org/POM/4.0.0" xmlns:xsi=&q ...
- 玩转spring boot——结合AngularJs和JDBC
参考官方例子:http://spring.io/guides/gs/relational-data-access/ 一.项目准备 在建立mysql数据库后新建表“t_order” ; -- ----- ...
- 玩转spring boot——结合jQuery和AngularJs
在上篇的基础上 准备工作: 修改pom.xml <project xmlns="http://maven.apache.org/POM/4.0.0" xmlns:xsi=&q ...
随机推荐
- 如何一步一步用DDD设计一个电商网站(一)—— 先理解核心概念
一.前言 DDD(领域驱动设计)的一些介绍网上资料很多,这里就不继续描述了.自己使用领域驱动设计摸滚打爬也有2年多的时间,出于对知识的总结和分享,也是对自我理解的一个公开检验,介于博客园这个平 ...
- 【CSS进阶】伪元素的妙用--单标签之美
最近在研读 <CSS SECRET>(CSS揭秘)这本大作,对 CSS 有了更深层次的理解,折腾了下面这个项目: CSS3奇思妙想 -- Demo (请用 Chrome 浏览器打开,非常值 ...
- setAttribute()
●节点分为不同的类型:元素节点.属性节点和文本节点等. ●getElementById()方法将返回一个对象,该对象对应着文档里的一个特定的元素节点. ●getElementsByTagNam ...
- ExtJS 4.2 组件介绍
目录 1. 介绍 1.1 说明 1.2 组件分类 1.3 组件名称 1.4 组件结构 2. 组件的创建方式 2.1 Ext.create()创建 2.2 xtype创建 1. 介绍 1.1 说明 Ex ...
- .Net 分布式云平台基础服务建设说明概要
1) 背景 建设云平台的基础框架,用于支持各类云服务的业务的构建及发展. 2) 基础服务 根据目前对业务的理解和发展方向,总结抽象出以下几个基础服务,如图所示 3) 概要说明 基础服务的发展会根 ...
- geotrellis使用(二十八)栅格数据色彩渲染(多波段真彩色)
目录 前言 实现过程 总结 一.前言 上一篇文章介绍了如何使用Geotrellis渲染单波段的栅格数据,已然很是头疼,这几天不懈努力之后工作又进了一步,整清楚了如何使用Geotrelli ...
- JS继承之原型继承
许多OO语言都支持两种继承方式:接口继承和实现继承.接口继承只继承方法签名,而实现继承则继承实际的方法.如前所述,由于函数没有签名,在ECMAScript中无法实现接口继承.ECMAScript只支 ...
- python 入门笔记
1.pip包安装 pip install *** pip 中http和https代理设置(/etc/profile) 2.强制保存 :w !sudo tee % 3.cffi是python调用C的包 ...
- ,net core mvc 文件上传
工作用到文件上传的功能,在这个分享下 ~~ Controller: public class PictureController : Controller { private IHostingEnvi ...
- jenkins无法重启tomcat的原因
在使用Hudson的执行sh脚本的时候,如果sh脚本是一个后台进程,如 Tomcat 这样的服务.如果使用Hudson的默认配置,会发现这些sh 进程有启动的过程,但是不会常驻后台,看Hudson 输 ...