基于jeesite的cms系统(五):wangEditor富文本编辑器
一、关于wangEditor:
wangEditor —— 轻量级 web 富文本编辑器,配置方便,使用简单。支持 IE10+ 浏览器。
- 官网:www.wangEditor.com
- 文档:www.kancloud.cn/wangfupeng/wangeditor3/332599
- 源码:github.com/wangfupeng1988/wangEditor (欢迎 star)
二、创建wangEditor
editor创建十分简单只需要引入js文件(这里注意要加上版本号,具体原因不详),进行一些配置即可
因为这里使用的是Beetl模板表单,所以使用textarea来接收wangEditor的值
var $textarea = $('#textarea')
editor.customConfig.onchange = function (html) {
    // 监控变化,同步更新到 textarea
    $textarea.val(html)
}
<% layout('/layouts/default.html', {title: '发布文章', libs: ['validate','fileupload','ueditor','dataGrid']}){ %>
<div class="main-content">
<div class="box box-main">
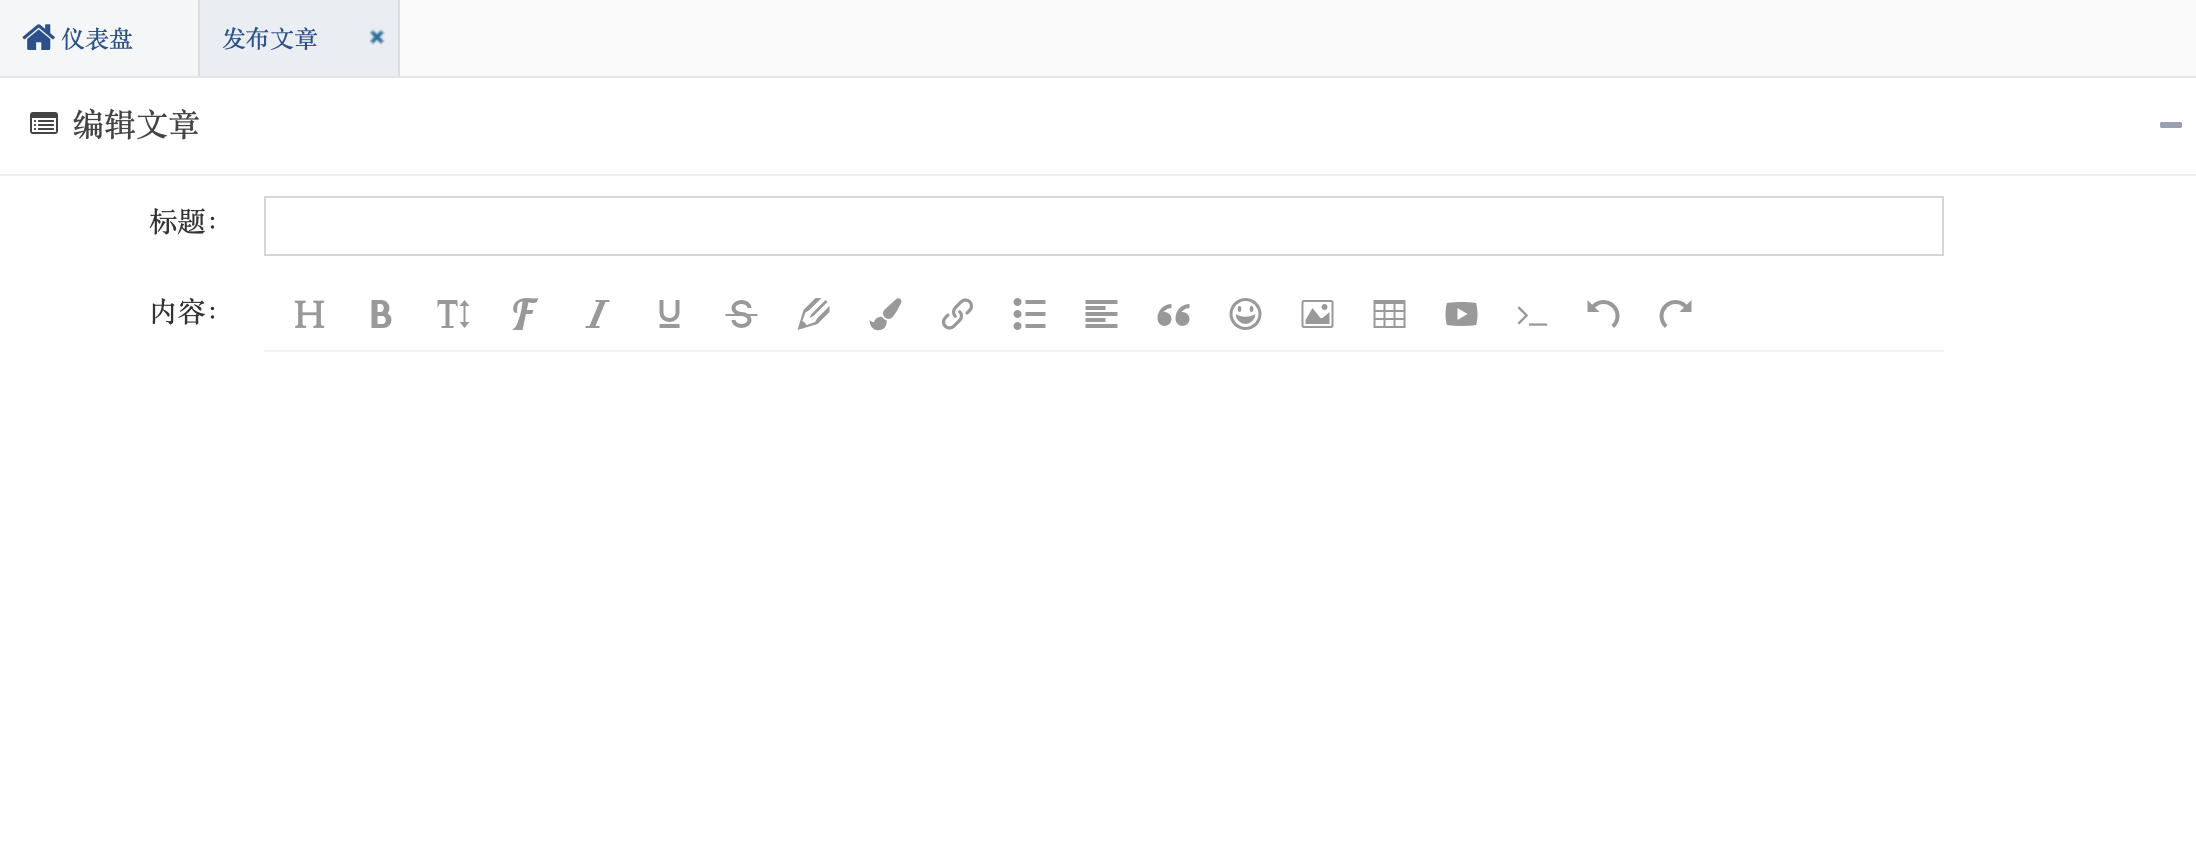
<div class="box-header with-border">
<div class="box-title">
<i class="fa fa-list-alt"></i> ${testData.isNewRecord ? '编辑文章' : '编辑文章'}
</div>
<div class="box-tools pull-right">
<button type="button" class="btn btn-box-tool" data-widget="collapse"><i class="fa fa-minus"></i></button>
</div>
</div>
<#form:form id="inputForm" action="${ctx}/cms/articles/post" method="post" class="form-horizontal">
<div class="box-body">
<div class="row">
<div class="col-xs-12">
<div class="form-group">
<label class="control-label col-sm-2" title="">
<span class="required hide">*</span> 标题:<i class="fa icon-question hide"></i></label>
<div class="col-sm-10">
<#form:input path="title" maxlength="200" class="form-control"/>
</div>
</div>
</div>
</div>
<div class="row">
<div class="col-xs-12">
<div class="form-group">
<label class="control-label col-sm-2" title="">
<span class="required hide">*</span> 内容:<i class="fa icon-question hide"></i></label>
<div class="col-sm-10" style="height: 1030px">
<#form:hidden path="content" id="textarea"/>
<div id="editor"></div>
</div>
</div>
</div>
</div>
<div class="row">
<div class="col-xs-6">
<div class="form-group">
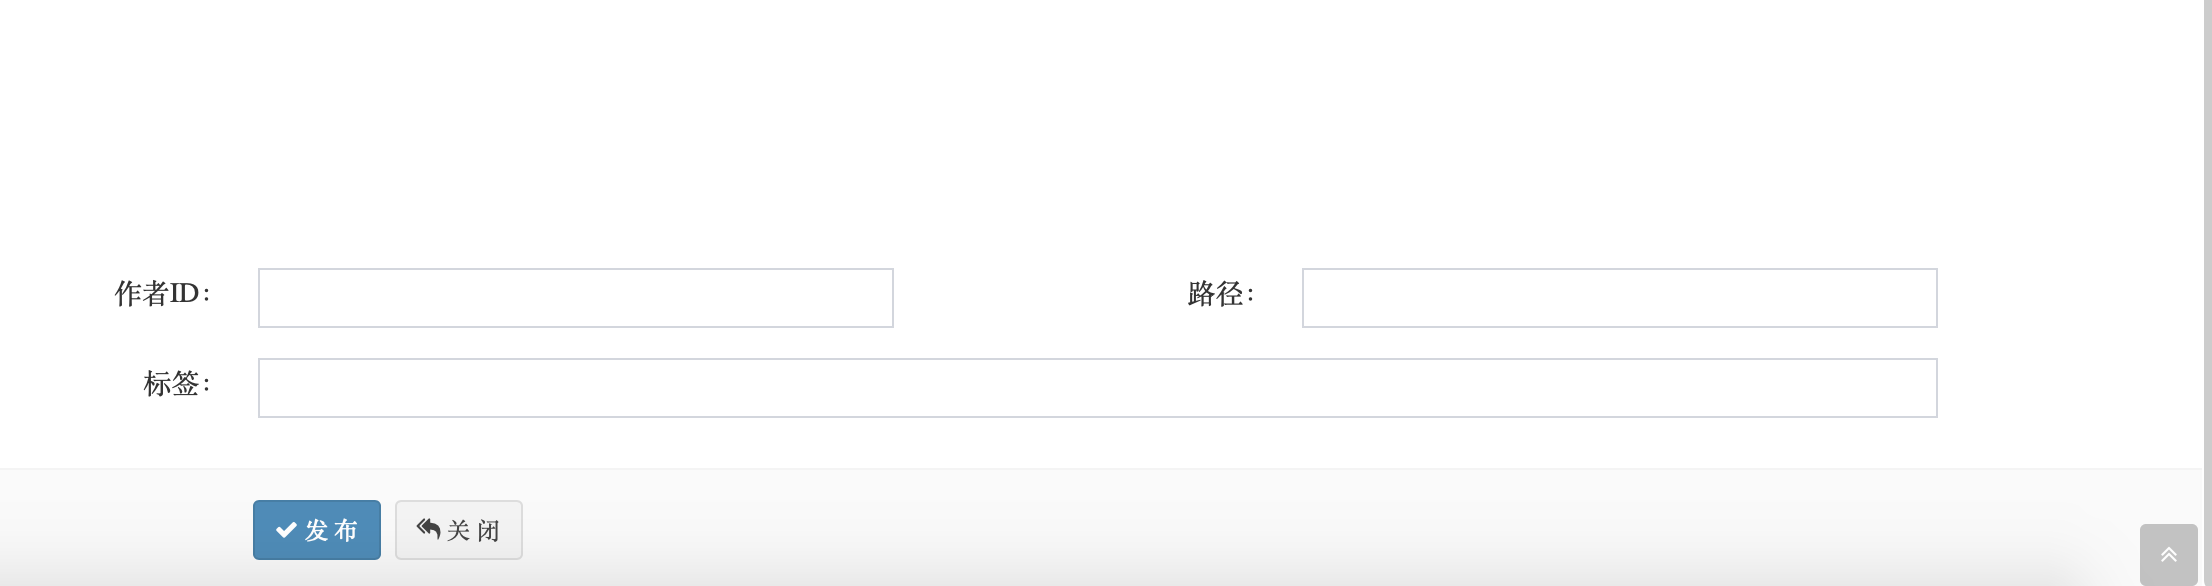
<label class="control-label col-sm-4" title="">
<span class="required hide">*</span> 作者ID:<i class="fa icon-question hide"></i></label>
<div class="col-sm-8">
<#form:input path="authorId" maxlength="50" class="form-control"/>
</div>
</div>
</div>
<div class="col-xs-6">
<div class="form-group">
<label class="control-label col-sm-4" title="">
<span class="required hide">*</span> 路径:<i class="fa icon-question hide"></i></label>
<div class="col-sm-8">
<#form:input path="path" maxlength="50" class="form-control"/>
</div>
</div>
</div>
</div>
<div class="row">
<div class="col-xs-12">
<div class="form-group">
<label class="control-label col-sm-2" title="">
<span class="required hide">*</span> 标签:<i class="fa icon-question hide"></i></label>
<div class="col-sm-10">
<#form:input path="tags" maxlength="50" class="form-control"/>
</div>
</div>
</div>
</div>
</div>
<div class="box-footer">
<div class="row">
<div class="col-sm-offset-2 col-sm-10">
<% if (hasPermi('test:testData:edit')){ %>
<button type="submit" class="btn btn-sm btn-primary" id="btnSubmit"><i class="fa fa-check"></i> 发 布</button>
<% } %>
<button type="button" class="btn btn-sm btn-default" id="btnCancel" onclick="js.closeCurrentTabPage()"><i class="fa fa-reply-all"></i> 关 闭</button>
</div>
</div>
</div>
</#form:form>
</div>
</div>
<% } %>
<script type="text/javascript" src="/static/common/wangEditor/wangEditor.js?V4.1-01161701"></script>
<script type="text/javascript">
// 初始化wangEditor
var E = window.wangEditor
var editor = new E('#editor')
// 自定义菜单配置
// editor.customConfig.menus = [
// 'bold', // 粗体
// 'fontSize', // 字号
// 'italic', // 斜体
// 'foreColor', // 文字颜色
// 'link', // 插入链接
// 'quote', // 引用
// 'emoticon', // 表情
// 'image', // 插入图片
// 'code', // 插入代码
// ]
// 上传图片到服务器
// editor.customConfig.uploadImgShowBase64 = true
// editor.customConfig.qiniu = true
editor.customConfig.uploadFileName = 'myFileName'
editor.customConfig.uploadImgServer = '/upload'
editor.customConfig.uploadImgHooks = {
customInsert: function (insertImg, result, editor) {
var url =result.data;
insertImg(url);
}
}
var $textarea = $('#textarea')
editor.customConfig.onchange = function (html) {
// 监控变化,同步更新到 textarea
$textarea.val(html)
}
editor.create()
// 初始化 textarea 的值
$textarea.val(editor.txt.html())
$(".w-e-text-container").css("height", "1000px");
$(".w-e-toolbar").css('font-size','16px');
$(".col-sm-2").css("width","11.66666667%");
$(".col-sm-4").css("width","23.33333333%");
$(".col-sm-offset-2").css("margin-left","11.66666667%");
</script>
<script>
$("#inputForm").validate({
submitHandler: function(form){
js.ajaxSubmitForm($(form), function(data){
js.showMessage(data.message);
if(data.result == Global.TRUE){
js.closeCurrentTabPage(function(contentWindow){
contentWindow.page();
});
}
}, "json");
// js.showMessage('文章发布成功');
}
});
</script>
如果不用beetl表单,只需要这样
var comments = editor.txt.html();
来接收数据
二、文件上传类
wangEditor接受Map返回集
package com.jeesite.modules.cms.web;

import java.io.File;

import java.io.IOException;

import java.util.HashMap;

import java.util.Map;

import java.util.UUID;

import javax.servlet.http.HttpServletRequest;

import com.jeesite.modules.cms.utils.PathUtil;

import org.springframework.stereotype.Controller;

import org.springframework.util.FileCopyUtils;

import org.springframework.web.bind.annotation.RequestMapping;

import org.springframework.web.bind.annotation.RequestParam;

import org.springframework.web.bind.annotation.ResponseBody;

import org.springframework.web.multipart.MultipartFile;

/**

 * @author zombie

 */

@Controller

public class UploadController {

    @RequestMapping("/upload")

    @ResponseBody

    public Map<String, String> upload(@RequestParam(value="myFileName") MultipartFile file, HttpServletRequest request) {

        Map<String, String> map = new HashMap<String, String>();

        String separator = System.getProperty("file.separator");

        // 用于前端图片显示的路径  http://localhost:8080/upload/

        String basePath = request.getScheme() + "://" + request.getServerName() + ":" + request.getServerPort() + request.getContextPath()

                + separator +"upload" + separator;

        // 用于保存图片至项目的路径 D:\_eclipsework\.metadata\.plugins\org.eclipse.wst.server.core\tmp2\wtpwebapps\JYSystem\ upload\

        // 或者 String uploadDir = request.getSession().getServletContext().getRealPath("upload") + separator;

        String uploadDir = PathUtil.getProjectPath() + separator +"upload" + separator;

        byte[] bytes = null;

        try {

            bytes = file.getBytes();

            File dirPath = new File(uploadDir);

            if (!dirPath.exists()) {

                if (!dirPath.mkdirs()) {

                }

            }

            /**

             * 构建新的图片名称

             */

            String fileName = file.getOriginalFilename();

            int index = fileName.lastIndexOf(".");

            String extName = index > -1 ? fileName.substring(index) : ""; // .jpg

            String uuid = UUID.randomUUID().toString().trim().replaceAll("-", "");

            String newFileName = uuid + extName;

            /**

             * 保存图片至项目

             */

            String filePath = uploadDir + newFileName;

            File descFile = new File(filePath);

            FileCopyUtils.copy(bytes, descFile);

            map.put("data", basePath + newFileName);

        } catch (IOException e) {

            e.printStackTrace();

        }

        return map;

    }

}
五、修改视图渲染路径
开始在这里路径总是报错,一度以为是/cms的问题,结果发现是把返回的postArticle.html拼写错了
package com.jeesite.modules.cms.web;

import com.jeesite.common.web.BaseController;

import com.jeesite.modules.test.entity.TestData;

import com.jeesite.modules.test.service.TestDataService;

import org.apache.shiro.authz.annotation.RequiresPermissions;

import org.springframework.beans.factory.annotation.Autowired;

import org.springframework.stereotype.Controller;

import org.springframework.ui.Model;

import org.springframework.web.bind.annotation.ModelAttribute;

import org.springframework.web.bind.annotation.RequestMapping;

@Controller

@RequestMapping(value = "${adminPath}/cms")

public class CmsController extends BaseController {

    @Autowired

    private TestDataService testDataService;

    /**

     * 获取数据

     */

    @ModelAttribute

    public TestData get(String id, boolean isNewRecord) {

        return testDataService.get(id, isNewRecord);

    }

    /**

     * Form

     */

    @RequiresPermissions("test:testData:view")

    @RequestMapping(value = "form/postArticle")

    public String form(TestData testData, Model model) {

        return "templates/postArticle";

    }

}
基于jeesite的cms系统(五):wangEditor富文本编辑器的更多相关文章
- 基于jeesite的cms系统(一):开发环境搭建
基于jeesite的cms系统系列,是对基于jeesite进行二次开发的博客模块开发过程的总结.涉及入门安装,二次开发,部署等 一.概况: JeeSite 是一个 Java 企业级快速开发平台,基于经 ...
- 更加简洁易用——wangEditor富文本编辑器新版本发布
1. 前言 wangEditor富文本编辑器(www.wangEditor.com)从去年11月份发布,至今已经有将近10各月了.它就像一个襁褓中的小婴儿,在我的努力以及众多使用者的支持下不断摸索.成 ...
- 「newbee-mall新蜂商城开源啦」 页面优化,最新版 wangEditor 富文本编辑器整合案例
大家比较关心的新蜂商城 Vue3 版本目前已经开发了大部分内容,相信很快就能够开源出来让大家尝鲜了,先让大家看看当前的开发进度: 开源仓库地址为 https://github.com/newbee-l ...
- wangEditor富文本编辑器使用及图片上传
引入js文件 <script type="text/javascript" src="style/js/wangEditor.min.js">< ...
- Vue系列:wangEditor富文本编辑器简单例子
考虑到该富文本编辑器可能会在后续项目中继续使用,因此单独将其做成一个组件,把wangeditor作为组件的形式使用. 以下是参考代码 子组件部分: 父组件引用子组件: 以上就是 wangEditor ...
- Vue.js中使用wangEditor富文本编辑器
1.前端代码 前端HTML <script src="https://cdn.bootcss.com/wangEditor/10.0.13/wangEditor.js"> ...
- 使用wangEditor富文本编辑器
客户端配置说明 下载 百度网盘地址:点我下载 下载密码:x09x 使用 首先要引入wangEditor的js文件,然后引入jQuery 然后在body里: <body> <butto ...
- wangEditor富文本编辑器
设置好了是这样的, 有一个ID问content的编辑框,方便获取,这里的富文本编辑器的版本是2.2 官方文档说3就不支持textarea了 导入一下css 记得css文件夹下应该又3个文件,虽然没有直 ...
- 基于jeesite的cms系统(三):使用RESTful API在前端渲染数据
使用RESTful API可以更好的开发前后分离的应用,后面一节会介绍使用模版引擎Beetl开发后端渲染的应用. 一.配置Swagger(Api 接口文档) 1.使用系统自带 拷贝jeesite-mo ...
随机推荐
- DataPipeline |《Apache Kafka实战》作者胡夕:Apache Kafka监控与调优
胡夕 <Apache Kafka实战>作者,北航计算机硕士毕业,现任某互金公司计算平台总监,曾就职于IBM.搜狗.微博等公司.国内活跃的Kafka代码贡献者. 前言 虽然目前Apache ...
- js得到规范的时间格式函数,并调用
1.js得到规范的时间格式函数 Date.prototype.format = function(fmt) { var o = { "M+" : this.getMonth()+1 ...
- js 学习之路9:运算符
1. 算数运算符 运算符 描述 例子 结果 + 加 x=y+2 x=7 - 减 x=y-2 x=3 * 乘 x=y*2 x=10 / 除 x=y/2 x=2.5 % 求余数 (保留整数) x=y%2 ...
- 什么是validationQuery
validationQuery是用来验证数据库连接的查询语句,这个查询语句必须是至少返回一条数据的SELECT语句.每种数据库都有各自的验证语句,下表中收集了几种常见数据库的validationQue ...
- 《Python神经网络编程》的读书笔记
文章提纲 全书总评 读书笔记 C01.神经网络如何工作? C02.使用Python进行DIY C03.开拓思维 附录A.微积分简介 附录B.树莓派 全书总评 书本印刷质量:4星.纸张是米黄色,可以保护 ...
- Django-CRM项目学习(八)-客户关系系统整体实现(待完成!)
注意点:利用stark组件与rbac组件实现客户关系系统 1.需求整理与确认 1.1 客户关系系统整体需求 a
- time-时间模块
# time模块import time# 时间戳res = time.time() # ***print(res, type(res)) # time.sleep(1) # ***# print(12 ...
- asp.net core 排序过滤分页组件:sieve(2)表达式树的复习
在Sieve组件中使用了很多关于表达式树的知识,但在我们日常的工作中写表达式树的机会是非常少的,至少在我的编程生涯中没怎么写过表达式树(可能也就是3,4次).所以,为了能够看懂Sieve里面的源代码, ...
- c#枚举位运算操作
抛出预设问题 需要有一个npc需要在一周中的,周一,周二,周三会出现,其他时间不可见 解决问题 因为一周时间是固定的,所以创建枚举类型比较合适,如下 enum Days { None, Sunday, ...
- centos下安装nginx并部署angular应用
注意:直接yum安装的nginx有问题,不能直接安装,因为centos默认库里面没有nginx.如果安装过程中出现一些文件夹或者文件找不到的话,应该是你的nginx的版本没有安装对.最效率的办法是删除 ...