linux ubuntu 本地镜像 软件源 制作方法
1、配置当前软件源,镜像非常大,所以首先要配置一下载速度快的软件源http://fffo.blog.163.com/blog/static/2119130682014322104136601/2、安装镜像软件 并 修改镜像参数文件
1)、安装apt-mirror
sudo apt-get install apt-mirror
2)、修改mirror.list
http://www.linuxidc.com/Linux/2014-08/105415.htm
sudo gedit /etc/apt/mirror.list
文件内容如下:
——————————————引用开始——————————————————
############# config ##################
#
# set base_path /var/spool/apt-mirror [镜像存放目录位置,可根据磁盘容量情况进行更改]
#
# if you change the base path you must create the directories below with write privileges
#
# set mirror_path $base_path/mirror
# set skel_path $base_path/skel
# set var_path $base_path/var
# set cleanscript $var_path/clean.sh
# set defaultarch <running host architecture>
set nthreads 3 [下载进程,默认20,建议3]
set _tilde 0
#
############# end config ##############
deb http://archive.ubuntu.com/ubuntu jaunty main restricted universe multiverse
deb http://archive.ubuntu.com/ubuntu jaunty-updates main restricted universe multiverse
deb http://archive.ubuntu.com/ubuntu jaunty-backports main restricted universe multiverse
deb http://archive.ubuntu.com/ubuntu jaunty-security main restricted universe multiverse
deb http://archive.ubuntu.com/ubuntu jaunty-proposed main restricted universe multiverse
deb http://archive.ubuntu.org.cn/ubuntu-cn/ jaunty main restricted universe multiverse
[需要进行镜像的APT软件源地址,选择速度较快的官方源或国内源]
#deb-src http://archive.ubuntu.com/ubuntu jaunty main restricted universe multiverse
#deb-src http://archive.ubuntu.com/ubuntu jaunty-updates main restricted universe multiverse
#deb-src http://archive.ubuntu.com/ubuntu jaunty-backports main restricted universe multiverse
#deb-src http://archive.ubuntu.com/ubuntu jaunty-security main restricted universe multiverse
#deb-src http://archive.ubuntu.com/ubuntu jaunty-proposed main restricted universe multiverse
[不需要源代码,用#进行地址屏蔽]
clean http://archive.ubuntu.com/ubuntu
clean http://archive.ubuntu.org.cn/ubuntu-cn
[镜像完成后对本地镜像和软件源进行比较]
——————————————引用结束——————————————————
3、创建镜像根目录
mkidr /var/spool/apt-mirror
4、开始镜像(支持断点续传,任何中断都不会照成影响)
1)sudo apt-mirror
定时执行上面的命令,可以达到定时同步远程仓库的效果
2)完成镜像后进行清理多余文件
sudo /var/spool/apt-mirror/var/clean.sh
5、使用本地源
cd /etc/apt
sudo mv source.list source.list.bak
sudo vim source.list
加入如下内容
deb file:///var/spool/apt-mirror/mirror/archive.ubuntu.com/ubuntu/ jaunty main restricted universe multiverse
deb file:///var/spool/apt-mirror/mirror/archive.ubuntu.com/ubuntu/ jaunty-backports restricted universe multiverse
deb file:///var/spool/apt-mirror/mirror/archive.ubuntu.com/ubuntu/ jaunty-proposed main restricted universe multiverse
deb file:///var/spool/apt-mirror/mirror/archive.ubuntu.com/ubuntu/ jaunty-security main restricted universe multiverse
deb file:///var/spool/apt-mirror/mirror/archive.ubuntu.com/ubuntu/ jaunty-updates main restricted universe multiverse
deb file:///var/spool/apt-mirror/mirror/archive.ubuntu.org.cn/ubuntu-cn/ jaunty main restricted universe multiverse
6、发布到局域网
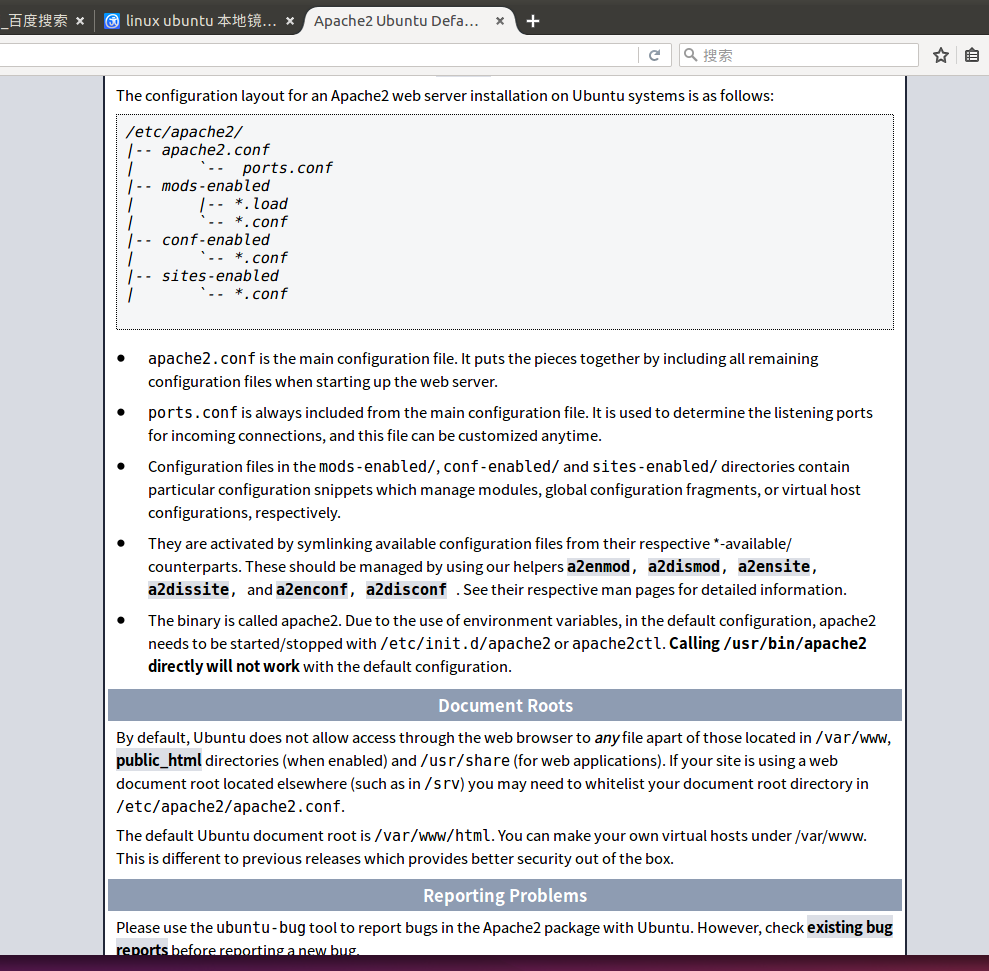
1)安装Apache2
sudo apt-get install apache2
2)建立符号连接,将镜像与Apache虚拟目录联系起来
sudo ln -s /var/spool/apt-mirror/mirror/archive.ubuntu.com/ubuntu/ /var/www/html/ubuntu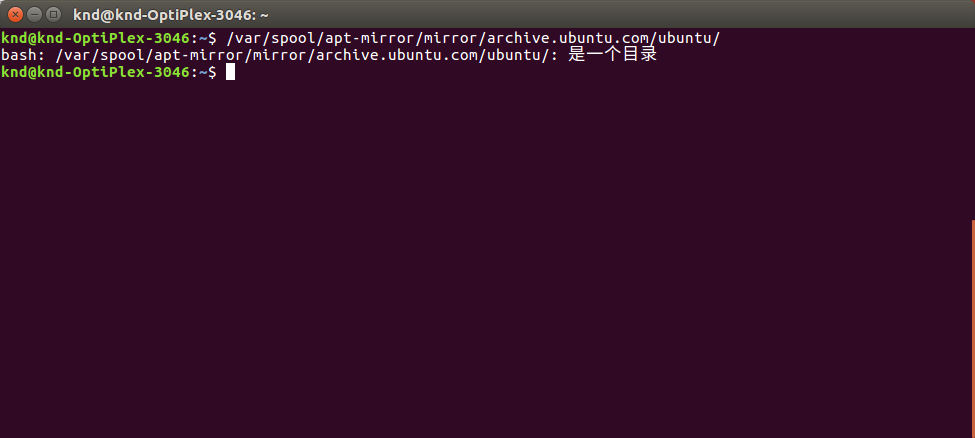
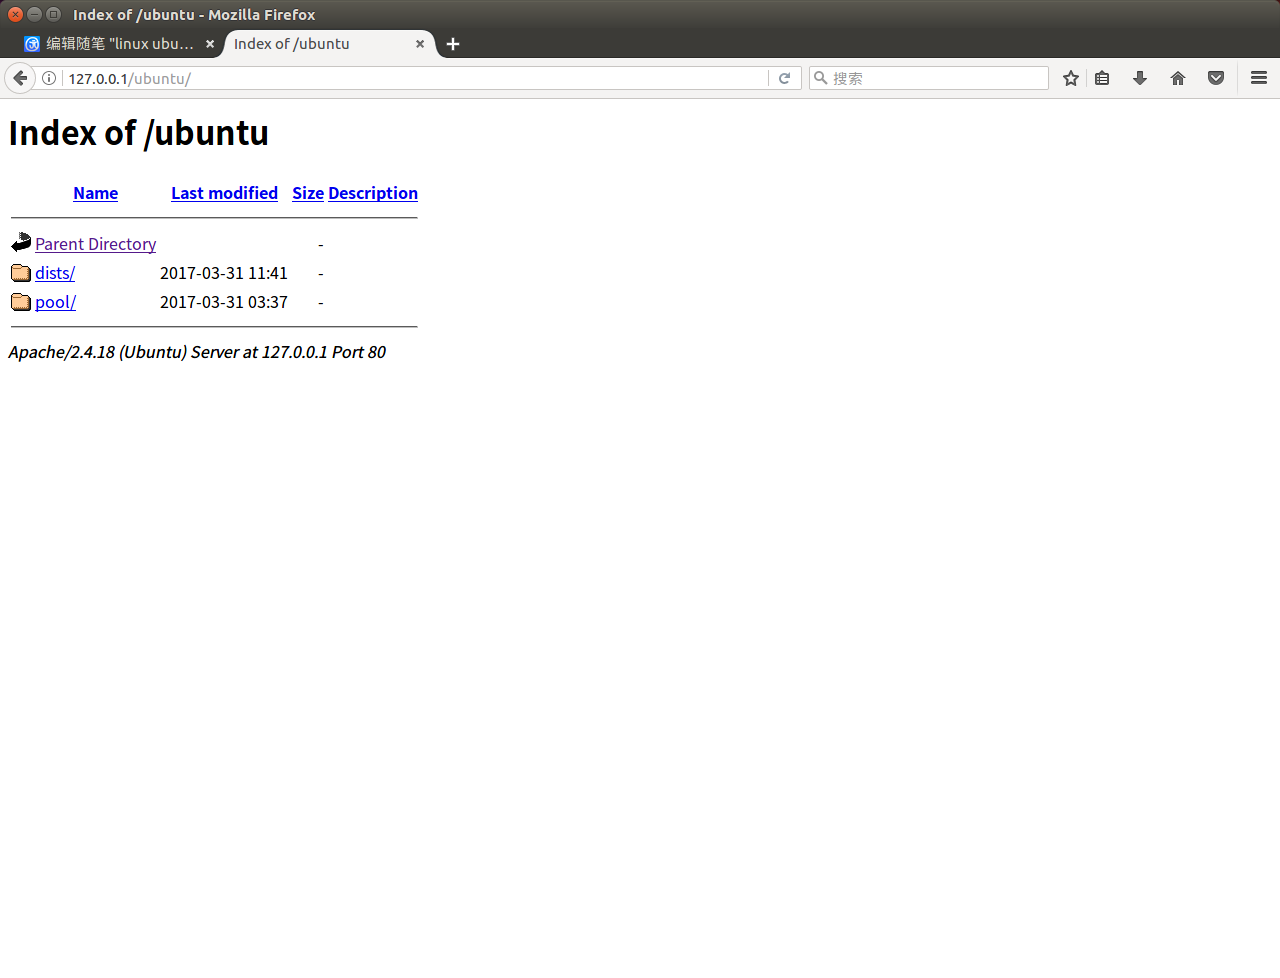
3)局域网中每个用户,修改sources.list文件
cd /etc/apt
sudo cp sources.list sources.list.bak
sudo vim source.list
加入如下内容
deb http://192.168.0.10/ubuntu jaunty main restricted universe multiverse
deb http://192.168.0.10/ubuntu jaunty-backports restricted universe multiverse
deb http://192.168.0.10/ubuntu jaunty-proposed main restricted universe multiverse
deb http://192.168.0.10/ubuntu jaunty-security main restricted universe multiverse
deb http://192.168.0.10/ubuntu jaunty-updates main restricted universe multiverse
deb http://192.168.0.10/ubuntu-cn jaunty main restricted universe multiverse
linux ubuntu 本地镜像 软件源 制作方法的更多相关文章
- linux centos&Ubuntu&RedHat更换软件源
linux三大版本更换软件源 前排提示,有的源可能已经失效,如果发现请留言或自行寻找其他源. 1.centos mv /etc/yum.repos.d/CentOS-Base.repo [--path ...
- 创建本地yum软件源,为本地Package安装Cloudera Manager、Cloudera Hadoop及Impala做准备
一.包管理工具及CentOS的yum 1.包管理工具如何发现可以用的包 包管理工具依赖一系列软件源,工具下载源的信息存储在配置文件中,其位置随某包管理工具不同而变化 使用yum的RedHat/Cent ...
- ubuntu修改软件源的方法
最快方法--替换法 刚安装好的ubutun,打开source.list后,用vim替换的方法将所有的us提付出替换为 cn,然后保存退出,更新即可. # vim /etc/apt/source.lis ...
- [linux]ubuntu修改镜像源
sudo apt-get update 更新源 sudo apt-get install package 安装包 sudo apt-get remove package 删除包 sudo apt-ca ...
- 韦东山linux学习之ubuntu 9.10 软件源 问题
跟着开发板视频学习,安装了ubuntu9.10,然而由于现在官方已经不再提供软件更新的服务,软件我一直安装不上,搞了两天终于解决了. 一.安装VMware,配置等等就不详细说了,安装好系统后,网能连上 ...
- UBUntu 软件 源配置方法
近期公司产品须要添加一个功能,就是版本号自己主动更新.使用apt-get 实现. apt-get 软件源配置的方法,參见本人资源里的共享.以下是代码中作为升级的一部分. FILE *fp; ...
- Ubuntu系统的软件源更换
参考:https://www.daweibro.com/node/142 什么是Ubuntu的软件源? 我们在使用Debian或者Ubuntu的apt-get工具来安装需要的软件时,其实就是从服务器获 ...
- ubuntu 16.04软件源
来源:模板:16.04source deb http://cn.archive.ubuntu.com/ubuntu/ xenial main restricted universe multive ...
- ubuntu修改163软件源
cd /etc/apt cat sources.list sudo su root sudo echo '' > sources.list nano sources.list 复制163软件源 ...
随机推荐
- springboot打包成jar包后找不到xml,找不到主类的解决方法
springboot打包成jar包后找不到xml,找不到主类的解决方法 请首先保证你的项目能正常运行(即不打包的时候运行无误),我们在打包时经常遇到如下问题: springboot打包成jar包后找不 ...
- hbase集群中其中某个regionserver 没有启动
第一步: date命令查看各个机器的时间 发现linux02机器时间差了2个多小时 第二步:ntpdate pool.ntp.org 修改错误时间的机器 第三步: 重启 hbase
- SpringAOP-切面优先级
项目中有两个切面,这两个切面都作用于同一个方法,哪个先执行哪个后执行呢,所以要定义一个切面的优先级 import java.util.Arrays; import org.aspectj.lang.J ...
- Android 开发工具类 13_ SaxService
网络 xml 解析方式 package com.example.dashu_saxxml; import java.io.IOException; import java.io.InputStream ...
- springboot-15-启动时加载数据的方法CommandLineRunner
有时需要爱项目启动时, 去加载一些配置文件什么的, 可以使用监听器的方式加载, 这是可以通过实现接口 CommandLineRunner来实现需求: Spring Boot应用程序在启动后,会遍历Co ...
- Linux-(vmstat,iostat,netstat)
vmstat命令 vmstat是Virtual Meomory Statistics(虚拟内存统计)的缩写,可对操作系统的虚拟内存.进程.CPU活动进行监控.他是对系统的整体情况进行统计,不足之处是无 ...
- seajs源码分析(一)---整体结构以及module.js
1,seajs的主要内容在module.js内部,最开始包含这么几个东西 var cachedMods = seajs.cache = {} var anonymousMeta var fetchin ...
- for循环-鼠标移入事件
这里当鼠标移入触发事件时候,会报错,为什么呢?注意一下objs数组的长度是5. 因为在鼠标移入事件触发之前for循环已经将i变成5,objs[5]是不存在的,所以会报错. 可以用this来解决这种问题 ...
- SpringMVC 之 Hello World 入门
1 准备开发环境和运行环境 依赖 jar 包下载,如下图所示: 2 前端控制器的配置 在我们的web.xml中添加如下配置: <!-- The front controller of this ...
- python26:自定义form表单验证
一.自定义Form的原理 1.1 各种form表单验证比较 只有python提供了form表单验证,其他的都没有提供.django提供的功能还不够强大.最强大的是微软的ASP.NET!我们可以自己写一 ...