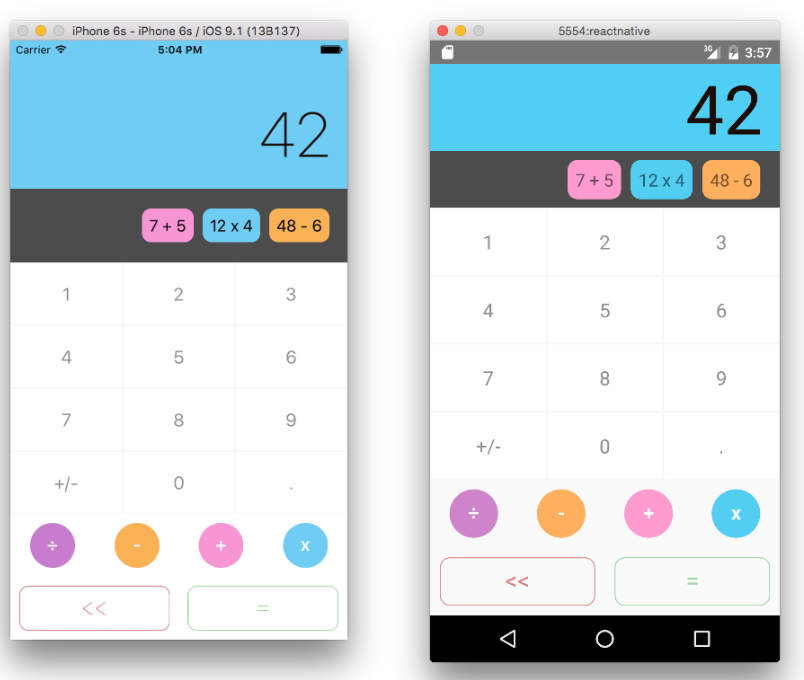
如何运行开源的React Native项目?
如何运行开源的RN项目?
1.下载
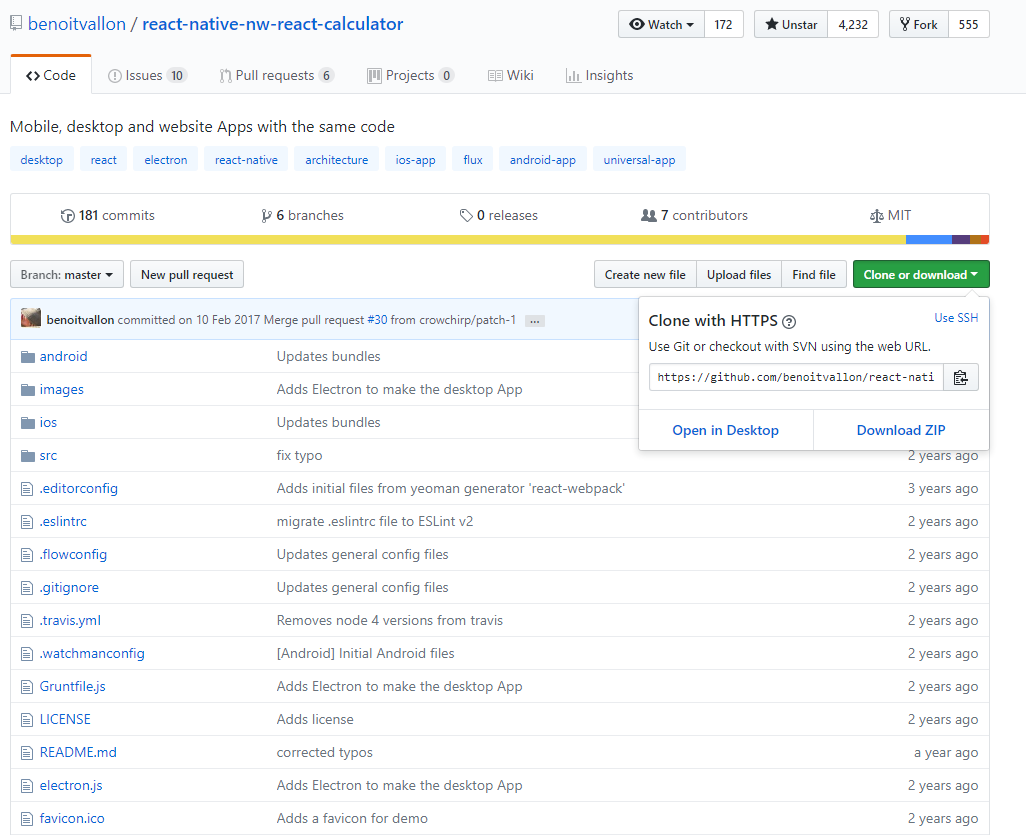
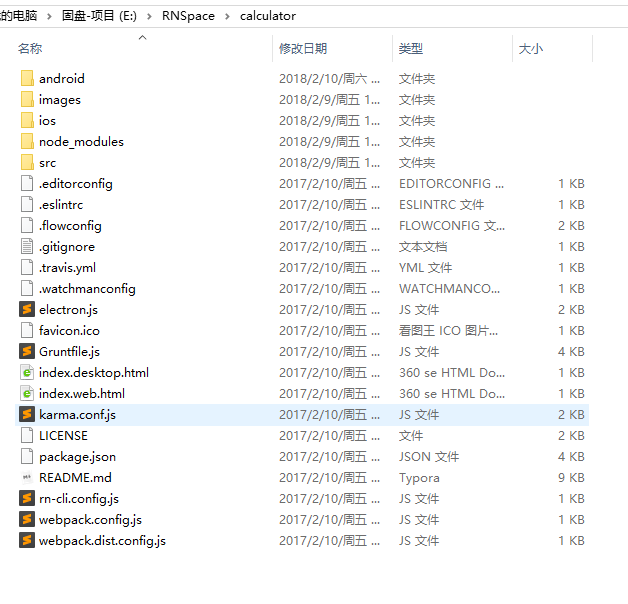
2.解压
3.配置本地sdk位置
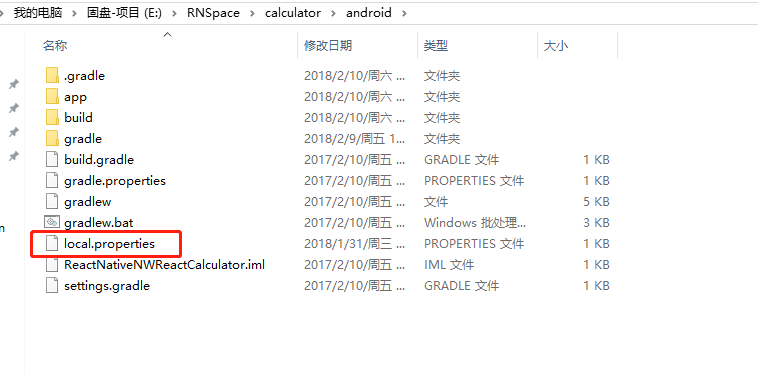
sdk.dir = D\:\\Android\\SDK
4.调整gradle版本
apply plugin: "com.android.application"

import com.android.build.OutputFile

/**

 * The react.gradle file registers a task for each build variant (e.g. bundleDebugJsAndAssets

 * and bundleReleaseJsAndAssets).

 * These basically call `react-native bundle` with the correct arguments during the Android build

 * cycle. By default, bundleDebugJsAndAssets is skipped, as in debug/dev mode we prefer to load the

 * bundle directly from the development server. Below you can see all the possible configurations

 * and their defaults. If you decide to add a configuration block, make sure to add it before the

 * `apply from: "react.gradle"` line.

 *

 * project.ext.react = [

 *   // the name of the generated asset file containing your JS bundle

 *   bundleAssetName: "index.android.bundle",

 *

 *   // the entry file for bundle generation

 *   entryFile: "index.android.js",

 *

 *   // whether to bundle JS and assets in debug mode

 *   bundleInDebug: false,

 *

 *   // whether to bundle JS and assets in release mode

 *   bundleInRelease: true,

 *

 *   // whether to bundle JS and assets in another build variant (if configured).

 *   // See http://tools.android.com/tech-docs/new-build-system/user-guide#TOC-Build-Variants

 *   // The configuration property can be in the following formats

 *   //         'bundleIn${productFlavor}${buildType}'

 *   //         'bundleIn${buildType}'

 *   // bundleInFreeDebug: true,

 *   // bundleInPaidRelease: true,

 *   // bundleInBeta: true,

 *

 *   // the root of your project, i.e. where "package.json" lives

 *   root: "../../",

 *

 *   // where to put the JS bundle asset in debug mode

 *   jsBundleDirDebug: "$buildDir/intermediates/assets/debug",

 *

 *   // where to put the JS bundle asset in release mode

 *   jsBundleDirRelease: "$buildDir/intermediates/assets/release",

 *

 *   // where to put drawable resources / React Native assets, e.g. the ones you use via

 *   // require('./image.png')), in debug mode

 *   resourcesDirDebug: "$buildDir/intermediates/res/merged/debug",

 *

 *   // where to put drawable resources / React Native assets, e.g. the ones you use via

 *   // require('./image.png')), in release mode

 *   resourcesDirRelease: "$buildDir/intermediates/res/merged/release",

 *

 *   // by default the gradle tasks are skipped if none of the JS files or assets change; this means

 *   // that we don't look at files in android/ or ios/ to determine whether the tasks are up to

 *   // date; if you have any other folders that you want to ignore for performance reasons (gradle

 *   // indexes the entire tree), add them here. Alternatively, if you have JS files in android/

 *   // for example, you might want to remove it from here.

 *   inputExcludes: ["android/**", "ios/**"]

 * ]

 */

apply from: "react.gradle"

/**

 * Set this to true to create two separate APKs instead of one:

 *   - An APK that only works on ARM devices

 *   - An APK that only works on x86 devices

 * The advantage is the size of the APK is reduced by about 4MB.

 * Upload all the APKs to the Play Store and people will download

 * the correct one based on the CPU architecture of their device.

 */

def enableSeparateBuildPerCPUArchitecture = false

/**

 * Run Proguard to shrink the Java bytecode in release builds.

 */

def enableProguardInReleaseBuilds = false

android {

    compileSdkVersion 26 // 23

    buildToolsVersion "26.0.2" // 23

    defaultConfig {

        applicationId "com.reactnativenwreactcalculator"

        minSdkVersion 16

        targetSdkVersion 22

        versionCode 1

        versionName "1.0"

        ndk {

            abiFilters "armeabi-v7a", "x86"

        }

    }

    splits {

        abi {

            reset()

            enable enableSeparateBuildPerCPUArchitecture

            universalApk false  // If true, also generate a universal APK

            include "armeabi-v7a", "x86"

        }

    }

    buildTypes {

        release {

            minifyEnabled enableProguardInReleaseBuilds

            proguardFiles getDefaultProguardFile("proguard-android.txt"), "proguard-rules.pro"

        }

    }

    // applicationVariants are e.g. debug, release

    applicationVariants.all { variant ->

        variant.outputs.each { output ->

            // For each separate APK per architecture, set a unique version code as described here:

            // http://tools.android.com/tech-docs/new-build-system/user-guide/apk-splits

            def versionCodes = ["armeabi-v7a":1, "x86":2]

            def abi = output.getFilter(OutputFile.ABI)

            if (abi != null) {  // null for the universal-debug, universal-release variants

                output.versionCodeOverride =

                        versionCodes.get(abi) * 1048576 + defaultConfig.versionCode

            }

        }

    }

}

dependencies {

    compile fileTree(dir: "libs", include: ["*.jar"])

    compile "com.android.support:appcompat-v7:23.0.1"

    compile "com.facebook.react:react-native:+"  // From node_modules

}
调成本地存在的。
5.安装一些依赖
npm i 或者 npm install
6.运行

react-native run-android

如何运行开源的React Native项目?的更多相关文章
- React Native 项目运行在 Web 浏览器上面
React Native 的出现,让前端工程师拥有了使用 JavaScript 编写原生 APP 的能力.相比之前的 Web app 来说,对于性能和用户体验提升了非常多. 但是 React Nati ...
- 安装android Studio和运行react native项目(基础篇)
ANDROID_HOME环境变量 确保ANDROID_HOME环境变量正确地指向了你安装的Android SDK的路径. 打开控制面板 -> 系统和安全 -> 系统 -> 高级系统设 ...
- 【腾讯Bugly干货分享】React Native项目实战总结
本文来自于腾讯bugly开发者社区,非经作者同意,请勿转载,原文地址:http://dev.qq.com/topic/577e16a7640ad7b4682c64a7 “8小时内拼工作,8小时外拼成长 ...
- Expo大作战(三)--针对已经开发过react native项目开发人员有针对性的介绍了expo,expo的局限性,开发时项目选型注意点等
简要:本系列文章讲会对expo进行全面的介绍,本人从2017年6月份接触expo以来,对expo的研究断断续续,一路走来将近10个月,废话不多说,接下来你看到内容,讲全部来与官网 我猜去全部机翻+个人 ...
- 技术实践丨React Native 项目 Web 端同构
摘要:尽管 React Native 已经进入开源的第 6 个年头,距离发布 1.0 版本依旧是遥遥无期."Learn once, write anywhere",完全不影响 Re ...
- React Native 项目整合 CodePush 全然指南
版权声明:本文为博主原创文章,未经博主同意不得转载. https://blog.csdn.net/y4x5M0nivSrJaY3X92c/article/details/81976844 作者 | 钱 ...
- 第一个React Native项目
1>下图操作创建第一个React Native项目: 用Xcode运行界面如下: 记住: 在使用项目文件期间,终端记住不要关闭的哟!!! 改变了程序代码,需要刷新运行,使用快捷键: Comman ...
- React Native 项目实战-Tamic
layout: post title: React Native 项目实战 date: 2016-10-18 15:02:29 +0800 comments: true categories: Rea ...
- react native项目启动需要做的操作
一.启动: 1.查看端口(默认8081是否被占用) netstat -ano 可以查看所有的进程 2.netstat -ano | findstr "8081" 查看某个端口 ...
随机推荐
- 【PostgreSQL-9.6.3】分区表
PostgreSQL中的分区表是通过表继承来实现的(表继承博客http://www.cnblogs.com/NextAction/p/7366607.html).创建分区表的步骤如下: (1)创建“父 ...
- html5——伸缩比例
基本概念 1.父盒子设置了伸缩属性,子盒子设置伸缩比例 2.以上设置完之后子盒子会按照比例分布在父盒子中 3.当设置伸缩比例时默认会按照x轴方向分配,因为默认情况下伸缩布局主轴方向是x轴方向 4.设置 ...
- transactoin
hibernate对数据的操作是封装在事务当中,并且默认是非自动提交方式.所以用session保存对象时,如果不开启事务,并且手工提交事务,对象并不会真正保存在数据库中.
- 吐得了,vue的多选组合框回显必须是字符串集合
下面这个typeIdList,如果给他赋值,就能回显到页面,但是必须是字符串的集合,如果是数值类型的id,不好意思,请转成字符串
- 关于WEB开发下面DIV层被OCX控件拦住问题
控件分为有窗口控件与无窗口控件,无窗口控件很好办,如flash控件,可以通过添加wmode属性来解决挡住DIV层这个问题,添加的代码如下: 解决无窗口控件挡住DIV: 1 <param nam ...
- 初学者怎么快速掌握Linux运维?
2018年里,Linux运维的职位数量和平均薪资水平仍然持续了去年的强劲增幅,比很多开发岗位涨的都快.从研究机构的数据来看,Linux职位数量和工资水平涨幅均在IT行业的前五之列,比去年的表现还要好一 ...
- loader__demo_css
环境 node + yarn + webpack4.0 + webpack-cli + style-loader css-loader 文件结构 │ package.json │ webpack.co ...
- STL源码分析之迭代器
前言 迭代器是将算法和容器两个独立的泛型进行调和的一个接口. 使我们不需要关系中间的转化是怎么样的就都能直接使用迭代器进行数据访问. 而迭代器最重要的就是对operator *和operator-&g ...
- cogs——49. 跳马问题
49. 跳马问题 水题 dfs裸基础 #include<cstdio> using namespace std; ]={,,,,}, ans,my[]={,-,,-,}; inline v ...
- Shell脚本备份文件
使用crontab 定时备份文件 1. 编辑crontab规则 2. 编写shell脚本 cp -R "/data/www/code" "/home/backup/cod ...