BBS之文章详情页搭建
博客评论相关
博客文章详情页搭建
{% extends 'base.html' %}
{% block css %}
<style>
#div_digg {
float: right;
margin-bottom: 10px;
margin-right: 30px;
font-size: 12px;
width: 125px;
text-align: center;
margin-top: 10px;
}
#div_digg .diggnum {
line-height: 1.5em !important;
}
.diggit {
float: left;
width: 46px;
height: 52px;
background: url(/static/img/up.gif) no-repeat;
text-align: center;
cursor: pointer;
margin-top: 2px;
padding-top: 5px;
}
.buryit {
float: right;
margin-left: 20px;
width: 46px;
height: 52px;
background: url(/static/img/down.gif) no-repeat;
text-align: center;
cursor: pointer;
margin-top: 2px;
padding-top: 5px;
}
.clear {
clear: both;
}
#div_digg .diggnum {
line-height: 1.5em !important;
}
.diggword {
margin-top: 5px;
margin-left: 0;
font-size: 12px;
color: gray;
}
</style>
{% endblock %}
{% block right_content %}
{# 文章及标题开始 #}
<h3>{{ article_obj.title }}</h3>
{{ article_obj.content|safe }}
{# 文章结束 #}
{# 点赞点踩开始 #}
<div class="clearfix">
<div id="div_digg">
<div class="diggit action">
<span class="diggnum" id="digg_count">{{ article_obj.up_num }}</span>
</div>
<div class="buryit action">
<span class="burynum" id="bury_count">{{ article_obj.down_num }}</span>
</div>
<div class="clear"></div>
<div class="diggword" id="digg_tips">
</div>
</div>
</div>
{# 点赞点踩结束 #}
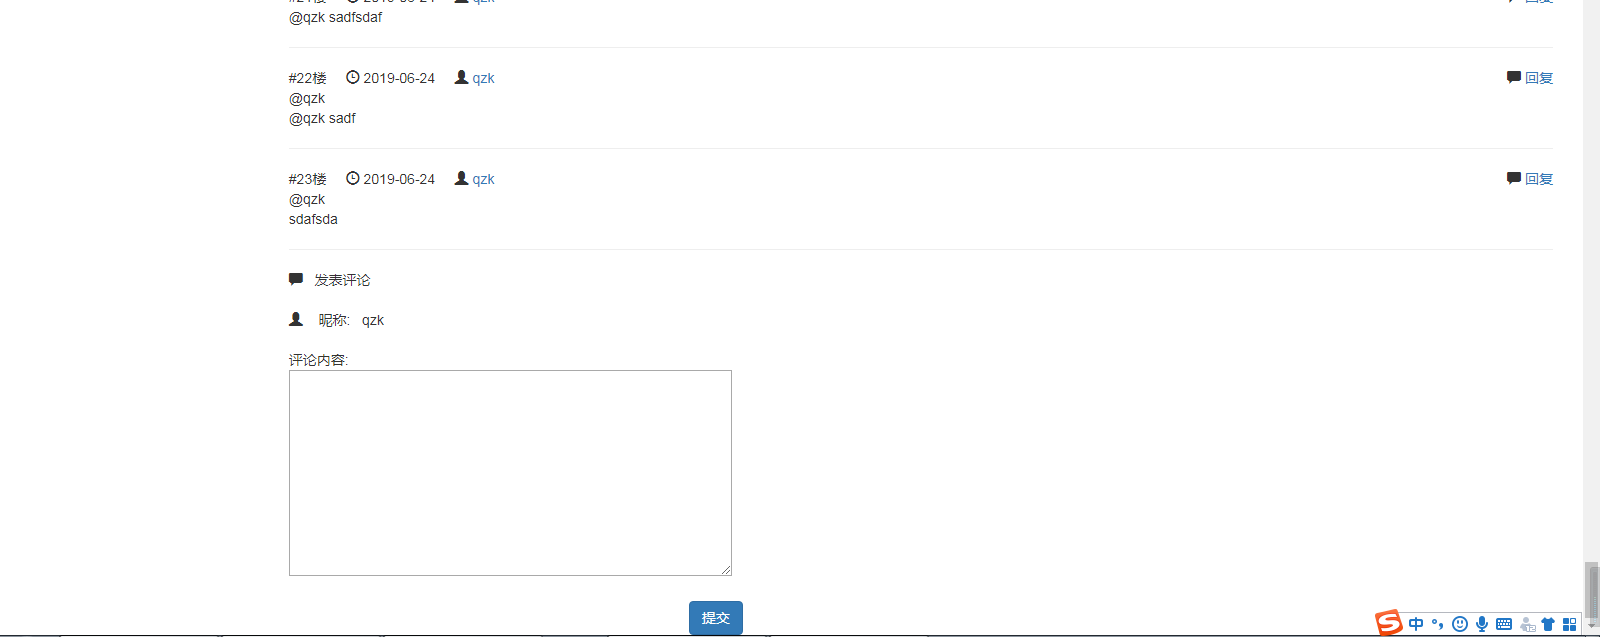
{# 评论楼开始 #}
<div><h4>评论</h4></div>
{% for comment in comment_list %}
<hr>
<div>
<span>#{{ forloop.counter }}楼 </span>
<span><span class="glyphicon glyphicon-time"></span> {{ comment.comment_time|date:'Y-m-d' }} </span>
<span><span class="glyphicon glyphicon-user"></span> <a href="/{{ comment.user }}/">{{ comment.user }}</a></span>
<span class="pull-right reply " id="id_reply" username="{{ comment.user.username }}" comment_id="{{ comment.pk }}"><span class="glyphicon glyphicon-comment"></span> <a >回复</a></span>
</div>
<div>
{% if comment.parent %}
<div>@{{ comment.parent.user.username }}</div>
{% endif %}
<div>{{ comment.content }}</div>
</div>
{% endfor %}
<div class="linshi_comment"></div>
{# 评论楼结束 #}
{# 评论输入 开始 #}
<hr>
<div><span class="glyphicon glyphicon-comment"></span> 发表评论</div>
<div style="margin-top: 20px">
<span class="glyphicon glyphicon-user"></span>
<span> 昵称: {{ request.user.username }}</span>
</div>
<div style="margin-top: 20px">
<span>评论内容:</span>
</div>
<div>
<textarea name="comment" id="id_comment" cols="60" rows="10"></textarea>
</div>
<button class="btn btn-primary" id="id_submit_comment" style="margin-left: 400px; margin-top: 20px">提交</button>
{# 评论输入结束 #}
{% endblock %}
{% block js %}
<script>
// 点赞点踩 点击事件绑定
$('.action').click(function () {
let isUp = $(this).hasClass('diggit');
let $info = $('#digg_tips');
let $span = $(this).children();
$.ajax({
url: "/up_or_down/",
type: 'post',
data: {
'article_id':{{ article_obj.pk }},
'is_up': isUp,
'csrfmiddlewaretoken': '{{ csrf_token }}',
},
success: function (data) {
if (data.code == 200) {
console.log(data);
$info.html(data.msg);
//将span标签内的文本加1
$span.text(Number($span.text() + 1))
}
else {
$info.html(data.msg)
}
}
})
});
//{#评论js开始#}
// 先定义一个全局的 parent
let parentId='';
$('#id_submit_comment').click(function () {
// 获取textarea 文本内容
let $comment_content = $('#id_comment').val();
//判断parentId 是否有值,有值则进行切分
if (parentId){
// 获取切分的索引(切分的时候 顾头不顾尾,所以需要加1)
let indexVal = $comment_content.indexOf('\n')+1;
$comment_content=$comment_content.slice(indexVal);
}
// 发送ajax请求
$.ajax({
url: '/comment/',
type: 'post',
data: {
'article_id': '{{ article_id }}',
'comment_content': $comment_content,
'csrfmiddlewaretoken': '{{ csrf_token }}',
'parent_id': parentId
},
success: function (data) {
// 将新的评论临时渲染到前端页面
if (data.code == 100) {
let userName = '{{ request.user.username }}';
let commentConent = $comment_content;
//此处用的是前端的模板语言的替换
let tempStr = `
<div>
<hr>
<span><span class="glyphicon glyphicon-user"></span> <a href="/${userName}/">${userName}</a></span>
<p>${commentConent}</p>
</div>
`;
// 查找url标签,添加子元素
$('.linshi_comment').append(tempStr);
// 将textarea文本框清空
$('#id_comment').val('');
}
}
})
});
// 回复父评论信息
$('.reply').click(function () {
// 把你想评论的那条评论的任命自动添加到 textarea 文本中去
let pUserName=$(this).attr('username');
let pCommentId=$(this).attr('comment_id');
// 自动换行
$('#id_comment').val('@'+pUserName+'\n');
// 聚焦到评论文本框
$('#id_comment').focus();
//给parent_id 赋值
parentId=pCommentId;
});
</script>
{% endblock %}
博客详情页后端视图函数
# 将博客文章内容 以及评论的列表传导前端

# url.py 中的对应路由

url(r'^(?P<username>\w+)/article/(?P<article_id>\d+)',views.article_detail)

# views.py

def article_detail(request, username, article_id):

    # 从数据库中查找文章对象

    article_obj = models.Article.objects.filter(pk=article_id).first()

    # 查找当前用户对象

    user_obj = models.UserInfo.objects.filter(username=username).first()

    # 查找评论的queryset对象

    comment_list= models.Comment.objects.filter(article_id=article_id)

    return render(request, 'article_detail.html', locals())

# 评论 视图函数 路由

url('/comment/',views.comment)

# views.py

def comment(request):

    back_dic = {'code': 100, 'msg': ''}

    if request.is_ajax():

        article_id = request.POST.get('article_id')

        comment_content = request.POST.get('comment_content')

        parent_id = request.POST.get('parent_id')

        print('article_id', article_id)

        print('comment', comment_content)

        # 1.先校验当前用户是否已经登录

        if request.user.is_authenticated():

            # 开启事务操作   // from django.db import transaction

            with transaction.atomic():

                # 1.在文章表中将普通字段加1

                models.Article.objects.filter(pk=article_id).update(comment_num=F('comment_num') + 1)

                # 2.在评论表中将存储真正的数据

                models.Comment.objects.create(article_id=article_id, user=request.user, content=comment_content,parent_id=parent_id)

                back_dic['msg'] = '评论成功'

        else:

            back_dic['code'] = 101

            back_dic['msg'] = '请先登录'

    return JsonResponse(back_dic)
BBS之文章详情页搭建的更多相关文章
- BBS项目分布搭建三(个人站点时间归档补充,实现侧边栏跳转、无线级分类、实现文章详情页展示功能)
BBS项目分布搭建三(个人站点时间归档补充,) 1. 个人站点时间归档 """ settings.py设置最好更改以下: LANGUAGE_CODE = 'zh-hans ...
- thinkPHP中的文章详情页实现“上一篇下一篇”功能经验分享
前段时间在公司中接触到了用thinkPHP搭建的项目,其中涉及到了文章详情页上一篇下一篇翻页的功能实现效果. 因为刚接触这套框架和PHP,所以整理一下实现该功能的经验方法. 如果有不到位的地方,欢迎指 ...
- python 全栈开发,Day81(博客系统个人主页,文章详情页)
一.个人主页 随笔分类 需求:查询当前站点每一个分类的名称以及对应的文章数 完成这个需求,就可以展示左侧的分类 它需要利用分组查询,那么必须要会基于双下划线的查询. 基于双下划线的查询,简单来讲,就是 ...
- django博客项目8:文章详情页
首页展示的是所有文章的列表,当用户看到感兴趣的文章时,他点击文章的标题或者继续阅读的按钮,应该跳转到文章的详情页面来阅读文章的详细内容.现在让我们来开发博客的详情页面,有了前面的基础,开发流程都是一样 ...
- HelloDjango 第 08 篇:开发博客文章详情页
作者:HelloGitHub-追梦人物 文中涉及的示例代码,已同步更新到 HelloGitHub-Team 仓库 首页展示的是所有文章的列表,当用户看到感兴趣的文章时,他点击文章的标题或者继续阅读的按 ...
- dedecms5.7的文章详情页页面标题加载指定txt文本的随机关键字
dedecms5.7的文章详情页加载指定txt文本的随机关键字 1 实现代码如下 {dede:name runphp='yes'} $file_path = "../test.txt&quo ...
- Django:文章详情页面评论功能需要登录后才能使用,登录后自动返回到文章详情页
背景: 文章详情页正在查看文章,想评论一下写的不错,但是需要先登录才能.页面长这个样子: 方案: 1.点击登录链接时,将该页面的URL传递到登录视图中 request.path获取的是当前页面的相对路 ...
- BBS论坛 文章详情、点赞、评论
六.文章详情.点赞.评论 文章详情页面: def article_detail(request, username, article_id): # user_obj = models.UserInfo ...
- 安卓开发——WebView+Recyclerview文章详情页,解决高度问题
安卓开发--WebView+Recyclerview文章详情页,解决高度问题 最近在写一个APP时,需要显示文章详情页,准备使用WebView和RecyclerView实现上面文章,下面评论.出现了W ...
随机推荐
- 图的遍历 | 1034 map处理输入数据,连通块判断
这题写得比较痛苦.首先有点不在状态,其次题目比较难读懂. “Gang”成立的两个条件:①成员数大于两个 ②边权总和大于阈值K 首先,在录数据的时候通过map或者字符串哈希建立string到int的映 ...
- ELK原理
为什么要使用Elasticsearch? 因为在我们中的数据,会随着时间变的非常多,若采用以往的模糊查询,模糊查询前置通配符,如:"%aa%",会放弃索引,导致数据表查询将变成全 ...
- 窗体的keyPreview属性
如果把窗体的keyPreview属性设置为true,那么窗体将比其内的控件优先获得键盘事件的激活权.比如Form1和其内的文本框Text1都准备响应keyPress事件,那么以下代码将首先激活窗体的k ...
- python总结五
1.is和==的区别:官方文档解释:is表示的是对象标识符,而==表示的是相等equal,is的作用是用来检查对象的标识符是否一致,也就是两个对象在内存中的地址是否一样 而==是用来检查两个对象是否相 ...
- #ifndef #define #endif
在一个大的软件工程里面,可能会有多个文件同时包含一个头文件,当这些文件编译链接成一个可执行文件时,就会出现大量重定义的错误.在头文件中实用#ifndef #define #endif能避免头文件的重定 ...
- 紧随时代的步伐--Java8特性之接口默认方法
1.关于Java8 自从1996年Sun公司发布Java以来,Java到目前为止已经走过21个年头,每一次的升级,都是Java语言的革新,对时代发展的适应.2014年Oracle发布Java8,而据可 ...
- prometheus、node_exporter、cAdvisor常用参数
本节将介绍一下我在使用过程中用到的promethues.node_exporter.cAdvisor的常用参数,做一个总结 一.prometheus prometheus分为容器安装和二进制文件安装, ...
- 【p6spy学习之一】p6spy使用
一.介绍 p6spy是一个开源项目,通常使用它来跟踪数据库操作,查看程序运行过程中执行的sql语句.1.原理 p6spy将应用的数据源给劫持了,应用操作数据库其实在调用p6spy的数据源,p6spy劫 ...
- ASP.NET Core WebApi基于JWT实现接口授权验证
一.ASP.Net Core WebApi JWT课程前言 我们知道,http协议本身是一种无状态的协议,而这就意味着如果用户向我们的应用提供了用户名和密码来进行用户认证,那么下一次请求时,用户还要再 ...
- Android.mk基础
1.前言 Android.mk用于向编译系统描述源文件和共享库,它实际上是编译系统解析一次或多次的微小GNU makefile片段.它的语法支持将源文件分组为模块,模块是静态库.共享库或独立的可执行文 ...