kolla-ansible部署openstack allinone单节点
环境准备
2 network interfaces
8GB main memory
40GB disk space
1.修改hostname
hostnamectl set-hostname kolla
2.配置域名解析
echo '10.1.10.161 kolla' >> /etc/hosts
Install packages
1.安装依赖
yum install python-devel libffi-devel gcc openssl-devel libselinux-python -y
2.安装 pip,ansible
##如果无法安装python-pip,先导入epel源
yum install epel-release -y
yum install python-pip ansible -y

pip install -U pip
安装 docker-ce(CentOS 7 使用 yum 进行安装)
# step 1: 安装必要的一些系统工具

sudo yum install -y yum-utils device-mapper-persistent-data lvm2

# Step 2: 添加软件源信息

sudo yum-config-manager --add-repo https://mirrors.aliyun.com/docker-ce/linux/centos/docker-ce.repo

# Step 3: 更新并安装Docker-CE

sudo yum makecache fast

sudo yum -y install docker-ce

# Step 4: 开启Docker服务

systemctl enable docker;systemctl restart docker
3.配置 docker 镜像加速
mkdir -p /etc/docker

tee /etc/docker/daemon.json <<-'EOF'

{

  "registry-mirrors": ["https://registry.docker-cn.com"]

}

EOF

systemctl daemon-reload;systemctl restart docker
4.安装 kolla-ansible
pip install kolla-ansible
##ERROR: Cannot uninstall 'PyYAML'. It is a distutils installed project and thus we cannot accurately determine which files belong to it which would lead to only a partial uninstall
##出现报错不能卸载PyYAML,使用下面命令,忽略PyYAML错误
pip install kolla-ansible --ignore-installed PyYAML

mkdir -p /etc/kolla

chown $USER:$USER /etc/kolla
##Copy globals.yml and passwords.yml
cp -r /usr/share/kolla-ansible/etc_examples/kolla/* /etc/kolla
##Copy all-in-one and multinode inventory files
cp /usr/share/kolla-ansible/ansible/inventory/* .
Prepare initial configuration
1.Configure Ansible /etc/ansible/ansible.cfg
[defaults]

host_key_checking=False

pipelining=True

forks=
2.配置主机清单文件,根据部署场景,这里选择 all-in-one 文件
[control]

kolla

[network]

kolla

[compute]

kolla

[storage]

kolla

[monitoring]

kolla

[deployment]

kolla
3.对 /etc/kolla/passwords.yml 文件生成随机密码,或者修改为自定义密码
kolla-genpwd

vim /etc/kolla/passwords.yml

##admin密码可以修改为自定义,在登录dashboard会用到
keystone_admin_password: 1234qwer
4.配置 /etc/kolla/globals.yml 文件
kolla_base_distro: "centos"

kolla_install_type: "source"

openstack_release: "train"

kolla_internal_vip_address: "10.1.10.161"

network_interface: "ens32"

neutron_external_interface: "ens34"

enable_haproxy: "no"

nova_compute_virt_type: "qemu"
5.配置 ssh 无密钥登录,授权节点
ssh-keygen

ssh-copy-id -i ~/.ssh/id_rsa.pub root@kolla
Deployment
##检查主机连接
ansible -i all-in-one all -m ping
##检查Bootstrap servers依赖
kolla-ansible -i ./all-in-one bootstrap-servers
##检查配置

kolla-ansible -i ./all-in-one prechecks
##pull镜像
kolla-ansible pull -i ./all-in-one
##执行部署
kolla-ansible -i ./all-in-one deploy
- 报错1:
执行kolla-ansible -i ./all-in-one bootstrap-servers
TASK [baremetal : Generate /etc/hosts for all of the nodes] ********************************************************************************************************************************
fatal:
[kolla]: FAILED! => {"msg": "The conditional check
'inventory_hostname not in groups['bifrost'] or 'ansible_' +
hostvars[inventory_hostname]['api_interface'] in
hostvars[inventory_hostname]' failed. The error was: error while
evaluating conditional (inventory_hostname not in groups['bifrost'] or
'ansible_' + hostvars[inventory_hostname]['api_interface'] in
hostvars[inventory_hostname]): 'ansible.vars.hostvars.HostVars object'
has no attribute u'kolla'\n\nThe error appears to have been in
'/usr/share/kolla-ansible/ansible/roles/baremetal/tasks/pre-install.yml':
line 31, column 3, but may\nbe elsewhere in the file depending on the
exact syntax problem.\n\nThe offending line appears to be:\n\n\n- name:
Generate /etc/hosts for all of the nodes\n ^ here\n"}
to retry, use: --limit @/usr/share/kolla-ansible/ansible/kolla-host.retry
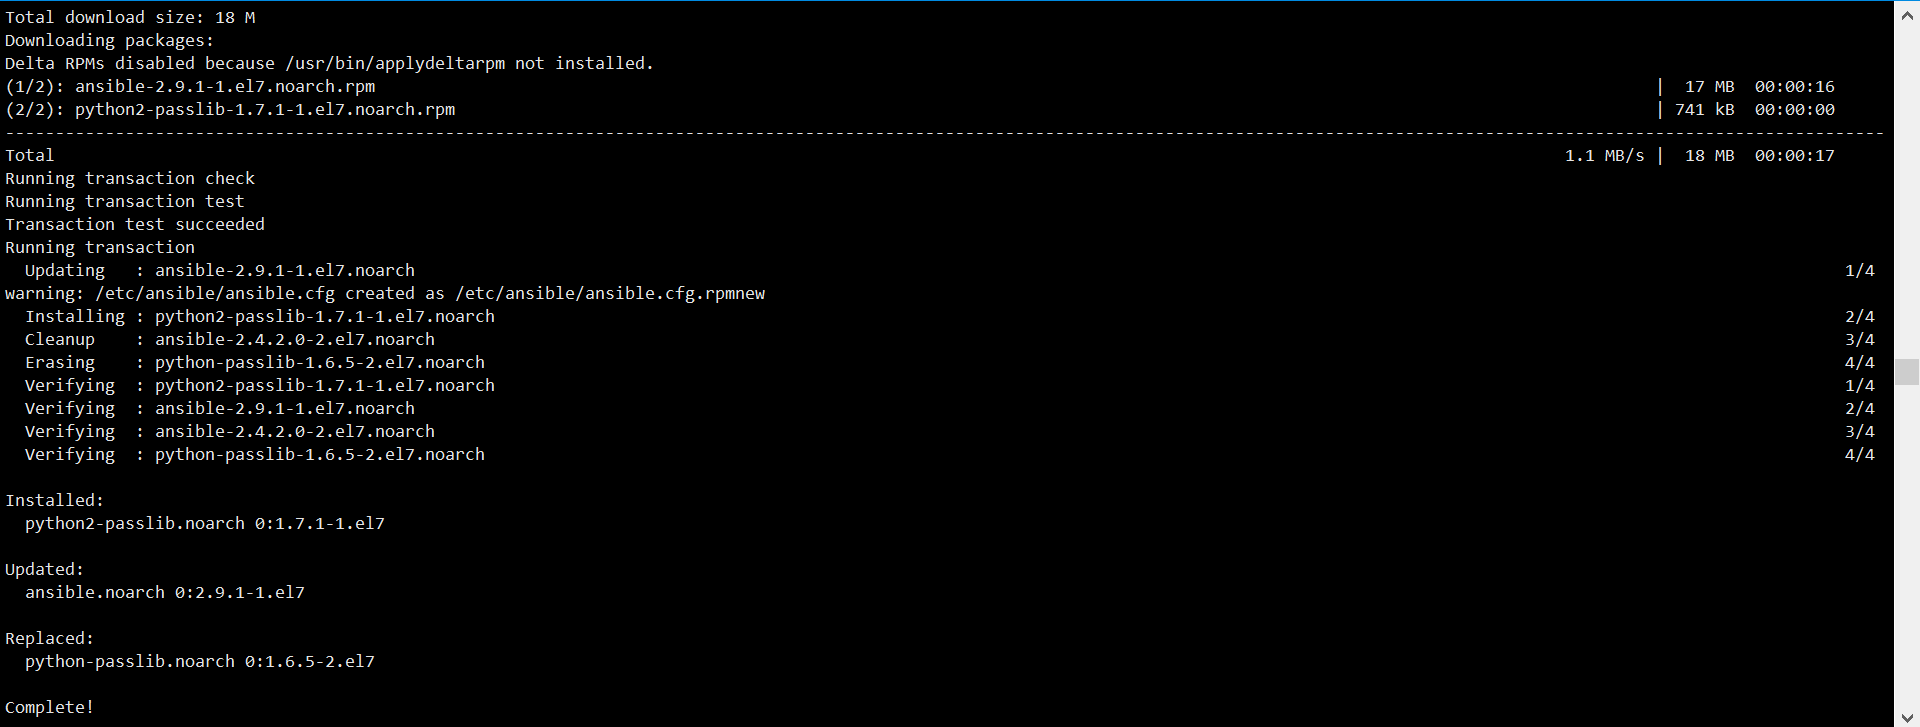
解决办法:
yum upgrade -y
更新的软件包如图
- 报错2:
执行kolla-ansible -i ./all-in-one prechecks
TASK [prechecks : Checking Docker version] *************************************************************************************************************************************************
fatal:
[kolla]: FAILED! => {"msg": "The conditional check 'result is failed
or result.stdout | regex_replace('.*(\\\\d+\\\\.\\\\d+\\\\.\\\\d+).*',
'\\\\1') is version(docker_version_min, '<')' failed. The error was:
template error while templating string: no test named 'version'.
String: {% if result is failed or result.stdout |
regex_replace('.*(\\\\d+\\\\.\\\\d+\\\\.\\\\d+).*', '\\\\1') is
version(docker_version_min, '<') %} True {% else %} False {% endif
%}"}
to retry, use: --limit @/usr/share/kolla-ansible/ansible/site.retry
解决办法:
同上,更新软件包后一并解决
- 报错3:
执行kolla-ansible -i ./all-in-one prechecks
TASK [cinder : Checking LVM volume group exists for Cinder] ********************************************************************************************************************************
fatal:
[kolla]: FAILED! => {"changed": false, "cmd": ["vgs",
"cinder-volumes"], "delta": "0:00:00.023537", "end": "2019-12-27
16:37:44.519563", "failed_when_result": true, "msg": "non-zero return
code", "rc": 5, "start": "2019-12-27 16:37:44.496026", "stderr": "
Volume group \"cinder-volumes\" not found\n Cannot process volume group
cinder-volumes", "stderr_lines": [" Volume group \"cinder-volumes\"
not found", " Cannot process volume group cinder-volumes"], "stdout":
"", "stdout_lines": []}
解决办法:
报错没错找到cinder-volumes卷
手动创建
pvcreate /dev/sdb

vgcreate cinder-volumes /dev/sdb
详细方法参考:https://www.cnblogs.com/omgasw/p/12098312.html
Using OpenStack
1.安装CLI客户端
pip install python-openstackclient
2.生成环境脚本
kolla-ansible post-deploy . /etc/kolla/admin-openrc.sh
- 报错4:
/usr/lib/python2.7/site-packages/requests/__init__.py:91: RequestsDependencyWarning: urllib3 (1.25.7) or chardet (2.2.1) doesn't match a supported version
pip uninstall urllib3

pip uninstall chardet

pip install --upgrade requests
https://www.cnblogs.com/omgasw/p/12054988.html
- 报错5:
ImportError: cannot import name decorate
sed -i '/^from decorator import decorate/s/from/#from/' /usr/lib/python2./site-packages/dogpile/cache/region.py
https://www.cnblogs.com/omgasw/p/12054817.html
3.使用脚本文件初始化运行环境
/usr/share/kolla-ansible/init-runonce


4.删除部署的openstack环境
kolla-ansible destroy -i all-in-one --yes-i-really-really-mean-it
参考链接:
https://docs.openstack.org/kolla-ansible/latest/user/quickstart.html
kolla-ansible部署openstack allinone单节点的更多相关文章
- 使用Ansible部署openstack平台
使用Ansible部署openstack平台 本周没啥博客水了,就放个云计算的作业上来吧(偷个懒) 案例描述 1.了解高可用OpenStack平台架构 2.了解Ansible部署工具的使用 3.使用A ...
- Openstack Grizzily 单节点测试机安装( All In One CentOS/RHEL)
Openstack Grizzily版本已经相当完善,根据官方文档安装基本不存在什么问题,但是想快速测试了解Openstack功能的用户非常多,devstack的安 装需要check最新的代码,时常碰 ...
- kolla部署openstack allinone,报错 ImportError: cannot import name decorate
使用 kolla-ansible 部署 opnenstack:stein,最后无法导入变量脚本,报错信息如下: [root@kolla ~]# . /etc/kolla/admin-openrc.sh ...
- kolla部署openstack allinone,报错APIError: 500 Server Error: Internal Server Error (\"oci runtime error: container_linux.go:235: starting container process caused \"container init exited prematurely
使用 kolla-ansible 部署 opnenstack:stein 执行 kolla-ansible -i ./all-in-one deploy 开始自动化部署 在部署过程中报错,报错信息如下 ...
- 手动部署 OpenStack Rocky 双节点
目录 文章目录 目录 前言 OpenStack 架构 Conceptual architecture Logical architecture 网络选型 Networking Option 1: Pr ...
- kubernetes系列:(二)、kubernetes部署mysql(单节点)
使用kubeadm搭建好kubernetes集群后就可以动手部署自己的应用了. 本文用例来自官网,如有需要请参看 kubernetes官网 一.环境说明 kubernetes 1.13.1 docke ...
- Centos 7.4下 部署openstack Queens 计算节点qemu高版本问题
sed -i 's/$contentdir/centos/g' /etc/yum.repos.d/CentOS-QEMU-EV.repo 这样既可正常安装compute服务
- HyperLedger Fabric 1.4 单机单节点部署(10.2)
单机单节点指在一台电脑上部署一个排序(Orderer)服务.一个组织(Org1),一个节点(Peer,属于Org1),然后运行官方案例中的example02智能合约例子,实现转财交易和查询功能.单机单 ...
- kubernetes环境部署单节点redis
kubernetes部署redis数据库(单节点) redis简介 Redis 是我们常用的非关系型数据库,在项目开发.测试.部署到生成环境时,经常需要部署一套 Redis 来对数据进行缓存.这里介绍 ...
随机推荐
- 【CSP-S 2019】D2T1 Emiya 家今天的饭
Description 传送门 Solution 算法1 32pts 爆搜,复杂度\(O((m+1)^n)\) 算法2 84pts 裸的dp,复杂度\(O(n^3m)\) 首先有一个显然的性质要知道: ...
- java(android)命名规范
在讲解命名规范前,先初略介绍下当前主要的标识符命名法和英文缩写规则. 标识符命名法标识符命名法最要有四种: 1 驼峰(Camel)命名法:又称小驼峰命名法,除首单词外,其余所有单词的第一个字母大写. ...
- 基于Django的Rest Framework框架的版本控制
本文目录 一 作用 二 内置的版本控制类 三 局部使用 四 全局使用 五 示例 源码分析 回到目录 一 作用 用于版本的控制 回到目录 二 内置的版本控制类 from rest_framework.v ...
- 深入理解Java8中Stream的实现原理
Stream Pipelines 前面我们已经学会如何使用Stream API,用起来真的很爽,但简洁的方法下面似乎隐藏着无尽的秘密,如此强大的API是如何实现的呢?比如Pipeline是怎么执行的, ...
- Jenkins安装第一个插件和通过离线安装包进行安装
1.打开左侧Manage Jenkins 选择Manage Plugins菜单 2.搜索Folders插件,该插件用于创建一个目录 3.点击安装进入插件安装状态,Jenkins会自动下载相关联的插件 ...
- Java Metrics工具介绍
目录 简介 快速入门 Maven配置 MetricRegistry Gauge Meter Counter Histgram Timer Reporter 更多用法 参考资料 简介 Metric是一个 ...
- LeetCode20——有效的括号
在记事本中写算法题和在纸上写其实感觉差不多,反正是不能进行调试.想起某高手的话,写代码要做到“人机合一”,写高级语言时(指的是 C 和 C++)脑海中要知道当前写的代码对应的反汇编代码,也就是要深入了 ...
- argparse.ArgumentParser()用法解析
本博客主要本人学习记录用. 内容来源 于博客:https://blog.csdn.net/the_time_runner/article/details/97941409 argparse模块官方文档 ...
- C#中文转换为拼音NPinyin代码【转】
项目地址:https://code.google.com/p/npinyin/ 在一个采集的程序中,为了给每个文章起一个别名,据说有很好的别名的话,对于百度.google的收录 是很有好处的.按照Se ...
- appstore-react v2.0—redux-actions和redux-saga的应用
开发文档 https://redux-saga.js.org/ https://redux-saga-in-chinese.js.org/ https://redux-actions.js.org/ ...