Pycharm同步本地代码至GitHub
注册github账号
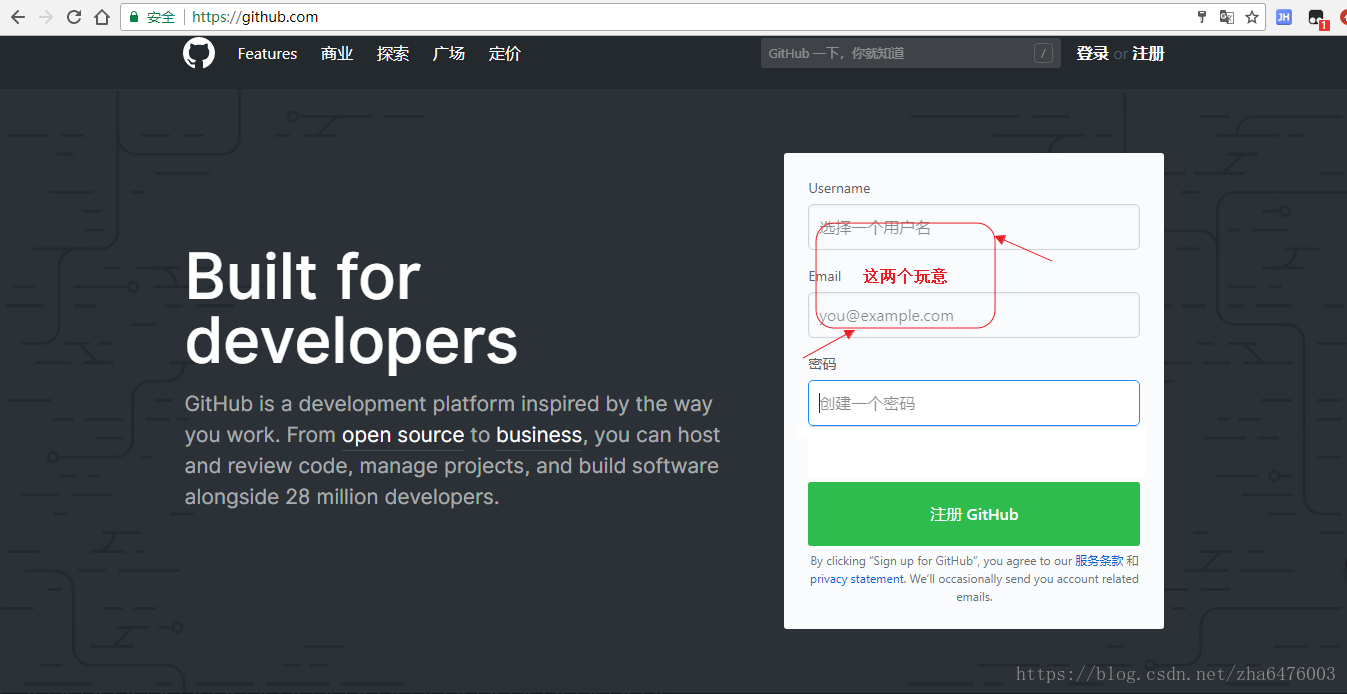
github地址,进入注册账号
安装git
Windows下载地址1
Windows下载地址2
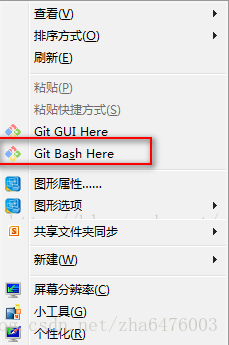
在官方下载完后,双击exe文件进行安装,安装到Windows Explorer integration的时候,将选项中的“Git Bash here”和“Git GUI here”打对勾。

获取SSH key
1、 右键鼠标,选中 “Git Bash here”,或者安装目录打开它
2、 进入Git Bash Here后输入以下命令:
cd ~/.ssh/
如果出现提示:No such file or directory(没有这样的文件或目录)
执行以下命令创建即可:
mkdir ~/.ssh
3、 执行以下两个命令配置全局的name和email,这里是的你github登陆名和邮件地址
git config --global user.name "xxx"

git config --global user.email "xxx@163.com"
就是注册时输入的这两个内容,如下图:
4、 生成key
ssh-keygen -t rsa -C "xxx@163.com"
连续按三次回车,设置了密码为空,并且创建了key,最后得到了两个文件:id_rsa和id_rsa.pub(记住生成过程中提示的生成key文件路径,后面要用到)。
在github配置SSH key
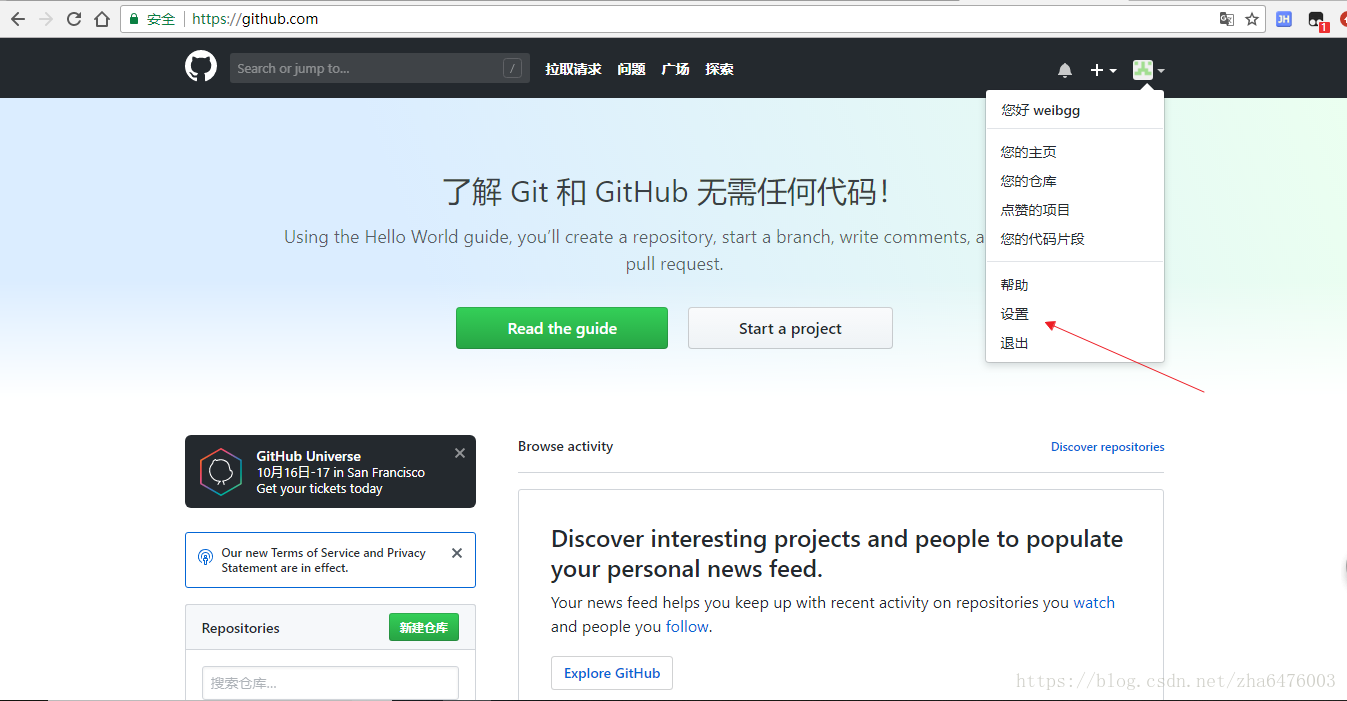
1、 登陆github → 进入设置(Settings)
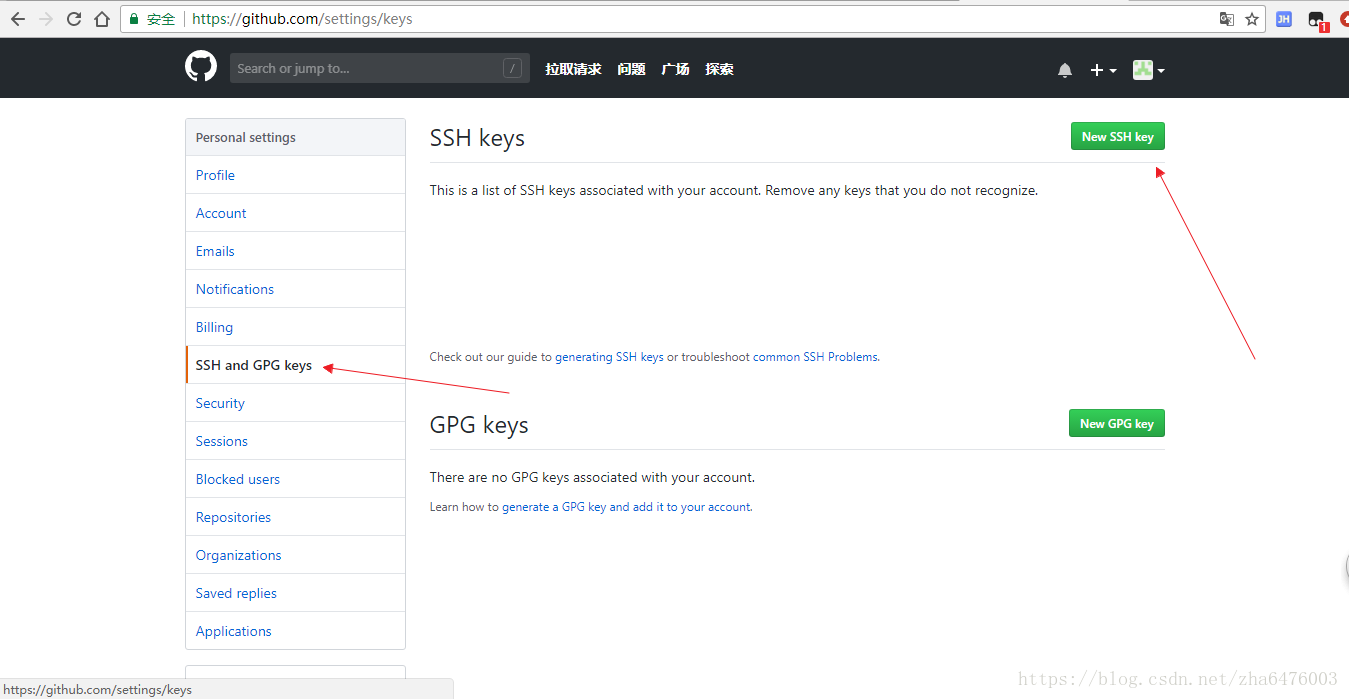
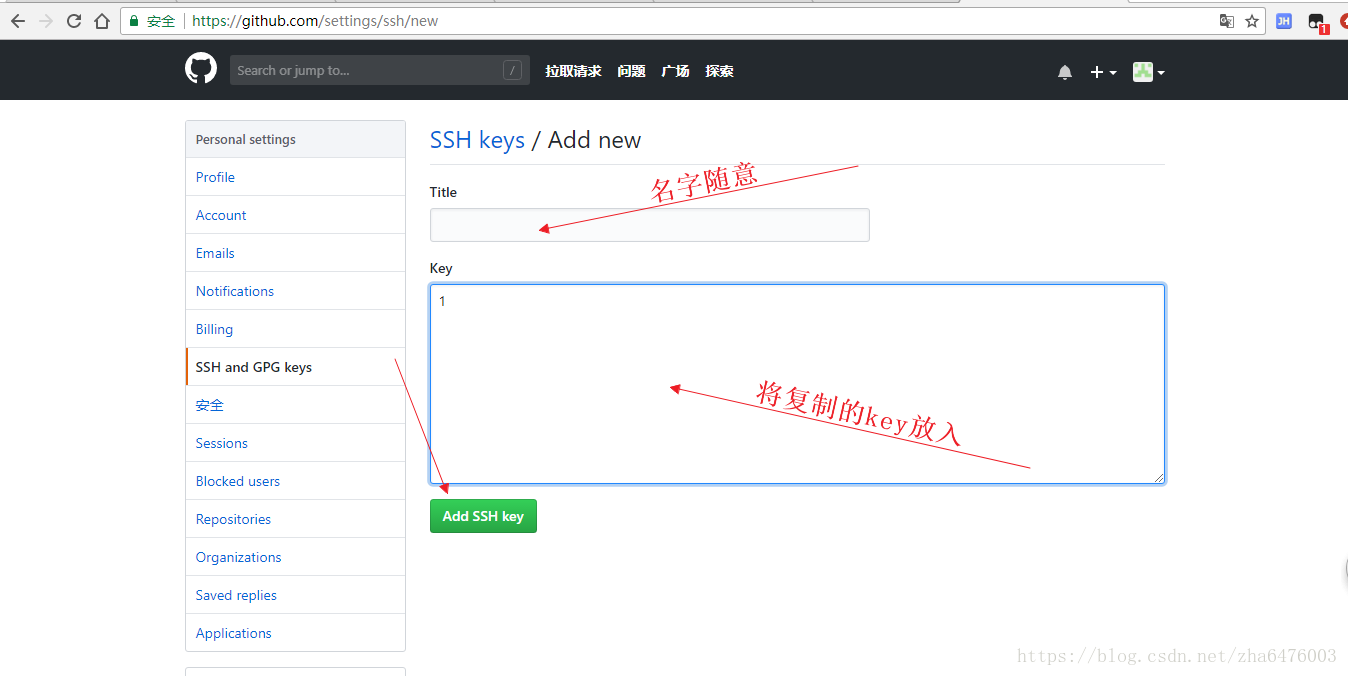
2、 新建SSH key
3、 将本地生成的key放入github,步骤如下:
3.1 进入我们前面生成SSH key的路径C:\Users\xxx\.ssh(根据自己生成时的路径去找)
3.2 用记事本打开id_rsa.pub,将内容全部复制
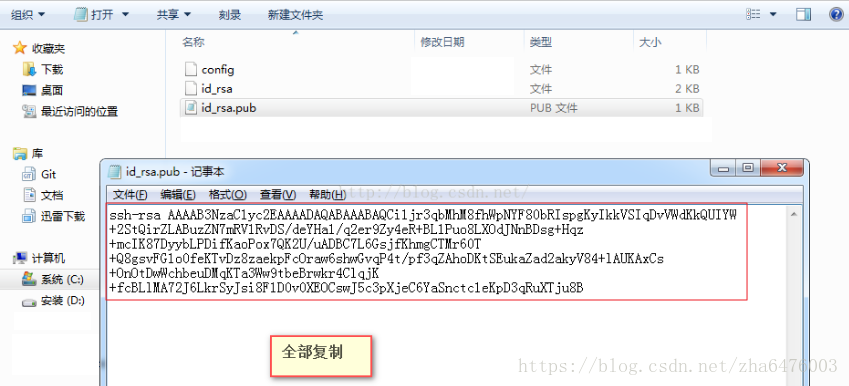
放入github
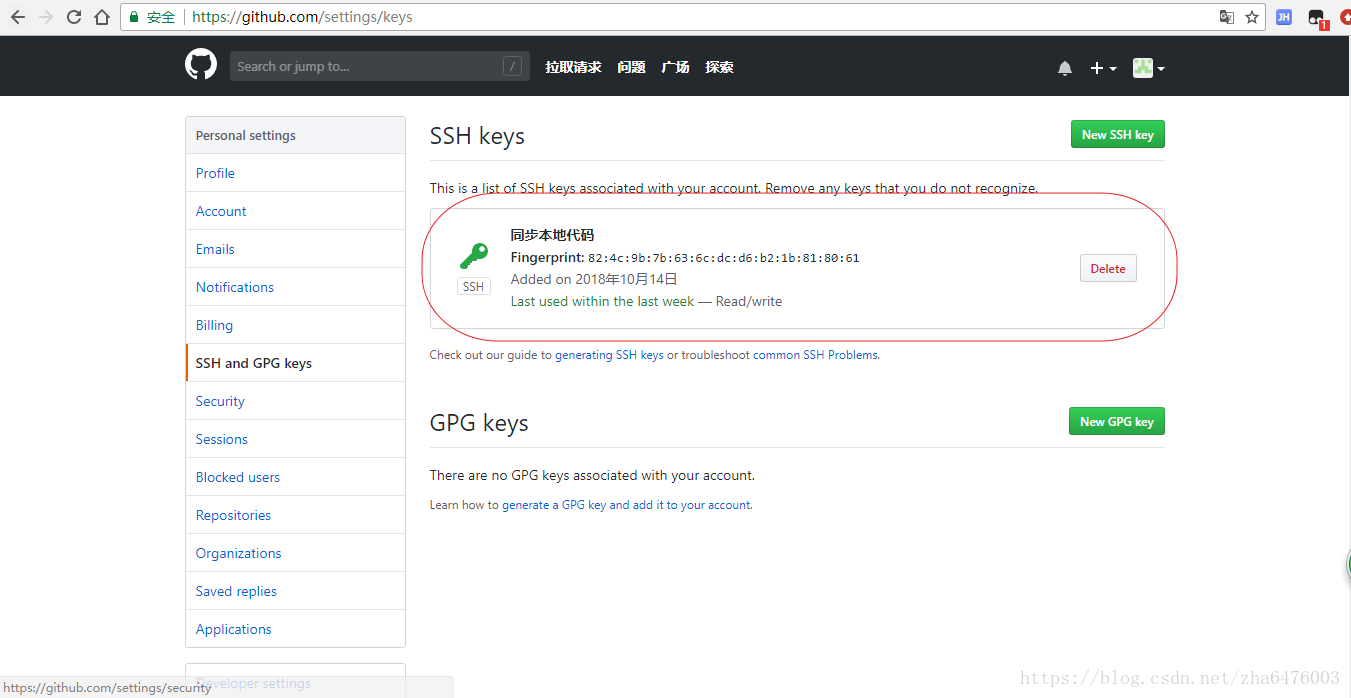
添加后
测试是否成功
进入Git Bash Here后输入以下命令:
ssh git@github.com
出现类似提示就代表成功了:Hi xxx! You’ve successfully authenticated, but GitHub does not provide shell access. Connection to github.com closed
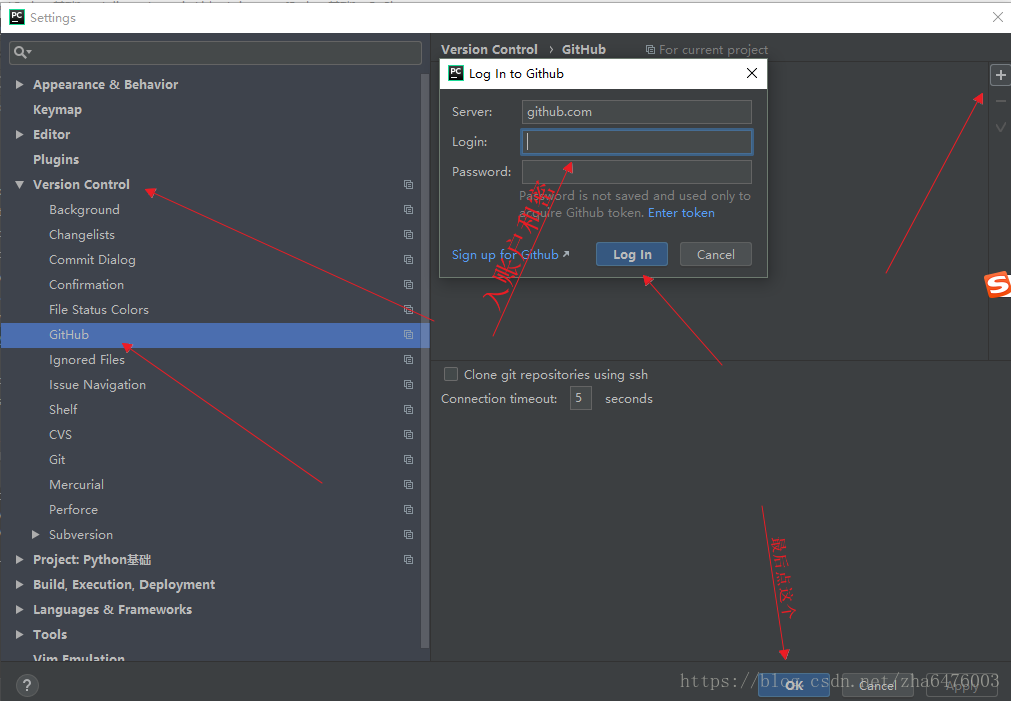
在Pycharm添加github账户
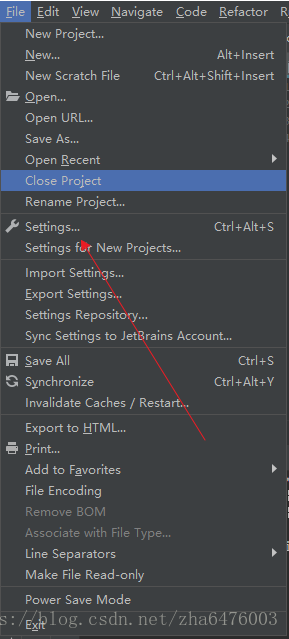
进入pycharm,settings → Version Control → 添加github账户
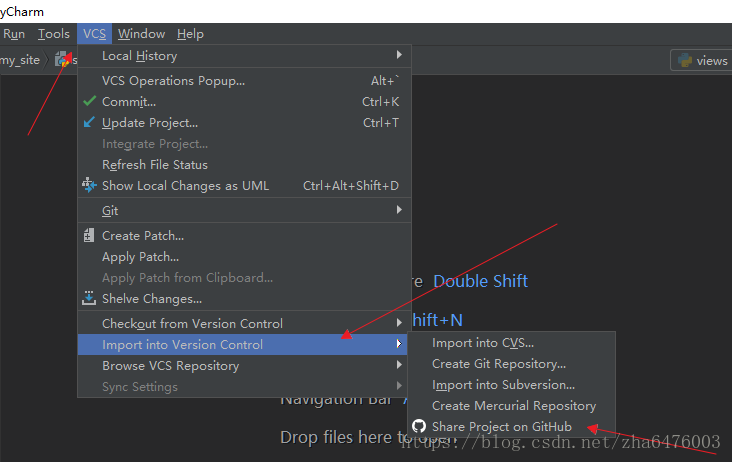
开始上传
1、进入Pycharm选择VCS → Import into Version Control → Share Project on GitHub
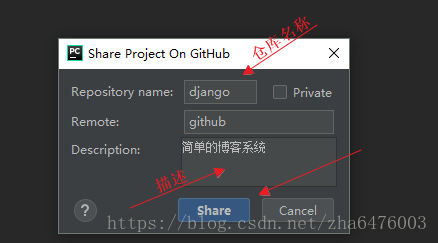
接着会让你选择项目文件,如果不太熟悉建议把项目都选免得遗漏,出现以下提示就证明成功了。

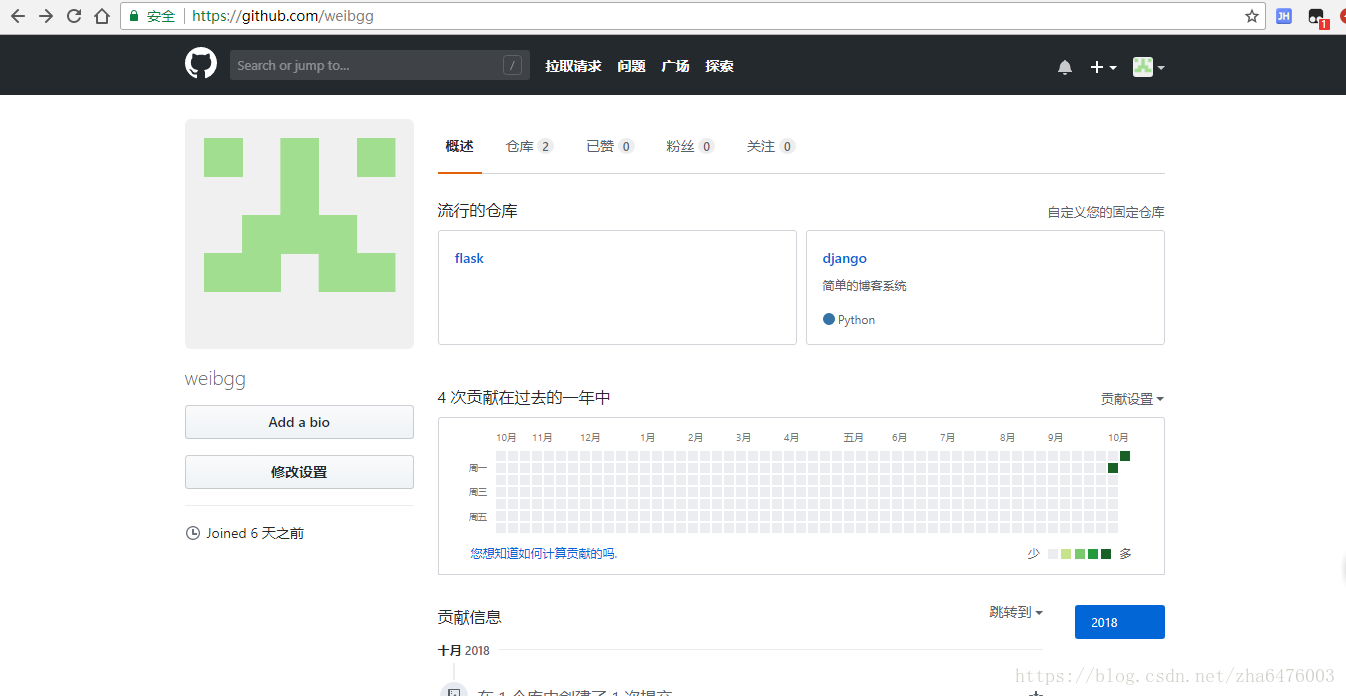
进入github主页/我的仓库就可以看到我们新同步的代码了
Pycharm拉取或更新代码
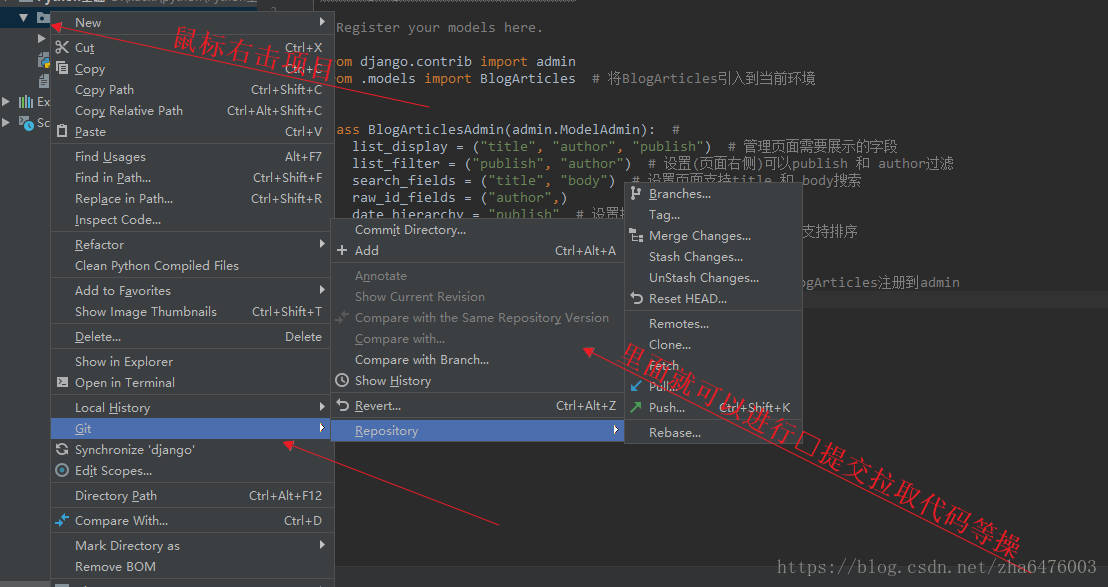
DOS中使用的常用命令
1、获取github上的项目代码命令如下:
git clone https://github.com/weibgg/django.git
- git clone :是固定命令
- https://github.com/weibgg/django.git :是项目地址
2、配置git默认配置为忽略大小写:
git config core.ignorecase false
3、更新github代码
第一步:查看当前的git仓库状态,可以使用git status
D:\xuexi\python\django (master)

>>> git status

On branch master

Your branch is up to date with 'origin/master'.

Untracked files:

  (use "git add <file>..." to include in what will be committed)

        ../.idea/

        ../__init__.py

        my_site/my_site/__pycache__/

        test_push.txt

nothing added to commit but untracked files present (use "git add" to track)
第二步:更新全部git add *或 git add .当前目录
D:\xuexi\python\django (master)

>>> git add *
第三步:接着输入git commit -m "更新说明"
D:\xuexi\python\Python基础\django (master)

>>> git commit -m "20180001bug修复"

[master d1ee53c] 20180001bug修复

 5 files changed, 1 insertion(+)

 create mode 100644 django/my_site/my_site/__pycache__/__init__.cpython-36.pyc

 create mode 100644 django/my_site/my_site/__pycache__/settings.cpython-36.pyc

 create mode 100644 django/my_site/my_site/__pycache__/urls.cpython-36.pyc

 create mode 100644 django/my_site/my_site/__pycache__/wsgi.cpython-36.pyc

 create mode 100644 django/test_push.txt
第四步:git fetch --all拉取当前分支最新代码(如果是多人同时开发,类似SVN提交前先update)
D:\xuexi\python\django (master)

>>> git fetch --all

Fetching origin
注意: git fetch --all(只是下载代码到本地,不进行合并操作)、git pull(下载并覆盖本地代码)
第五步:push到远程master分支上git push origin master
D:\xuexi\python\django (master)

>>> git push origin master

Enumerating objects: 15, done.

Counting objects: 100% (15/15), done.

Delta compression using up to 4 threads

Compressing objects: 100% (9/9), done.

Writing objects: 100% (11/11), 2.89 KiB | 422.00 KiB/s, done.

Total 11 (delta 2), reused 0 (delta 0)

remote: Resolving deltas: 100% (2/2), completed with 2 local objects.

To https://github.com/weibgg/django_blog.git

   369f642..d1ee53c  master -> master
执行到这里不出意外在github就能看到更新后的代码了
常见错误
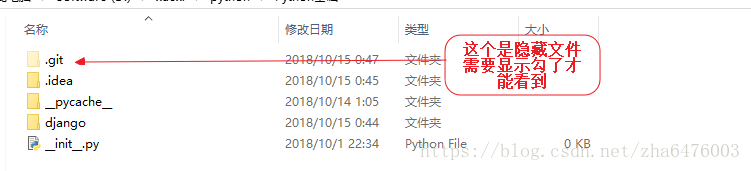
因为项目的变更需要同步的github项目地址变动,如下面示例项目地址已修改找不到路径,需要同步变更地址最简单的办法删除项目中的.get文件夹重新配置远程仓库,也可以查看此教程 git 修改远程仓库地址详解
D:\xuexi\python (master)

>>> git push origin master

remote: Repository not found.

fatal: repository 'https://github.com/weibgg/test.git/' not found
出现如下报错:
>>> git push origin master

To https://github.com/weibgg/django.git

 ! [rejected]        master -> master (non-fast-forward)

error: failed to push some refs to 'https://github.com/weibgg/django.git'

hint: Updates were rejected because the tip of your current branch is behind

hint: its remote counterpart. Integrate the remote changes (e.g.

hint: 'git pull ...') before pushing again.

hint: See the 'Note about fast-forwards' in 'git push --help' for details.
出现如下提示:
>>> git add *

warning: LF will be replaced by CRLF in .idea/dataSources/6c0c039e-d9ac-4487-9fc3-ffda4f80776b.xml.

The file will have its original line endings in your working directory

warning: LF will be replaced by CRLF in .idea/workspace.xml.

The file will have its original line endings in your working directory
原因:在非项目文件执行了更新操作
Pycharm同步本地代码至GitHub的更多相关文章
- Git安装配置和提交本地代码至Github,修改GitHub上显示的项目语言
1. 下载安装git Windows版Git下载地址: https://gitforwindows.org/ 安装没有特别要求可以一路Next即可,安装完成后可以看到: 2. 创建本地代码仓库 打开G ...
- git 本地代码到github
一·什么是gitHub? 官网解释:gitHub是一个让无论处于何地的代码工作者能工作于同一个项目,同一个版本的平台.(GitHub is a code hosting platform for ve ...
- git配置SSH Key,上传本地代码至github
git配置全局的name和email git config --global user.name "name" git config --global user.email &qu ...
- git 本地代码到github(转)
git 本地代码到github 一·什么是gitHub? 官网解释:gitHub是一个让无论处于何地的代码工作者能工作于同一个项目,同一个版本的平台.(GitHub is a code hosti ...
- 使用VS2015将解决方案同步更新到Github上
如今开源已经是一种趋势与潮流了,今天就来谈一谈如何将利用VS将我们的解决方案同步更新到Github上. 第一步:登录自己的Github账号(没有的自行注册). 我的Github登录后的界面: 第二步: ...
- mac 上传本地代码到 Github 教程
网上有很多关于windows系统上传本地代码到github的文章,但是自己用的是mac,在网上也找了相关文章,实践的过程中还是遇到了很多问题,现在把自己的成功实践分享出来,希望能对大家有帮助. 1.首 ...
- Pycharm中Git、Github的简单使用和配置
Pycharm中Git.Github的使用 PyCharm本身自带了git,稍微配置一下就可以很好的在图形界面下进行Python项目的版本控制 配置Git 在配置前先新建一个项目,当然也可以打开已有的 ...
- Git同步更新操作GitHub和码云仓库上面的代码
一.前言 问题: 小编在生活中,一般都是将代码保存到github上,但由于国内的码云仓库确实速度比github快很多,用起来也很方便,于是后来就慢慢转码云了,当然小编在github上的代码也不想放弃更 ...
- Git使用的一些问题:.gitignore规则不生效、git同步代码至github和gitee
Git忽略规则及.gitignore规则不生效的解决办法 .gitignore 的基本使用 在git中如果想忽略掉某个文件,不让这个文件提交到版本库中,可以使用修改根目录中 .gitignore 文件 ...
随机推荐
- 使用jQuery重置(reset)表单的方法
由于JQuery中,提交表单是像下面这样的: 代码如下: $('#yigeform').submit() 所以,想当然的认为,重置表单,当然就是像下面这样子喽: 代码如下: $('#yigeform' ...
- 【转载】奇异值分解(SVD)计算过程示例
原文链接:奇异值分解(SVD)的计算方法 奇异值分解是线性代数中一种重要的矩阵分解方法,这篇文章通过一个具体的例子来说明如何对一个矩阵A进行奇异值分解. 首先,对于一个m*n的矩阵,如果存在正交矩阵U ...
- Web方面的错误, 异常来自hresult:0x80070057(E_INVALIDARG)
删除 C:/WINDOWS/Microsoft.NET/Framework/v4.0.30319/Temporary ASP.NET files 这个文件夹. 解决方法: 1.代码保存频繁一点.做一个 ...
- Python3 GIL(Global Interpreter Lock)与多线程
GIL(Global Interpreter Lock)与多线程 GIL介绍 GIL与Lock GIL与多线程 多线程性能测试 在Cpython解释器中,同一个进程下开启的多线程,同一时刻只能有一个线 ...
- FireDac 的一些应用提示
FireDac 的一些应用提示: 1. 客户端 dataset 能用 TFDQuery 连接 dataset provider 获取数据 ? Can I use TFDQuery and conne ...
- Linux下的压缩和解压缩命令gzip/gunzip
作者:邓聪聪 Linux下的压缩和解压缩命令——gzip/gunzip yum -y install zip gzip (--安装压缩工具) gzip命令 gzip命令用来压缩文件.gzip是个使用广 ...
- CLR via C# 中关于装箱拆箱的摘录
装箱: 为了将一个值类型转换成一个引用类型,要使用一个名为装箱(boxing)的机制.下面总结了对值类型的一个实例进行装箱操作时在内部发生的事情. 1.在托管堆中分配好内存.分配的内存量是值类型的各 ...
- hibernate框架学习之数据类型
- springcloud-2:服务中心(1)
环境:springboot 2.0.0 + springcloud Finchley.M9 pom.xml: <?xml version="1.0" encoding=&qu ...
- Linux Free命令每个数字的含义 和 cache 、buffer的区别
Linux Free命令每个数字的含义 和 cache .buffer的区别 我们按照图中来一细细研读(数字编号和图对应)1,total:物理内存实际总量2,used:这块千万注意,这里可不是实际已经 ...