nginx部署django应用
Django部署方式有很多种,之前写过一篇部署在Apache上的博文:https://www.cnblogs.com/shenh/p/7552722.html 。下文介绍的是通过Nginx来部署。
Nginx是一个高性能的HTTP和反向代理服务,运用非常广泛。Django应用可以通过Nginx+uwsgi的方式进行部署。Nginx放置在服务器的最前端来接收所有web请求,统一管理,首先分离出静态请求,自己做处理。然后,Nginx将非静态请求通过uwsgi转发给Django,由Django处理。
一、安装Nginx
安装Nginx命令
apt-get install Nginx
Nginx的默认端口为80,很容易被其他服务占用,因此需要修改成其他端口。打开文件 vi /etc/nginx/nginx.conf ,如果能找到监听的端口,直接修改 。找不到的也没关系 ,找到如下配置 ,说明是引用了其他目录的文件
...

    include /etc/nginx/conf.d/*.conf;

    include /etc/nginx/sites-enabled/*;

}

...
打开 /etc/nginx/sites-enabled/ ,找到并编辑 default ,将80修改成8088
# Default server configuration

#

server {

    listen  default_server;

    listen [::]: default_server;

    # SSL configuration

    #

    # listen  ssl default_server;

    # listen [::]: ssl default_server;

    #

    # Note: You should disable gzip for SSL traffic.

    # See: https://bugs.debian.org/773332

    #

    # Read up on ssl_ciphers to ensure a secure configuration.

    # See: https://bugs.debian.org/765782

    #

    # Self signed certs generated by the ssl-cert package

    # Don't use them in a production server!

    #

    # include snippets/snakeoil.conf;
Nginx启动命令
service nginx start

service nginx restart

service nginx stop
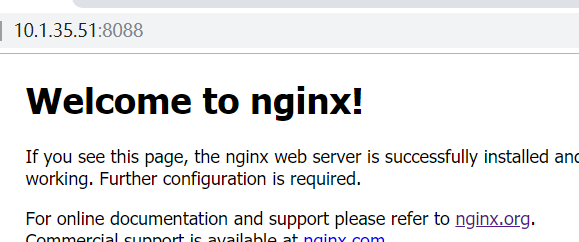
测试下,访问 http://10.1.35.51:8088/
二、配置uwsgi
1.安装
pip 安装 uwsgi 命令:
pip install uwsgi
2.配置 uwsgi 和 Django 的连接
Django 项目路径位于 /home/project/web/ ,在 Django 项目根目录(manage.py 同级目录)新建文件 uwsgi.ini (也支持 xml 文件格式)。在文件中添加如下内容:
# uwsgi.ini file

[uwsgi]

# Django-related settings

socket = :

# the base directory (full path)

chdir = /home/project/web

# Django s wsgi file

module = web.wsgi

# process-related settings

master = true

# maximum number of worker processes

processes = 5

#maximum number of worker threads
threads = 5
# try to remove all of the generated file/sockets

vacuum = true
3. 配置 uwsgi 和 Nginx 的连接
修改Nginx配置文件:vi /etc/nginx/sites-available/default ,增加一段配置。然后重启Nginx
server {

    listen         ;

    server_name    127.0.0.1

    charset UTF-;

    access_log      /var/log/nginx/web_access.log;

    error_log       /var/log/nginx/web_error.log;

    client_max_body_size 75M;

    location / {

        include uwsgi_params;                   # 通过uwsgi转发请求

        uwsgi_pass 127.0.0.1:;              # 和上文配置的socket端口保持一致

        uwsgi_read_timeout 15;                  # 设置请求超时时间

    }

    location /static {                          # 访问静态资源

        expires 30d;

        autoindex on;

        add_header Cache-Control private;

        alias /var/web/;

     }

 }
4.配置 Django 静态资源
在setting里增加配置,静态资源 路径 和 Nginx 里的访问路径一致
STATIC_ROOT = os.path.join(BASE_DIR,'/var/web')
执行命令
Python manage.py collectstatic
5.最后启动项目
cd /home/project/web

uwsgi --ini uwsgi.ini
运行成功:
(env35) root@ubuntu:/home/project/ShiHangTool# uwsgi --ini ShiHangTool_uwsgi.ini

[uWSGI] getting INI configuration from ShiHangTool_uwsgi.ini

*** Starting uWSGI 2.0.17.1 (64bit) on [Tue Dec  :: ] ***

compiled with version: 5.4.  on  December  ::

os: Linux-4.4.--generic #-Ubuntu SMP Wed Oct  :: UTC

nodename: ubuntu

machine: x86_64

clock source: unix

detected number of CPU cores:

current working directory: /home/project/ShiHangTool

detected binary path: /root/.virtualenvs/env35/bin/uwsgi

!!! no internal routing support, rebuild with pcre support !!!

uWSGI running as root, you can use --uid/--gid/--chroot options

*** WARNING: you are running uWSGI as root !!! (use the --uid flag) ***

chdir() to /home/project/ShiHangTool

your processes number limit is

your memory page size is  bytes

detected max file descriptor number:

lock engine: pthread robust mutexes

thunder lock: disabled (you can enable it with --thunder-lock)

uwsgi socket  bound to TCP address : fd

uWSGI running as root, you can use --uid/--gid/--chroot options

*** WARNING: you are running uWSGI as root !!! (use the --uid flag) ***

Python version: 3.5. (default, Nov  , ::)  [GCC 5.4. ]

Python main interpreter initialized at 0x1504fe0

uWSGI running as root, you can use --uid/--gid/--chroot options

*** WARNING: you are running uWSGI as root !!! (use the --uid flag) ***

python threads support enabled

your server socket listen backlog is limited to  connections

your mercy for graceful operations on workers is  seconds

mapped  bytes ( KB) for  cores

*** Operational MODE: preforking+threaded ***

WSGI app  (mountpoint='') ready in  seconds on interpreter 0x1504fe0 pid:  (default app)

uWSGI running as root, you can use --uid/--gid/--chroot options

*** WARNING: you are running uWSGI as root !!! (use the --uid flag) ***

*** uWSGI is running in multiple interpreter mode ***

spawned uWSGI master process (pid: )

spawned uWSGI worker  (pid: , cores: )

spawned uWSGI worker  (pid: , cores: )

spawned uWSGI worker  (pid: , cores: )

spawned uWSGI worker  (pid: , cores: )

spawned uWSGI worker  (pid: , cores: )
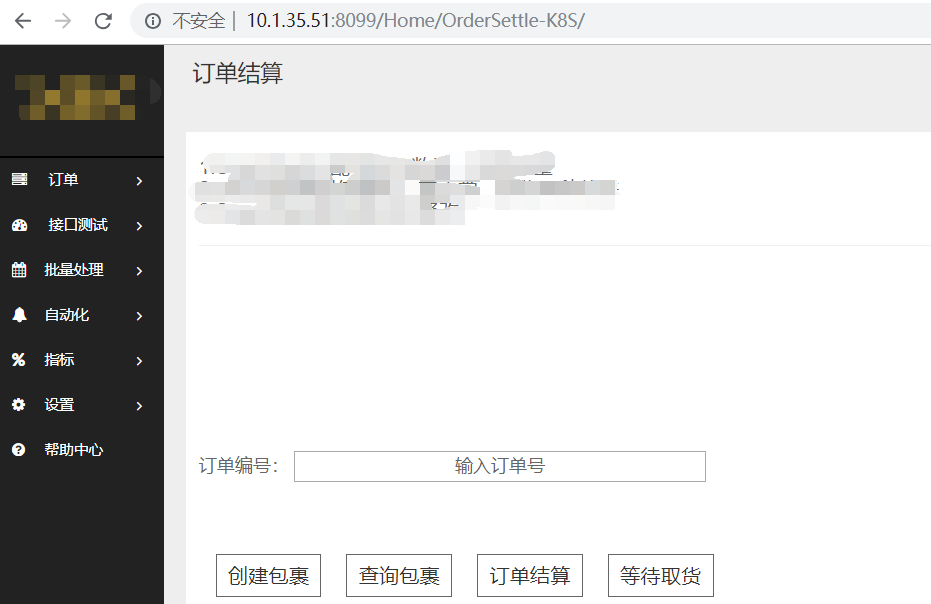
访问 http://10.1.35.51:8099/Home/OrderSettle-K8S/
nginx部署django应用的更多相关文章
- Ubuntu上通过nginx部署Django笔记
Django的部署可以有很多方式,采用nginx+uwsgi的方式是其中比较常见的一种方式.今天在Ubuntu上使用Nginx部署Django服务,虽然不是第一次搞这个了,但是发现还是跳进了好多坑,g ...
- 使用uWSGI+nginx部署Django项目
最近使用django写了一些项目,不过部署到服务器上碰到一些问题,还有静态文件什么的一堆问题,这里总结一下碰到的问题和解决方案,总体思路是按照官方文档走的. 原文地址:http://uwsgi-doc ...
- 通过Nginx部署Django(基于ubuntu)
Django的部署可以有很多方式,采用nginx+uwsgi的方式是其中比较常见的一种方式. 在这种方式中,我们的通常做法是,将nginx作为服务器最前端,它将接收WEB的所有请求,统一管理请求.ng ...
- 通过Nginx部署Django
Django的部署可以有很多方式,采用nginx+uwsgi的方式是其中比较常见的一种方式. 在这种方式中,我们的通常做法是,将nginx作为服务器最前端,它将接收WEB的所有请求,统一管理请求.ng ...
- ubuntu18+uwsgi+nginx部署django项目
更新系统软件源 sudo apt-get update pip3安装 sudo apt install python3-pip 安装virtualenvwrapper pip3 install vir ...
- 【转】通过Nginx部署Django
https://www.cnblogs.com/frchen/p/5709533.html Django的部署可以有很多方式,采用nginx+uwsgi的方式是其中比较常见的一种方式. 在这种方式中, ...
- 使用nginx部署Django静态文件配置
首先,我们配置静态文件,要在setting.py里面加入如下几行代码: # settings.py # the settings above # STATIC SETTINGS STATIC_URL ...
- Python项目部署-使用Nginx部署Django项目
一.nginx介绍及部署 二.nginx部署路飞学城代码 nginx配置安装 同样,nginx也有很多的安装方式: 1)源码安装(运维偏向:规范,便于配置管理) 2)yum,rpm安装(为了效率可以选 ...
- 关于Nginx部署Django项目的资料收集
参考:https://www.cnblogs.com/chenice/p/6921727.html 参考:https://blog.csdn.net/fengzq15/article/details/ ...
随机推荐
- PhpSpreadsheet处理表格
介绍:PhpSpreadsheet是PHPExcel的下一个版本.它打破了兼容性,大大提高了代码库质量(命名空间,PSR合规性,最新PHP语言功能的使用等).由于所有努力都转移到了PhpSpreads ...
- Python开发——10.面向对象编程进阶
一.isinstance(obj,cls)和issubclass(sub,super) 1.isinstance(obj,cls) 判断obj是不是由cls产生的类 2.issubclass(sub, ...
- 20155205 郝博雅 Exp3 免杀原理与实践
20155205 郝博雅 Exp3 免杀原理与实践 一.基础问题回答 (1)杀软是如何检测出恶意代码的? 答:++基于特征码的检测++<简单来说一段特征码就是一段或多段数据.如果一个可执行文件( ...
- SSRF
SSRF 关于SSRF SSRF(Server-Side Request Forgery:服务器端请求伪造),攻击者通过伪造服务器端发起的请求,获取客户端所不能得到的数据.一般情况下,SSRF攻击的目 ...
- python之路(五)-文件操作
文件操作无非两个,即:读.写 python 2.x: 文件句柄 = file('文件路径', '模式') python3.x: 文件句柄 = open('文件路径', '模式') 打开文件的模式有: ...
- Java Web程序开发链接MySQL数据库
显示错误:Access denied for user ''@'localhost' (using password: YES) 保证URL中没有空格 尝试用MySQL本地命令行登陆 显示错误:The ...
- kali 日志
MAC协议安全攻防 kali 攻击 输入 macof -i eth0 -i 选择网卡 防御 使用交换机的安全特性 Port Security DCRS 需要开启 mac地址表学习使用cpu控制 mac ...
- UE4物理动画使用
Rigid Body Body的创建. 对重要骨骼创建Body,保证Body控制的是表现和变化比较大的骨骼. 需要对Root创建Body并绑定,设置为Kinematic且不启用物理.原因是UPrimi ...
- Python成绩雷达图
代码 import numpy as np import matplotlib import matplotlib.pyplot as plt matplotlib.rcParams['font.fa ...
- Python序列结构--字典
字典:反映对应关系的映射类型 字典(dict)是包含若干“键:值”元素的无序可变序列 字典中元素的“键”可以是python中任意不可变数据,例如整数.实数.复数.字符串.元组等类型可哈希数据,“键”不 ...