Win7下静态编译QT5.12源码
官方参考文档:https://doc.qt.io/qt-5/build-sources.html
CSDN博客:https://blog.csdn.net/GG_SiMiDa/article/details/78517246
博客园博客:https://www.cnblogs.com/BuildingIT/archive/2013/03/22/2976480.html
安装QT有两种方式:
- 通过QT安装包(Windows下exe文件)
- 通过QT源码
下文主要描述QT源码的编译方法,QT版本为5.12
下载源码:http://download.qt.io/archive/qt/5.12/5.12.0/single/
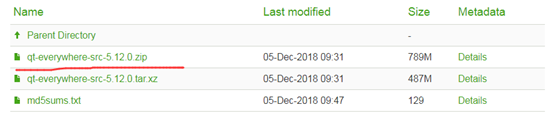
PS:我下载时遇到的一个插曲,直接在浏览器中点击红线处下载的zip文件解压不了,提示损坏了,最后右键菜单"复制链接地址"使用迅雷精简版下载后可以正常解压使用!
Windows平台相关支持需要:

我解压到F:\qt-everywhere-src-5.12.0,可以看到里面有configure文件,在此处使用 configure -h 可以看到可配置的参数,太多了这里只列举几个比较常设置的:
-release Compile and link Qt with debugging turned off.
-debug Compile and link Qt with debugging turned on.
-debug-and-release Build two versions of Qt.
-shared Build shared Qt libraries [yes] (no for UIKit)
-static Build static Qt libraries [no] (yes for UIKit)
-nomake tests Disable building of tests to speed up compilation
-nomake examples Disable building of examples to speed up compilation
-confirm-license Automatically acknowledge the LGPL 2.1 license.
-no-opengl Disable OpenGL support
-opengl <api> Enable OpenGL support.Support APIs:
es2 <default on Windows>
desktop <default on Unix>
dynamic <Windows only>
-opengles3 Enable OpenGL ES3.x support instead of ES2.x [auto]
Windows编译需要准备如下工具:
Python 2.7及以上版本(如果编译WebKit >=2.6.x):下载地址https://www.python.org/downloads/
Perl 5.12 以上版本(必须安装且版本>=5.14):下载地址https://www.activestate.com/activeperl/downloads
支持C++11的编译器,MSVC2012以上版本或者MinGW4.9以上版本
Qt编译有两种控制方式:
1、取决于是否使用什么层次的OpenGL API:这里有三个选择:-opengl desktop、-opengl es2和-no-opengl,将来还会增加-opengl es3;
2、如果选用OpenGL ES 2的API渲染的话,Qt也给出了三种方案:-no-angle,直接使用OpenGL的API进行渲染,需要显卡厂商支持OpenGL ES 2.0,对应libGLESv2.dll、libEGL.dll;-angle,如果客户机器不支持OpenGL ES 2.0渲染,但是支持OpenGL 1.5,或者支持DirectX 9.0,那么可以使用-angle这个解决方案转换为DirectX的渲染API进行渲染,需要D3DCompiler_4(x).dll以及libGLESv2.dll、libEGL.dll;-angle-d3d11,如果客户机器支持DirectX 11(需要Windows 7以上,通常情况也支持OpenGL ES 2.0),想用最新的DirectX API进行渲染,那么可以使用这个方法进行编译。
以编译静态库为例
Windows:
msvc版
configure -confirm-license -opensource -platform win32-msvc -debug-and-release -static -static-runtime -force-debug-info -opengl dynamic -prefix "./build" -qt-sqlite -qt-pcre -qt-zlib -qt-libpng -qt-libjpeg -opengl desktop -qt-freetype -nomake tests -no-compile-examples -nomake examples
mingw版
configure -confirm-license -opensource -platform win32-g++ -debug-and-release -static -static-runtime -force-debug-info -opengl dynamic -prefix "./build" -qt-sqlite -qt-pcre -qt-zlib -qt-libpng -qt-libjpeg -opengl desktop -qt-freetype -nomake tests -no-compile-examples -nomake examples
Linux:
./configure -confirm-license -opensource -debug-and-release -static -static-runtime -force-debug-info -opengl dynamic
[我的配置-mingw版]
configure -prefix "./build" -release -opensource –static -static-runtime -force-debug-info -opengl dynamic -opengl desktop -platform win32-g++ -c++std c++11 -skip qtwebengine -nomake examples -nomake tests -mp -confirm-license
配置完成后会生成Makefile文件
[nmake/mingw32-make/make]
使用对应平台下的编译工具(nmake是MSVC的make,mingw32-make是g++的Windows版本的make,make是Linux中的make),如果没有请安装好,此过程比较长,大概一个小时以上,漫长的等待中……
[nmake/mingw32-make/make] install
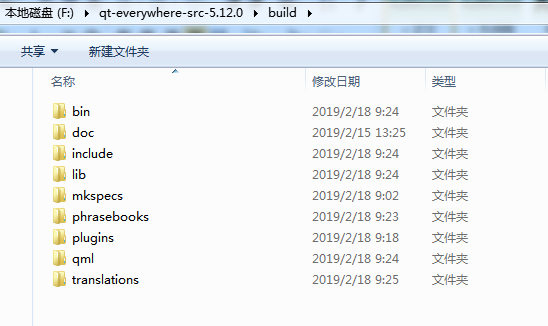
安装成功后,应该可以在./build目录下看到如下文件夹:
如果是静态编译,在lib中可以看到.a库,动态的则是.dll或者.so库
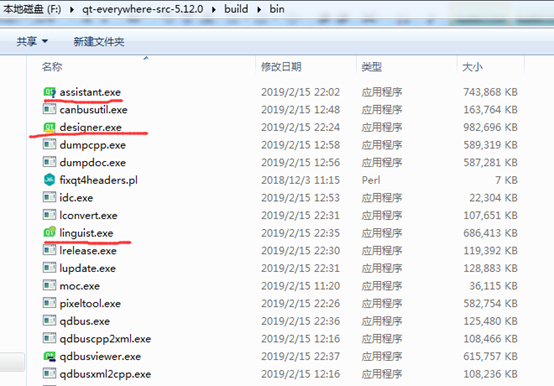
在bin目录下,qt助手、qt设计师、qt翻译家等也都编译出来了~
但是没有qt creater,这需要单独下载qt creater的源码单独编译!
QT静态库的使用:
打开QT Creater,运行qt自带的例子boxes,使用默认的MinGW配置编译会编译不过,提示错误: This example requires Qt to be configured with -opengl desktop

原因是默认的Windows版本的QT使用的编译选项是-opengl dynamic,而boxes例子中使用了原生的opengl绘图,需要-opengl desktop才能使用。我们上述编译的qt静态库特意配置了-opengl desktop选项。
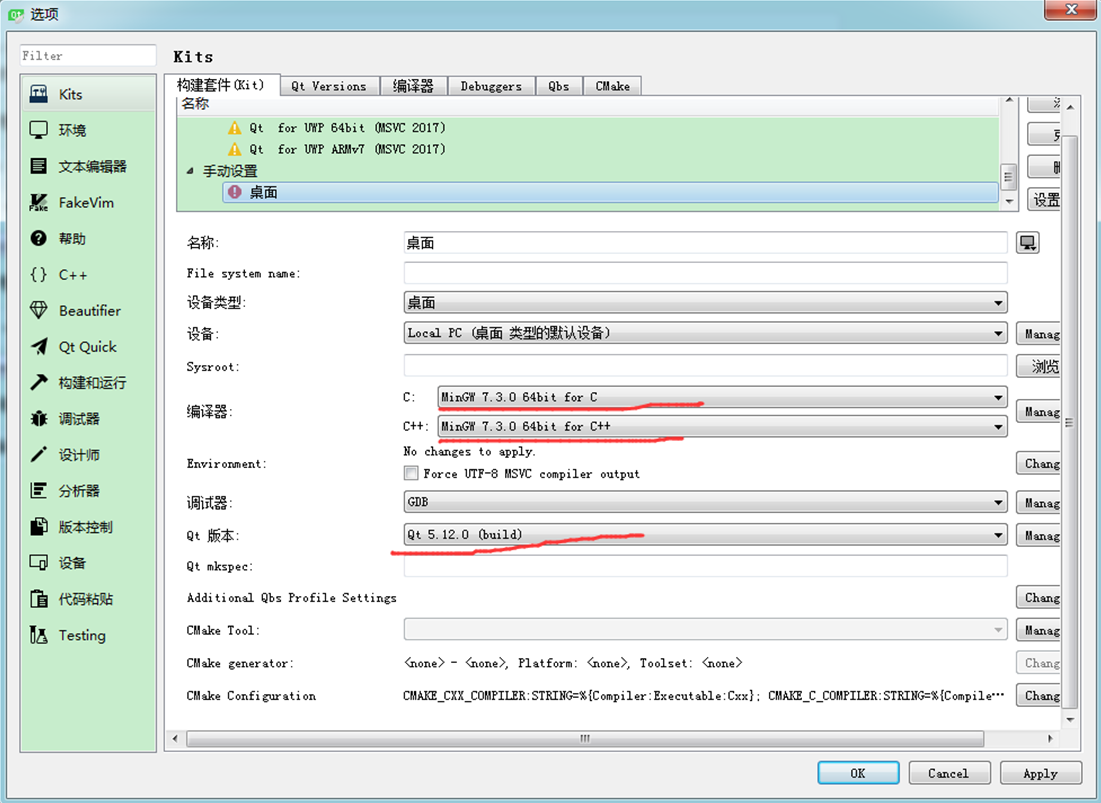
"工具"->"选项"->"Kits":
添加Qt Versions,将我们上述编译的qt静态库build目录中的qmake添加:

配置构建套件(Kit),手动设置"桌面"配置如下:
打开boxes工程,配置"桌面"编译选项,执行build操作
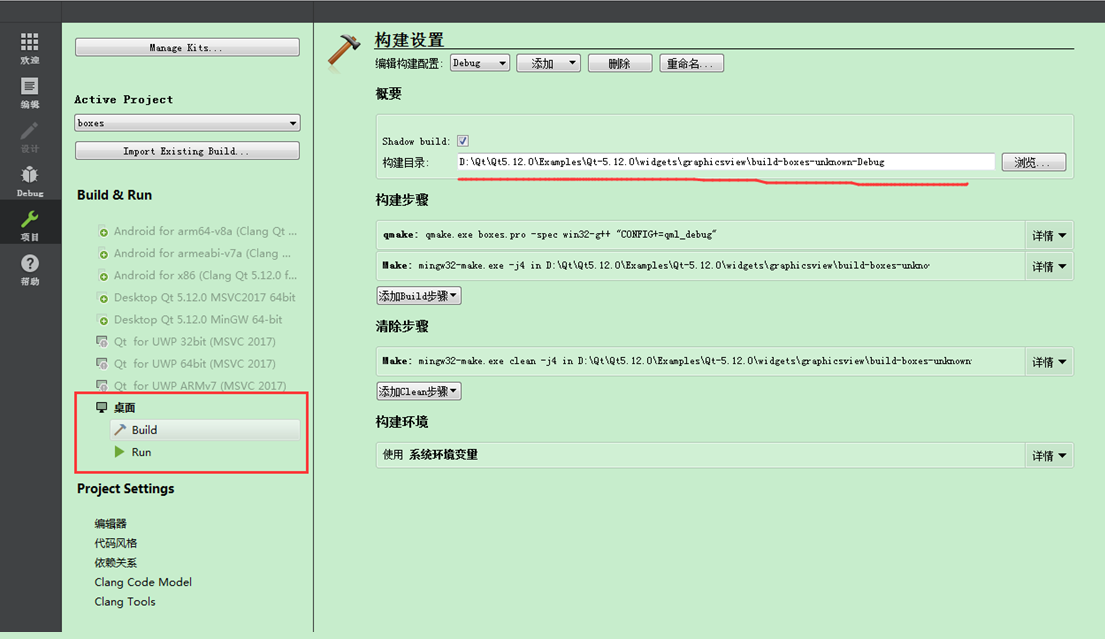
等待大约2分钟左右,boxes例程终于可以成功编译了~
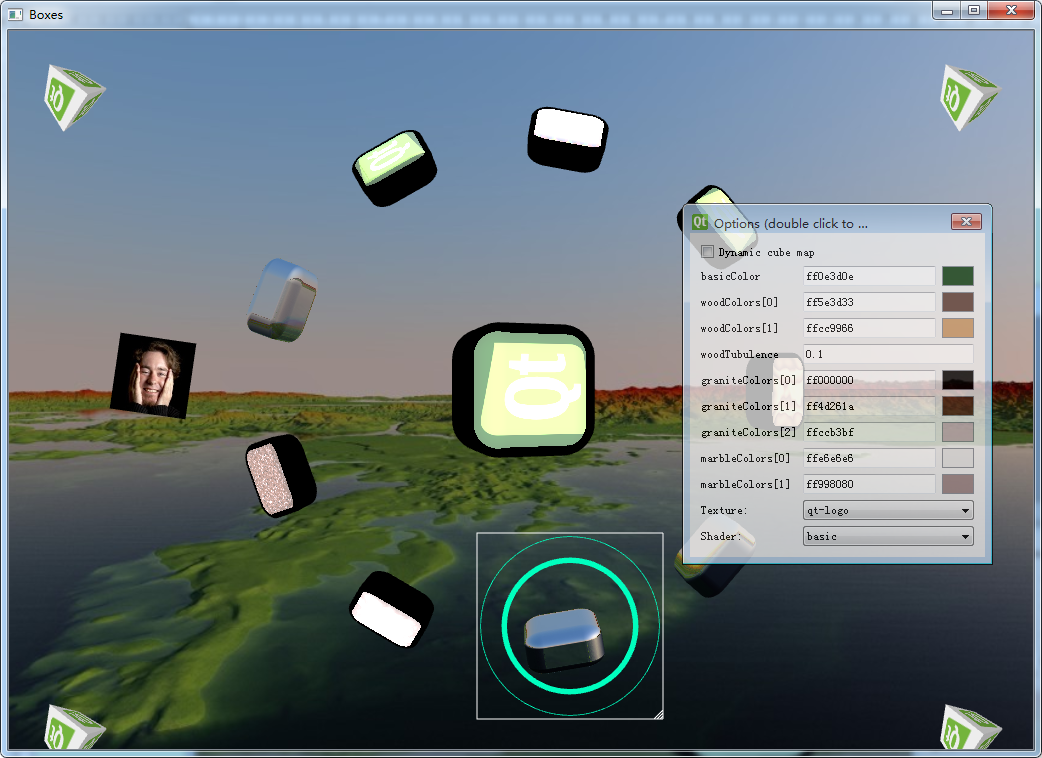
运行吧!
Win7下静态编译QT5.12源码的更多相关文章
- msvc2013编译qt5.6源码
1.回顾 说起到qt的编译,真是领人痛心啊,不仅编译选项繁多,而且编译时间比较久,总是能使想编译qt源码的人望而却步,呵呵...我就是其中一个,不知道从什么时候开始就想着把qt的源码编译一下,也尝试过 ...
- MAC 下编译 ANDROID P 源码 提示 internal error: Could not find a supported mac sdk: ["10.10" "10.11" "10.12" "10.13"]
MAC 下编译 ANDROID P 源码出现下面的问题: ninja: no work to do. [21/21] out/soong/.bootstrap/bin/soong_build out/ ...
- windows下使用mingw和msvc静态编译Qt5.15.xx
windows下使用mingw和msvc静态编译Qt5.15.xx 下载并安装相关依赖软件 Python version 2.7 https://www.python.org/downloads/ ( ...
- Ubuntu 14.04 LTS 下 android 2.3.5 源码编译过程
Ubuntu 14.04 LTS 下 android 2.3.5 源码编译过程 在新的Ubuntu 64位系统下去编译早期的安卓源码是会出现很多问题的,因为64位系统在安装完成后,很多32位的兼容 ...
- win7 安装用mingw编译的Qt源码并连接postgresql
下载Qt 1.下载qt-creator-windows-opensource-2.8.0,下载路径:http://download.qt.io/official_releases/qtcreator/ ...
- Win7下VS2008编译QtiPlot
Win7下VS2008编译QtiPlot By wangsh 2011-11-25 QtiPlot 是一款开源免费的科学绘图软件,可运行在多个平台(windows.Linux等)中,从功能上讲,Qti ...
- Ubuntu 下载 & 编译 Android5.1 源码
ustc & tsinghua android srchttps://lug.ustc.edu.cn/wiki/mirrors/help/aosphttps://mirrors.tuna.ts ...
- 编译android5.0源码的
java环境 Android 5.1 用到的jdk不再是Oracle 的 jdk ,而是开源的 openjdk,在ubuntu安装好后,使用如下命令安装jdk: $sudo apt-get insta ...
- 【转】编译Android系统源码和内核源码
原文网址:http://blog.csdn.net/jiangwei0910410003/article/details/37988637 好长时间没有写blog了,之所以没有写,主要还是工作上的事, ...
随机推荐
- Linux中的守护进程——supervise
絮叨 supervise是daemontools的一个工具,可以用来监控管理Unix下的应用程序运行情况,在应用程序出现异常时,supervise可以重新启动指定程序. 本文介绍一下supervise ...
- Lucene整理--索引的建立
看lucene主页(http://lucene.apache.org/)上眼下lucene已经到4.9.0版本号了, 參考学习的书是依照2.1版本号解说的,写的代码样例是用的3.0.2版本号的,版本号 ...
- 选择合适NFC标签
NFC论坛选择的初始标签格式适用于最广泛的应用程序和装置性能: 类型1基于ISO14443A,目前由Innovision研究和技术公司独家供应 (TopazTM),具有96字节内存,成本低,应用广泛. ...
- 【css】绝对定位的元素在 ie6 下不显示
问题描述: 在 ie6 中如果一个浮动元素与绝对定位元素相邻的话,在某些情况下绝对定位元素将会消失. 产生原因: 只有当绝对定位元素的邻近浮动元素的宽度大于父层宽度减 3 时(即如果父层宽度是 300 ...
- 微信小程序——购物车数字加减
上一篇,我们有讲到如何造一个购物车弹层.今天来说一下,购物车数量的加减如何实现. 主要思路就是在data里面定义一个属性,属性值就是这个数量.点击+的时候就+1,点击-的时候就-1,再结合setDat ...
- node学习笔记2——搭建服务器
搭建服务器关键词: require('http') —— 请求 node 里面的 http 模块 createServer —— 创建一个服务器 request —— 请求 response—— 响应 ...
- SpringMVC深度探险(二) —— SpringMVC概览
对于任何事物的研究,总是由表及里.由浅入深地进行.在本系列的第二篇文章中,我们将通过不同的观察视角,对SpringMVC做一些概要性的分析,帮助大家了解SpringMVC的基本构成要素.SpringM ...
- pymysql.err.InternalError: (1054, "Unknown column 'None' in 'field list'")
错误提示: Traceback (most recent call last): File "D:/projectwc/test/dd.py", line 43, in <m ...
- ecmall数据库表详解 二次开发必备
文章分类表ecm_acategory 字段 类型 Null 默认 注释 cate_id int(10) 否 自增ID号,分类ID号 cate_name varchar(100) 否 分类的名称 ...
- python epoll
需要用python实现中断的功能,所以用epoll监听gpio文件的变化.写个demo测试一下. 参考: http://www.cnblogs.com/coser/archive/2012/01/06 ...