在Spring Boot中使用Spring-data-jpa实现分页查询
转自:https://www.cnblogs.com/sandea/p/8275890.html
在我们平时的工作中,查询列表在我们的系统中基本随处可见,那么我们如何使用jpa进行多条件查询以及查询列表分页呢?下面我将介绍两种多条件查询方式。
1、引入起步依赖
<dependency>

    <groupId>org.springframework.boot</groupId>

    <artifactId>spring-boot-starter-web</artifactId>

</dependency>

<dependency>

    <groupId>org.springframework.boot</groupId>

    <artifactId>spring-boot-starter-thymeleaf</artifactId>

</dependency>

<dependency>

    <groupId>org.springframework.boot</groupId>

    <artifactId>spring-boot-starter-data-jpa</artifactId>

</dependency>
2、对thymeleaf和jpa进行配置
打开application.yml,添加以下参数,以下配置在之前的文章中介绍过,此处不做过多说明
spring:

  thymeleaf:

    cache: true

    check-template-location: true

    content-type: text/html

    enabled: true

    encoding: utf-8

    mode: HTML5

    prefix: classpath:/templates/

    suffix: .html

    excluded-view-names:

    template-resolver-order:

  datasource:

      driver-class-name: com.mysql.jdbc.Driver

      url: jdbc:mysql://localhost:3306/restful?useUnicode=true&characterEncoding=UTF-8&useSSL=false

      username: root

      password: root

      initialize: true

  init-db: true

  jpa:

      database: mysql

      show-sql: true

      hibernate:

        ddl-auto: update

        naming:

          strategy: org.hibernate.cfg.ImprovedNamingStrategy
3、编写实体Bean
@Entity

@Table(name="book")

public class Book {

    @Id

    @GeneratedValue(strategy = GenerationType.IDENTITY)

    @Column(name = "id", updatable = false)

    private Long id;

    @Column(nullable = false,name = "name")

    private String name;

    @Column(nullable = false,name = "isbn")

    private String isbn;

    @Column(nullable = false,name = "author")

    private String author;

    public Book (String name,String isbn,String author){

        this.name = name;

        this.isbn = isbn;

        this.author = author;

    }

    public Book(){

    }

    //此处省去get、set方法

}
public class BookQuery {

    private String name;

    private String isbn;

    private String author;

    //此处省去get、set方法

}
4、编写Repository接口
@Repository("bookRepository")

public interface BookRepository extends JpaRepository<Book,Long>

        ,JpaSpecificationExecutor<Book> {

}
此处继承了两个接口,后续会介绍为何会继承这两个接口
5、抽象service层
首先抽象出接口
public interface BookQueryService {

    Page<Book> findBookNoCriteria(Integer page,Integer size);

    Page<Book> findBookCriteria(Integer page,Integer size,BookQuery bookQuery);

}
实现接口
@Service(value="bookQueryService")

public class BookQueryServiceImpl implements BookQueryService {

    @Resource

    BookRepository bookRepository;

    @Override

    public Page<Book> findBookNoCriteria(Integer page,Integer size) {

        Pageable pageable = new PageRequest(page, size, Sort.Direction.ASC, "id");

        return bookRepository.findAll(pageable);

    }

    @Override

    public Page<Book> findBookCriteria(Integer page, Integer size, final BookQuery bookQuery) {

        Pageable pageable = new PageRequest(page, size, Sort.Direction.ASC, "id");

        Page<Book> bookPage = bookRepository.findAll(new Specification<Book>(){

            @Override

            public Predicate toPredicate(Root<Book> root, CriteriaQuery<?> query, CriteriaBuilder criteriaBuilder) {

                List<Predicate> list = new ArrayList<Predicate>();

                if(null!=bookQuery.getName()&&!"".equals(bookQuery.getName())){

                    list.add(criteriaBuilder.equal(root.get("name").as(String.class), bookQuery.getName()));

                }

                if(null!=bookQuery.getIsbn()&&!"".equals(bookQuery.getIsbn())){

                    list.add(criteriaBuilder.equal(root.get("isbn").as(String.class), bookQuery.getIsbn()));

                }

                if(null!=bookQuery.getAuthor()&&!"".equals(bookQuery.getAuthor())){

                    list.add(criteriaBuilder.equal(root.get("author").as(String.class), bookQuery.getAuthor()));

                }

                Predicate[] p = new Predicate[list.size()];

                return criteriaBuilder.and(list.toArray(p));

            }

        },pageable);

        return bookPage;

    }

}
此处我定义了两个接口,findBookNoCriteria是不带查询条件的,findBookCriteria是带查询条件的。在此处介绍一下上面提到的自定义Repository继承的两个接口,如果你的查询列表是没有查询条件,只是列表展示和分页,只需继承JpaRepository接口即可,但是如果你的查询列表是带有多个查询条件的话则需要继承JpaSpecificationExecutor接口,这个接口里面定义的多条件查询的方法。当然不管继承哪个接口,当你做分页查询时,都是需要调用findAll方法的,这个方法是jap定义好的分页查询方法。
findBookCriteria方法也可以使用以下方法实现,大家可以自行选择
 @Override

    public Page<Book> findBookCriteria(Integer page, Integer size, final BookQuery bookQuery) {

        Pageable pageable = new PageRequest(page, size, Sort.Direction.ASC, "id");

        Page<Book> bookPage = bookRepository.findAll(new Specification<Book>(){

            @Override

            public Predicate toPredicate(Root<Book> root, CriteriaQuery<?> query, CriteriaBuilder criteriaBuilder) {

                Predicate p1 = criteriaBuilder.equal(root.get("name").as(String.class), bookQuery.getName());

                Predicate p2 = criteriaBuilder.equal(root.get("isbn").as(String.class), bookQuery.getIsbn());

                Predicate p3 = criteriaBuilder.equal(root.get("author").as(String.class), bookQuery.getAuthor());

                query.where(criteriaBuilder.and(p1,p2,p3));

                return query.getRestriction();

            }

        },pageable);

        return bookPage;

    }
6、编写Controller
针对有查询条件和无查询条件,我们分别编写一个Controller,默认每页显示5条,如下
@Controller

@RequestMapping(value = "/queryBook")

public class BookController {

    @Autowired

    BookQueryService bookQueryService;

    @RequestMapping("/findBookNoQuery")

    public String findBookNoQuery(ModelMap modelMap,@RequestParam(value = "page", defaultValue = "0") Integer page,

                        @RequestParam(value = "size", defaultValue = "5") Integer size){

        Page<Book> datas = bookQueryService.findBookNoCriteria(page, size);

        modelMap.addAttribute("datas", datas);

        return "index1";

    }

    @RequestMapping(value = "/findBookQuery",method = {RequestMethod.GET,RequestMethod.POST})

    public String findBookQuery(ModelMap modelMap, @RequestParam(value = "page", defaultValue = "0") Integer page,

                                @RequestParam(value = "size", defaultValue = "5") Integer size, BookQuery bookQuery){

        Page<Book> datas = bookQueryService.findBookCriteria(page, size,bookQuery);

        modelMap.addAttribute("datas", datas);

        return "index2";

    }

}
7、编写页面
首先我们编写一个通用的分页页面,新建一个叫page.html的页面
<!DOCTYPE html>
<html xmlns="http://www.w3.org/1999/xhtml"
xmlns:th="http://www.thymeleaf.org"
xmlns:layout="http://www.ultraq.net.nz/thymeleaf/layout"
layout:decorator="page">
<body>
<div th:fragment="pager">
<div class="text-right" th:with="baseUrl=${#httpServletRequest.getRequestURL().toString()},pars=${#httpServletRequest.getQueryString() eq null ? '' : new String(#httpServletRequest.getQueryString().getBytes('iso8859-1'), 'UTF-8')}">
<ul style="margin:0px;" class="pagination" th:with="newPar=${new java.lang.String(pars eq null ? '' : pars).replace('page='+(datas.number), '')},
curTmpUrl=${baseUrl+'?'+newPar},
curUrl=${curTmpUrl.endsWith('&') ? curTmpUrl.substring(0, curTmpUrl.length()-1):curTmpUrl}" >
<!--<li th:text="${pars}"></li>-->
<li><a href="#" th:href="@{${curUrl}(page=0)}">首页</a></li>
<li th:if="${datas.hasPrevious()}"><a href="#" th:href="@{${curUrl}(page=${datas.number-1})}">上一页</a></li>
<!--总页数小于等于10-->
<div th:if="${(datas.totalPages le 10) and (datas.totalPages gt 0)}" th:remove="tag">
<div th:each="pg : ${#numbers.sequence(0, datas.totalPages - 1)}" th:remove="tag">
<span th:if="${pg eq datas.getNumber()}" th:remove="tag">
<li class="active"><span class="current_page line_height" th:text="${pg+1}">${pageNumber}</span></li>
</span>
<span th:unless="${pg eq datas.getNumber()}" th:remove="tag">
<li><a href="#" th:href="@{${curUrl}(page=${pg})}" th:text="${pg+1}"></a></li>
</span>
</div>
</div>
<!-- 总数数大于10时 -->
<div th:if="${datas.totalPages gt 10}" th:remove="tag">
<li th:if="${datas.number-2 ge 0}"><a href="#" th:href="@{${curUrl}(page=${datas.number}-2)}" th:text="${datas.number-1}"></a></li>
<li th:if="${datas.number-1 ge 0}"><ahref="#"th:href="@{${curUrl}(page=${datas.number}-1)}"th:text="${datas.number}"></a></li>
<liclass="active"><spanclass="current_page line_height"th:text="${datas.number+1}"></span></li>
<lith:if="${datas.number+1 lt datas.totalPages}"><ahref="#"th:href="@{${curUrl}(page=${datas.number}+1)}"th:text="${datas.number+2}"></a></li>
<lith:if="${datas.number+2 lt datas.totalPages}"><ahref="#"th:href="@{${curUrl}(page=${datas.number}+2)}"th:text="${datas.number+3}"></a></li>
</div>
<lith:if="${datas.hasNext()}"><ahref="#"th:href="@{${curUrl}(page=${datas.number+1})}">下一页</a></li>
<!--<li><a href="#" th:href="@{${curUrl}(page=${datas.totalPages-1})}">尾页</a></li>-->
<li><ahref="#"th:href="${datas.totalPages le 0 ? curUrl+'page=0':curUrl+'&page='+(datas.totalPages-1)}">尾页</a></li>
<li><spanth:utext="'共'+${datas.totalPages}+'页 / '+${datas.totalElements}+' 条'"></span></li>
</ul>
</div>
</div>
</body>
</html>针对无查询条件的接口,创建一个名为index1.html的页面并引入之前写好的分页页面,如下
<!DOCTYPE html>

<html lang="en" xmlns:th="http://www.w3.org/1999/xhtml">

<head>

    <meta charset="UTF-8"/>

    <title>Title</title>

    <script type="text/javascript" th:src="@{/jquery-1.12.3.min.js}"></script>

    <script type="text/javascript" th:src="@{/bootstrap/js/bootstrap.min.js}"></script>

    <link type="text/css" rel="stylesheet" th:href="@{/bootstrap/css/bootstrap-theme.min.css}"/>

    <link type="text/css" rel="stylesheet" th:href="@{/bootstrap/css/bootstrap.css}"/>

</head>

<body>

    <table class="table table-hover">

        <thead>

        <tr>

            <th>ID</th>

            <th>name</th>

            <th>isbn</th>

            <th>author</th>

        </tr>

        </thead>

        <tbody>

        <tr th:each="obj : ${datas}">

            <td th:text="${obj.id}">${obj.id}</td><tdth:text="${obj.name}">${obj.name}</td><tdth:text="${obj.isbn}">${obj.isbn}</td><tdth:text="${obj.name}">${obj.author}</td></tr></tbody></table><divth:include="page :: pager"th:remove="tag"></div></body></html>
针对有查询条件的接口,创建一个名为index2.html的页面并引入之前写好的分页页面,如下
<!DOCTYPE html>
<html lang="en" xmlns:th="http://www.w3.org/1999/xhtml">
<head>
<meta charset="UTF-8"/>
<title>Title</title>
<script type="text/javascript" th:src="@{/jquery-1.12.3.min.js}"></script>
<script type="text/javascript" th:src="@{/bootstrap/js/bootstrap.min.js}"></script>
<link type="text/css" rel="stylesheet" th:href="@{/bootstrap/css/bootstrap-theme.min.css}"/>
<link type="text/css" rel="stylesheet" th:href="@{/bootstrap/css/bootstrap.css}"/>
</head>
<body>
<form th:action="@{/queryBook/findBookQuery}" th:object="${bookQuery}" th:method="get">
<div class="form-group">
<label class="col-sm-2 control-label" >name</label>
<div class="col-sm-4">
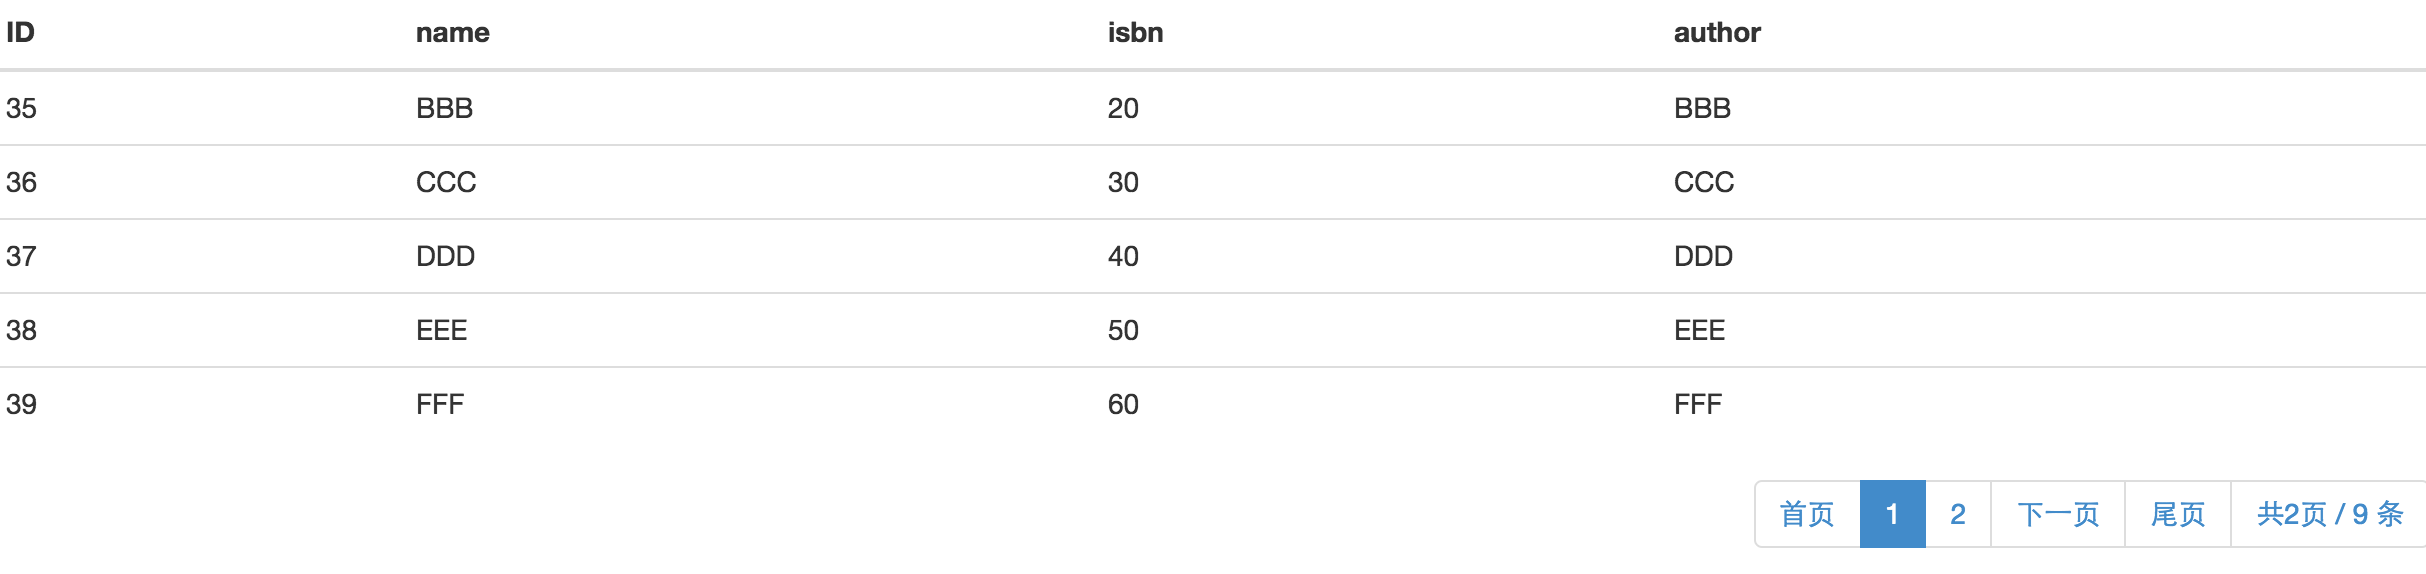
<input type="text" class="form-control" id="name" placeholder="请输入名称" th:field="*{name}"/></div><labelclass="col-sm-2 control-label">isbn</label><divclass="col-sm-4"><inputtype="text"class="form-control"id="isbn"placeholder="请输ISBN"th:field="*{isbn}"/></div></div><divclass="form-group"><labelclass="col-sm-2 control-label" >author</label><divclass="col-sm-4"><inputtype="text"class="form-control"id="author"placeholder="请输author"th:field="*{author}"/></div><divclass="col-sm-4"><buttonclass="btn btn-default"type="submit"placeholder="查询">查询</button></div></div></form><tableclass="table table-hover"><thead><tr><th>ID</th><th>name</th><th>isbn</th><th>author</th></tr></thead><tbody><trth:each="obj : ${datas}"><tdth:text="${obj.id}">${obj.id}</td><tdth:text="${obj.name}">${obj.name}</td><tdth:text="${obj.isbn}">${obj.isbn}</td><tdth:text="${obj.name}">${obj.author}</td></tr></tbody></table><divth:include="page :: pager"th:remove="tag"></div></body></html>ok!代码都已经完成,我们将项目启动起来,看一下效果。大家可以往数据库中批量插入一些数据,访问http://localhost:8080/queryBook/findBookNoQuery,显示如下页面
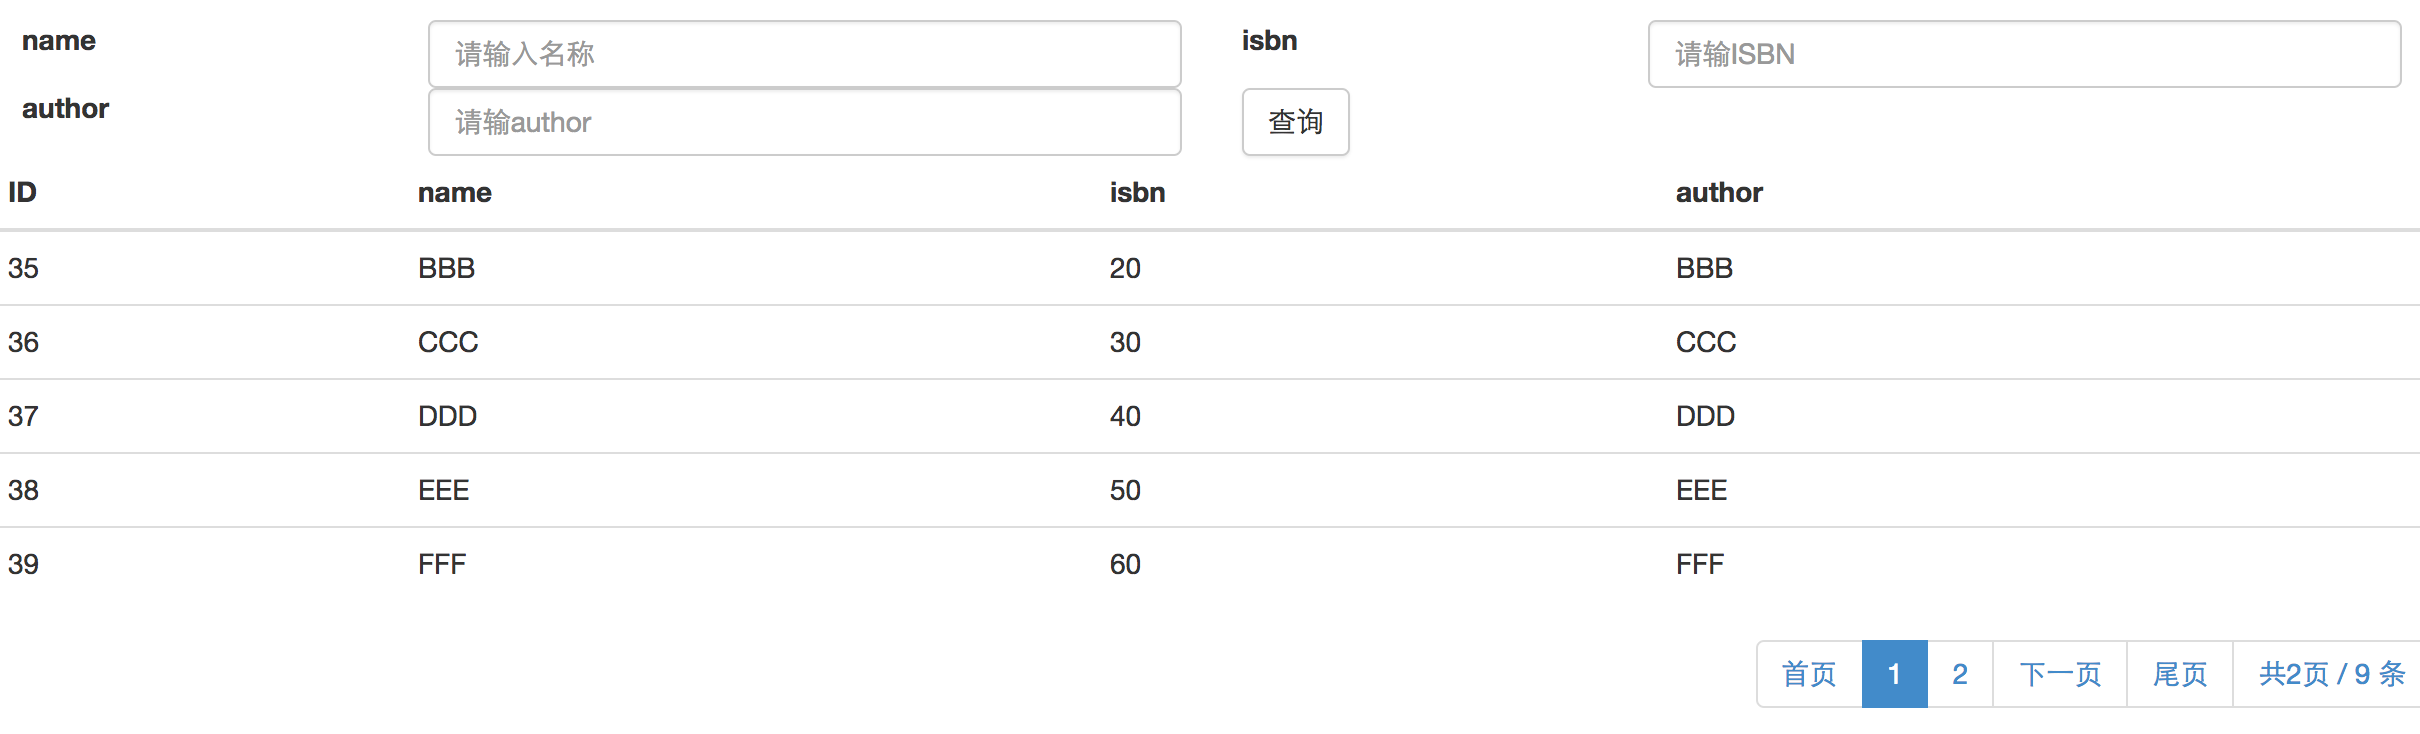
访问http://localhost:8080/queryBook/findBookQuery,显示页面如下,可以输入查询条件进行带条件的分页查询:
ok!以上便是一个简单的jap分页查询功能的实现。
转自:https://my.oschina.net/wangxincj/blog/820670
在Spring Boot中使用Spring-data-jpa实现分页查询的更多相关文章
- Spring Boot中使用 Spring Security 构建权限系统
Spring Security是一个能够为基于Spring的企业应用系统提供声明式的安全访问控制解决方案的安全框架.它提供了一组可以在Spring应用上下文中配置的Bean,为应用系统提供声明式的安全 ...
- Spring Boot中使用Spring Security进行安全控制
我们在编写Web应用时,经常需要对页面做一些安全控制,比如:对于没有访问权限的用户需要转到登录表单页面.要实现访问控制的方法多种多样,可以通过Aop.拦截器实现,也可以通过框架实现(如:Apache ...
- 【swagger】1.swagger提供开发者文档--简单集成到spring boot中【spring mvc】【spring boot】
swagger提供开发者文档 ======================================================== 作用:想使用swagger的同学,一定是想用它来做前后台 ...
- Spring Boot:在Spring Boot中使用Mysql和JPA
本文向你展示如何在Spring Boot的Web应用中使用Mysq数据库,也充分展示Spring Boot的优势(尽可能少的代码和配置).数据访问层我们将使用Spring Data JPA和Hiber ...
- Spring Boot 中应用Spring data mongdb
摘要 本文主要简单介绍下如何在Spring Boot 项目中使用Spring data mongdb.没有深入探究,仅供入门参考. 文末有代码链接 准备 安装mongodb 需要连接mongodb,所 ...
- Spring Boot中集成Spring Security 专题
check to see if spring security is applied that the appropriate resources are permitted: @Configurat ...
- 在Spring Boot中使用Spring Security实现权限控制
丢代码地址 https://gitee.com/a247292980/spring-security 再丢pom.xml <properties> <project.build.so ...
- spring boot中扩展spring mvc 源码分析
首先,确认你是对spring boot的自动配置相关机制是有了解的,如果不了解请看我spring boot相关的源码分析. 通常的使用方法是继承自org.springframework.boot.au ...
- Spring Boot 中使用 Spring Security, OAuth2 跨域问题 (自己挖的坑)
使用 Spring Boot 开发 API 使用 Spring Security + OAuth2 + JWT 鉴权,已经在 Controller 配置允许跨域: @RestController @C ...
- spring-boot-starter-security Spring Boot中集成Spring Security
spring security是springboot支持的权限控制系统. security.basic.authorize-mode 要使用权限控制模式. security.basic.enabled ...
随机推荐
- 子线程更新UI
https://www.cnblogs.com/joy99/p/6121280.html
- js函数-参数传递
写js的时候,函数是不可避免的,几乎90%的js都是由函数组成的,函数之间考什么连接,参数! 好了,用代码的运行结果说明问题. function fn1(str,strs){ var str=&quo ...
- AO如何获取SDE数据库中的数据
/// <summary> /// 获取Table类型表的记录 /// </summary> /// <param name="relationCheckCla ...
- POJ 3041 - 最大二分匹配
这道题实现起来还是比较简单的,但是理解起来可能有点困难. 我最开始想到的是贪心法,每次消灭当前小行星最多的一行或一列.然而WA了.Discuss区里已经有高人给出反例. 下面给出正确的解法 我们把行和 ...
- MOOC推荐及三门基础学科
top1:学堂在线 http://www.xuetangx.com/ top2:网易云课堂 http://study.163.com/ top3:coursera https://www.course ...
- java实现根据高德地图API接口进行地址位置解析,将地址转化为经纬度
原创文章,转载请注明,欢迎评论和更改. 1,所需额外ar包,import net.sf.json.JSONObject; 2,完整源代码代码 package com.travel.util; impo ...
- python第十一周:RabbitMQ、Redis
Rabbit Mq消息队列 RabbitMQ能为你做些什么? 消息系统允许软件.应用相互连接和扩展.这些应用可以相互链接起来组成一个更大的应用,或者将用户设备和数据进行连接.消息系统通过将消息的发送和 ...
- D2007在win7下bordbk105N.dll 莫名其妙的问题。
已经装过一次win7下d2007.再装一次就出现许多莫名其妙的问题.其中之一: Windows 7 64bit Delphi Debugger Fix / Workaround 2013-08-28 ...
- Firefox配置Fiddler
Fiddler: Toos->Telerik Fiddler Options->HTTPS->Capture HTTPS CONNECTs Toos->Telerik Fidd ...
- mac Gitblit安装
jdk下载传送门 gitBlit是java编写的的 第一步 需要安装java jdk 传送门 JDK6的下载地址: http://www.oracle.com/technetwork/java/jav ...