[转]【Angular4】基础(二):创建组件 Component
本文转自:https://blog.csdn.net/u013451157/article/details/79445138
创建一个组件很简单,比如我们创建一个 card 组件:
ng g c card- 1
这里我使用的是 Angular CLI 脚手架,当然你要是不觉得麻烦,也可以一个个文件建。
不过!要提醒一点,当使用 ng 创建时,会将创建的组件、服务这些自动添加到 app/app.module.ts 中,如果你是手动创建的话一定要记得在模块中写入你创建的。
现在来看下 app/card/card.component.ts :
import { Component, OnInit } from '@angular/core';

@Component({

    selector: 'app-card',

    templateUrl: './card.component.html',

    styleUrls: ['./card.component.scss']

})

export class CardComponent implements OnInit {

  constructor() { }

  ngOnInit() {}

}- 1
- 2
- 3
- 4
- 5
- 6
- 7
- 8
- 9
- 10
- 11
- 12
@Component() 是一个装饰器,唯一需要的参数是一个元数据对象。
参数说明:
- selector:组件选择器名称,一般采取横杠方式
- templateUrl:模板文件路径
styleUrls:样式文件路径
当然,如果你使用内联模板和内联样式的话,可以将templateUrl换为template,styleUrls换成stylestemplate:模板字符串
- styles:样式数组
export class CardComponent implements OnInit { } 是一个控制器
现在我们动手做一个小 demo
创建一个 demo-component 组件,用来放置实例
比如在 app/demo/demo-component.component.html 中直接使用:
<app-card></app-card>- 1
你可能会问为什么是 app-card,之前创建的不是 card 组件么?
这里需要看你的配置文件 .angular-cli.json,一般默认添加 app 的前缀 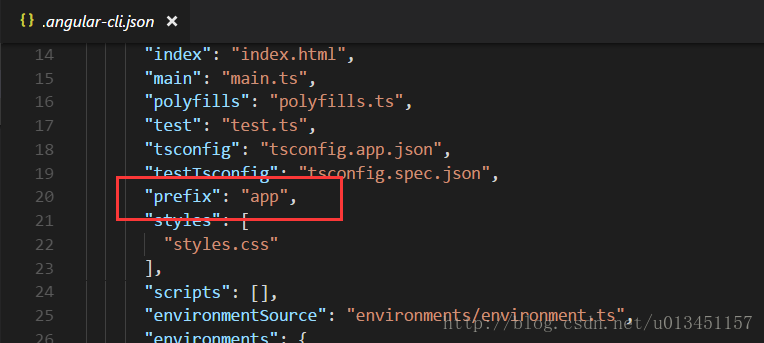
所以你创建的 card 组件的 selector 就变成了 app-card。 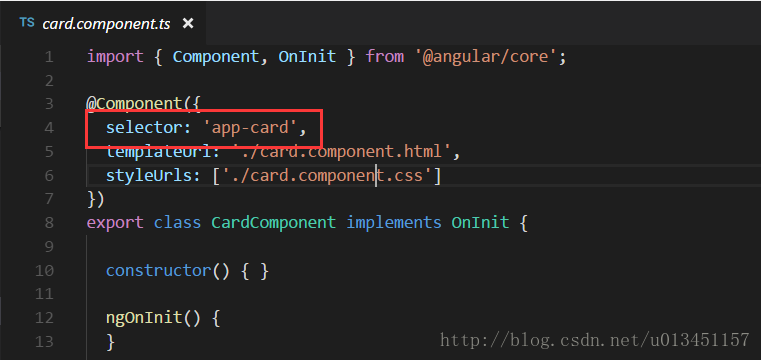
这时你启动项目后会发现页面中显示 card works!(当你用 ng 创建组件后都会自动在 template 中添加 “组件名 works!”)
若没有显示这预期的效果,就去检查下 app/app.component.html 中是否为
<app-demo-component></app-demo-component>- 1
这里暂停下来梳理下思路,
index.html 为整个应用的入口文件 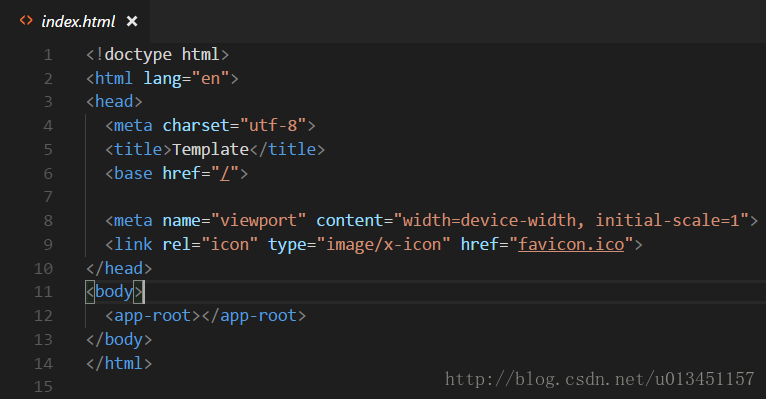
你会发现 body 中嵌入了 <app-root></app-root>
而这个组件也就是根组件 app.component.ts 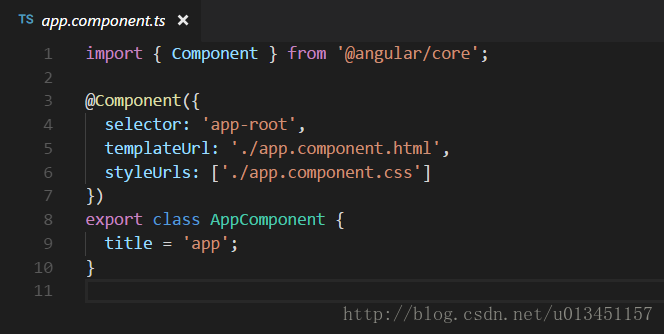
为了方便管理我们就将所有的实例都放置在 app.component.html 中,这里只有一个实例
<app-demo-component></app-demo-component>- 1
在 demo-component.html 中实例化的是一个 card 组件,内容为:
<app-card></app-card>- 1
好了!想着思路应该也梳理清楚了,那么思考下如何 动态嵌入内容 呢?
在 app/demo/demo-component.html 中修改如下:
<app-card>

    <h3>卡头</h3>

    我是卡的内容

</app-card>- 1
- 2
- 3
- 4
当打开页面时发现没有出现动态嵌入的内容?别慌~
// app/card/card.component.html

<ng-content></ng-content>- 1
- 2
- 3
上面的代码表示将组件内部的内容插入指定位置,ng-content 还有一个特别的属性,值可以是”element”, #id”, “.class”, “[name=value]”等CSS选择器,比如我们可以这样:
// card.component.html

<ng-content selector="h3"></ng-content>- 1
- 2
- 3
上面的代码意思是将包含h3的内容插入指定位置。
模板ts文件说明
import {BrowserModule} from '@angular/platform-browser';

import {NgModule} from '@angular/core';

import {AppComponent} from './app.component';

import {FormsModule} from '@angular/forms';

import {HttpModule} from '@angular/http';

@NgModule({

    declarations: [ // 声明在该模块中有哪些东西(组件、指令、管道)

        AppComponent

    ],

    imports: [ // 声明该模块需要正常运转时需要用到哪些模块(即:该模块依赖哪些其它模块)

        BrowserModule,

        FormsModule,

        HttpModule

    ],

    providers: [], // 声明模块中的服务

    bootstrap: [AppComponent] // 声明该模块的主组件

})

export class AppModule {

}- 1
- 2
- 3
- 4
- 5
- 6
- 7
- 8
- 9
- 10
- 11
- 12
- 13
- 14
- 15
- 16
- 17
- 18
- 19
- 20
- 21
关于 moduleId(Angular2 与 Angular4区别)
上述创建的组件是用 Angular4,默认配置了 moduleId。
这里主要说下 Angular2 中的 moduleId。
没有module.id:
@Component({

    selector: 'my-component',

    templateUrl: 'app/components/my.component.html', <- Starts from base path

    styleUrls:  ['app/components/my.component.css'] <- Starts from base path

})- 1
- 2
- 3
- 4
- 5
- 6
使用module.id:
tsconfig.json:

{

    "compilerOptions": {

        "module": "commonjs", <- need to change this if you want to use module.id property

...

@Component({

    moduleId: module.id,

    selector: 'my-component',

    templateUrl: 'my.component.html', <- relative to the components current path

    styleUrls:  ['my.component.css'] <- relative to the components current path

})
[转]【Angular4】基础(二):创建组件 Component的更多相关文章
- vue(基础二)_组件,过滤器,具名插槽
一.前言 主要包括: 1.组件(全局组件和局部组件) 2.父组件和子组件之间的通信(单层) 3.插槽和具名插槽 ...
- Android 基础 二 四大组件 Activity
Activity Intent IntentFilter 一理论概述 一. Activity 用来提供一个能让用户操作并与之交互的界面. 1.1 启动 startActivity(Intent int ...
- JavaScript 基础(二) - 创建 function 对象的方法, String对象, Array对象
创建 function 对象的两种方法: 方式一(推荐) function func1(){ alert(123); return 8 } var ret = func1() alert(ret) 方 ...
- MySQL 基础二 创建表格
1.界面创建 2.SQL创建 教程地址:http://blog.csdn.net/brucexia/article/details/53738596 提供学习视频下载 链接:http://pan.ba ...
- react 创建组件 (二)component
因为ES6对类和继承有语法级别的支持,所以用ES6创建组件的方式更加优雅,下面是示例: import React from 'react'; class Greeting extends React. ...
- Angular4.x 创建组件|绑定数据|绑定属性|数据循环|条件判断|事件|表单处理|双向数据绑定
Angular4.x 创建组件|绑定数据|绑定属性|数据循环|条件判断|事件|表单处理|双向数据绑定 创建 angular 组件 https://github.com/angular/angular- ...
- Angular4.x 安装|创建项目|目录结构|创建组件
Angular4.x 安装|创建项目|目录结构|创建组件 安装最新版本的 nodejs node.js 官网:https://nodejs.org/zh-cn/ 去官网下载 node.js,下一步下一 ...
- vue组件基础之创建与使用
一.创建组件 <script src="vue.js"></script> <!--引入vue.js文件--> <div id=" ...
- Angular4.0用命令行创建组件服务出错
之前使用cnpm创建的angular4.0项目,由于cnpm下载的node_modules资源经常会有部分缺失,所以在用命令行创建模板.服务的时候会报错: Error: ELOOP: too many ...
随机推荐
- A - ACboy needs your help again!
ACboy was kidnapped!! he miss his mother very much and is very scare now.You can't image how dark th ...
- 【python-HTMLTestRunner】生成HTMLTestRunner报告报错ERROR 'ascii' codec can't decode byte 0xe5 in position 0: ordinal not in range(128)
[python-HTMLTestRunner]生成HTMLTestRunner报告报错:ERROR 'ascii' codec can't decode byte 0xe5 in position 0 ...
- 解决eclipse部署maven时,src/main/resources里面配置文件加载不到webapp下classes路径下的问题
解决eclipse部署maven时,src/main/resources里面配置文件加载不到webapp下classes路径下的问题. 有时候是src/main/resources下面的,有时候是sr ...
- Codeforces Round #514 (Div. 2) C. Sequence Transformation
题目大意:给你一个n 从1,2,3......n这个序列中 依次进行以下操作:1 .求所有数的最大公因数,放入a序列里面 2 .任意删去一个元素 一直到序列为空 根据删除元素的不同,导致序列a的字典序 ...
- Build.gradle的详细配置说明
转自:http://blog.csdn.net/u012246458/article/details/51722624 apply plugin: 'com.android.application'/ ...
- WPF简单的分页控件实现
XAML代码(使用ItemsControl控件实现): <UserControl x:Class="SunCreate.Vipf.Client.UI.CityDoor.PageCont ...
- 6. ASP.NET MVC 5.0 中的HTML Helper【HTML 帮助类】
这篇文章,我将带领大家学习HTML Helper.[PS:上一篇-->5.ASP.NET MVC 中的Area[区域]是什么] HTML Helpers是用来创建HTML标签进而创建HTML控件 ...
- shell if 条件判断
condition='123' if [ -z condition]; then echo "condition 是空的" fi 字符串判断: = 两个字符串相等. != 两个字符 ...
- Servlet案例6:显示用户的上次访问时间
这里是cookie的简单应用 告诉用户您的上次访问时间是:xxxx-xx-xx xx:xx:xx 思路: 第一次访问该网站时候,记录当前访问时间(new Date()) 把当前时间以cookie的形式 ...
- Swift5 语言指南(三) 快速之旅
传统表明,新语言中的第一个程序应在屏幕上打印“Hello,world!”字样.在Swift中,这可以在一行中完成: print("Hello, world!") // Prints ...