Vue实战案例
Vue项目案例
结合之前学习的 vue.js、脚手架、vuex、vue-router、axios、elementui 等知识点,来开发前端项目案例(仅前端不含后端)。
1.项目搭建
其实就是将我们项目需要用到的组件都安装并配置好,需要做的事有:
创建项目 & 运行项目
vue create 项目名称

npm run serve
WebStorm集成开发环境
安装和配置 vue-router
npm install vue-router@3

手动创建文件和配置
vue add router
安装和配置 vuex
npm install vue-vuex@3

手动创建文件和配置
vue add vuex
安装和配置 elementui
npm install element-ui

手动创建文件和配置
vue add element
2.登录

<template>

  <div class="main">

    <div class="loginBox">

      <div class="tabBoxSwitch">

        <ul class="tabBoxSwitchUl">

          <li :class="tabSelected===idx ? 'tab-active': ''" v-for="(item, idx) in tabList" :key="idx"

              @click="changeTab(idx)">{{ item }}

          </li>

        </ul>

      </div>

      <div v-show="tabSelected===0">

        <!-- :model绑定form数据  :rules设置验证规则  ref绑定表格验证   -->

        <el-form :model="UserForm" :rules="userRules" ref="userForm">

          <el-form-item prop="username" style="margin-top: 24px;">

            <!-- v-model双向绑定 便于下面对于字段的验证 -->

            <el-input v-model="UserForm.username" placeholder="用户名或手机号"></el-input>

          </el-form-item>

          <el-form-item prop="password">

            <el-input v-model="UserForm.password" placeholder="密码" show-password></el-input>

          </el-form-item>

          <el-form-item>

            <el-button type="primary" @click="onSubmit('userForm')" size="medium">登录</el-button>

          </el-form-item>

        </el-form>

      </div>

      <div v-show="tabSelected===1">

        <el-form :model="smsForm" :rules="smsRule" ref="smsForm">

          <el-form-item prop="phone" style="margin-top: 24px;">

            <el-input v-model="smsForm.phone" placeholder="手机号"></el-input>

          </el-form-item>

          <el-form-item prop="code">

            <el-row type="flex" justify="space-between">

              <el-input v-model="smsForm.code" placeholder="验证码"></el-input>

              <el-button :disabled="disabledAttr" @click="smsCodeSend" type="success" size="medium"

                         style="margin-left: 10px">

                {{ smsText }}

              </el-button>

            </el-row>

          </el-form-item>

          <el-form-item>

            <el-button type="primary" @click="onSubmit('smsForm')" size="medium">登录</el-button>

          </el-form-item>

        </el-form>

      </div>

    </div>

  </div>

</template>

<script>

export default {

  // eslint-disable-next-line vue/multi-word-component-names

  name: "Login",

  data: function () {

    return {

      tabSelected: 0,

      tabList: ["密码登录", "免密码登录"],

      disabledAttr: false,

      smsText: "请输入验证码",

      UserForm: {  // 绑定form

        username: "",

        password: ""

      },

      smsForm: {

        phone: "",

        code: ""

      },

      userRules: {  // 密码登录的验证规则

        username: [

          {required: true, message: '请输入用户名或手机号', trigger: 'blur'},

          {min: 3, message: '长度应该大于3', trigger: 'blur'}

        ],

        password: [

          {required: true, message: '请输入密码', trigger: 'blur'},

          {min: 3, message: '长度应该大于3', trigger: 'blur'}

        ],

      },

      smsRule: {  // 密码登录的验证规则

        phone: [

          {required: true, message: '请输入手机号', trigger: 'blur'},

          {pattern: /^1[3456789]\d{9}$/, message: '手机号格式错误', trigger: 'blur'},

        ],

        code: [

          {required: true, message: '请输入验证码', trigger: 'blur'},

        ],

      }

    }

  },

  methods: {

    changeTab: function (idx) {

      this.tabSelected = idx

    },

    onSubmit(form) {

      this.$refs[form].validate((valid) => {

        if (valid) {

          console.log("submit!");

        } else {

          console.log('error!')

        }

      })

    },

    smsCodeSend() {  // 发送验证码以及读秒功能

      this.$refs.smsForm.validateField('phone', (error) => {

        console.log(error)

        if (error) {

          return false;

        } else {

          // 验证通过, 发送验证码

          // 设置读秒功能

          this.disabledAttr = true;

          let text = 3

          const interval = window.setInterval(() => {

            text -= 1

            this.smsText = `${text}后重新发送`;

            if (text < 1){

              this.disabledAttr = false;

              this.smsText = '点击发送验证码'

              window.clearInterval(interval);

            }

          }, 1000)

        }

      })

    }

  }

}

</script>

<style scoped>

.main {

  height: 100vh;

  display: flex;

  flex-direction: column;

  justify-content: center;

  align-items: center;

}

.loginBox {

  background-color: aliceblue;

  background-color: rgba(255, 255, 255, 0.5); /*让背景变透明 */

  border-radius: 2px;

  width: 320px;

  min-height: 250px;

  padding: 0 24px 20px;

}

.tabBoxSwitchUl {

  list-style: none;

  display: flex;

  justify-content: center;

  padding: 0;

  margin: 0;

}

.tabBoxSwitchUl li {

  display: inline-block;

  height: 60px;

  font-size: 16px;

  line-height: 60px;

  margin-right: 24px;

  cursor: pointer; /* 让光标变成一只手 */

}

.tab-active {

  position: relative; /* 相对位置 */

  color: #1a1a1a;

  font-weight: 600;

  font-synthesis: style;

}

.tab-active::before {

  display: block;

  position: absolute; /* 绝对位置 */

  bottom: 0;

  content: "";

  width: 100%;

  height: 3px;

  background-color: #0084ff;

}

</style>
知识点总结:
- 背景图片的配置
background-image: url('../public/wallhaven-e7kw6o.png');  /* 路径 */

background-repeat: no-repeat;  /* 不重复 */

background-size: cover;  /* 覆盖 */

background-attachment: fixed;  /* 适应屏幕 */

cursor: pointer; /* 让光标变成一只手 */

background-color: rgba(255, 255, 255, 0.5); /*让背景变透明 */
- v-show结合click事件 -> 绑定实现密码登录和免密登录的分开展示
- 三元表达式为标签加上tab-active属性
- 基于elementUI的:model绑定form数据 :rules设置验证规则 ref绑定表格验证
- 基于setInterval功能和设置:disabled属性设置读秒器
3.路由和菜单
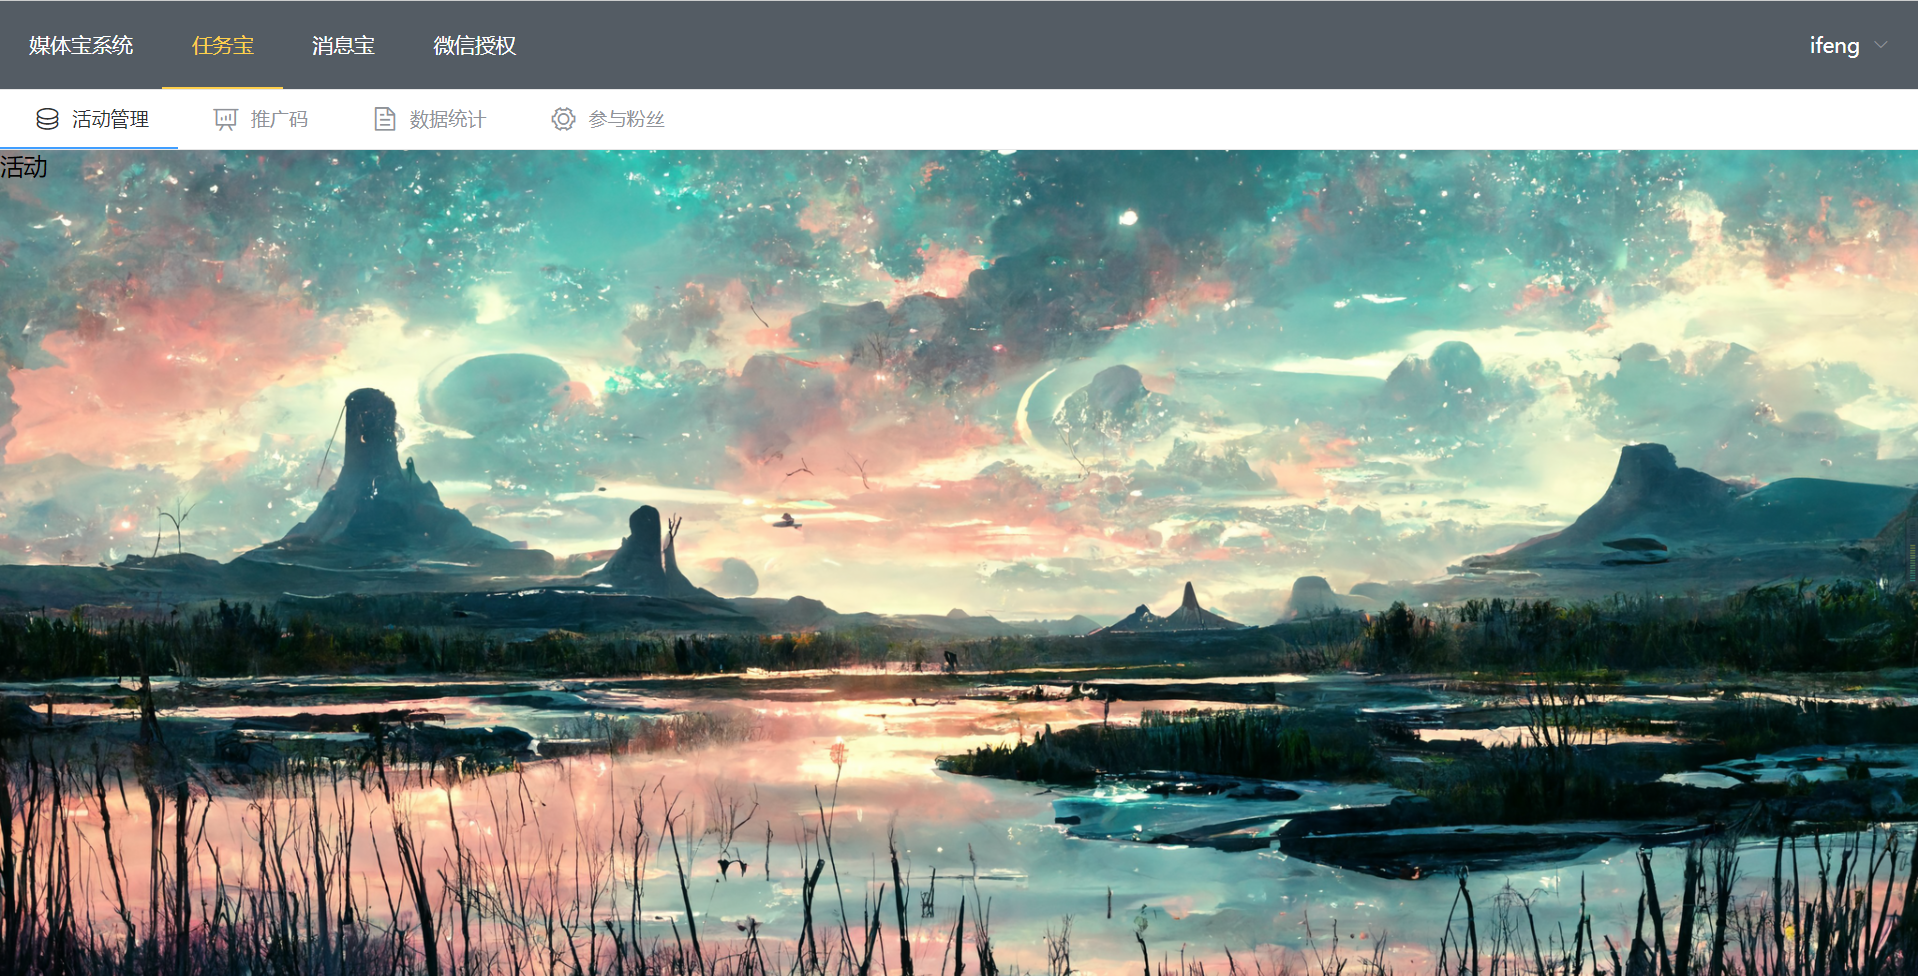
Layout.Vue
<template>

  <div>

    <el-menu :default-active="rootActive" class="el-menu-demo" mode="horizontal" background-color="#545c64"

             text-color="#fff" active-text-color="#ffd04b" router>

      <el-menu-item index="">媒体宝系统</el-menu-item>

      <el-menu-item index="Task" :route="{name:'Activity'}">任务宝</el-menu-item>

      <el-menu-item index="Msg" :route="{name:'Push'}">消息宝</el-menu-item>

      <el-menu-item index="Auth" :route="{name:'Auth'}">微信授权</el-menu-item>

      <el-submenu index="5" style="float: right">

        <template slot="title">ifeng</template>

        <el-menu-item index="5-1">个人中心</el-menu-item>

        <el-menu-item index="5-2">注销</el-menu-item>

      </el-submenu>

    </el-menu>

    <div>

      <router-view></router-view> <!-- 当前标签如果存在子路由就会在这里展示出来 -->

    </div>

  </div>

</template>

<script>

export default {

  // eslint-disable-next-line vue/multi-word-component-names

  name: "Layout",

  data() {

    return {

      rootActive: ""

    }

  },

  mounted() {

    this.rootActive = this.$route.matched[1].name;

  }

}

</script>

<style scoped>

</style>
index.js
import Vue from 'vue'

import VueRouter from 'vue-router'

import Login from '../views/Login'

import Layout from '../views/Layout'

import TaskLayout from "@/views/Task/taskLayout";

import Auth from "@/views/Auth/Auth";

import MsgLayout from "@/views/Msg/msgLayout";

import Activity from "@/views/Task/Activity";

import Promo from "@/views/Task/Promo";

import State from "@/views/Task/State";

import Fans from "@/views/Task/Fans";

import Push from "@/views/Msg/Push";

import Sop from "@/views/Msg/Sop";

Vue.use(VueRouter)

const routes = [

    {

        path: '/login',

        name: 'Login',

        component: Login

    },

    {

        path: '/',

        name: 'Layout',

        component: Layout,

        children: [

            {

                path: '/task',

                name: 'Task',

                component: TaskLayout,

                children: [

                    {

                        path: '/',

                        redirect: 'activity'  // 当路由为/task默认跳转/task/activity

                    },

                    {

                        path: 'activity',  // 子路由不能加前置/

                        name: 'Activity',

                        component: Activity,

                    },

                    {

                        path: 'promo',

                        name: 'Promo',

                        component: Promo,

                    },

                    {

                        path: 'state',

                        name: 'State',

                        component: State,

                    },

                    {

                        path: 'fans',

                        name: 'Fans',

                        component: Fans,

                    }

                ]

            },

            {

                path: '/msg',

                name: 'Msg',

                component: MsgLayout,

                children: [

                    {

                        path: '/',

                        redirect: 'push'  // 当路由为/msg默认跳转/msg/push

                    },

                    {

                        path: 'push',

                        name: 'Push',

                        component: Push,

                    },

                    {

                        path: 'sop',

                        name: 'Sop',

                        component: Sop,

                    },

                ]

            },

            {

                path: '/auth',

                name: 'Auth',

                component: Auth

            },

        ]

    },

]

const router = new VueRouter({

    routes

})

export default router
知识点总结:
- 默认选中功能: 定义:default-active="rootActive" 和对应的index结合, 通过mounted获取当前路由赋值给rootActive
<template>

  <div>

    <el-menu :default-active="rootActive" class="el-menu-demo" mode="horizontal" background-color="#545c64"

             text-color="#fff" active-text-color="#ffd04b" router>

      <el-menu-item index="">媒体宝系统</el-menu-item>

      <el-menu-item index="Task" :route="{name:'Activity'}">任务宝</el-menu-item>

      <el-menu-item index="Msg" :route="{name:'Push'}">消息宝</el-menu-item>

      <el-menu-item index="Auth" :route="{name:'Auth'}">微信授权</el-menu-item>

  </div>

</template>

<script>

export default {

  name: "Layout",

  data() {

    return {

      rootActive: ""

    }

  },

  mounted() {

    this.rootActive = this.$route.matched[1].name;

  }

}

</script>
- 一级和二级菜单的展示: 写对应的路由关系和route-link, route-view
- 切换过程中的小bug, 当在二级菜单中, 点击一级菜单会出现无法默认选中的情况: 使用watch检测url的变化, 一旦检测到立刻更新值确保切换页面正常
export default {

  name: "taskLayout",

  data(){

    return {

      subActiveRouter: ""

    }

  },

  watch: {  // 检测url的变化, 一旦检测到立刻更新值确保切换页面正常

    $route: function (to){

      this.subActiveRouter = to.name;

    }

  },

  mounted(){

    this.subActiveRouter = this.$route.matched[2].name

  }

}
- 点击一级菜单会自动跳转到默认的二级菜单
path: '/task',

name: 'Task',

component: TaskLayout,

children: [

	{

		path: '/',

		redirect: 'activity'  // 当路由为/task默认跳转/task/activity

	},

    {

        path: 'activity',  // 子路由不能加前置/

        name: 'Activity',

		component: Activity,

	},

]
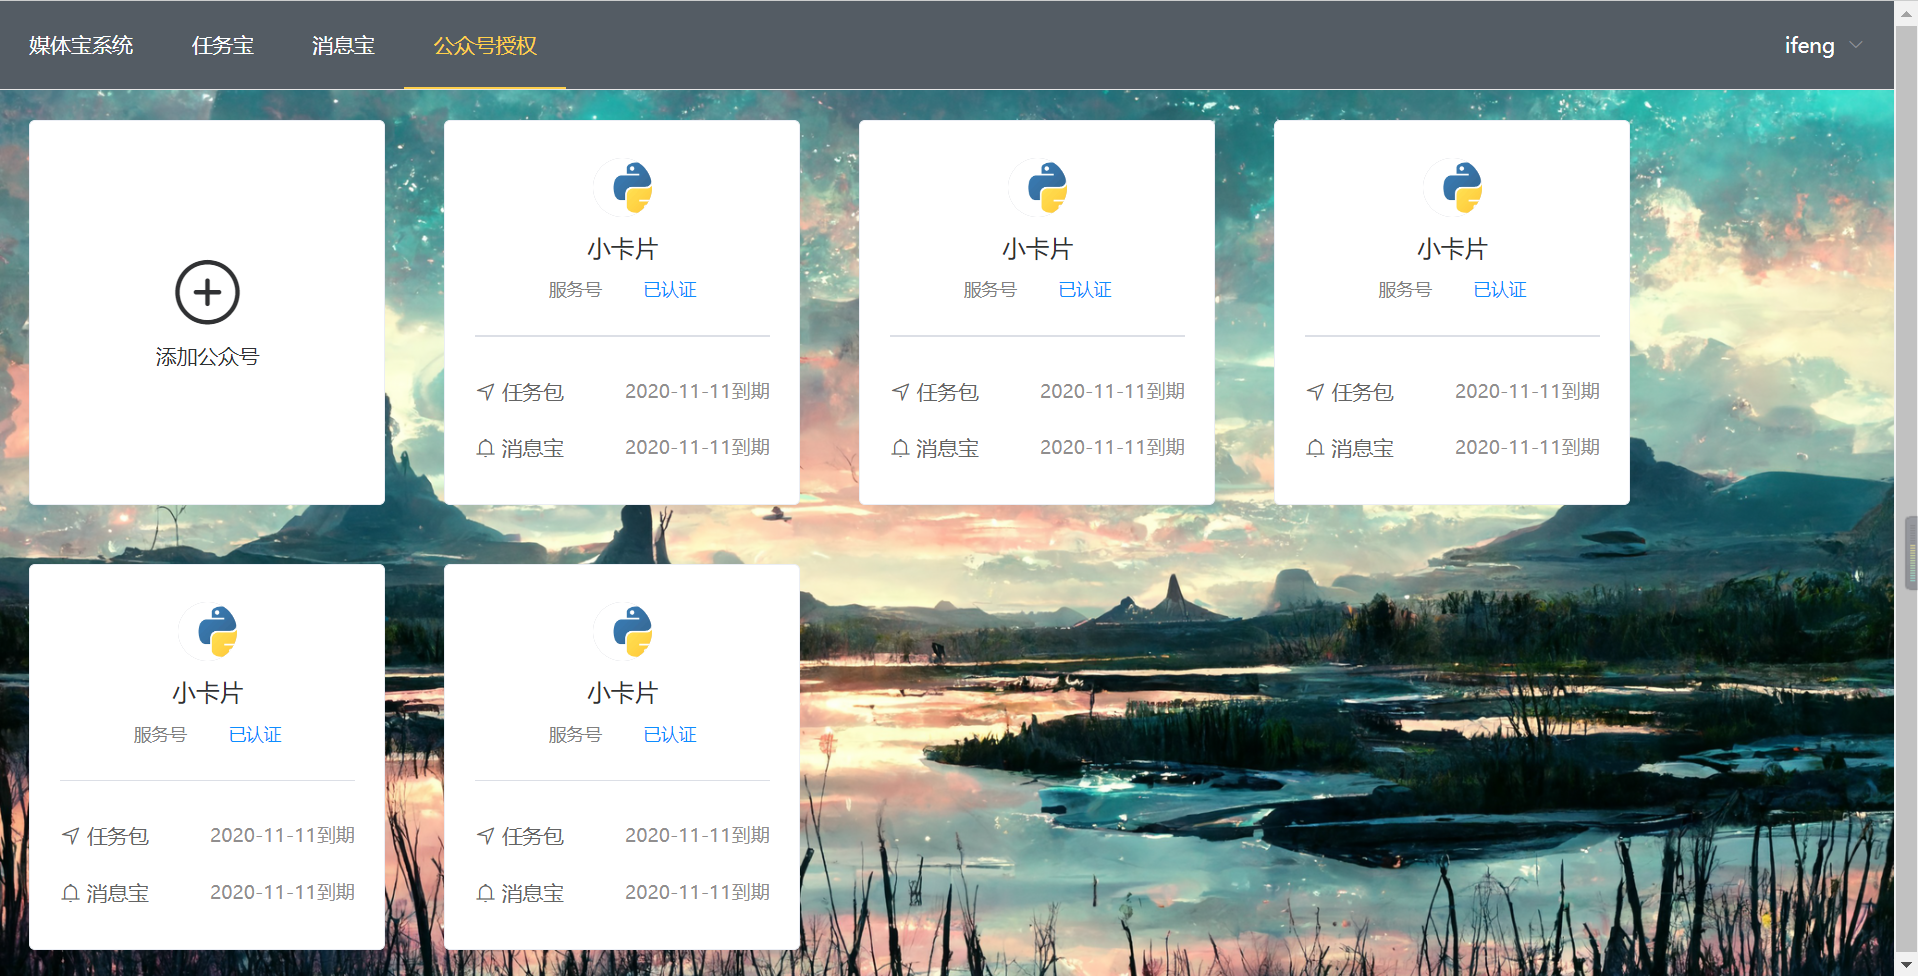
4.授权
<template>

  <div>

    <el-card class="box-card flex-row-center" shadow="hover">

      <div class="flex-col-center">

        <i class="el-icon-circle-plus-outline icon"></i>

        <div class="text">添加公众号</div>

      </div>

    </el-card>

    <el-card class="box-card box-item" shadow="hover" :body-style="{width:'100%',padding:'20px'}">

      <div class="item flex-row-center">

        <el-avatar fit="contain" src="下载.png"></el-avatar>

      </div>

      <div class="item flex-row-center">小卡片</div>

      <div class="item flex-row-center">

        <div class="flex-row-between" style="width: 100px;font-size: 12px;">

          <div style="color: gray">服务号</div>

          <div style="color: #0c8eff;">已认证</div>

        </div>

      </div>

      <el-divider></el-divider>

      <div class="item small flex-row-between">

        <div><i class="el-icon-position"></i> 任务包</div>

        <div class="date">2020-11-11到期</div>

      </div>

      <div class="item small flex-row-between">

        <div><i class="el-icon-bell"></i> 消息宝</div>

        <div class="date">2020-11-11到期</div>

      </div>

    </el-card>

  </div>

</template>

<script>

export default {

  // eslint-disable-next-line vue/multi-word-component-names

  name: 'Auth',

  created: function () {

  }

}

</script>

<style scoped>

.box-card {

  width: 240px;

  height: 260px;

  float: left;

  margin: 20px;

}

.box-item {

  display: flex;

}

.box-item .item {

  padding: 5px 0;

}

.box-item .small {

  font-size: 14px;

  padding: 10px 0;

  color: #646464;

}

.box-item .date {

  font-size: 13px;

  color: #908e8e;

}

.flex-row-center {

  display: flex;

  flex-direction: row;

  justify-content: center;

  align-items: center;

}

.flex-row-between {

  display: flex;

  flex-direction: row;

  justify-content: space-between;

}

.flex-col-center {

  display: flex;

  flex-direction: column;

  justify-content: center;

  align-items: center;

}

.box-card .icon {

  font-size: 50px;

}

.box-card .text {

  font-size: 14px;

  margin-top: 8px;

}

.el-divider--horizontal {

  margin: 18px 0;

}

</style>
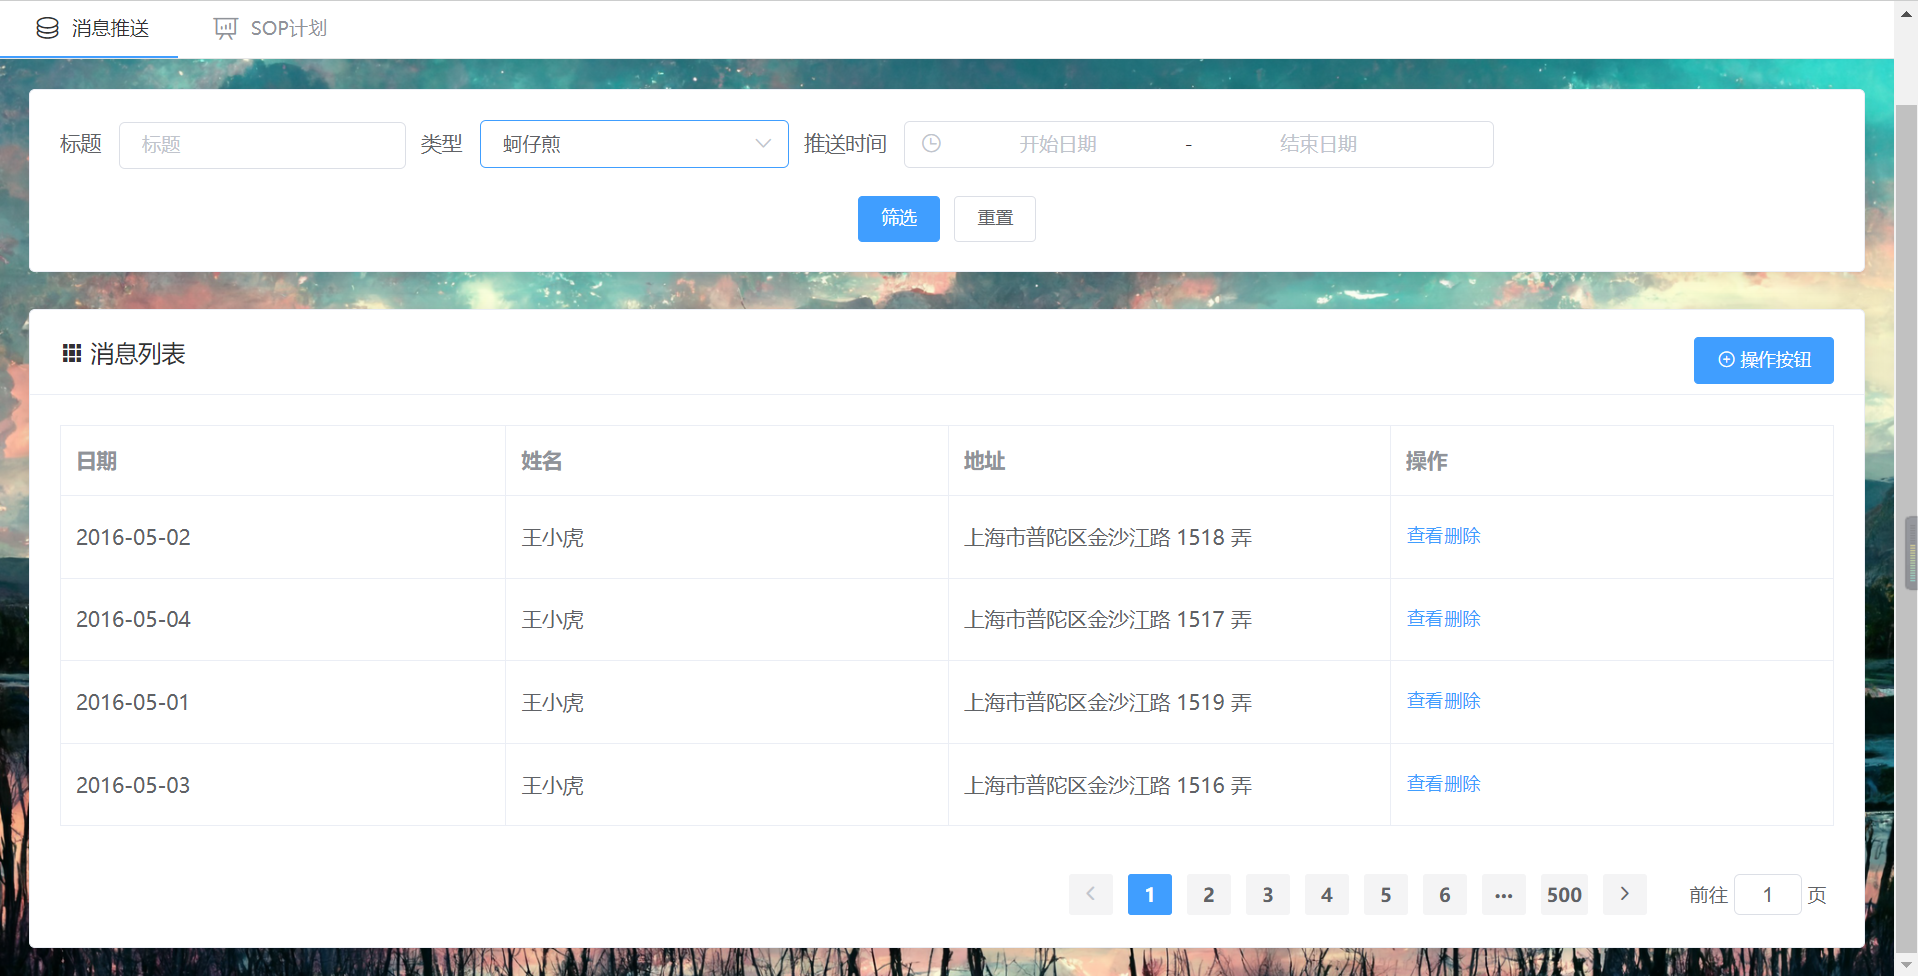
5.消息宝
5.1 消息推送
<template>

  <div style="padding: 20px;">

    <el-card class="box-card">

      <el-form :inline="true" class="demo-form-inline" size="small" :model="searchForm" ref="searchForm">

        <el-form-item label="标题" prop="title">

          <el-input placeholder="标题" v-model="searchForm.title"></el-input>

        </el-form-item>

        <el-form-item label="类型" prop="category">

          <el-select placeholder="类型" v-model="searchForm.category">

            <el-option v-for="item in categoryOptions" :key="item.value" :label="item.label"

                       :value="item.value"></el-option>

            <el-option label="区域二" value="beijing"></el-option>

          </el-select>

        </el-form-item>

        <el-form-item label="推送时间" prop="dateValue">

          <el-date-picker

              v-model="searchForm.dateValue"

              type="datetimerange"

              start-placeholder="开始日期"

              end-placeholder="结束日期"

              :default-time="['12:00:00']">

          </el-date-picker>

        </el-form-item>

      </el-form>

      <el-row type="flex" justify="center">

        <el-button size="small" type="primary" @click="clickSearch">筛选</el-button>

        <el-button size="small" @click="resetSearchForm('searchForm')">重置</el-button>

      </el-row>

    </el-card>

    <el-card class="box-card" style="margin-top: 25px;">

      <div slot="header" class="clearfix">

        <span><i class="el-icon-s-grid"></i> 消息列表</span>

        <el-button style="float: right;" type="primary" size="small" @click="clickAddDialog">

          <i class="el-icon-circle-plus-outline"></i> 操作按钮

        </el-button>

      </div>

      <div>

        <el-table :data="tableData" border style="width: 100%">

          <el-table-column prop="date" label="日期"></el-table-column>

          <el-table-column prop="name" label="姓名"></el-table-column>

          <el-table-column prop="address" label="地址"></el-table-column>

          <el-table-column label="操作">

            <template slot-scope="scope">

              <el-button @click="handleClick(scope.row)" type="text" size="small">查看</el-button>

              <el-popconfirm title="这是一段内容确定删除吗?" @confirm="confirmDelete(scope.row)">

                <el-button slot="reference" type="text" size="small">删除</el-button>

              </el-popconfirm>

            </template>

          </el-table-column>

        </el-table>

      </div>

      <el-row type="flex" justify="end" style="margin-top: 30px;">

        <el-pagination

            :total="page.totalCount"

            :page-size="page.perPageSize"

            background

            layout="prev, pager, next,jumper"

            @current-change="handleCurrentChange"

        >

        </el-pagination>

      </el-row>

    </el-card>

    <el-dialog title="收货地址" :visible.sync="dialogFormVisible">

      <el-form label-position="left" label-width="80px" :model="addForm">

        <el-form-item label="活动名称" prop="x1">

          <el-input autocomplete="off" v-model="addForm.x1"></el-input>

        </el-form-item>

        <el-form-item label="活动区域" prop="x2">

          <el-select placeholder="请选择活动区域" v-model="addForm.x2">

            <el-option label="区域一" value="shanghai"></el-option>

            <el-option label="区域二" value="beijing"></el-option>

          </el-select>

        </el-form-item>

      </el-form>

      <div slot="footer" class="dialog-footer">

        <el-button @click="dialogFormVisible = false">取 消</el-button>

        <el-button type="primary" @click="dialogFormVisible = false">确 定</el-button>

      </div>

    </el-dialog>

    <el-dialog title="提示" :visible.sync="dialogVisible" width="30%">

      <span>这是一段信息</span>

      <span slot="footer" class="dialog-footer">

                <el-button @click="dialogVisible = false">取 消</el-button>

                <el-button type="primary" @click="dialogVisible = false">确 定</el-button>

              </span>

    </el-dialog>

  </div>

</template>

<script>

export default {

  // eslint-disable-next-line vue/multi-word-component-names

  name: "Push",

  data() {

    return {

      searchForm: {

        title: "",

        category: "",

        dateValue: "",

      },

      categoryOptions: [

        {

          value: '1',

          label: '黄金糕'

        }, {

          value: '2',

          label: '双皮奶'

        }, {

          value: '3',

          label: '蚵仔煎'

        }, {

          value: '4',

          label: '龙须面'

        }, {

          value: '5',

          label: '北京烤鸭'

        }],

      tableData: [

        {

          date: '2016-05-02',

          name: '王小虎',

          province: '上海',

          city: '普陀区',

          address: '上海市普陀区金沙江路 1518 弄',

          zip: 200333

        }, {

          date: '2016-05-04',

          name: '王小虎',

          province: '上海',

          city: '普陀区',

          address: '上海市普陀区金沙江路 1517 弄',

          zip: 200333

        }, {

          date: '2016-05-01',

          name: '王小虎',

          province: '上海',

          city: '普陀区',

          address: '上海市普陀区金沙江路 1519 弄',

          zip: 200333

        }, {

          date: '2016-05-03',

          name: '王小虎',

          province: '上海',

          city: '普陀区',

          address: '上海市普陀区金沙江路 1516 弄',

          zip: 200333

        }],

      page: {

        totalCount: 10000,

        perPageSize: 20

      },

      dialogFormVisible: false,

      addForm: {

        x1: "",

        x2: ""

      },

      dialogVisible:false

    }

  },

  methods: {

    clickSearch() {

      console.log(this.searchForm);

    },

    resetSearchForm(formName) {

      this.$refs[formName].resetFields();

    },

    handleClick(row) {

      console.log(row);

      this.dialogVisible = true;

    },

    confirmDelete(row) {

      console.log("确定删除", row);

    },

    handleCurrentChange(page) {

      console.log("想要查看:", page);

    },

    clickAddDialog() {

      this.dialogFormVisible = true;

    },

  }

}

</script>

<style scoped>

</style>
- 利用elementUI中的日期选择器, 表格, 分页, 对话框等功能
5.2 SOP计划
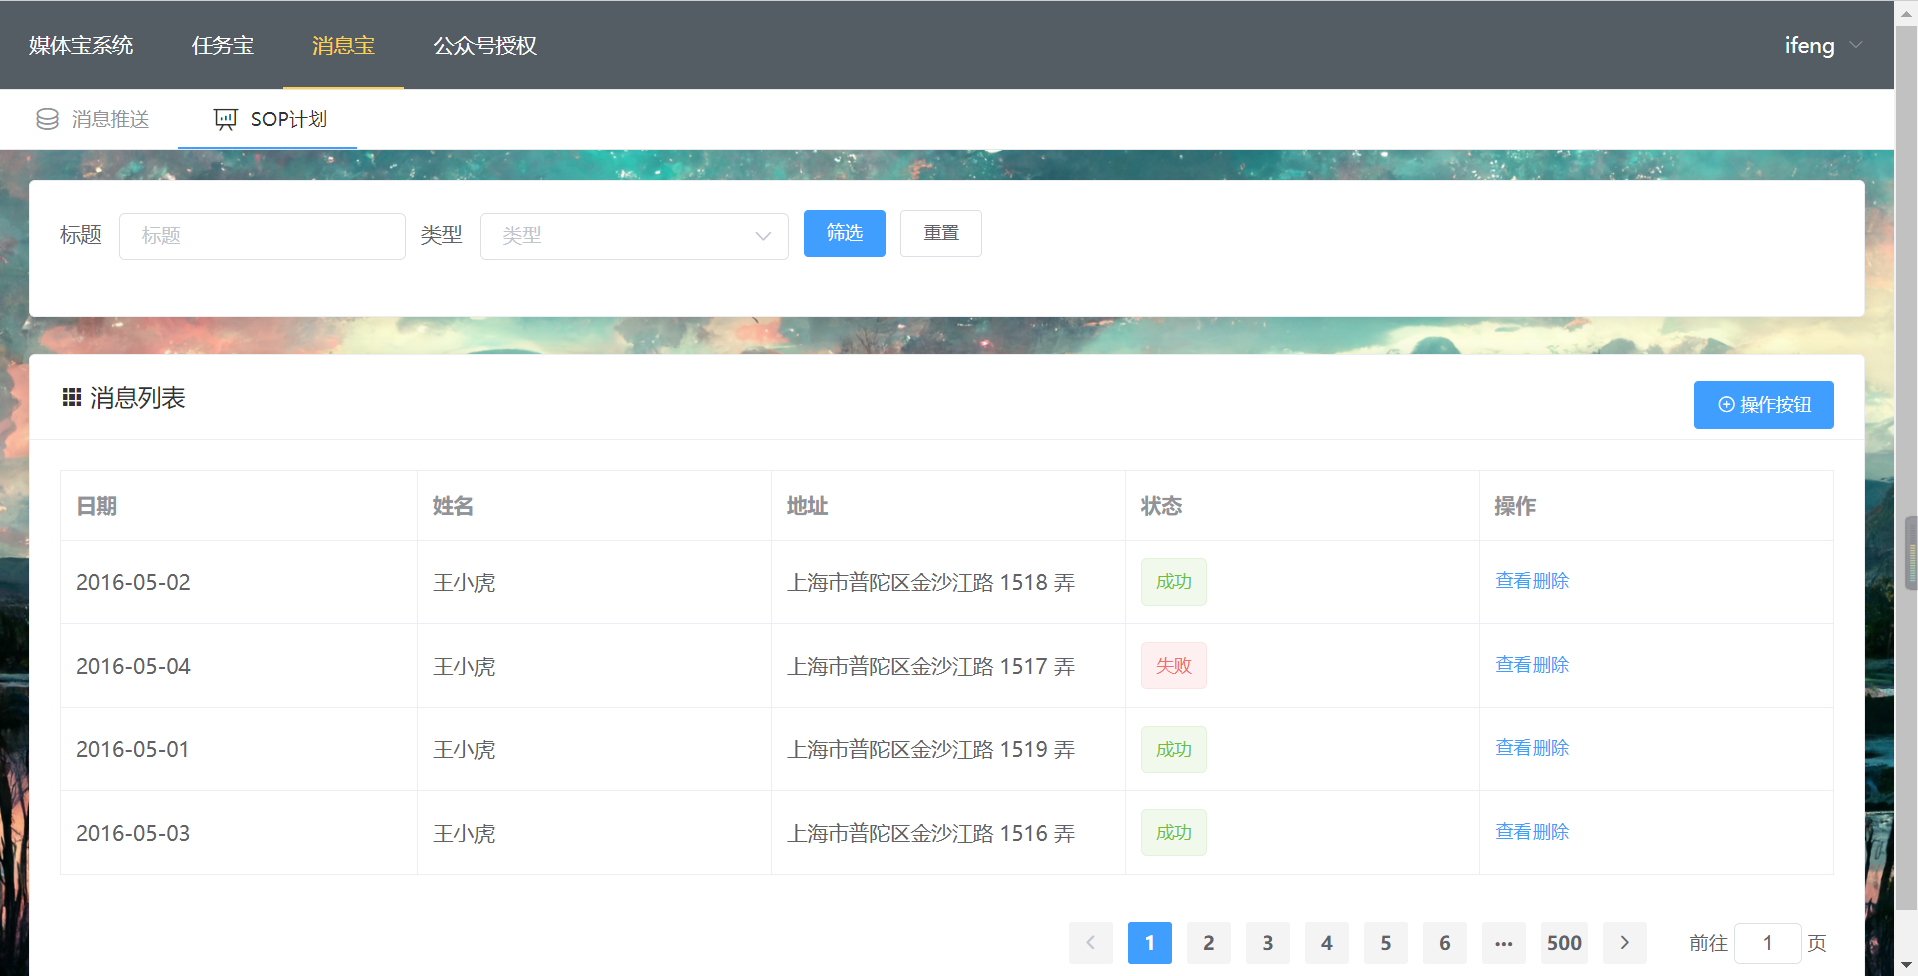
和上面的界面差不多, 我将修改的代码贴一些
<el-table :data="tableData" border style="width: 100%">

    <el-table-column prop="date" label="日期"></el-table-column>

    <el-table-column prop="name" label="姓名"></el-table-column>

    <el-table-column prop="address" label="地址"></el-table-column>

    <el-table-column  label="状态">

        <template slot-scope="scope">

<el-tag v-if="scope.row.status === 1" type="success">成功</el-tag>

<el-tag v-if="scope.row.status === 2" type="danger">失败</el-tag>

        </template>

    </el-table-column>

    </el-table-column>

</el-table>
6.任务宝
6.1 活动列表
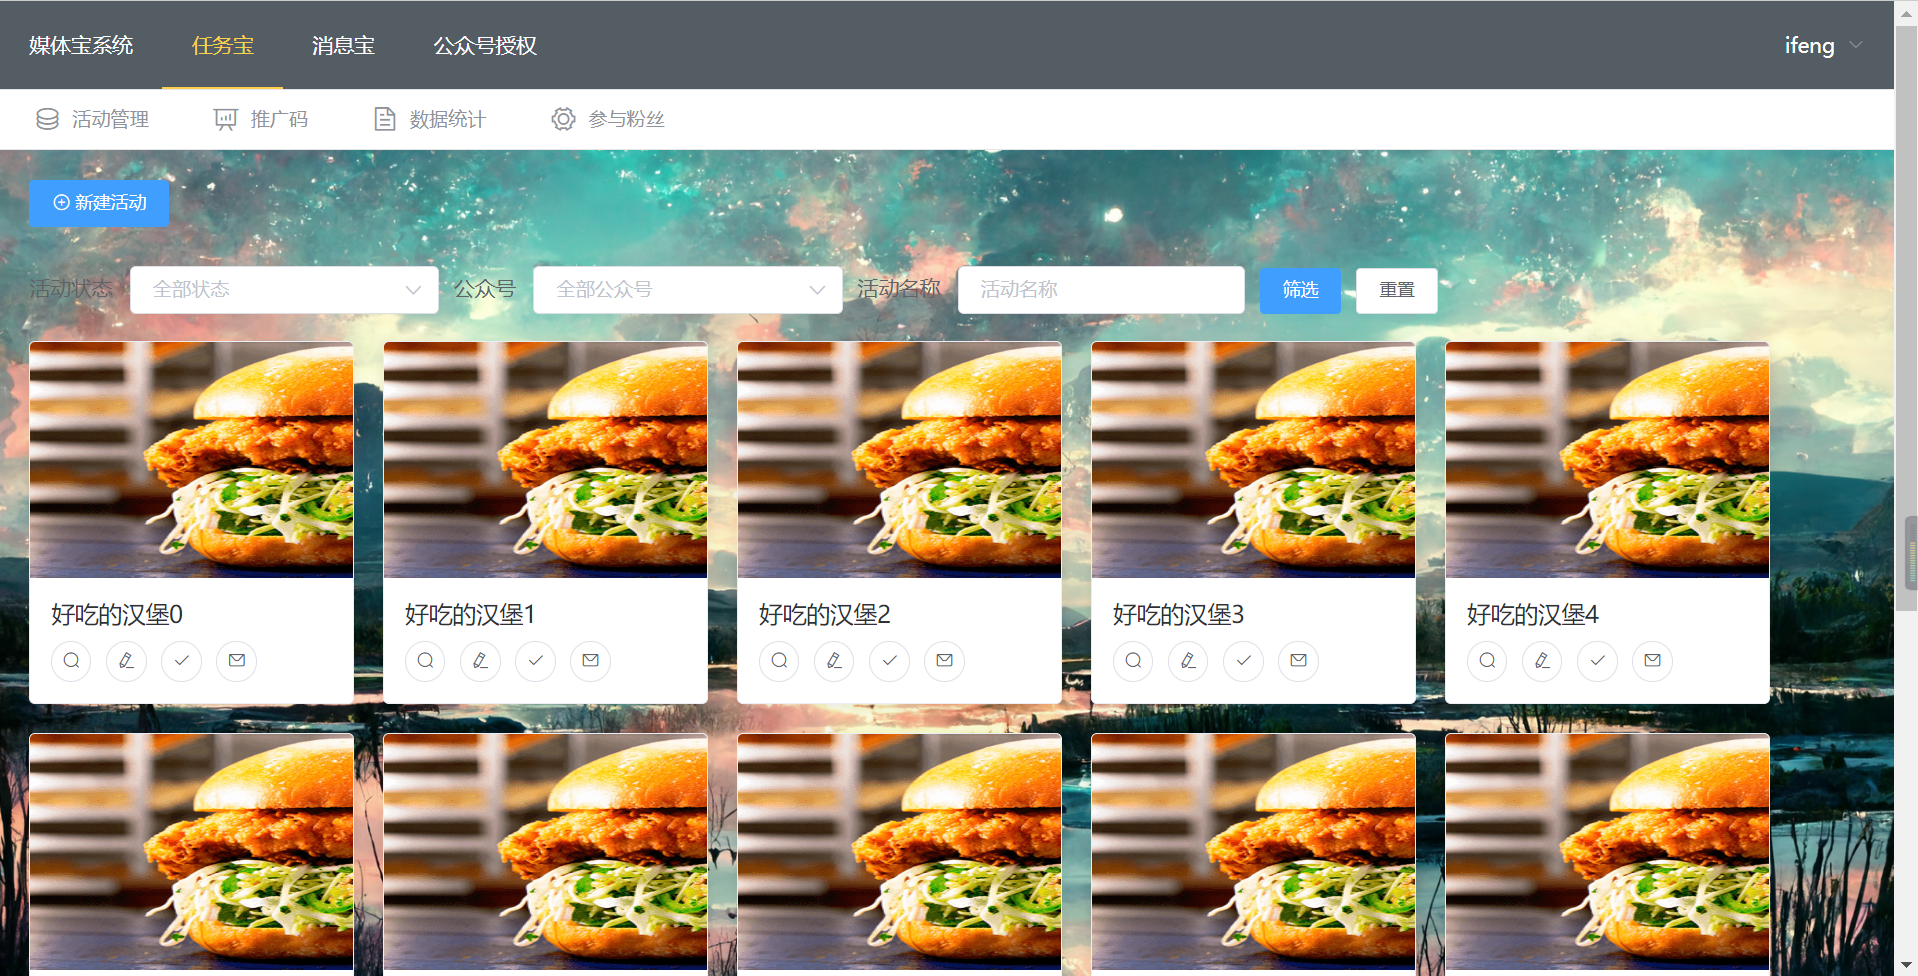
- 路由的设计
- 列表和新建
6.2 推广码
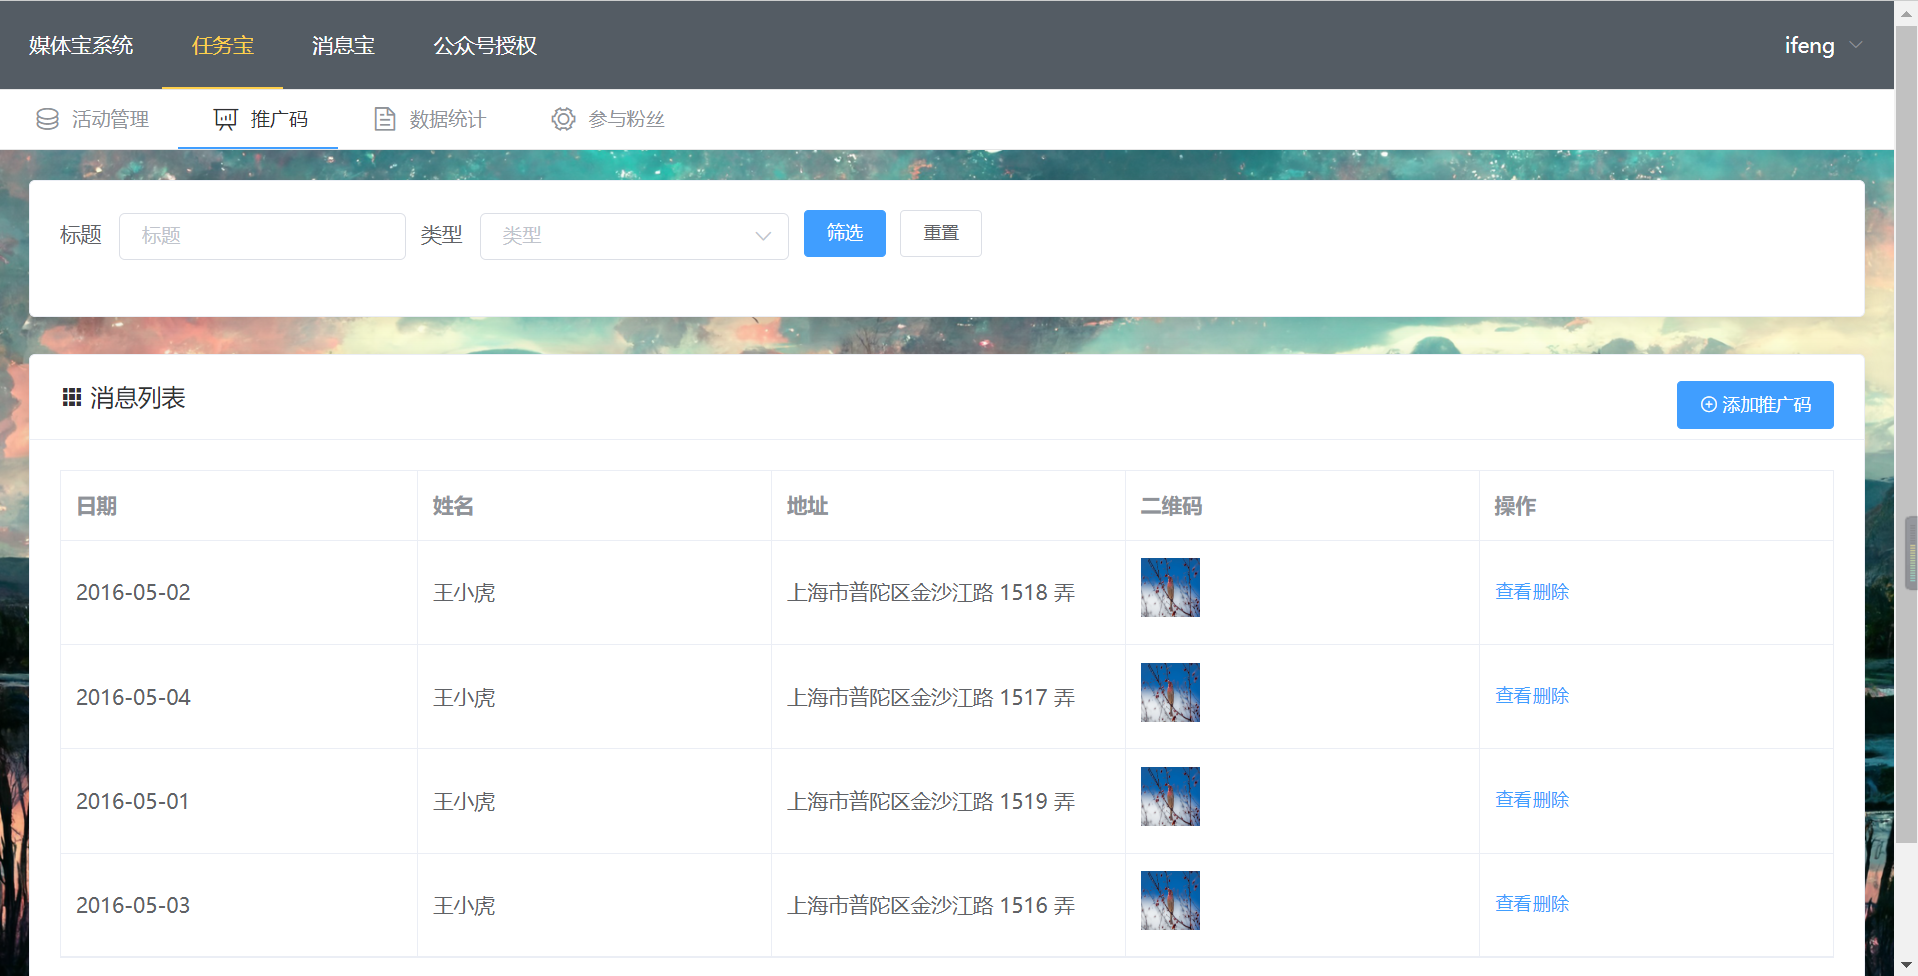
- 抽屉的使用
- 悬浮图片变大 -> 扫码
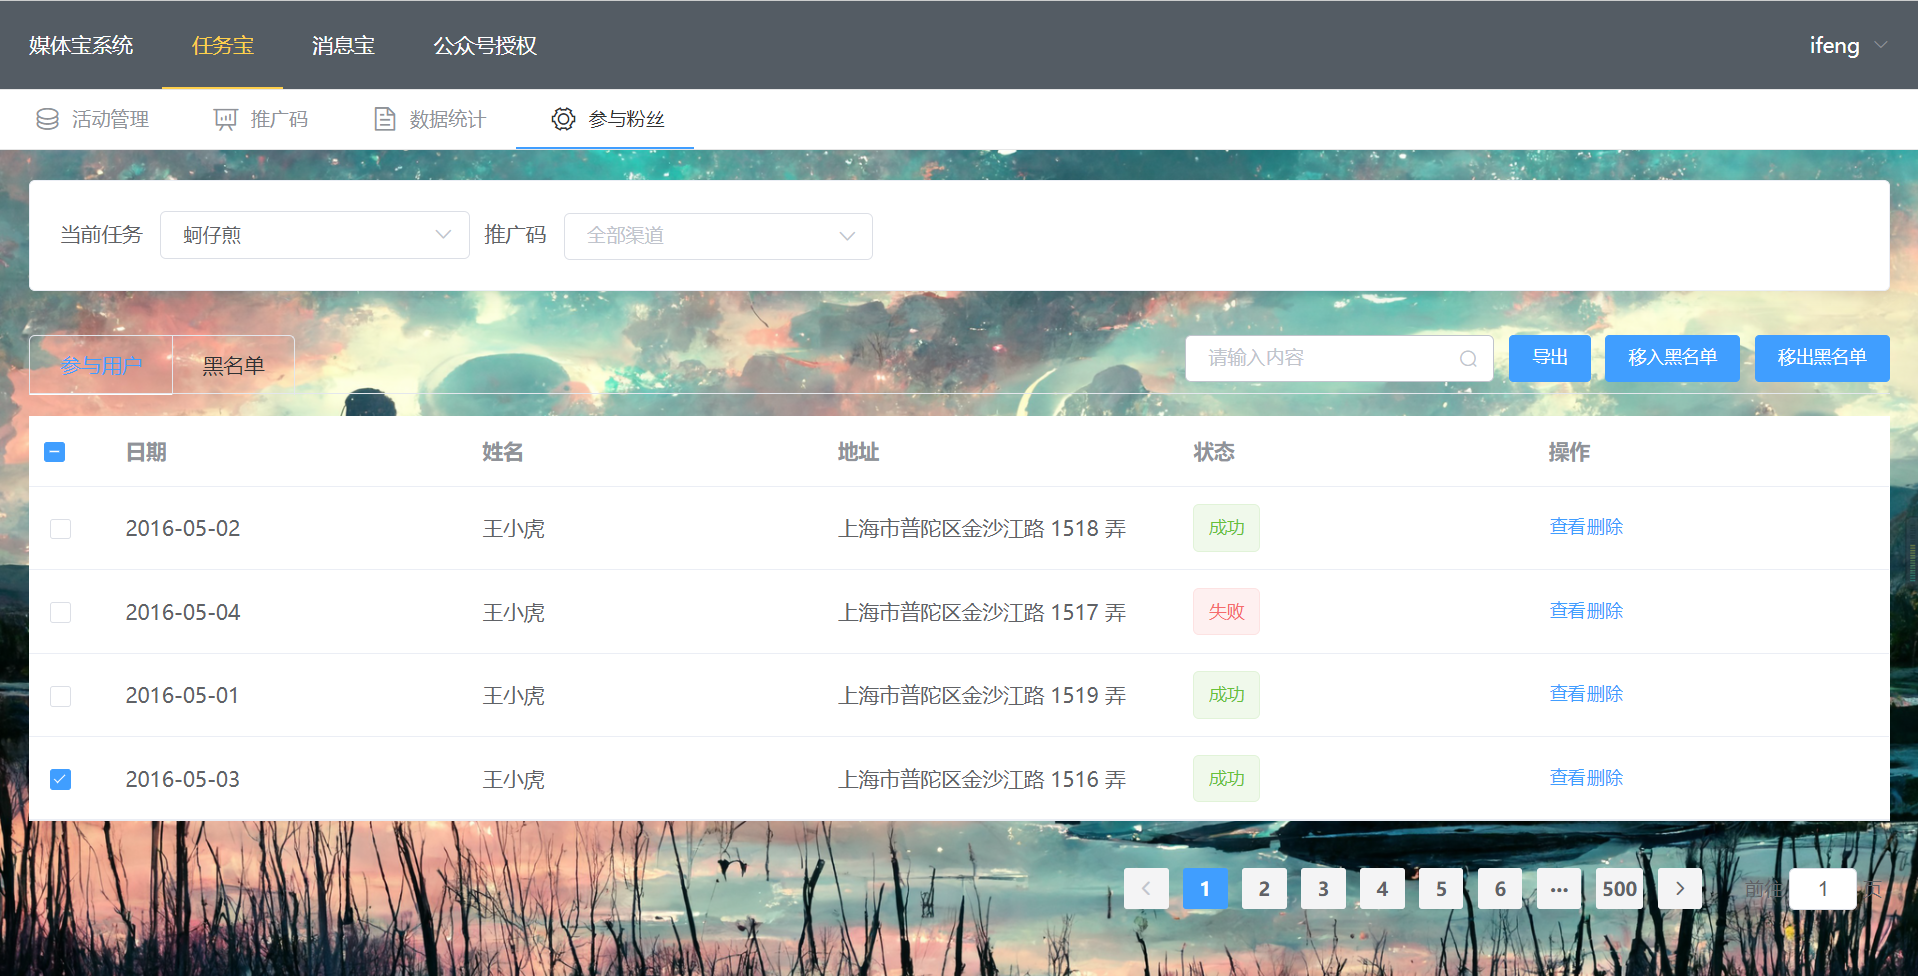
6.3 参与粉丝
6.4 数据统计
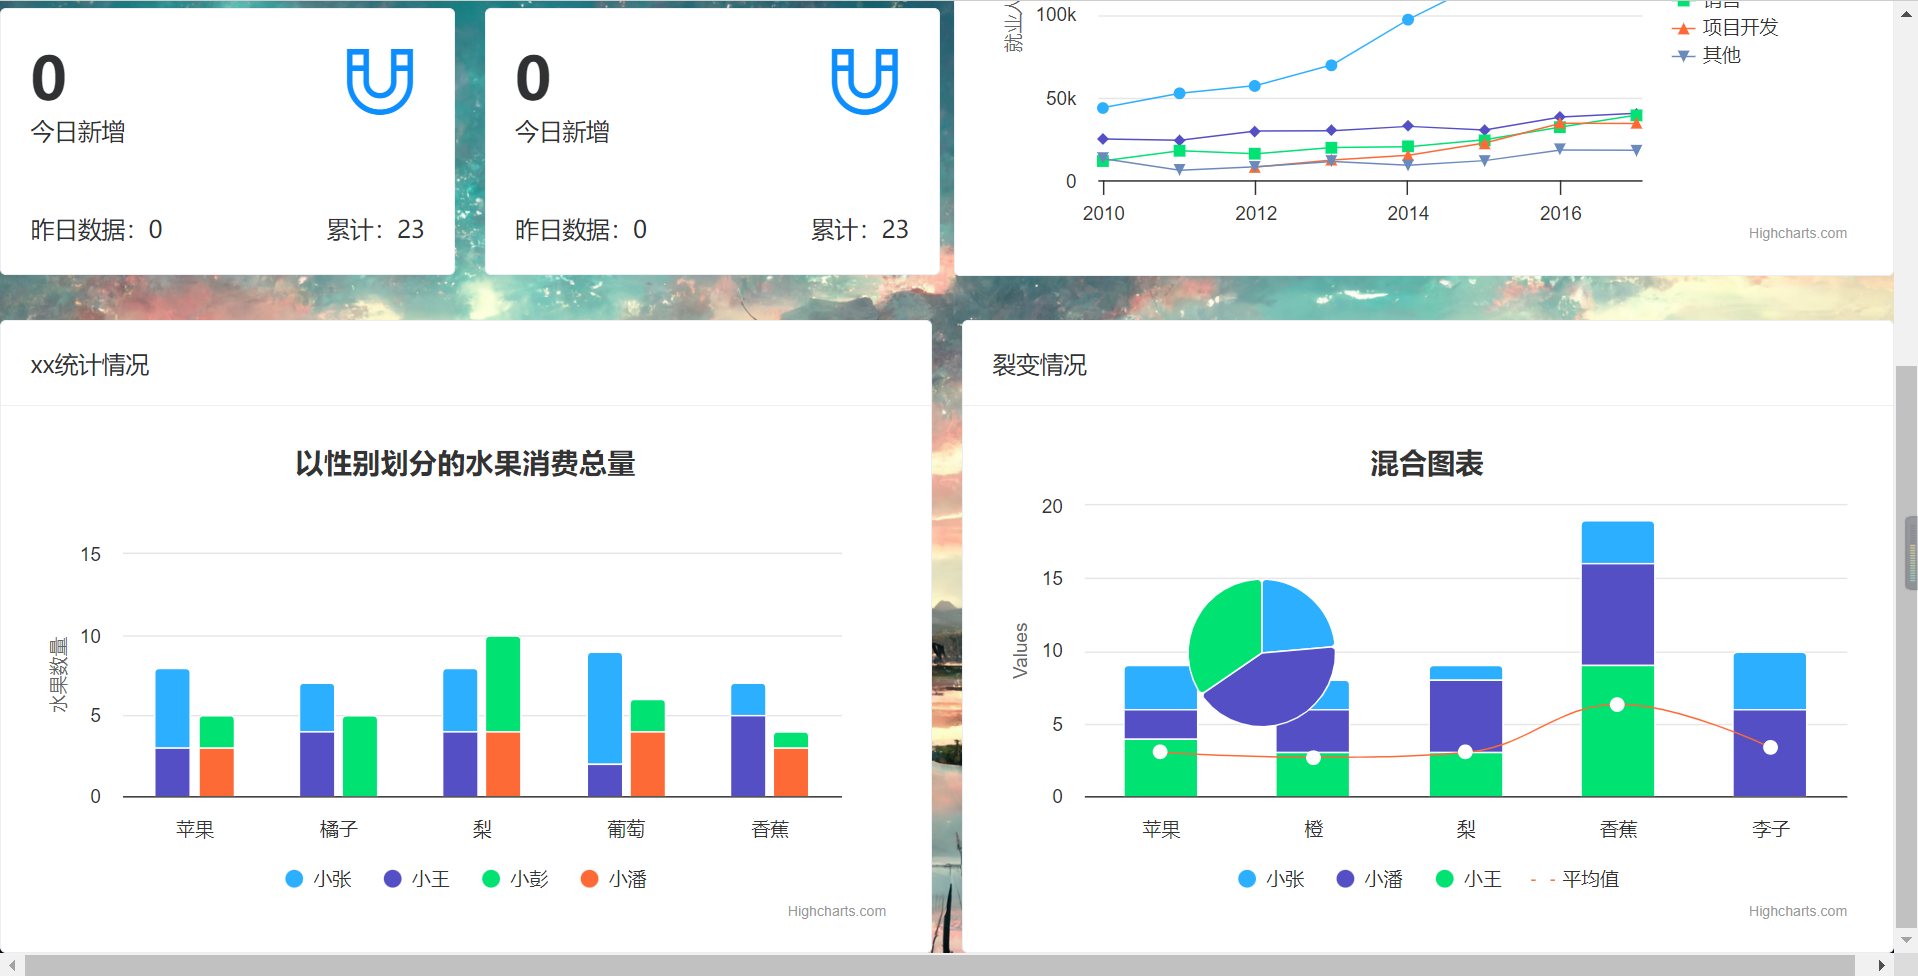
- flex布局
- 使用highChart绘图
npm install highcharts-vue
import HighchartsVue from 'highcharts-vue'

Vue.use(HighchartsVue)
<template>

       <highcharts :options="opt1" style="height: 330px;min-width: 300px"></highcharts>

</template>

<script>

export default {

	name: "State",

    // 添加highchart相关配置

    opt1: {

        title: {

          text: '2010 ~ 2016 年太阳能行业就业人员发展情况'

        },

        subtitle: {

          text: '数据来源:thesolarfoundation.com'

        },

        yAxis: {

          title: {

            text: '就业人数'

          }

        },

        legend: {

          layout: 'vertical',

          align: 'right',

          verticalAlign: 'middle'

        },

        plotOptions: {

          series: {

            label: {

              connectorAllowed: false

            },

            pointStart: 2010

          }

        },

        series: [{

          name: '安装,实施人员',

          data: [43934, 52503, 57177, 69658, 97031, 119931, 137133, 154175]

        }, {

          name: '工人',

          data: [24916, 24064, 29742, 29851, 32490, 30282, 38121, 40434]

        }, {

          name: '销售',

          data: [11744, 17722, 16005, 19771, 20185, 24377, 32147, 39387]

        }, {

          name: '项目开发',

          data: [null, null, 7988, 12169, 15112, 22452, 34400, 34227]

        }, {

          name: '其他',

          data: [12908, 5948, 8105, 11248, 8989, 11816, 18274, 18111]

        }],

        responsive: {

          rules: [{

            condition: {

              maxWidth: 500

            },

            chartOptions: {

              legend: {

                layout: 'horizontal',

                align: 'center',

                verticalAlign: 'bottom'

              }

            }

          }]

        }

      },

}

</script>
文档:https://www.highcharts.com.cn/docs/highcharts-vue
Vue实战案例的更多相关文章
- 【Vue.js实战案例】- Vue.js递归组件实现组织架构树和选人功能
大家好!先上图看看本次案例的整体效果. 浪奔,浪流,万里涛涛江水永不休.如果在jq时代来实这个功能简直有些噩梦了,但是自从前端思想发展到现在的以MVVM为主流的大背景下,来实现一个这样繁杂的功能简直不 ...
- Vue一个案例引发「内容分发slot」的最全总结
今天我们继续来说说 Vue,目前一直在自学 Vue 然后也开始做一个项目实战,我一直认为在实战中去发现问题然后解决问题的学习方式是最好的,所以我在学习一些 Vue 的理论之后,就开始自己利用业余时间做 ...
- Vue一个案例引发的递归组件的使用
今天我们继续使用 Vue 的撸我们的实战项目,只有在实战中我们才会领悟更多,光纸上谈兵然并卵,继上篇我们的<Vue一个案例引发的动态组件与全局事件绑定总结> 之后,今天来聊一聊我们如何在项 ...
- Vue2.0史上最全入坑教程(下)—— 实战案例
书接上文 前言:经过前两节的学习,我们已经可以创建一个vue工程了.下面我们将一起来学习制作一个简单的实战案例. 说明:默认我们已经用vue-cli(vue脚手架或称前端自动化构建工具)创建好项目了 ...
- 3.awk数组详解及企业实战案例
awk数组详解及企业实战案例 3.打印数组: [root@nfs-server test]# awk 'BEGIN{array[1]="zhurui";array[2]=" ...
- HTML+CSS小实战案例
HTML+CSS小实战案例 登录界面的美化,综合最近所学进行练习 网页设计先布局,搭建好大框架,然后进行填充,完成页面布局 <html> <head> <meta htt ...
- 从壹开始前后端分离 [ Vue2.0+.NET Core2.1] 二十一║Vue实战:开发环境搭建【详细版】
缘起 哈喽大家好,兜兜转转终于来到了Vue实战环节,前边的 6 篇关于Vue基础文章我刚刚简单看了看,感觉写的还是不行呀,不是很系统,所以大家可能看上去比较累,还是得抽时间去润润色,修改修改语句和样式 ...
- vue实战记录(五)- vue实现购物车功能之商品总金额计算和单选全选删除功能
vue实战,一步步实现vue购物车功能的过程记录,课程与素材来自慕课网,自己搭建了express本地服务器来请求数据 作者:狐狸家的鱼 本文链接:vue实战-实现购物车功能(五) GitHub:sue ...
- vue实战记录(六)- vue实现购物车功能之地址列表选配
vue实战,一步步实现vue购物车功能的过程记录,课程与素材来自慕课网,自己搭建了express本地服务器来请求数据 作者:狐狸家的鱼 本文链接:vue实战-实现购物车功能(六) GitHub:sue ...
- vue实战记录(四)- vue实现购物车功能之过滤器的使用
vue实战,一步步实现vue购物车功能的过程记录,课程与素材来自慕课网,自己搭建了express本地服务器来请求数据 作者:狐狸家的鱼 本文链接:vue实战-实现购物车功能(四) GitHub:sue ...
随机推荐
- 微信小程序 实现点击返回顶部
效果: wxml: <!-- 点击回顶部 --> <image src='/images/top.jpg' class='goTop' hidden='{{showTop}}' bi ...
- oralce 11g 数据库及客户端client等的下载安装
下载地址:https://www.oracle.com/cn/database/technologies/microsoft-windows.html
- selenium 模拟鼠标滚轮,滚动到可见的选项
self.wrap_driver.move_to_element(locator=const_xpath.monitor_select) #鼠标移动到某个区域target = self.driver. ...
- 微信小程序中如何设置跳转页面
修改project.config.json内容 "cloudfunctionRoot":"cloud", //配置云开发的路径 更改app.js文件内容 App ...
- layui tree 未命名 所遇到的坑
由于传入类型不对,需要传入object类型,我传入的是String类型,所以出现了 一堆未命名, 在控制台输出查看,是一模一样的,困扰了我一下午,再次感谢老哥 参考自:https://www.cnbl ...
- mybaits-plus 部分注解说明
参考: https://blog.csdn.net/qq_45684867/article/details/123951309
- 这篇文章汇聚33个BUG!来挑战一下,看看你能找出来几个?
你好呀,我是歪歪. 前几天看到"Qunar技术沙龙"公众号推送了一篇关于他们举办了一场"Code Review大赛"的文章. 看到 Code Review 我很 ...
- Android错误之--Error retrieving parent for item: No resource found that matches the given name 'Theme.A
改正错误 (虽然内容较少,但是还是选择单独占用一篇) 这个错误,可以说是困扰了我好久,然后就看到可以改变一下使用的Android版本,改成Android 4.0,然后就去试了试,发现真的就好了耶! 就 ...
- js循环中reduce的用法简单介绍
reduce() 方法接收一个函数作为累加器,reduce 为数组中的每一个元素依次执行回调函数,不包括数组中被删除或从未被赋值的元素,接受四个参数:初始值(上一次回调的返回值),当前元素值,当前索引 ...
- 成为钢铁侠!只需一块RTX3090,微软开源贾维斯(J.A.R.V.I.S.)人工智能AI助理系统
梦想照进现实,微软果然不愧是微软,开源了贾维斯(J.A.R.V.I.S.)人工智能助理系统,贾维斯(jarvis)全称为Just A Rather Very Intelligent System(只是 ...