Harbor 2.1.2 安装部署
环境
首先需要准备好 Docker + Docker-Compose 环境,Docker 在 CentOS 7.x 的安装教程请参考 这篇文章,后续文章假设你已经安装好了上述环境。
安装
标准安装
首先从 Harbor 的官方 GitHub Relase 下载最新的安装包,Harbor 本身的运行也是依赖于 Docker Compose ,整个压缩包本质上就是一系列离线镜像,执行安装脚本就是执行 docker load 命令将需要的镜像直接加载。
下载安装包,请访问 https://github.com/goharbor/harbor/releases/tag/v2.1.2 下载 tgz 压缩包。
将文件移动到安装文件夹,这里我建立了一个
/opt/harbor文件夹。运行
tar -xvf harbor-offline-installer-v1.10.1.tgz解压文件包。移动到解压完成的文件夹,编辑对应的
harbor.yml文件,设置域名、SSL 证书等信息。注意️:
这一步的证书文件必须是全链证书(fullchain),否则后续
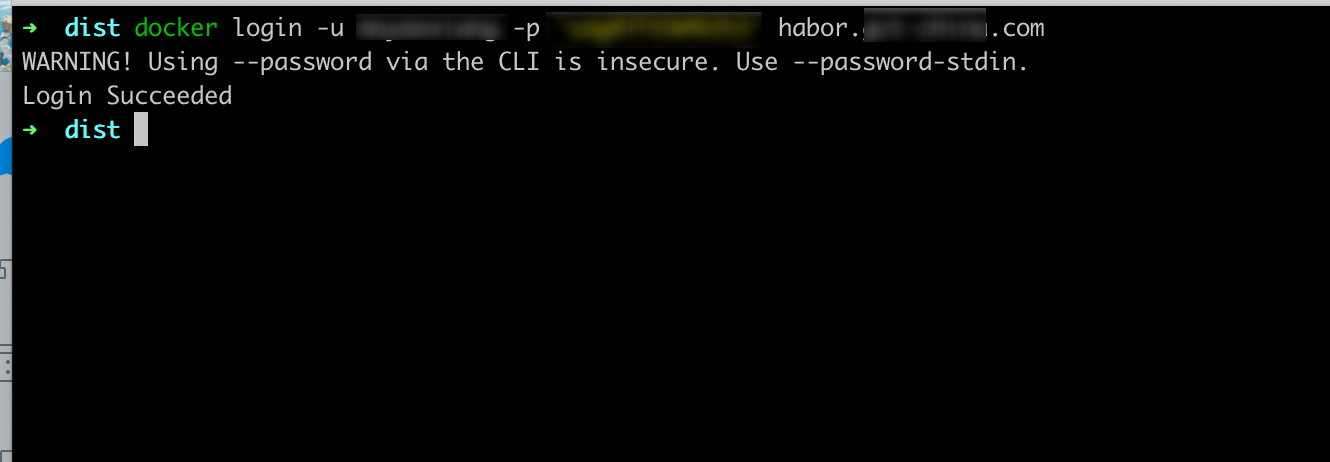
docker login的时候会提示 X509 错误。执行
./install.sh --with-clair开始安装 Harbor。
完成上述步骤以后 Harbor 就安装成功了。
不使用内置 NGINX
在我们的环境当中,NGINX 容器是单独存在的,并且使用的是 docker nework create 创建的外部网络。这个时候就不能够使用 Harbor 安装脚本内提供的 NGINX,需要变更 Harbor 的 Docker Compose 文件。
执行
docker-compose down命令,停止所有 Harbor 容器。编辑 Harbor 的
docker-compose.yml文件,引入外部网络,这里我以 internal-network 为例,下面是变更好的 YAML 文件。version: '2.3'
services:
log:
image: goharbor/harbor-log:v2.1.2
container_name: harbor-log
restart: always
dns_search: .
cap_drop:
- ALL
cap_add:
- CHOWN
- DAC_OVERRIDE
- SETGID
- SETUID
volumes:
- /var/log/harbor/:/var/log/docker/:z
- type: bind
source: ./common/config/log/logrotate.conf
target: /etc/logrotate.d/logrotate.conf
- type: bind
source: ./common/config/log/rsyslog_docker.conf
target: /etc/rsyslog.d/rsyslog_docker.conf
ports:
- 127.0.0.1:1514:10514
networks:
- harbor
- internal-network
registry:
image: goharbor/registry-photon:v2.1.2
container_name: registry
restart: always
cap_drop:
- ALL
cap_add:
- CHOWN
- SETGID
- SETUID
volumes:
- /data/registry:/storage:z
- ./common/config/registry/:/etc/registry/:z
- type: bind
source: /data/secret/registry/root.crt
target: /etc/registry/root.crt
- type: bind
source: ./common/config/shared/trust-certificates
target: /harbor_cust_cert
networks:
- harbor
- internal-network
dns_search: .
depends_on:
- log
logging:
driver: "syslog"
options:
syslog-address: "tcp://127.0.0.1:1514"
tag: "registry"
registryctl:
image: goharbor/harbor-registryctl:v2.1.2
container_name: registryctl
env_file:
- ./common/config/registryctl/env
restart: always
cap_drop:
- ALL
cap_add:
- CHOWN
- SETGID
- SETUID
volumes:
- /data/registry:/storage:z
- ./common/config/registry/:/etc/registry/:z
- type: bind
source: ./common/config/registryctl/config.yml
target: /etc/registryctl/config.yml
- type: bind
source: ./common/config/shared/trust-certificates
target: /harbor_cust_cert
networks:
- harbor
- internal-network
dns_search: .
depends_on:
- log
logging:
driver: "syslog"
options:
syslog-address: "tcp://127.0.0.1:1514"
tag: "registryctl"
postgresql:
image: goharbor/harbor-db:v2.1.2
container_name: harbor-db
restart: always
cap_drop:
- ALL
cap_add:
- CHOWN
- DAC_OVERRIDE
- SETGID
- SETUID
volumes:
- /data/database:/var/lib/postgresql/data:z
networks:
harbor:
dns_search: .
env_file:
- ./common/config/db/env
depends_on:
- log
logging:
driver: "syslog"
options:
syslog-address: "tcp://127.0.0.1:1514"
tag: "postgresql"
core:
image: goharbor/harbor-core:v2.1.2
container_name: harbor-core
env_file:
- ./common/config/core/env
restart: always
cap_drop:
- ALL
cap_add:
- SETGID
- SETUID
volumes:
- /data/ca_download/:/etc/core/ca/:z
- /data/:/data/:z
- ./common/config/core/certificates/:/etc/core/certificates/:z
- type: bind
source: ./common/config/core/app.conf
target: /etc/core/app.conf
- type: bind
source: /data/secret/core/private_key.pem
target: /etc/core/private_key.pem
- type: bind
source: /data/secret/keys/secretkey
target: /etc/core/key
- type: bind
source: ./common/config/shared/trust-certificates
target: /harbor_cust_cert
networks:
- harbor
- internal-network
dns_search: .
depends_on:
- log
- registry
- redis
- postgresql
logging:
driver: "syslog"
options:
syslog-address: "tcp://127.0.0.1:1514"
tag: "core"
portal:
image: goharbor/harbor-portal:v2.1.2
container_name: harbor-portal
restart: always
cap_drop:
- ALL
cap_add:
- CHOWN
- SETGID
- SETUID
- NET_BIND_SERVICE
volumes:
- type: bind
source: ./common/config/portal/nginx.conf
target: /etc/nginx/nginx.conf
networks:
- harbor
- internal-network
dns_search: .
depends_on:
- log
logging:
driver: "syslog"
options:
syslog-address: "tcp://127.0.0.1:1514"
tag: "portal" jobservice:
image: goharbor/harbor-jobservice:v2.1.2
container_name: harbor-jobservice
env_file:
- ./common/config/jobservice/env
restart: always
cap_drop:
- ALL
cap_add:
- CHOWN
- SETGID
- SETUID
volumes:
- /data/job_logs:/var/log/jobs:z
- type: bind
source: ./common/config/jobservice/config.yml
target: /etc/jobservice/config.yml
- type: bind
source: ./common/config/shared/trust-certificates
target: /harbor_cust_cert
networks:
- harbor
- internal-network
dns_search: .
depends_on:
- core
logging:
driver: "syslog"
options:
syslog-address: "tcp://127.0.0.1:1514"
tag: "jobservice"
redis:
image: goharbor/redis-photon:v2.1.2
container_name: redis
restart: always
cap_drop:
- ALL
cap_add:
- CHOWN
- SETGID
- SETUID
volumes:
- /data/redis:/var/lib/redis
networks:
harbor:
dns_search: .
depends_on:
- log
logging:
driver: "syslog"
options:
syslog-address: "tcp://127.0.0.1:1514"
tag: "redis" networks:
harbor:
external: false
internal-network:
external: true
在独立的 NGINX 中创建对应的配置文件,在上一步的 YAML 文件内部,我为每个容器指定了
container_name,确保容器名字唯一不会因为外部原因而变动。这个配置文件我是从之前 Harbor 内部的 NGINX 拷贝出来的,直接拿去改吧改吧就能用。server{
listen 80;
server_name 你的域名;
return 301 https://你的域名$request_uri;
} server{
listen 443 ssl;
server_name 你的域名; # disable any limits to avoid HTTP 413 for large image uploads
client_max_body_size 0; # required to avoid HTTP 411: see Issue #1486 (https://github.com/docker/docker/issues/1486)
chunked_transfer_encoding on; # Add extra headers
add_header Strict-Transport-Security "max-age=31536000; includeSubdomains; preload";
add_header X-Frame-Options DENY;
add_header Content-Security-Policy "frame-ancestors 'none'"; ssl_certificate /etc/nginx/ssl/你的域名/full.pem; # SSL 证书文件的存放路径
ssl_certificate_key /etc/nginx/ssl/你的域名/key.pem; # SSL 密钥文件的存放路径 ssl_protocols TLSv1.2;
ssl_ciphers '!aNULL:kECDH+AESGCM:ECDH+AESGCM:RSA+AESGCM:kECDH+AES:ECDH+AES:RSA+AES:';
ssl_prefer_server_ciphers on;
ssl_session_cache shared:SSL:10m; location / {
proxy_pass http://harbor-portal:8080/;
proxy_set_header Host $http_host;
proxy_set_header X-Real-IP $remote_addr;
proxy_set_header X-Forwarded-For $proxy_add_x_forwarded_for; # When setting up Harbor behind other proxy, such as an Nginx instance, remove the below line if the proxy already has similar settings.
proxy_set_header X-Forwarded-Proto $scheme; proxy_cookie_path / "/; HttpOnly; Secure"; proxy_buffering off;
proxy_request_buffering off;
} location /c/ {
proxy_pass http://harbor-core:8080/c/;
proxy_set_header Host $host;
proxy_set_header X-Real-IP $remote_addr;
proxy_set_header X-Forwarded-For $proxy_add_x_forwarded_for; # When setting up Harbor behind other proxy, such as an Nginx instance, remove the below line if the proxy already has similar settings.
proxy_set_header X-Forwarded-Proto $scheme; proxy_cookie_path / "/; Secure"; proxy_buffering off;
proxy_request_buffering off;
} location /api/ {
proxy_pass http://harbor-core:8080/api/;
proxy_set_header Host $host;
proxy_set_header X-Real-IP $remote_addr;
proxy_set_header X-Forwarded-For $proxy_add_x_forwarded_for; # When setting up Harbor behind other proxy, such as an Nginx instance, remove the below line if the proxy already has similar settings.
proxy_set_header X-Forwarded-Proto $scheme; proxy_cookie_path / "/; Secure"; proxy_buffering off;
proxy_request_buffering off;
} location /chartrepo/ {
proxy_pass http://harbor-core:8080/chartrepo/;
proxy_set_header Host $host;
proxy_set_header X-Real-IP $remote_addr;
proxy_set_header X-Forwarded-For $proxy_add_x_forwarded_for; # When setting up Harbor behind other proxy, such as an Nginx instance, remove the below line if the proxy already has similar settings.
proxy_set_header X-Forwarded-Proto $scheme; proxy_cookie_path / "/; Secure"; proxy_buffering off;
proxy_request_buffering off;
} location /v1/ {
return 404;
} location /v2/ {
proxy_pass http://harbor-core:8080/v2/;
proxy_set_header Host $http_host;
proxy_set_header X-Real-IP $remote_addr;
proxy_set_header X-Forwarded-For $proxy_add_x_forwarded_for; # When setting up Harbor behind other proxy, such as an Nginx instance, remove the below line if the proxy already has similar settings.
proxy_set_header X-Forwarded-Proto $scheme;
proxy_buffering off;
proxy_request_buffering off;
proxy_send_timeout 900;
proxy_read_timeout 900;
} location /service/ {
proxy_pass http://harbor-core:8080/service/;
proxy_set_header Host $http_host;
proxy_set_header X-Real-IP $remote_addr;
proxy_set_header X-Forwarded-For $proxy_add_x_forwarded_for; # When setting up Harbor behind other proxy, such as an Nginx instance, remove the below line if the proxy already has similar settings.
proxy_set_header X-Forwarded-Proto $scheme; proxy_cookie_path / "/; Secure"; proxy_buffering off;
proxy_request_buffering off;
} location /service/notifications {
return 404;
}
}
这里我使用的是 acme.sh 申请的泛解析 SSL 证书。
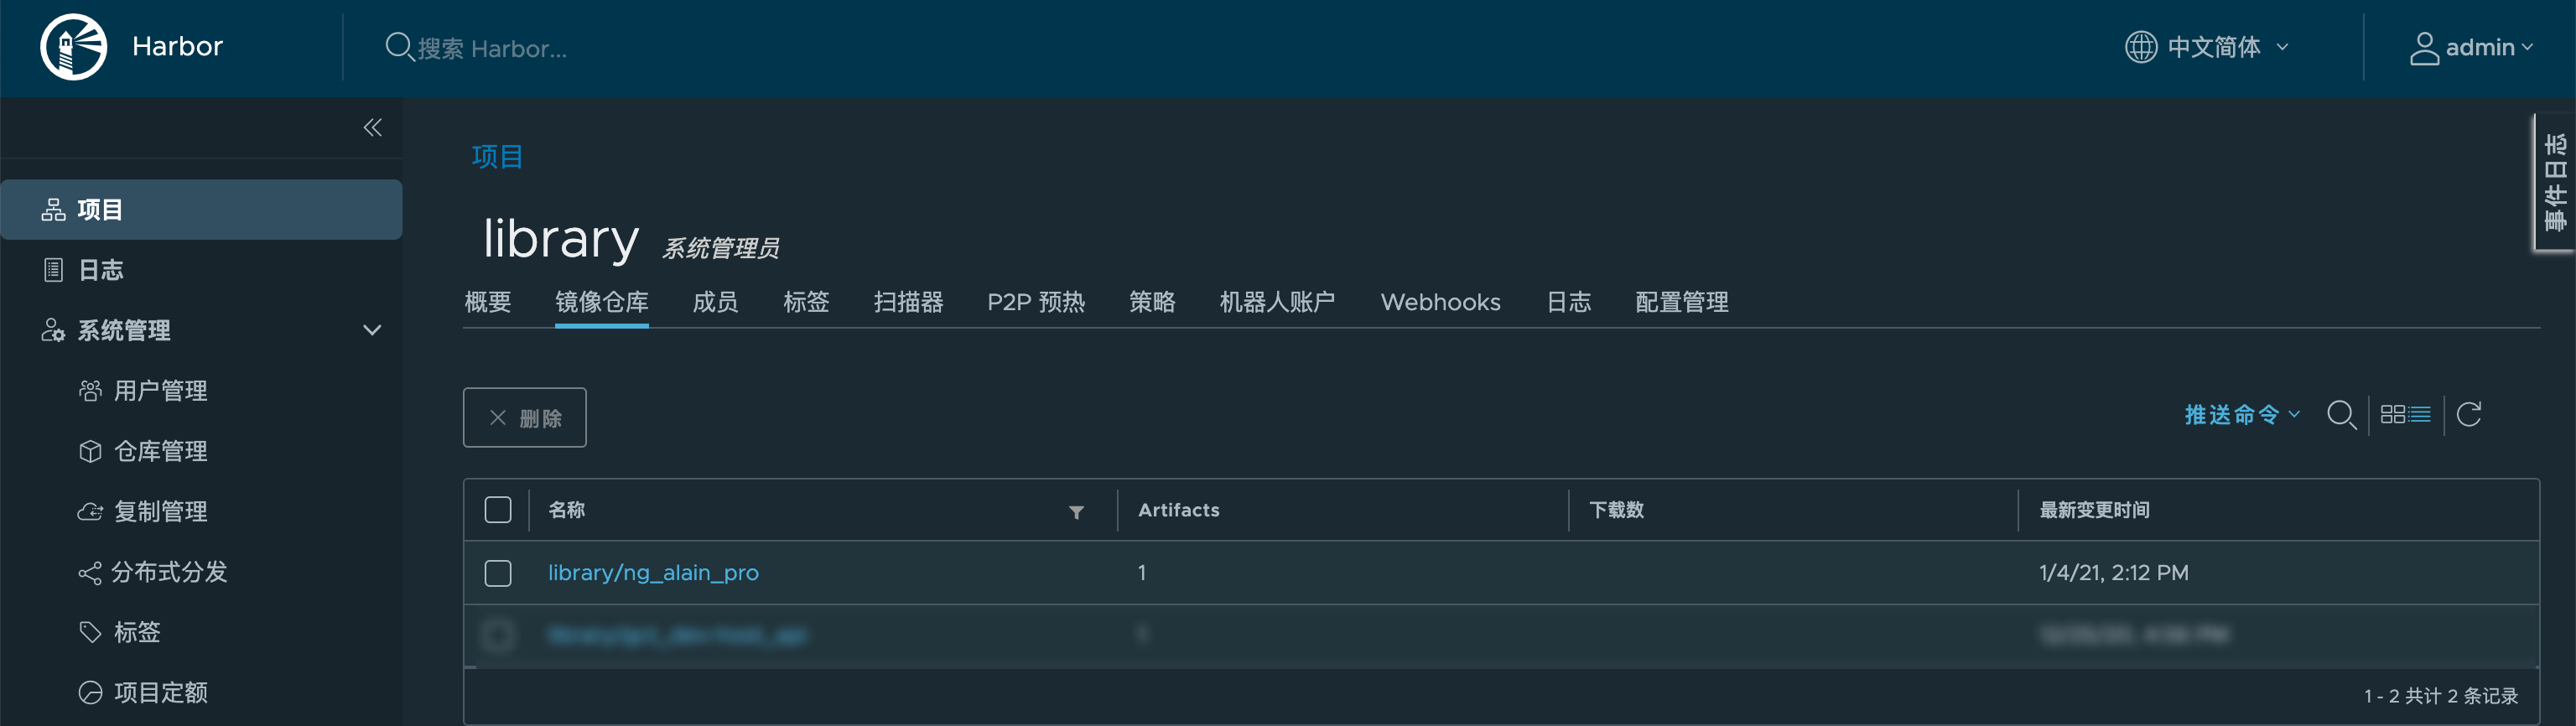
效果

Harbor 2.1.2 安装部署的更多相关文章
- harbor镜像仓库-01-搭建部署
harbor镜像仓库-01-搭建部署 dockerregistryharbor安装部署docker-compose harbor的https配置参考另一章节harbor镜像仓库-02-https访问配 ...
- Kubernetes1.91(K8s)安装部署过程(一)--证书安装
安装前忠告:如果你用的是虚拟机,强烈不建议你使用克隆(链接克隆)的方式,至于完整克隆不知道有没有问题,每一台全新安装centos7系统最好. 一.安装前主题环境准备 1.docker安装 建议使用官网 ...
- kubernetes 1.9 安装部署
参考地址:https://github.com/gjmzj/kubeasz 引言 提供快速部署高可用k8s集群的工具,基于二进制方式部署和利用ansible-playbook实现自动化,既提供一键安装 ...
- (转)实验文档1:跟我一步步安装部署kubernetes集群
实验环境 基础架构 主机名 角色 ip HDSS7-11.host.com k8s代理节点1 10.4.7.11 HDSS7-12.host.com k8s代理节点2 10.4.7.12 HDSS7- ...
- 基于Containerd安装部署高可用Kubernetes集群
转载自:https://blog.weiyigeek.top/2021/7-30-623.html 简述 Kubernetes(后续简称k8s)是 Google(2014年6月) 开源的一个容器编排引 ...
- Oracle安装部署,版本升级,应用补丁快速参考
一.Oracle安装部署 1.1 单机环境 1.2 Oracle RAC环境 1.3 Oracle DataGuard环境 1.4 主机双机 1.5 客户端部署 二.Oracle版本升级 2.1 单机 ...
- KVM安装部署
KVM安装部署 公司开始部署KVM,KVM的全称是kernel base virtual machine,对KVM虚拟化技术研究了一段时间, KVM是基于硬件的完全虚拟化,跟vmware.xen.hy ...
- Linux平台oracle 11g单实例 + ASM存储 安装部署 快速参考
操作环境:Citrix虚拟化环境中申请一个Linux6.4主机(模板)目标:创建单机11g + ASM存储 数据库 1. 主机准备 2. 创建ORACLE 用户和组成员 3. 创建以下目录并赋予对应权 ...
- 分布式文件系统 - FastDFS 在 CentOS 下配置安装部署
少啰嗦,直接装 看过上一篇分布式文件系统 - FastDFS 简单了解一下的朋友应该知道,本次安装是使用目前余庆老师开源的最新 V5.05 版本,是余庆老师放在 Github 上的,和目前你能在网络上 ...
- C# winform安装部署(转载)
c# winform 程序打包部署 核心总结: 1.建议在完成的要打包的项目外,另建解决方案建立安装部署项目(而不是在同一个解决方案内新建),在解决方案上右击-〉添加-〉现有项目-〉选择你要打包的项目 ...
随机推荐
- 在bat中切换盘符
在bat代码中如何在不同的盘符中切换?直接输入盘符的名字,前面不要加cd,示例 cd %~dp0 d: cd D:\Python37 e: cd E:\Code\KSFramework c: cd C ...
- 微信小程序-页面跳转wxAPI
官方文档地址:https://developers.weixin.qq.com/miniprogram/dev/api/route/wx.navigateTo.html wx.navigateTo(O ...
- Python Coroutine 池化实现
Python Coroutine 池化实现 池化介绍 在当今计算机科学和软件工程的领域中,池化技术如线程池.连接池和对象池等已经成为优化资源利用率和提高软件性能的重要工具.然而,在 Python 的协 ...
- 使用Docker部署Tomcat
目录 使用Docker部署Tomcat 1. 获取镜像 2. 第一次启动tomcat 3.带参数启动 4.查看tomcat日志 5.时区问题 使用Docker部署Tomcat 1. 获取镜像 dock ...
- 三星发布990 EVO SSD:同时支持PCIe 4.0和PCIe 5.0
1月8日消息,三星发布了新款产品--990 EVO SSD,这是首款同时支持了PCIe 4.0 x4及PCIe 5.0 x2通道的SSD. 据了解,990 EVO面向中端市场,为2280 M.2规格, ...
- Vulkan学习苦旅01:最初的相遇(学习路线、参考资料与环境配置)
提示:博主本人也在努力学习Vulkan中,文中可能有写错的地方,敬请大家批评指正. 这个世界只有两种人:会Vulkan的和不会Vulkan的,大概不存在"只会一点"的中间状态.学习 ...
- 基于IO端口检测虚拟机
通过执行特权指令探测 Vmware: 因为在虚拟机中指定功能号 0xa 则会从指定端口获取虚拟机版本信息到指定的目的操作数地址: 另外 0x14 则是获取虚拟机内存大小,当获取的值大于0说明在虚拟机中 ...
- ES6学习 第六章 数值的扩展
前言 本章介绍数值的扩展.新增了很多方法,有些不常用的方法了解即可. 本章原文链接:数值的扩展 进制表示法 ES6 提供了二进制和八进制数值的新的写法,分别用前缀0b(或0B)和0o(或0O)表示. ...
- 从零开始手写缓存框架(二)redis expire 过期原理及实现
前言 我们在 从零手写 cache 框架(一)实现固定大小的缓存 中已经初步实现了我们的 cache. 本节,让我们来一起学习一下如何实现类似 redis 中的 expire 过期功能. 过期是一个非 ...
- AIR32F103(十二) 搭载 AIR32F103CBT6 的Bluepill核心板
目录 AIR32F103(一) 合宙AIR32F103CBT6开发板上手报告 AIR32F103(二) Linux环境和LibOpenCM3项目模板 AIR32F103(三) Linux环境基于标准外 ...