
编译安装nginx,实现多域名 https
一、编译安装nginx
1.1 获取源码包
[root@cetnos7 ~]#wget -O /usr/local/src/nginx-1.18.0.tar.gz http://nginx.org/download/nginx-1.18.0.tar.gz

[root@cetnos7 ~]#cd /usr/local/src/

[root@cetnos7 src]#tar xvf nginx-1.18.0.tar.gz
1.2 准备工作
[root@cetnos7 ~]#yum -y install gcc pcre-devel openssl-devel zlib-devel

[root@cetnos7 ~]#useradd -s /sbin/nologin nginx
1.3 进行编译
[root@cetnos7 ~]#cd nginx-1.18.0

[root@cetnos7 nginx-1.18.0]#./configure --prefix=/apps/nginx \

 --user=nginx \

 --group=nginx \

 --with-http_ssl_module \

 --with-http_v2_module \

 --with-http_realip_module \

 --with-http_stub_status_module \

 --with-http_gzip_static_module \

 --with-pcre \

 --with-stream \

 --with-stream_ssl_module \

 --with-stream_realip_module

[root@cetnos7 nginx-1.18.0]#make -j 4 && make install

[root@cetnos7 nginx-1.18.0]#chown -R nginx.nginx /apps/nginx

[root@cetnos7 nginx-1.18.0]#ll /apps/nginx/

total 0

drwxr-xr-x 2 nginx nginx 333 Nov 28 13:37 conf

drwxr-xr-x 2 nginx nginx  40 Nov 28 13:37 html

drwxr-xr-x 2 nginx nginx   6 Nov 28 13:37 logs

drwxr-xr-x 2 nginx nginx  19 Nov 28 13:37 sbin
1.4 创建server文件
[root@centos7 ~]#vim /usr/lib/systemd/system/nginx.service

[Unit]

Description=nginx - high performance web server

Documentation=http://nginx.org/en/docs/

After=network-online.target remote-fs.target nss-lookup.target

Wants=network-online.target

[Service]

Type=forking

PIDFile=/apps/nginx/run/nginx.pid

ExecStart=/apps/nginx/sbin/nginx -c /apps/nginx/conf/nginx.conf

ExecReload=/bin/kill -s HUP $MAINPID

ExecStop=/bin/kill -s TERM $MAINPID

[Install]

WantedBy=multi-user.target

[root@centos7 ~]#mkdir /apps/nginx/run/    #创建pid目录

[root@centos7 ~]#vim /apps/nginx/conf/nginx.conf

pid /apps/nginx/run/nginx.pid;
1.5 启动nginx
[root@cetnos7 ~]# ln -s /apps/nginx/sbin/nginx /usr/sbin/

[root@cetnos7 ~]#nginx -v

nginx version: nginx/1.18.0

[root@cetnos7 ~]#systemctl enable --now nginx

[root@cetnos7 ~]#ll /apps/nginx/run/

total 4

-rw-r--r-- 1 root root 5 Nov 28 13:57 nginx.pid
二、实现多域名
2.1 声明子配置文件
[root@cetnos7 ~]#vim /apps/nginx/conf/nginx.conf

http {

  include         /apps/nginx/conf.d/*.conf;  #在http语句块添加此行

}

[root@cetnos7 ~]#mkdir /apps/nginx/conf.d -v

[root@cetnos7 ~]#touch /apps/nginx/conf.d/test{1..3}.conf #创建子配置文件
2.2 子配置文件配置
[root@cetnos7 ~]#cd /apps/nginx/conf.d

[root@cetnos7 ~]#cat test1.conf

server  {

    listen          80;

    server_name     www.pc.test1.org;

    location / {

        root        /data/nginx/html/test1;

        index	    index.html;

    }

}

[root@cetnos7 ~]#cat test2.conf

server  {

    listen          80;

    server_name     www.pc.test2.org;

    location / {

        root        /data/nginx/html/test2;

        index	    index.html;

    }

}

[root@cetnos7 ~]#cat test3.conf

server  {

    listen          80;

    server_name     www.pc.test3.org;

    location / {

        root        /data/nginx/html/test3;

        index	    index.html;

    }

}
2.3 创建web目录
[root@cetnos7 conf.d]#mkdir /data/nginx/html/test{1..3} -p

[root@cetnos7 conf.d]#echo "<h1>pc.test1<h1>" > test1/index.html

[root@cetnos7 conf.d]#echo "<h1>pc.test2<h1>" > test2/index.html

[root@cetnos7 conf.d]#echo "<h1>pc.test3<h1>" > test3/index.html
2.4 重启nginx
[root@cetnos7 ~]#nginx -t  #检查配置语法是否正确

nginx: the configuration file /apps/nginx/conf/nginx.conf syntax is ok

nginx: configuration file /apps/nginx/conf/nginx.conf test is successful

[root@cetnos7 ~]#nginx -s reload
2.5 测试
[root@client ~]#cat /etc/hosts

10.0.0.7    test1.org test2.org test3.org  #添加本地域名解析

[root@client ~]#curl www.pc.test1.org  www.pc.test2.org www.pc.test3.org

<h1>pc.test1<h1>

<h1>pc.test2<h1>

<h1>pc.test3<h1>
三、实现https
3.1 生成自签名证书
[root@centos7 ~]#openssl req -newkey rsa:4096 -nodes -sha256 -keyout ca.key -x509 -days 3650 -out ca.crt

Generating a 4096 bit RSA private key

...++

..............................................................................................................................................................................................................................................................................................................................................................................................................................................++

writing new private key to 'ca.key'

-----

You are about to be asked to enter information that will be incorporated

into your certificate request.

What you are about to enter is what is called a Distinguished Name or a DN.

There are quite a few fields but you can leave some blank

For some fields there will be a default value,

If you enter '.', the field will be left blank.

-----

Country Name (2 letter code) [XX]:CN

State or Province Name (full name) []:Shanghai

Locality Name (eg, city) [Default City]:Shanghai

Organization Name (eg, company) [Default Company Ltd]:test.org

Organizational Unit Name (eg, section) []:test

Common Name (eg, your name or your server's hostname) []:ca.test.org

Email Address []:admin@123.org

[root@7-1 certs]#ll

total 8

-rw-r--r-- 1 root root 2102 Nov 28 15:39 ca.crt

-rw-r--r-- 1 root root 3272 Nov 28 15:39 ca.key
3.2自制key和csr文件
[root@7-1 certs]#openssl req -newkey rsa:4096 -nodes -sha256 -keyout www.test1.org.key -out www.test1.org.csr  #重复此步骤,生成test2,test3的相关文件

-----

Country Name (2 letter code) [XX]:CN

State or Province Name (full name) []:Beijing

Locality Name (eg, city) [Default City]:Beijing

Organization Name (eg, company) [Default Company Ltd]:test.org

Organizational Unit Name (eg, section) []:nginx

Common Name (eg, your name or your server's hostname) []:www.pc.test1.org

Email Address []:root@test1.org

Please enter the following 'extra' attributes

to be sent with your certificate request

A challenge password []:

An optional company name []:

##注意国家,省,公司这个三个参数要与CA的对应##

#签发证书

[root@7-1 certs]#openssl x509 -req -days 3650 -in www.pc.test1.org.csr -CA ca.crt -CAkey ca.key -CAcreateserial -out www.pc.test1.org.crt

[root@7-1 certs]#openssl x509 -req -days 3650 -in www.pc.test2.org.csr -CA ca.crt -CAkey ca.key -CAcreateserial -out www.pc.test2.org.crt

[root@7-1 certs]#openssl x509 -req -days 3650 -in www.pc.test3.org.csr -CA ca.crt -CAkey ca.key -CAcreateserial -out www.pc.test3.org.crt

#合并证书文件

[root@7-1 certs]#cat www.pc.test1.org.crt  ca.crt > www.test1.org.pem

[root@7-1 certs]#cat www.pc.test2.org.crt  ca.crt > www.test2.org.pem

[root@7-1 certs]#cat www.pc.test3.org.crt  ca.crt > www.test3.org.pem

#证书文件目录如下

total 60

-rw-r--r-- 1 root root 1103 Nov 28 16:07 ca.crt

-rw------- 1 root root 1708 Nov 28 16:07 ca.key

-rw-r--r-- 1 root root 1046 Nov 28 15:46 www.pc.test1.org.crt

-rw-r--r-- 1 root root  968 Nov 28 15:46 www.pc.test1.org.csr

-rw------- 1 root root 1708 Nov 28 15:46 www.pc.test1.org.key

-rw-r--r-- 1 root root 2149 Nov 28 15:48 www.pc.test1.org.pem

-rw-r--r-- 1 root root 1046 Nov 28 16:07 www.pc.test2.org.crt

-rw-r--r-- 1 root root  968 Nov 28 16:07 www.pc.test2.org.csr

-rw------- 1 root root 1708 Nov 28 16:07 www.pc.test2.org.key

-rw-r--r-- 1 root root 2149 Nov 28 16:07 www.pc.test2.org.pem

-rw-r--r-- 1 root root 1046 Nov 28 16:01 www.pc.test3.org.crt

-rw-r--r-- 1 root root  968 Nov 28 16:01 www.pc.test3.org.csr

-rw------- 1 root root 1704 Nov 28 16:01 www.pc.test3.org.key

-rw-r--r-- 1 root root 2149 Nov 28 16:02 www.pc.test3.org.pem
3.3 修改配置文件
##在各子配置文件的sever语句块添加,如下内容以test1为例:

server  {

    listen          80;

    listen 	    443 ssl;

    server_name     www.pc.test1.org;

    ssl_certificate /apps/nginx/certs/www.test1.org.pem;

    ssl_certificate_key /apps/nginx/certs/www.test1.org.key;

    ssl_session_cache shared:sslcache:20m;

    ssl_session_timeout 10m;

    location / {

        root        /data/nginx/html/test1;

        index        index.html;

    }

}

[root@cetnos7 ~]#nginx -t

[root@cetnos7 ~]#nginx -s reload
3.4 访问测试
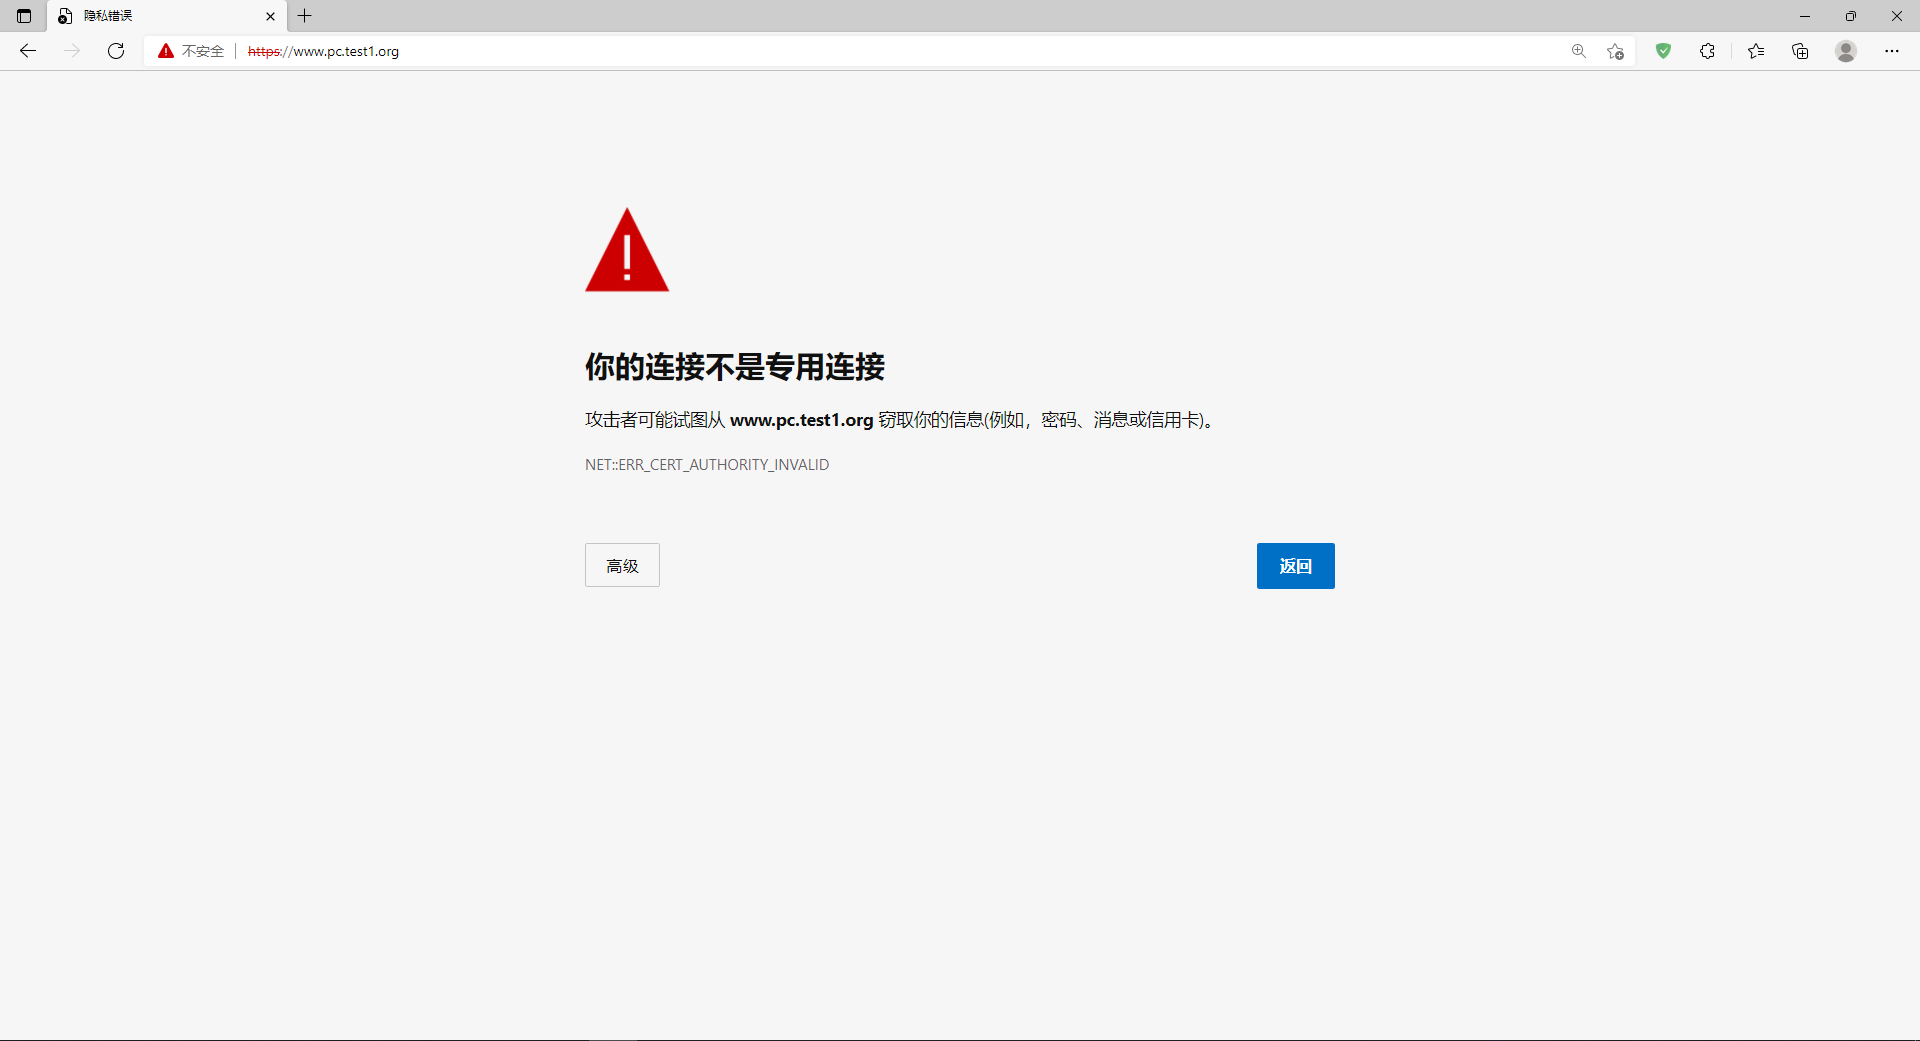
[root@client ~]#curl https://www.pc.test1.org -k

<h1>pc.test1<h1>

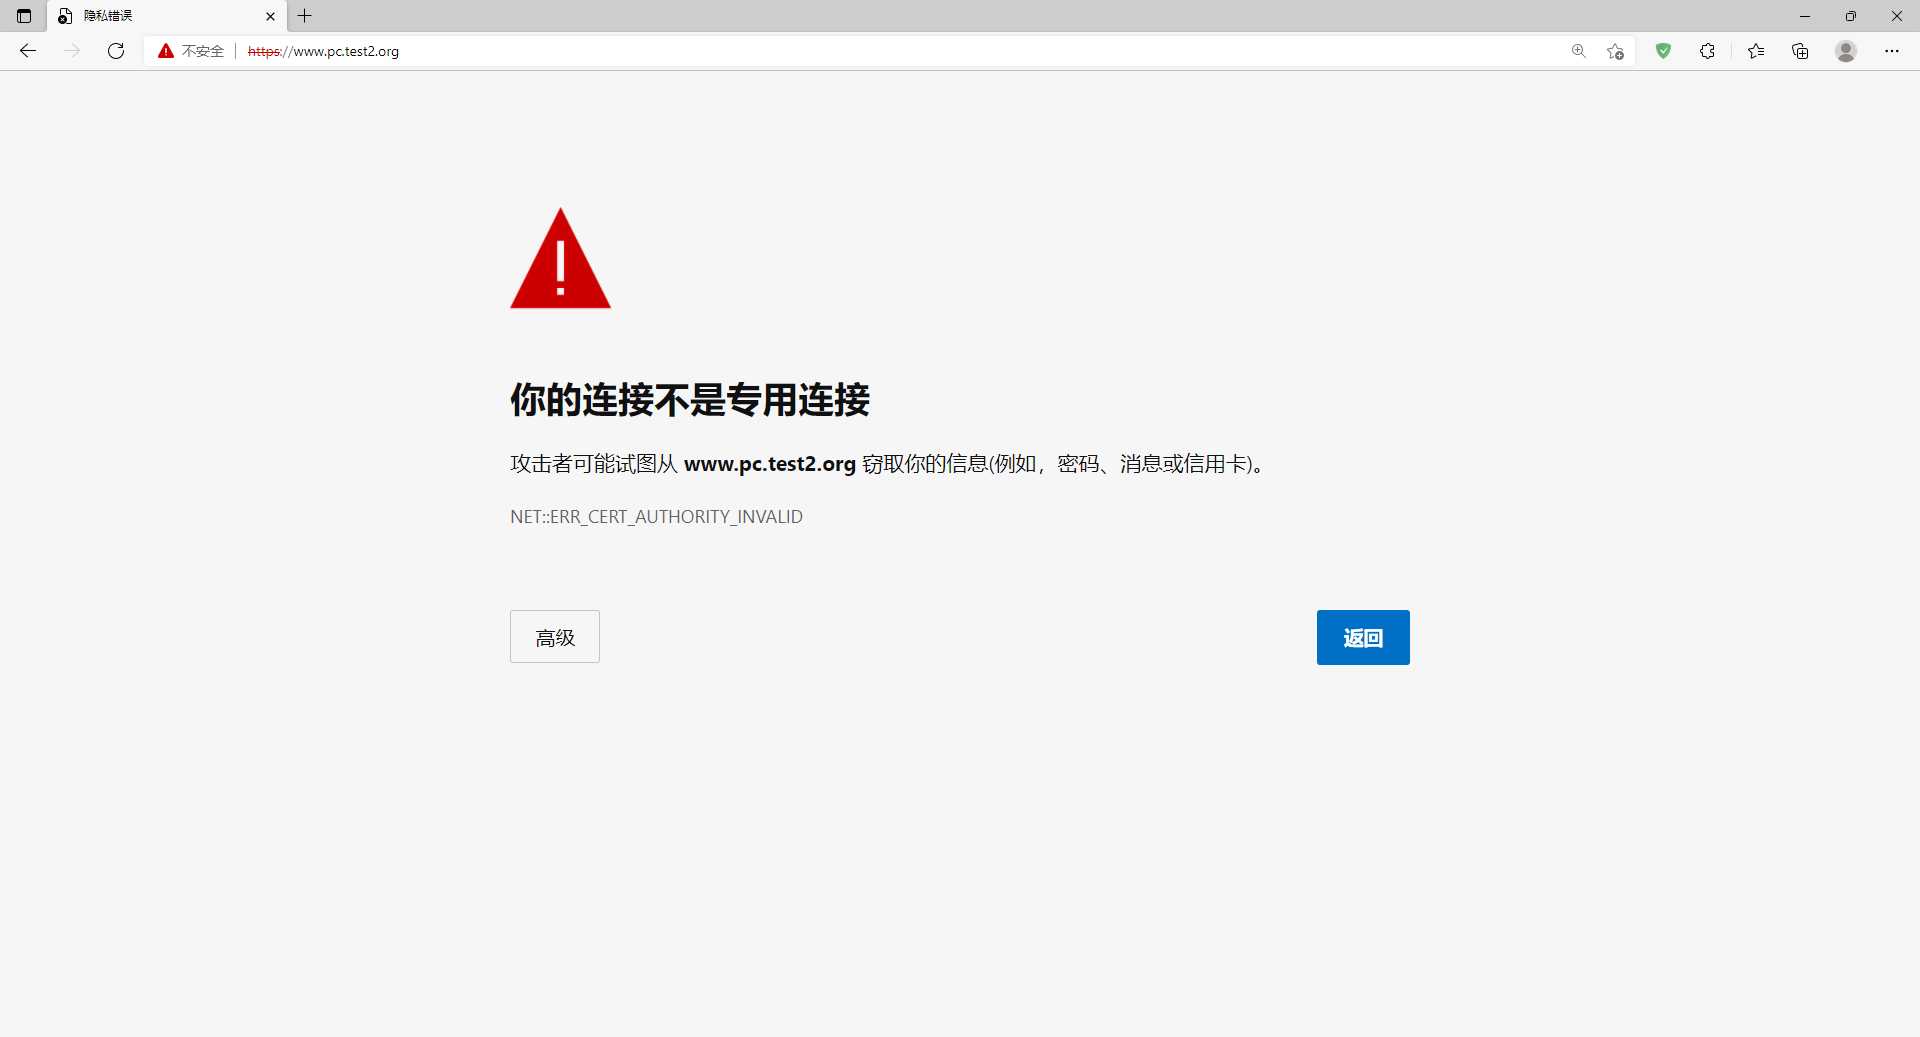
[root@client ~]#curl https://www.pc.test2.org -k

<h1>pc.test2<h1>

[root@client ~]#curl https://www.pc.test3.org -k

<h1>pc.test3<h1>

编译安装nginx,实现多域名 https的更多相关文章
- centos7编译安装nginx及无缝升级https
安装依赖: yum install -y gcc-c++ pcre pcre-devel zlib zlib-devel openssl openssl-devel 下载nginx: wget -c ...
- Centos7 编译安装 Nginx PHP Mariadb Memcached 扩展 ZendOpcache扩展 (实测 笔记 Centos 7.3 + Mariadb 10.1.20 + Nginx 1.10.2 + PHP 7.1.0 + Laravel 5.3 )
环境: 系统硬件:vmware vsphere (CPU:2*4核,内存2G,双网卡) 系统版本:CentOS-7-x86_64-Minimal-1611.iso 安装步骤: 1.准备 1.0 查看硬 ...
- Centos7 编译安装 Nginx PHP Mariadb Memcached 扩展 ZendOpcache扩展 (实测 笔记 Centos 7.3 + Openssl 1.1.0e + Mariadb 10.1.22 + Nginx 1.12.0 + PHP 7.1.4 + Laravel 5.4 )
环境: 系统硬件:vmware vsphere (CPU:2*4核,内存2G,双网卡) 系统版本:CentOS-7-x86_64-Minimal-1611.iso 安装步骤: 1.准备 1.0 查看硬 ...
- 初识Nginx及编译安装Nginx
初识Nginx及编译安装Nginx 环境说明: 系统版本 CentOS 6.9 x86_64 软件版本 nginx-1.12.2 1.什么是Nginx? 如果你听说或使用过Apache软件 ...
- Mac Pro 编译安装 Nginx 1.8.1
#下载相关源码包,统一放到 /usr/local/src 目录下: http://nginx.org/download/nginx-1.8.1.tar.gz http://zlib.net/zlib- ...
- 【转】linux 编译安装nginx,配置自启动脚本
linux 编译安装nginx,配置自启动脚本 本文章来给各位同学介绍一篇关于linux 编译安装nginx,配置自启动脚本教程,希望有需要了解的朋友可一起来学习学习哦. 在公司的suse服务器装ng ...
- linux 编译安装nginx,配置自启动脚本
本文章来给各位同学介绍一篇关于linux 编译安装nginx,配置自启动脚本教程,希望有需要了解的朋友可一起来学习学习哦. 在公司的suse服务器装nginx,记录下安装过程: 参照这篇文章:Linu ...
- Ubuntu 16.04源码编译安装nginx 1.10.0
一.下载相关的依赖库 pcre 下载地址 http://120.52.73.43/jaist.dl.sourceforge.net/project/pcre/pcre/8.38/pcre-8.38.t ...
- Centos7 编译安装 Nginx Mariadb Asp.net Core2 (实测 笔记 Centos 7.3 + Openssl 1.1.0h + Mariadb 10.3.7 + Nginx 1.14.0 + Asp.net. Core 2 )
环境: 系统硬件:vmware vsphere (CPU:2*4核,内存2G,双网卡) 系统版本:CentOS-7-x86_64-Minimal-1611.iso 安装步骤: 1.准备 1.0 查看硬 ...
随机推荐
- python与redis交互(4)
python可以使用redis模块来跟redis交互 redis模块的使用 安装模块: pip3 install redis 导入模块:import redis 连接方式 严格连接模式:r=redis ...
- SSM简单实现文件上传和下载
一.配置spring-mvc <!-- 配置多媒体文件解析器 --> <bean id="multipartResolver" class="org.s ...
- less与sass的区别
在介绍less和sass的区别之前,我们先来了解一下他们的定义: 一.Less.Sass/Scss是什么? 1.Less: 是一种动态样式语言. 对CSS赋予了动态语言的特性,如变量.继承.运算.函数 ...
- layui type:2 iframe子页面向父页面传值
需求: 选择子页面表格中的radio或者双击该行,得到的该行数据传到父页面,由父页面渲染. 网上的各种方法都用了,父页面就是获取不到子页面传的值,过了一晚上,睡了一觉,柳暗花明又一村. layui t ...
- 谈谈Raft
本文主要参考 极客时间-etcd 实战课 GitChat-分布式锁的最佳实践之:基于 Etcd 的分布式锁 谈到分布式协调组件,我们第一个想到的应该是大名鼎鼎的Zookeeper,像我们常用的Kafk ...
- 学习笔记--Java字面值
Java 字面值 /** * 关于字面值: * * - 字面值:10.100."abc"."a".true.false * * - 字面值就是数据 * * - ...
- Java 在PDF中添加工具提示|ToolTip
本文,将介绍如何通过Java后端程序代码在PDF中创建工具提示.添加工具提示后,当鼠标悬停在页面上的元素时,将显示工具提示内容. 导入jar包 本次程序中使用的是 Free Spire.PDF for ...
- python 读取配置文件ini ---ConfigParser
Python读取ini文件需要用到 ConfigParser 模块 关于ConfigParser模块的介绍详情请参照官网解释:https://docs.python.org/2.7/library/c ...
- Sentry 开发者贡献指南 - Feature Flag
功能 flag 在 Sentry 的代码库中声明. 对于自托管用户,这些标志然后通过 sentry.conf.py 进行配置. 对于 Sentry 的 SaaS 部署,Flagr 用于在生产中配置标志 ...
- 【刷题-LeetCode】239. Sliding Window Maximum
Sliding Window Maximum Given an array nums, there is a sliding window of size k which is moving from ...