Harbor 镜像管理专家
Harbor是一个企业级的镜像管理仓库,是VMware主导的一个开源项目(github地址:https://github.com/vmware/harbor)。
部署要求
Harbor会被部署为多个Docker容器,因此可以被部署到任何支持Docker的发行版Linux上。
部署步骤
1. 安装Docker
https://www.cnblogs.com/vincenshen/p/12726919.html
2. 安装Composer
curl -L "https://github.com/docker/compose/releases/download/1.25.5/docker-compose-$(uname -s)-$(uname -m)" -o /usr/local/bin/docker-compose

chmod +x /usr/local/bin/docker-compose

ln -s /usr/local/bin/docker-compose /usr/bin/docker-compose

docker-compose --version
3. 下载Harbor安装包并解压到指定目录
https://github.com/goharbor/harbor/releases
mkdir -p /data/app
tar -zxvf harbor-offline-installer-v1.x.x.tgz -C /data/app
4. 生成SSL证书
openssl genrsa -out ca.key

openssl req -x509 -new -nodes -sha512 -days  \

 -subj "/C=CN/ST=Beijing/L=Beijing/O=Bytedance/OU=IT/CN=bytedance.com" \

 -key ca.key \

 -out ca.crt

openssl genrsa -out bytedance.com.key

openssl req -sha512 -new \

    -subj "/C=CN/ST=Beijing/L=Beijing/O=example/OU=Personal/CN=yourdomain.com" \

    -key yourdomain.com.key \

    -out yourdomain.com.csr

cat > v3.ext <<-EOF

authorityKeyIdentifier=keyid,issuer

basicConstraints=CA:FALSE

keyUsage = digitalSignature, nonRepudiation, keyEncipherment, dataEncipherment

extendedKeyUsage = serverAuth

subjectAltName = @alt_names

[alt_names]

DNS.=yourdomain.com

DNS.=yourdomain

DNS.=hostname

EOF

openssl x509 -req -sha512 -days  \

    -extfile v3.ext \

    -CA ca.crt -CAkey ca.key -CAcreateserial \

    -in yourdomain.com.csr \

    -out yourdomain.com.crt

openssl x509 -inform PEM -in yourdomain.com.crt -out yourdomain.com.cert
5. 将证书复制到指定目录
mkdir -p /data/cert

cp yourdomain.com.crt /data/cert/

cp yourdomain.com.key /data/cert/

mkdir -p /etc/docker/certs.d/yourdomain.com/

cp yourdomain.com.cert /etc/docker/certs.d/yourdomain.com/

cp yourdomain.com.key /etc/docker/certs.d/yourdomain.com/

cp ca.crt /etc/docker/certs.d/yourdomain.com/
systemctl restart docker6. 修改harbor配置文件
# vim /data/app/harbor/harbor.yml

hostname: harbor.xxxx.com

certificate: /data/cert/xxxx.com.crt

private_key: /data/cert/xxxx.com.key

harbor_admin_password: Harbor12345
7. 运行准备脚本
# cd /data/app/harbor/

# ./prepare

prepare base dir is set to /data/app/harbor

Clearing the configuration file: /config/log/logrotate.conf

Clearing the configuration file: /config/log/rsyslog_docker.conf

Generated configuration file: /config/log/logrotate.conf

Generated configuration file: /config/log/rsyslog_docker.conf

Generated configuration file: /config/nginx/nginx.conf

Generated configuration file: /config/core/env

Generated configuration file: /config/core/app.conf

Generated configuration file: /config/registry/config.yml

Generated configuration file: /config/registryctl/env

Generated configuration file: /config/db/env

Generated configuration file: /config/jobservice/env

Generated configuration file: /config/jobservice/config.yml

Generated and saved secret to file: /secret/keys/secretkey

Generated certificate, key file: /secret/core/private_key.pem, cert file: /secret/registry/root.crt

Generated configuration file: /compose_location/docker-compose.yml

Clean up the input dir
8. 运行安装脚本
# cd /data/app/harbor/

# ./install.sh

[Step ]: checking if docker is installed ...

Note: docker version: 19.03.

[Step ]: checking docker-compose is installed ...

Note: docker-compose version: 1.25.

[Step ]: loading Harbor images ...

Loaded image: goharbor/harbor-db:v1.10.2

Loaded image: goharbor/notary-server-photon:v1.10.2

Loaded image: goharbor/clair-photon:v1.10.2

Loaded image: goharbor/harbor-portal:v1.10.2

Loaded image: goharbor/harbor-core:v1.10.2

Loaded image: goharbor/harbor-jobservice:v1.10.2

Loaded image: goharbor/harbor-registryctl:v1.10.2

Loaded image: goharbor/redis-photon:v1.10.2

Loaded image: goharbor/nginx-photon:v1.10.2

Loaded image: goharbor/chartmuseum-photon:v1.10.2

Loaded image: goharbor/harbor-log:v1.10.2

Loaded image: goharbor/registry-photon:v1.10.2

Loaded image: goharbor/notary-signer-photon:v1.10.2

Loaded image: goharbor/harbor-migrator:v1.10.2

Loaded image: goharbor/prepare:v1.10.2

Loaded image: goharbor/clair-adapter-photon:v1.10.2

[Step ]: preparing environment ...

[Step ]: preparing harbor configs ...

prepare base dir is set to /data/app/harbor

Clearing the configuration file: /config/log/logrotate.conf

Clearing the configuration file: /config/log/rsyslog_docker.conf

Clearing the configuration file: /config/nginx/nginx.conf

Clearing the configuration file: /config/core/env

Clearing the configuration file: /config/core/app.conf

Clearing the configuration file: /config/registry/config.yml

Clearing the configuration file: /config/registryctl/env

Clearing the configuration file: /config/registryctl/config.yml

Clearing the configuration file: /config/db/env

Clearing the configuration file: /config/jobservice/env

Clearing the configuration file: /config/jobservice/config.yml

Generated configuration file: /config/log/logrotate.conf

Generated configuration file: /config/log/rsyslog_docker.conf

Generated configuration file: /config/nginx/nginx.conf

Generated configuration file: /config/core/env

Generated configuration file: /config/core/app.conf

Generated configuration file: /config/registry/config.yml

Generated configuration file: /config/registryctl/env

Generated configuration file: /config/db/env

Generated configuration file: /config/jobservice/env

Generated configuration file: /config/jobservice/config.yml

loaded secret from file: /secret/keys/secretkey

Generated configuration file: /compose_location/docker-compose.yml

Clean up the input dir

[Step ]: starting Harbor ...

Creating network "harbor_harbor" with the default driver

Creating harbor-log ... done

Creating harbor-db     ... done

Creating harbor-portal ... done

Creating redis         ... done

Creating registry      ... done

Creating registryctl   ... done

Creating harbor-core   ... done

Creating nginx             ... done

Creating harbor-jobservice ... done

✔ ----Harbor has been installed and started successfully.----
9. 验证
# docker-compose ps

      Name                     Command                  State                          Ports

---------------------------------------------------------------------------------------------------------------

harbor-core         /harbor/harbor_core              Up (healthy)

harbor-db           /docker-entrypoint.sh            Up (healthy)   /tcp

harbor-jobservice   /harbor/harbor_jobservice  ...   Up (healthy)

harbor-log          /bin/sh -c /usr/local/bin/ ...   Up (healthy)   127.0.0.1:->/tcp

harbor-portal       nginx -g daemon off;             Up (healthy)   /tcp

nginx               nginx -g daemon off;             Up (healthy)   0.0.0.0:->/tcp, 0.0.0.0:->/tcp

redis               redis-server /etc/redis.conf     Up (healthy)   /tcp

registry            /home/harbor/entrypoint.sh       Up (healthy)   /tcp

registryctl         /home/harbor/start.sh            Up (healthy)
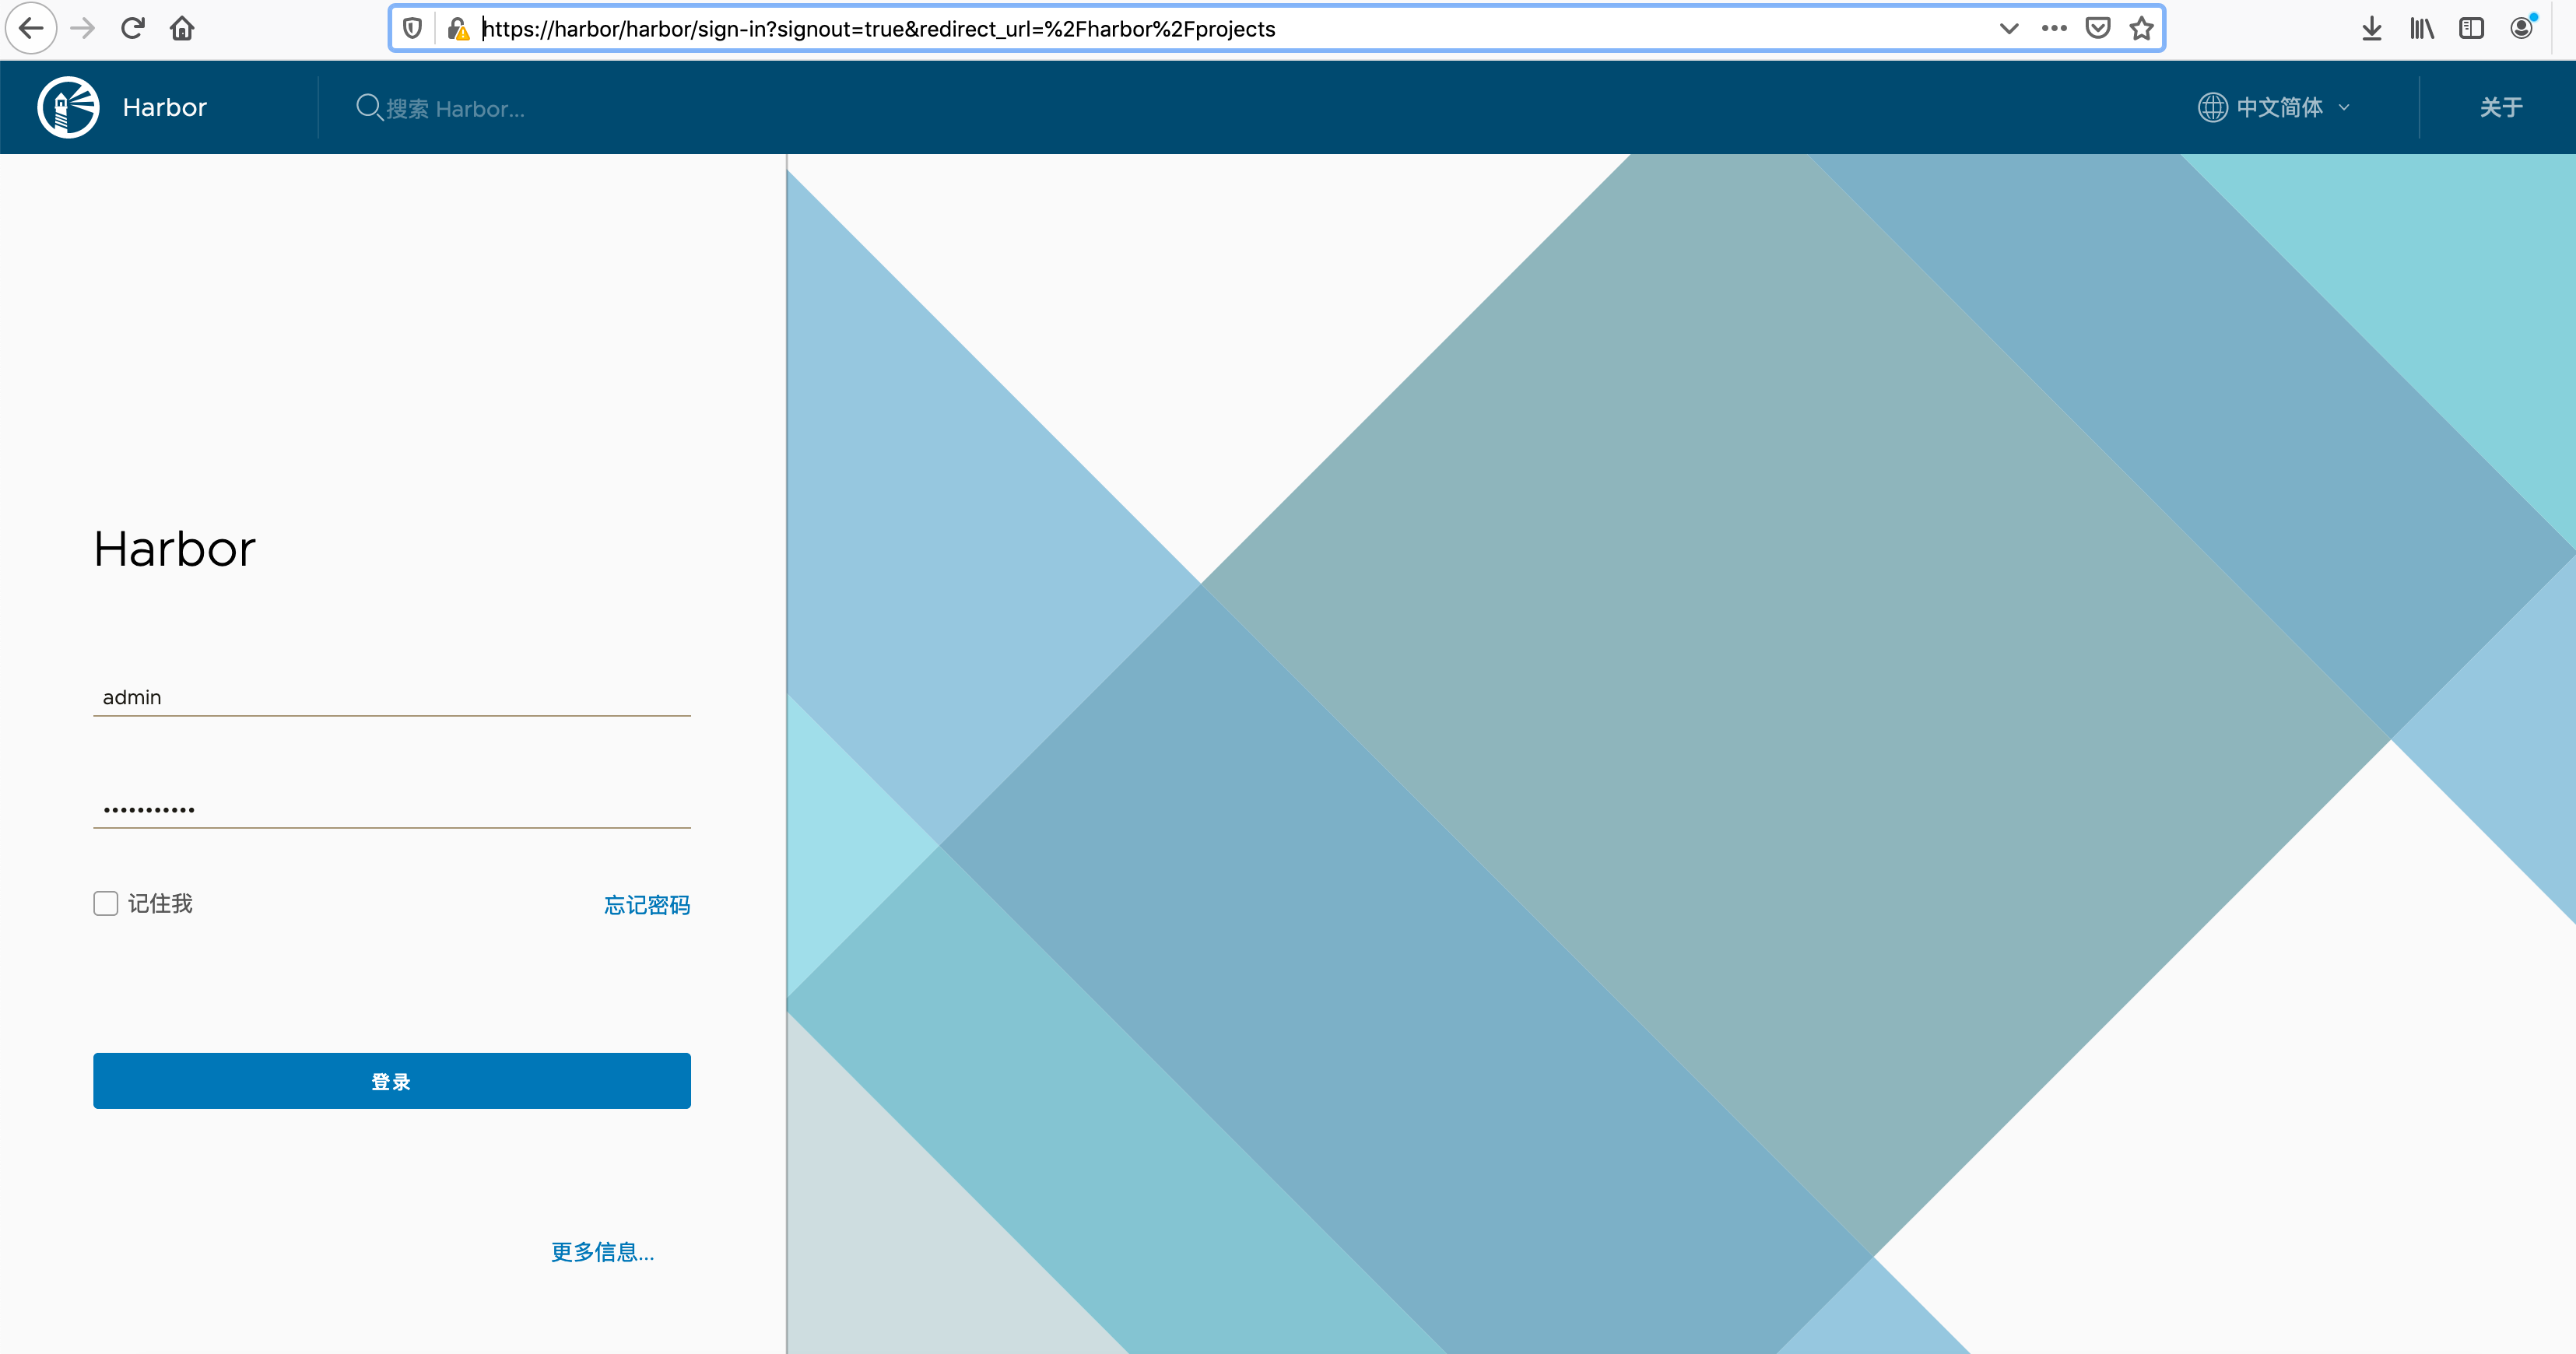
10. 浏览器登录
https://harbor-ip
用户名: admin 密码:Harbor12345
11. docker cli 登录 harbor
/usr/lib/systemd/system/docker.service中修改ExecStart的启动参数增加:
--insecure-registry harbor.test.com
重启docker
systemctl daemon-reload && systemctl restart docker.service
登录harbor
docker login -u admin -p Harbor12345 harbor.test.com
参考文档
https://goharbor.io/docs/1.10/install-config/
Harbor 镜像管理专家的更多相关文章
- 2、Docker镜像和镜像管理
一.镜像介绍 1.定义 一个只读层被称为镜像,一个镜像是永久不会变的. 由于 Docker 使用一个统一文件系统,Docker 进程认为整个文件系统是以读写方式挂载的. 但是所有的变更都发生顶层的可写 ...
- OpenStack云计算快速入门之三:OpenStack镜像管理
原文:http://blog.chinaunix.net/uid-22414998-id-3272059.html 第三部分 OpenStack镜像管理 一.简介 很多源都有为OpenStack已经编 ...
- paas架构之docker——镜像管理
1. 镜像管理 1.1. 列出镜像 Sudo docker images 1.2. 查看镜像 Sudo docker images xxxx 1.3. 拉取镜像 Sudo docker pull ub ...
- 云计算PAAS平台测试设计之镜像管理
下面是云计算PAAS平台页面概览: 今天我们要讲的是镜像管理页面的测试设计: 可以看到,这个页面主要有增删改查四个功能. 1. 查询镜像 (1)易用性:查看镜像查询界面,界面上各组件设计合理.美观.易 ...
- 一张图比較 Docker 和 Git:镜像管理设计理念
Docker 的镜像管理设计中大量借鉴了 Git 的理念. 以下这张图将对两者的核心概念和操作进行比較,有助于大家高速掌握管理 Docker 镜像的正确方式. watermark/2/text/aHR ...
- KVM镜像管理利器-guestfish使用详解
原文 http://xiaoli110.blog.51cto.com/1724/1568307 KVM镜像管理利器-guestfish使用详解 本文介绍以下内容: 1. 虚拟机镜像挂载及w2k8 ...
- OpenStack镜像管理3
第三部分 OpenStack镜像管理 一.简介 很多源都有为OpenStack已经编译好的各种镜像了,您可以直接下载并通过使用这些镜像来熟悉OpenStack. 不过如果是为生产环境进行部署的话,您一 ...
- Docker镜像管理
镜像是docker的三大核心概念之一.可以用来创建容器. Docker的镜像实际上由一层一层的文件系统组成,这种层级的文件系统被称为UnionFS.镜像可以基于Dockerfile构建,Dockerf ...
- Docker进阶之四:镜像管理
一.什么是镜像? 简单说,Docker镜像是一个不包含Linux内核而又精简的Linux操作系统. 二.镜像从哪里来? Docker Hub是由Docker公司负责维护的公共注册中心,包含大量的容 ...
随机推荐
- MathType可以编辑省略号吗
说到省略号大家可能会想到写文章的时候会用到,其实在数学中也会常常的使用到.当数学过程是重复有规律性的过程时,就会用到它.MathType是一款数学公式编辑器,那么,在数学公式中,MathType编辑时 ...
- 单线程爬虫VS多线程爬虫的效率对比
单线程爬虫: import re import requests import time url_EB = 'http://www.amazon.com/gp/search/other/ref=sr_ ...
- mysql UNION all 实现不对称数据统计
当统计多条的三个参数在不同时间段的数据的sum,又只能写在同一个sql上时,可以考虑union all三次查询, select * from ( select kk.a_time as dates,k ...
- 【BZOJ1266】[AHOI2006]上学路线route Floyd+最小割
[BZOJ1266][AHOI2006]上学路线route Description 可可和卡卡家住合肥市的东郊,每天上学他们都要转车多次才能到达市区西端的学校.直到有一天他们两人参加了学校的信息学奥林 ...
- UESTC 482 Charitable Exchange(优先队列+bfs)
Charitable Exchange Time Limit: 4000/2000MS (Java/Others) Memory Limit: 65535/65535KB (Java/Othe ...
- Solr 查询时候关键期 编码问题
背景架构: 中间是dubbo 调用, 其实还是编码问题!没啥大问题!记录下
- 我的Android进阶之旅------>HTTP Content-type 对照表
HTTP Content-type 对照表 文件扩展名 Content-Type(Mime-Type) 文件扩展名 Content-Type(Mime-Type) .*( 二进制流, 不知道下载文件类 ...
- 线程锁、threading.local(flask源码中用的到)、线程池、生产者消费者模型
一.线程锁 线程安全,多线程操作时,内部会让所有线程排队处理.如:list/dict/Queue 线程不安全 + 人(锁) => 排队处理 1.RLock/Lock:一次放一个 a.创建10个线 ...
- 003 F-47创建预付定金请求检查增强-20150819.docx
Enhancement SE38:LEINRF26 操作F-47,预付定金请求回车时,检查输入的采购订单项目发票视图,预付定金% 栏位,若为空,则报错,不为空可继续. 检查逻辑:检查采购凭证项 ...
- Django的Model继承abstract,proxy,managed。。。
Django 中的 model 继承和 Python 中的类继承非常相似,只不过你要选择具体的实现方式:让父 model 拥有独立的数据库:还是让父 model 只包含基本的公共信息,而这些信息只能由 ...