python nmap模块 端口探测
今天添加端口探测功能,主要实现方式是通过nmap模块调用,扫描1-65535端口。上一篇中已经将UP的PC机全部获取到,这里直接从已知在线的PC中进行端口扫描就可以了,会节省很多时间。
代码如下,还是非常简单的:
import nmap
import time
import csv
import os class Port_Scan(object):
def __init__(self):
self.rootpath = 'C:/cunhuo/'
self.dirpath = 'C:/portScan/'
self.savepath = 'C:/portScan/result.csv'
self.csv_write = [] def get_ip(self, file):
ipList = []
with open(file, 'r') as f:
for ip in f.readlines()[1:]:
ipList.append(ip.strip()[:-3])
return ipList def scan(self, ip):
if not os.path.exists(self.dirpath):
os.mkdir(self.dirpath)
nm = nmap.PortScanner()
try:
nm.scan(ip, arguments='1-65535')
print '[*]Host:%s' % ip
for proto in nm[ip].all_protocols():
lport = nm[ip][proto].keys()
lport.sort()
for port in lport:
self.csv_write.append([ip, port, nm[ip][proto][port]['state']])
print 'port : %s\tstate : %s' % (port, nm[ip][proto][port]['state'])
except:
self.csv_write.append([ip, 'unknown', 'unknown'])
print 'port : unknown\tstate : unknown' def run(self):
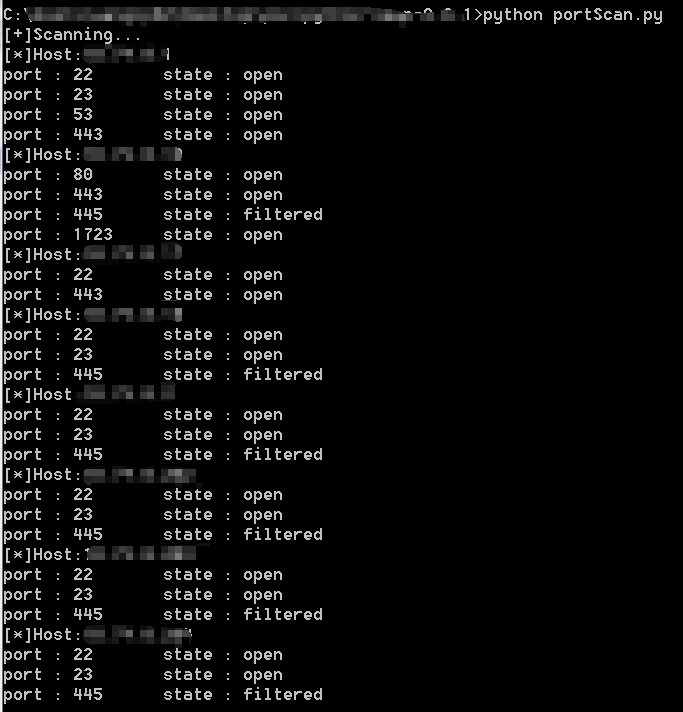
print '[+]Scanning...'
startTime = time.time()
files = os.listdir(self.rootpath)
for file in files:
ips = self.get_ip(self.rootpath + file) for ip in ips:
self.scan(ip)
with open(self.savepath,'w') as f:
fieldnames = ['ip', 'port', 'state']
w = csv.writer(f, dialect='excel')
w.writerow(fieldnames)
w.writerows(self.csv_write)
endTime = time.time()
print '------------------------------------------------------'
print '[+]Scanning cost %ss, result have saved %s' % (endTime - startTime, self.savepath)
print '[+]Done.' if __name__ == '__main__':
myScan = Port_Scan()
myScan.run()
这里对于错误捕获的实现有点偷懒了,我们之前扫描出的存活主机可能在端口探测这个脚本执行时离线了,所以如果不加try...except判断的话会跑出keyerror的错误,说结果中的port、state不在字典中。但是这样加判断也有失偏颇...除了离线主机无法探测到,其他情况导致的也一并将port和state设置为unknown了,不知道以后的实验中会不会发生误报,到时候会进行修改调整。
扫描用时比较长,我就展示一下运行中的截图了:
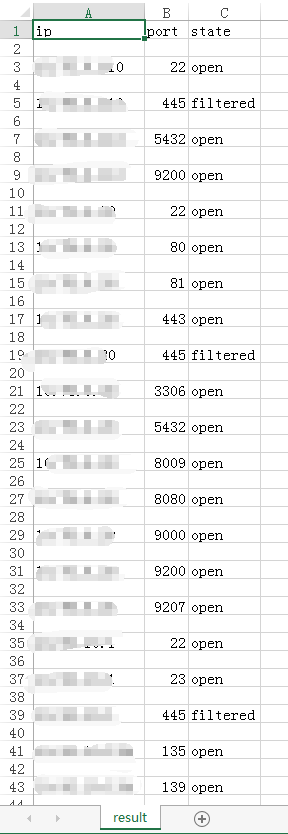
result.csv,为什么中间会有空格呢,奇怪,慢慢改吧
python nmap模块 端口探测的更多相关文章
- python nmap模块使用进行主机探测(ICMP)
终于审核通过了......第一次用博客,想记录自己的学习情况,分享知识. 废话不多说,第一篇blog,大牛请轻喷. 资产清点首先需要进行主机探测,将存活主机统计下来再进行进一步的指纹识别及端口探测.若 ...
- python(nmap模块、多线程模块)
http://xael.org/pages/python-nmap-en.html nmap模块 http://www.tutorialspoint.com/python/python_m ...
- 7.python实现高效端口扫描器之nmap模块
对于端口扫描,使用的最多的就是nmap这个工具,不想python已经强大到,提供了nmap这个扫描端口的模块. 本片文章主要介绍nmap模块的两个常用类: PortScanner()类,实现一个nma ...
- 端口扫描器--利用python的nmap模块
安装nmap模块挺麻烦的,搞了半天 不仅要安装pip install nmap 还要sudo apt install nmap 给出代码,没有设多线程,有点慢,注意端口的类型转换,搞了很久 #!/us ...
- 7.安装pycharm----导入Nmap模块----netcat反向shell----metasploitable靶机环境
安装pycharm www.jetbrains.com/pycharm/ tar -zxvf p补全 ls cd p补全 ls cd bin ls ./pycharm.sh 新建项目 pythonRo ...
- Python脚本写端口扫描器(socket,python-nmap)
目录 Socket模块编写 扫描给定主机是否开放了指定的端口 python-nmap模块编写 扫描给定ip或给定网段内指定端口是否开放 一个用python写的简单的端口扫描器,python环境为 3. ...
- python 各模块
01 关于本书 02 代码约定 03 关于例子 04 如何联系我们 1 核心模块 11 介绍 111 内建函数和异常 112 操作系统接口模块 113 类型支持模块 114 正则表达式 115 语言支 ...
- Python ftplib模块
Python ftplib模块 官方文档:https://docs.python.org/3/library/ftplib.html?highlight=ftplib#module-ftplib 实例 ...
- Python(五)模块
本章内容: 模块介绍 time & datetime random os sys json & picle hashlib XML requests ConfigParser logg ...
随机推荐
- oracle 查看一个表中的记录是否被锁住
SELECT a.object_id, a.session_id, b.object_nameFROM v$locked_object a, dba_objects bWHERE a.object_i ...
- 阿里Tree-based Deep Match(TDM) 学习笔记
阅读文献:https://zhuanlan.zhihu.com/p/35030348 参考文献:https://www.leiphone.com/news/201803/nlG3d4sZnRvgAqg ...
- 剑指offer第3题:从尾到头打印链表
方法一:采用栈来存储,用ArrayList保存.注意题目给出的输出结果是ArrayList import java.util.ArrayList; import java.util.Stack; pu ...
- 如何在vue && webpack 项目中的单文件组件中引入css
引入方式很简单,就是在script下使用require()即可. 因为import 是import...from 的形式,所以是不需要的. <script> import {mapStat ...
- zookeeper 编程框架 curator
Curator框架提供了一套高级的API, 简化了ZooKeeper的操作. 它增加了很多使用ZooKeeper开发的特性,可以处理ZooKeeper集群复杂的连接管理和重试机制. 这些特性包括: 自 ...
- 设置ibus为默认输入法
/etc/profile 文件中编辑 export INPUT_METHOD="ibus"
- js 中 前端过滤数据到后端的方法
第一种方法: <!DOCTYPE html><html lang="en"><head> <meta charset="UTF- ...
- [转]微信小程序(应用号)是什么,是否值得投入进来做?
本文转自:http://www.woshipm.com/it/417887.html 距离张小龙的那场首次公开演讲已经有九个月了,而在那场演讲中备受关注的「应用号」在千呼万唤中终于以「小程序」的名字正 ...
- struts2的基本配置
1.package标签下主要的点在namespace和name,extend上 extend 一般继承自struts-default.xml下,继承其拦截器及一些功能,这个已在本人的拦截器一文中有讲到 ...
- 软件项目技术点(2)——Canvas之获取Canvas当前坐标系矩阵
AxeSlide软件项目梳理 canvas绘图系列知识点整理 前言 在我的另一篇博文 Canvas坐标系转换 中,我们知道了所有的平移缩放旋转操作都会影响到画布坐标系.那在我们对画布进行了一系列操 ...