Window10 Electron 开发环境搭建及打包exe程序
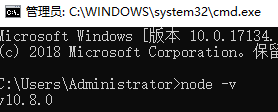
1.安装 Electron 首先要安装Node.js (安装方法:https://www.cnblogs.com/inkwhite/p/9685520.html)
我这里已经安装好了。
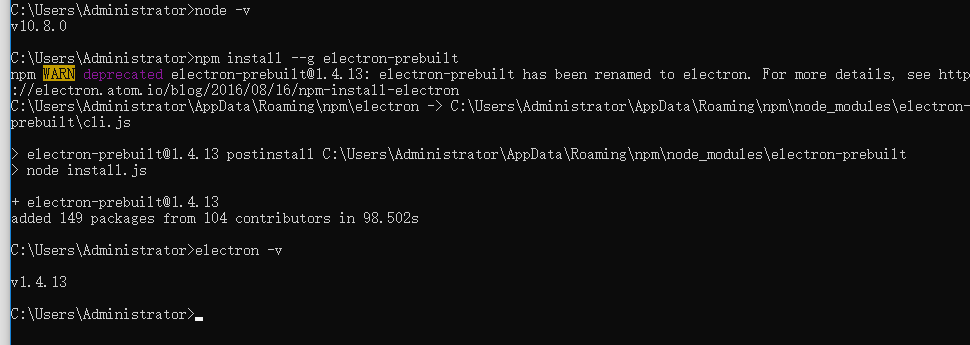
2:安装Electron
C:\Users\Administrator>npm install --g electron-prebuilt
安装完成
1、找到你的前端网页项目文件夹,新建 package.json、main.js、index.html 三个文件(注:其中的 index.html 是你的网页首页)
你的项目目录/

├── package.json

├── main.js

└── index.html
2、在 package.json 中添加如下内容
{

  "name"    : "app-name",

  "version" : "0.1.0",

  "main"    : "main.js"

}
3、在 main.js 中添加下面的内容,这个 main.js 文件就是上面 package.json 中的 "main"键 的值,所以可根据需要修改
const {app, BrowserWindow} = require('electron')

const path = require('path')

const url = require('url')

// Keep a global reference of the window object, if you don't, the window will

// be closed automatically when the JavaScript object is garbage collected.

let win

function createWindow () {

  // Create the browser window.

  win = new BrowserWindow({width: 800, height: 600})

  // and load the index.html of the app.

  win.loadURL(url.format({

    pathname: path.join(__dirname, 'index.html'),

    protocol: 'file:',

    slashes: true

  }))

  // Open the DevTools.

  // win.webContents.openDevTools()

  // Emitted when the window is closed.

  win.on('closed', () => {

    // Dereference the window object, usually you would store windows

    // in an array if your app supports multi windows, this is the time

    // when you should delete the corresponding element.

    win = null

  })

}

// This method will be called when Electron has finished

// initialization and is ready to create browser windows.

// Some APIs can only be used after this event occurs.

app.on('ready', createWindow)

// Quit when all windows are closed.

app.on('window-all-closed', () => {

  // On macOS it is common for applications and their menu bar

  // to stay active until the user quits explicitly with Cmd + Q

  if (process.platform !== 'darwin') {

    app.quit()

  }

})

app.on('activate', () => {

  // On macOS it's common to re-create a window in the app when the

  // dock icon is clicked and there are no other windows open.

  if (win === null) {

    createWindow()

  }

})

// In this file you can include the rest of your app's specific main process

// code. You can also put them in separate files and require them here.
4、如果你的网页首页的文件名不是 “index.html”,那么请在 main.js 中将其中的 'index.html' 修改为你的网页首页名
5、打开 DOS,cd 到你的项目目录,执行 npm install electron-packager -g全局安装我们的打包神器
npm install electron-packager -g

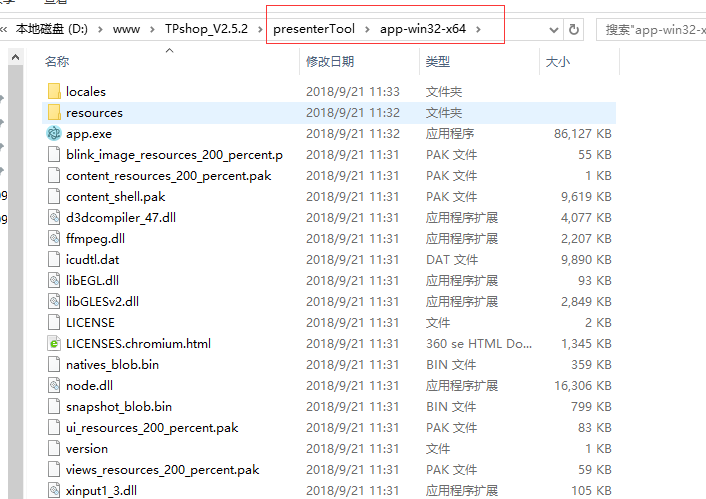
6.打包
electron-packager . 可执行文件的文件名 --win --out 打包成的文件夹名 --arch=x64位还是32位 --version-electron 版本号 --overwrite --ignore=node_modules
electron-packager . app --win --out presenterTool --arch=x64 --electron-version 1.4.13 --overwrite --ignore=node_modules


Window10 Electron 开发环境搭建及打包exe程序的更多相关文章
- 1、Window10 Electron 开发环境搭建
1:首先安装nodejs C:\Users\yan>node -v v4.5.0 2:安装Electron C:\Users\yan>npm install --g electron-pr ...
- electron开发环境搭建
开发环境 Node.js Vscode vscode安装Debugger for Chrome 创建开发目录(也是解决方案) 执行初始化命令,创建electronpicture工程,并添加main.j ...
- 1. React介绍 React开发环境搭建 React第一个程序
什么是 React React 是 Facebook 发布的 JavaScript 库,以其高性能和独特的设计理念受到了广泛关注. React的开发背景 Faceboo ...
- spark本地开发环境搭建及打包配置
在idea中新建工程 删除新项目的src,创建moudle 在父pom中添加spark和scala依赖,我们项目中用scala开发模型,建议scala,开发体验会更好(java.python也可以) ...
- Ionic2开发环境搭建、项目创建调试与Android应用的打包、优化
Ionic2开发环境搭建.项目创建调试与Android应用的打包.优化. windows下ionic2开发环境配置步骤如下: 下载node.js环境,稳定版本:v6.9.5 下载android stu ...
- android开发环境搭建日记和嵌入式Android开发环境初探
非常感谢博客园的各位,按照你们的博文,还有利用百度和谷歌逐渐建立了android的开发环境,只是给自己备份参考查看,看过的人可以忽略这篇文章. 本文章大部分参考了:http://www.cnblogs ...
- 五步搞定Android开发环境部署——非常详细的Android开发环境搭建教程
在windows安装Android的开发环境不简单也说不上算复杂,本文写给第一次想在自己Windows上建立Android开发环境投入Android浪潮的朋友们,为了确保大家能顺利完成开发环境的搭 ...
- Cocos2dx-3.0版本 从开发环境搭建(Win32)到项目移植Android平台过程详解
作为重量级的跨平台开发的游戏引擎,Cocos2d-x在现今的手游开发领域占有重要地位.那么问题来了,作为Cocos2dx的学习者,它的可移植特性我们就需要掌握,要不然总觉得少一门技能.然而这个时候各种 ...
- Android开发环境搭建(转)
转载:http://www.cnblogs.com/zoupeiyang/p/4034517.html#1 引言 在windows安装Android的开发环境不简单也说不上算复杂,本文写给第一次想 ...
随机推荐
- css零星进阶知识点
display: inline-block: 可设置宽高的行级元素,如果inline-block元素本行无法显示完全的话则整个换行而不是里面的单词换行 position: 设置参照物,top,left ...
- LeetCode-Largest Rectangle in Histogram O(n) 详析-ZZ
http://www.cnblogs.com/felixfang/p/3676193.html Largest Rectangle in Histogram Given n non-negative ...
- Mysql学习---基础操作学习
1.1. 基本操作 数据库引擎 Inodb:支持事务[原子性操作,完成一些列操作后才算完成操作,否则rollback] MyISAM: 支持全文索引,强调了快速读取操作,主要用于高负载的select ...
- June 28th 2017 Week 26th Wednesday
Anger begins with folly, and ends in repentance. 愤怒以愚蠢开始,以后悔告终. Learn to control your temper, don't ...
- C#图解教程读书笔记(第3章 类型、存储及变量)
1.C#的中的数值不具有bool特性. 2.dynamic在使用动态语言编写的程序集时使用,这个不太明白,看到后面需要补充!! 动态化的静态类型 3.对于引用类型,引用是存放在栈中,而数据是存放在堆里 ...
- Intellij IDEA设置注释作者名字
方法一:File >> Settings >> Editor >>Code Style >> File and Code Templates>&g ...
- Git 初始化全局user.name 和 user.email
git config --global user.name "username" git config --global user.email "email"
- BZOJ3670:[NOI2014]动物园(KMP)
Description 近日,园长发现动物园中好吃懒做的动物越来越多了.例如企鹅,只会卖萌向游客要吃的.为了整治动物园的不良风气,让动物们凭自己的真才实学向游客要吃的,园长决定开设算法班,让动物们学习 ...
- 【[JLOI2011]飞行路线】
据说这是分层图最短路的板子题 但其实就是一个\(dij\)多带了一维状态 我们看到\(k\)很小所以显然我们可以设计一个这样的状态 \(d[v][k]\)表示从起点到点\(v\)免费走了\(k\)条路 ...
- web.xml的加载过程是context-param >> listener >> fileter >> servlet
web.xml的加载过程是context-param >> listener >> fileter >> servlet