【水滴石穿】react-native-ble-demo
项目的话,是想打开蓝牙,然后连接设备
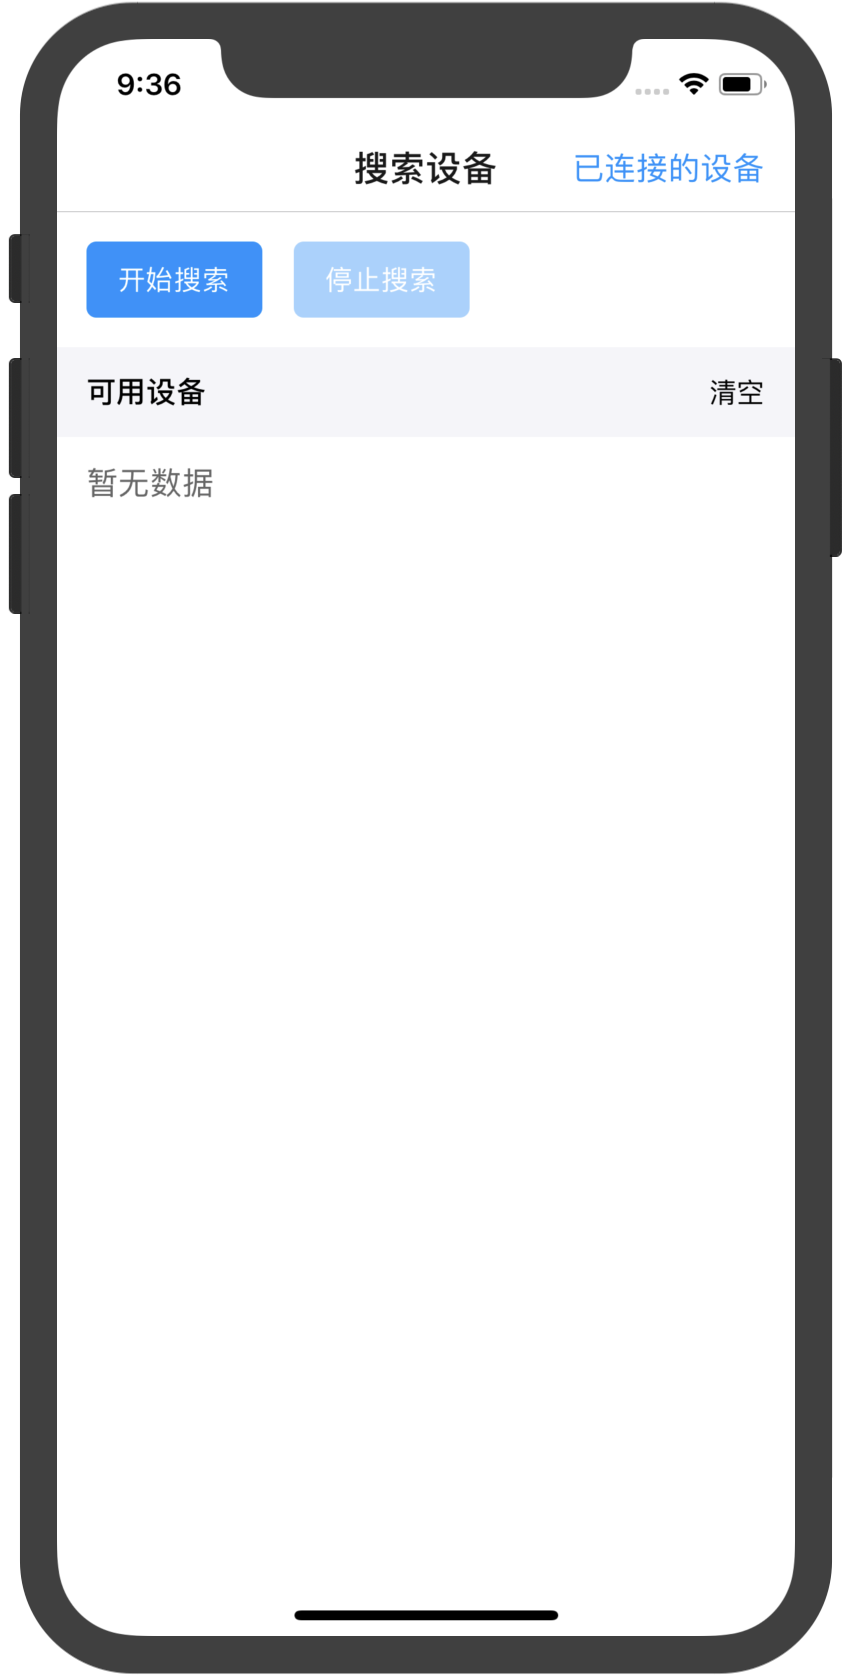
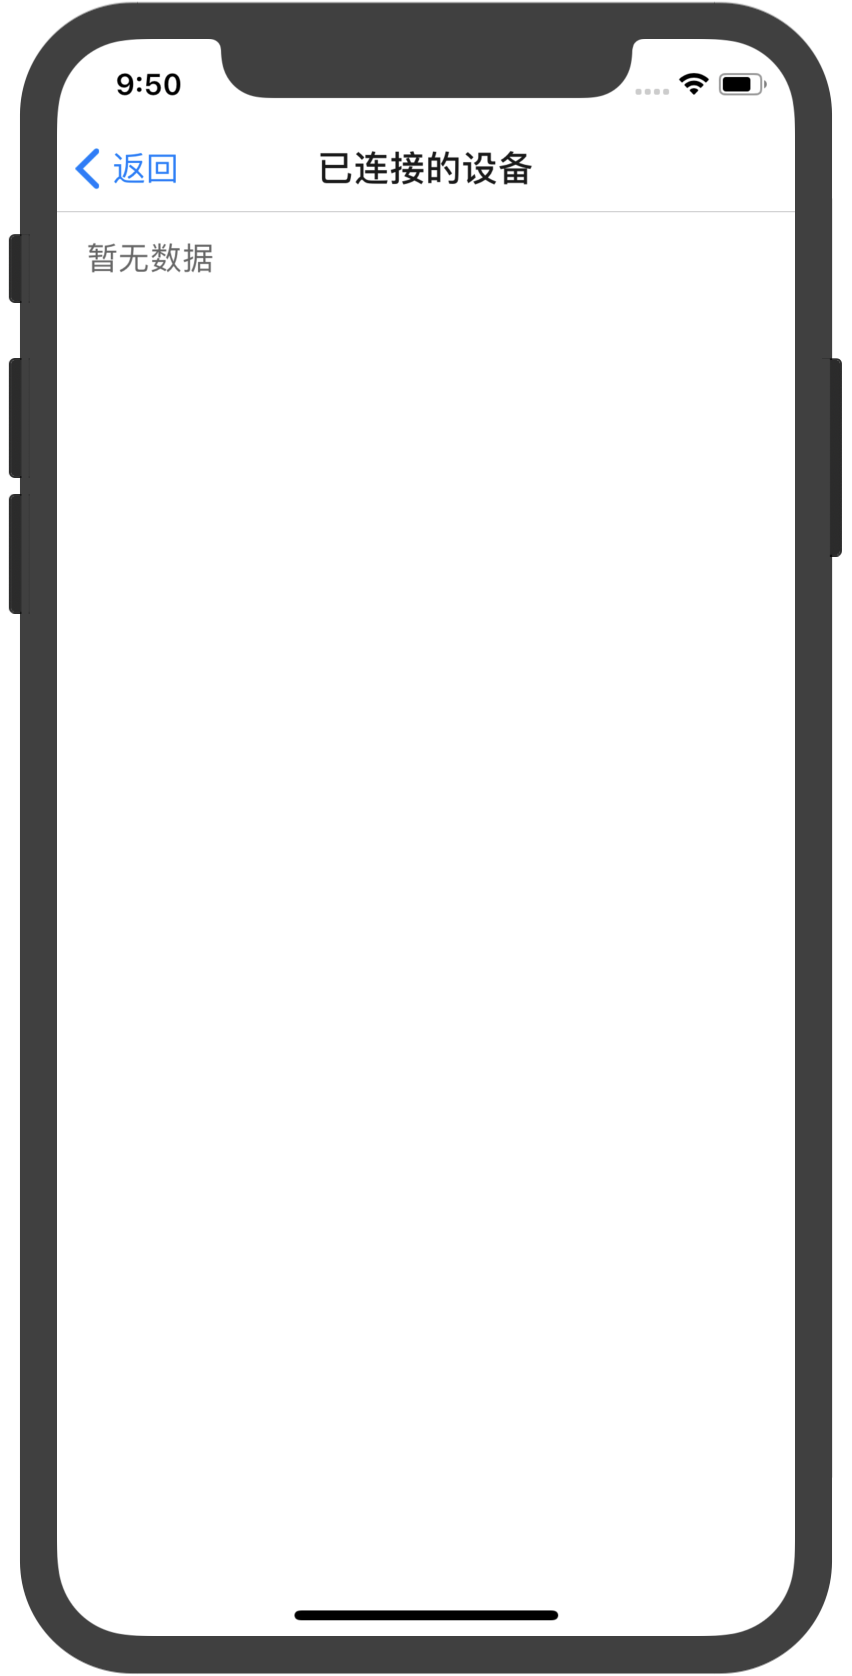
点击已经连接的设备,我们会看到一些设备

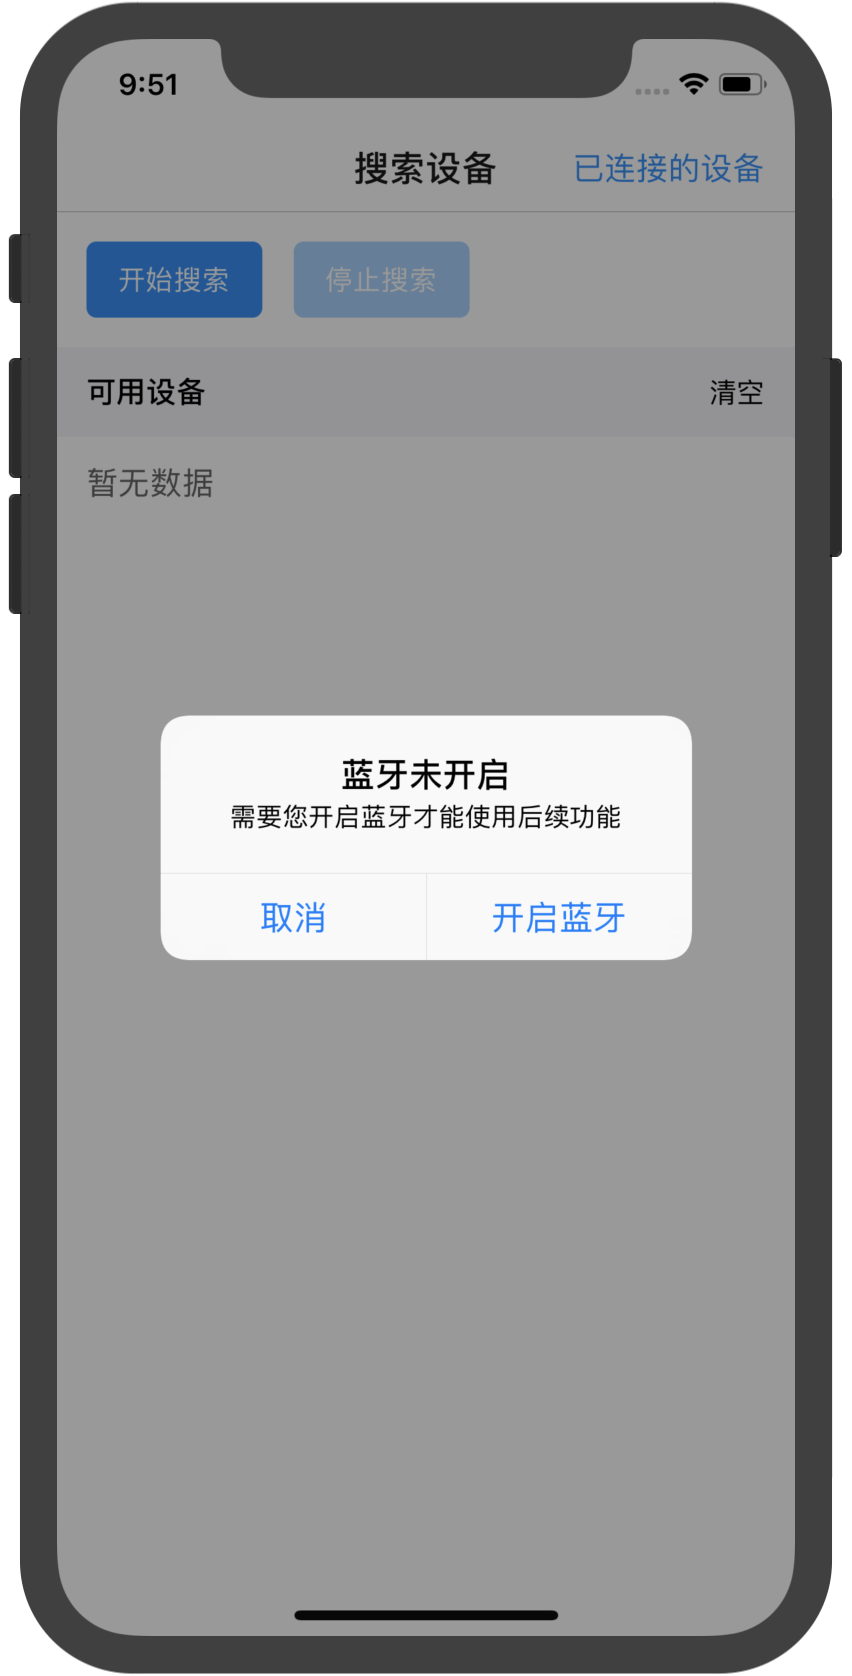
不过我这边在开启蓝牙的时候报错了

先放作者的项目地址:
https://github.com/hezhii/react-native-ble-demo
然后我们来分析代码
根入口文件是
//react-native-ble-demo/ble_central/index.js

import { AppRegistry } from 'react-native'

import App from './src/App'

import { name as appName } from './app.json'

console.disableYellowBox = true

AppRegistry.registerComponent(appName, () => App)
//react-native-ble-demo/ble_central/src/App.js

import React from 'react'

import { Provider } from 'react-redux'

import { Provider as AntProvider } from '@ant-design/react-native'

//store 普通的store封装

import store from './store/configureStore'

//跳转

import Navigator from './navigator'

export default class App extends React.PureComponent {

  render() {

    return (

      <Provider store={store}>

        <AntProvider>

          <Navigator />

        </AntProvider>

      </Provider>

    )

  }

}
//react-native-ble-demo/ble_central/src/navigator.js

import React from 'react'

import { createAppContainer, createStackNavigator } from 'react-navigation'

//

import Device from './pages/Device'

import Search from './pages/Search'

import Service from './pages/Service'

import Characteristic from './pages/Characteristic'

import Operation from './pages/Operation'

//这个有意思,这种返回

const AppNavigator = createStackNavigator({

  Search,

  Device,

  Service,

  Characteristic,

  Operation

}, {

    defaultNavigationOptions: {

      headerTitleStyle: {

        fontSize: 18,

      },

      headerBackTitle: '返回',

    },

  })

export default createAppContainer(AppNavigator)
//react-native-ble-demo/ble_central/src/pages/Device.js

import React from 'react'

import { StyleSheet, View, Text, FlatList } from 'react-native'

import { SafeAreaView } from 'react-navigation'

import { connect } from 'react-redux'

import DeviceList from '../components/DeviceList'

@connect(({ connectedDevice }) => ({

  devices: connectedDevice.list

}))

export default class Device extends React.PureComponent {

  static navigationOptions = {

    title: '已连接的设备'

  }

  onPressDevice = (item) => {

    const { navigation } = this.props

    navigation.push('Service', { device: item })

  }

  render() {

    const { devices } = this.props;

    return (

      <SafeAreaView style={styles.container}>

        <DeviceList data={devices} onPress={this.onPressDevice} />

      </SafeAreaView>

    )

  }

}

const styles = StyleSheet.create({

  container: {

    flex: 1

  }

})
//react-native-ble-demo/ble_central/src/pages/Search.js

import React from 'react'

import {

  StyleSheet,

  View,

  ActivityIndicator,

  Text,

  TouchableOpacity,

  Alert,

  Platform

} from 'react-native'

import { BleManager } from 'react-native-ble-plx'

import { SafeAreaView } from 'react-navigation'

import { connect } from 'react-redux'

import HeaderButtons, { Item } from 'react-navigation-header-buttons'

import { Toast, Portal } from '@ant-design/react-native'

import Button from '../components/Button'

import DeviceList from '../components/DeviceList'

import { ADD_DEVICE } from '../reducer/connectedDevice'

@connect(({ connectedDevice }) => ({

  connectedDevices: connectedDevice.list

}))

export default class Search extends React.PureComponent {

  static navigationOptions = ({ navigation }) => ({

    title: '搜索设备',

    headerRight: (

      <HeaderButtons>

        <Item

          title="已连接的设备"

          buttonStyle={{ color: '#1890ff', fontSize: 16 }}

          onPress={() => navigation.push('Device')}

        />

      </HeaderButtons>

    ),

  })

  constructor(props) {

    super(props)

    this.state = {

      bleState: null,

      scanning: false,

      devices: []

    }

    this._initBleManager()

  }

  componentWillUnmount() {

    this.bleManager.destroy()

  }

  _initBleManager() {

    const manager = this.bleManager = new BleManager()

    manager.onStateChange(this.onStateChange)

    this._checkState()

  }

  _checkState = () => {

    this.bleManager.state()

      .then(state => {

        console.log('检查蓝牙状态:', state)

        this.setState({

          bleState: state

        })

        if (state === 'PoweredOff') {

          this._showAlert()

        }

      })

  }

  _showAlert() {

    Alert.alert(

      '蓝牙未开启',

      '需要您开启蓝牙才能使用后续功能',

      [

        { text: '取消' },

        { text: '开启蓝牙', onPress: this._onOpenBluetooth }

      ]

    )

  }

  _onOpenBluetooth = () => {

    if (Platform.OS === 'ios') {

      Linking.openURL('App-Prefs:root=Bluetooth')

    } else {

      this.bleManager.enable()

    }

  }

  // 蓝牙状态发生变化

  onStateChange = (state) => {

    console.log('蓝牙状态发生变化,新的状态为:', state)

    this.setState({

      bleState: state

    })

    if (state === 'PoweredOff') {

      this._showAlert()

    }

  }

  // 搜索到设备

  onScannedDevice = (err, device) => {

    const { devices } = this.state

    if (devices.findIndex(item => item.id === device.id) < 0) {

      this.setState({

        devices: [...devices, device]

      })

    }

  }

  // 搜索设备

  scanDevices = () => {

    const { bleState } = this.state

    if (bleState === 'PoweredOn') {

      console.log('开始搜索设备')

      this.setState({ scanning: true, devices: [] })

      this.bleManager.startDeviceScan(null, { allowDuplicates: false }, this.onScannedDevice)

    } else {

      this._showAlert()

    }

  }

  // 停止搜索设备

  stopScan = () => {

    if (this.state.scanning) {

      console.log('停止搜索设备')

      this.setState({ scanning: false })

      this.bleManager.stopDeviceScan()

    }

  }

  clearDevices = () => {

    this.setState({

      devices: []

    })

  }

  connectDevice = async (device) => {

    const { connectedDevices, dispatch, navigation } = this.props

    const index = connectedDevices.findIndex(item => item.id === device.id)

    if (index >= 0) {

      Alert.alert('已经连接该设备了')

      return

    }

    this.stopScan() // 连接时停止扫描

    const key = Toast.loading('正在连接设备...')

    await device.connect()

    console.log('成功连接设备:', device.id)

    await device.discoverAllServicesAndCharacteristics()

    console.log('获取设备的服务和特征')

    Portal.remove(key)

    dispatch({

      type: ADD_DEVICE,

      payload: device

    })

    Alert.alert('成功连接设备', null, [

      { text: '算了' },

      { text: '去看看', onPress: () => navigation.push('Device') }

    ])

  }

//渲染设备列表

  renderDevice = ({ item }) => {

    return (

      <TouchableOpacity onPress={() => this.connectDevice(item)}>

        <View style={styles.listItem}>

          <Text style={styles.itemId}>{item.id}</Text>

          <Text style={styles.itemName}>{item.localName || item.name}</Text>

        </View>

      </TouchableOpacity>

    )

  }

  render() {

    const { scanning, devices } = this.state

    return (

      <SafeAreaView style={styles.container}>

        <View style={styles.header}>

          <Button

            style={{ marginRight: 16 }}

            onPress={this.scanDevices}

            disabled={scanning}

          >{scanning ? '正在搜索' : '开始搜索'}</Button>

          <Button

            onPress={this.stopScan}

            disabled={!scanning}

          >停止搜索</Button>

        </View>

        <View style={styles.listHeader}>

          <View style={styles.row}>

            <Text style={styles.headerTitle}>可用设备</Text>

            {scanning && <ActivityIndicator />}

          </View>

          <TouchableOpacity onPress={this.clearDevices}>

            <Text>清空</Text>

          </TouchableOpacity>

        </View>

        <DeviceList

          onPress={this.connectDevice}

          data={devices}

        />

      </SafeAreaView>

    )

  }

}

const styles = StyleSheet.create({

  container: {

    flex: 1

  },

  header: {

    flexDirection: 'row',

    padding: 15

  },

  listHeader: {

    flexDirection: 'row',

    alignItems: 'center',

    justifyContent: 'space-between',

    backgroundColor: '#f5f5f9',

    padding: 15

  },

  row: {

    flexDirection: 'row',

    alignItems: 'center',

  },

  headerTitle: {

    fontSize: 15,

    marginRight: 6,

    fontWeight: '500',

  }

})
渲染设备列表
//react-native-ble-demo/ble_central/src/pages/Service.js

import React from 'react'

import { StyleSheet, Text, ScrollView, View } from 'react-native'

import { SafeAreaView } from 'react-navigation'

import { WingBlank, List } from '@ant-design/react-native'

const ListItem = List.Item

const Brief = ListItem.Brief;

export default class Service extends React.PureComponent {

  static navigationOptions = {

    title: '服务'

  }

  constructor(props) {

    super(props)

    const { navigation } = props

    this.device = navigation.getParam('device')

    this.state = {

      services: []

    }

  }

  componentDidMount() {

    this.getServices()

  }

  getServices() {

    this.device.services()

      .then(services => {

        this.setState({

          services

        })

      })

  }

  onPressService = (service) => {

    const { navigation } = this.props

    navigation.push('Characteristic', { service })

  }

  render() {

    const { services } = this.state

    const device = this.device

    return (

      <SafeAreaView style={styles.fill}>

        <WingBlank style={{ paddingVertical: 10 }}>

          <Text style={styles.label}>设备 ID:</Text>

          <Text style={styles.value}>{device.id}</Text>

          <Text style={styles.label}>设备名称:</Text>

          <Text style={styles.value}>{device.localName || device.name || '无'}</Text>

        </WingBlank>

        <View style={styles.listHeader}>

          <Text style={styles.headerTitle}>服务列表</Text>

        </View>

        <ScrollView style={styles.fill}>

          <List>

            {services.map((service, index) => (

              <ListItem key={index} arrow="horizontal" onPress={() => this.onPressService(service)}>

                {service.id}

                <Brief>{`UUID: ${service.uuid}`}</Brief>

              </ListItem>

            ))}

          </List>

        </ScrollView>

      </SafeAreaView >

    )

  }

}

const styles = StyleSheet.create({

  fill: {

    flex: 1

  },

  label: {

    fontWeight: '500',

    fontSize: 16,

  },

  value: {

    marginTop: 8,

    marginBottom: 10,

    color: '#666'

  },

  listHeader: {

    flexDirection: 'row',

    alignItems: 'center',

    backgroundColor: '#f5f5f9',

    padding: 15

  },

  headerTitle: {

    fontSize: 15,

    fontWeight: '500'

  }

})
//react-native-ble-demo/ble_central/src/pages/Operation.js

import React from 'react'

import { StyleSheet, Text, ScrollView, View, TextInput, Alert } from 'react-native'

import { SafeAreaView } from 'react-navigation'

import { WingBlank, Button } from '@ant-design/react-native'

import { Buffer } from 'buffer/'

function formatToDecimal(buffer) {

  const hexStr = buffer.toString('hex')

  return hexStr ? parseInt(hexStr, 16) : ''

}

function strToBinary(str) {

  const result = [];

  const list = str.split("");

  for (let i = 0; i < list.length; i++) {

    const str = list[i].charCodeAt().toString(2);

    result.push(str);

  }

  return result.join("");

}

export default class Operation extends React.PureComponent {

  static navigationOptions = {

    title: '读写特征'

  }

  constructor(props) {

    super(props)

    const { navigation } = props

    this.characteristic = navigation.getParam('characteristic')

    this.state = {

      readValue: '',

      writeValue: ''

    }

  }

  read = () => {

    this.characteristic.read()

      .then(characteristic => {

        console.log('读取特征值:', characteristic.value)

        this.setState({

          readValue: characteristic.value

        })

      })

  }

  write = () => {

    const { writeValue } = this.state

    if (!writeValue) {

      Alert.alert('请输入要写入的特征值')

    }

    const str = Buffer.from(writeValue, 'hex').toString('base64')

    console.log('开始写入特征值:', str)

    this.characteristic.writeWithResponse(str)

      .then(() => {

        Alert.alert('成功写入特征值', '现在点击读取特征值看看吧...')

      })

      .catch(err => {

        console.log('写入特征值出错:', err)

      })

  }

  render() {

    const charac = this.characteristic

    const { readValue, writeValue } = this.state;

    const buffer = Buffer.from(readValue, 'base64');

    return (

      <SafeAreaView style={styles.fill}>

        <ScrollView style={styles.fill}>

          <WingBlank style={{ paddingVertical: 10 }}>

            <Text style={styles.label}>特征 ID:</Text>

            <Text style={styles.value}>{charac.id}</Text>

            <Text style={styles.label}>特征 UUID:</Text>

            <Text style={styles.value}>{charac.uuid}</Text>

            <View style={styles.attributeWrapper}>

              <Text style={styles.name}>

                可读:

             <Text style={styles.des}>{charac.isReadable ? '是' : '否'}</Text>

              </Text>

              <Text style={styles.name}>

                可写(有响应):

              <Text style={styles.des} >{charac.isWritableWithResponse ? '是' : '否'}</Text>

              </Text>

              <Text style={styles.name}>

                可写(无响应):

              <Text style={styles.des}>{charac.isWritableWithoutResponse ? '是' : '否'}</Text>

              </Text>

              <Text style={styles.name}>

                可通知:

              <Text style={styles.des}>{charac.isNotifiable ? '是' : '否'}</Text>

              </Text>

            </View>

            <Text style={styles.label}>当前特征值</Text>

            <Text style={styles.charac}>{`二进制: ${strToBinary(buffer.toString())}`}</Text>

            <Text style={styles.charac}>{`十进制: ${formatToDecimal(buffer)}`}</Text>

            <Text style={styles.charac}>{`十六进制: ${buffer.toString('hex')}`}</Text>

            <Text style={styles.charac}>{`UTF8: ${buffer.toString()}`}</Text>

            <Button type="primary" style={{ marginTop: 8 }} onPress={this.read}>读取特征值</Button>

            <TextInput

              style={styles.input}

              placeholder="请输入特征值(十六进制字符串)"

              value={writeValue}

              onChangeText={v => this.setState({ writeValue: v })}

            />

            <Button type="primary" onPress={this.write}>写入特征值</Button>

          </WingBlank>

        </ScrollView>

      </SafeAreaView>

    )

  }

}

const styles = StyleSheet.create({

  fill: {

    flex: 1

  },

  label: {

    fontWeight: '500',

    fontSize: 16,

  },

  value: {

    marginTop: 8,

    marginBottom: 10,

    color: '#666'

  },

  attributeWrapper: {

    flexDirection: 'row',

    flexWrap: 'wrap',

    alignItems: 'center',

    marginBottom: 16

  },

  des: {

    color: '#666'

  },

  name: {

    fontWeight: '500',

    fontSize: 16,

    marginRight: 16

  },

  input: {

    marginVertical: 32

  },

  charac: {

    fontSize: 15,

    color: '#666',

    marginVertical: 5

  }

})
//react-native-ble-demo/ble_central/src/pages/Characteristic.js

import React from 'react'

import { StyleSheet, Text, ScrollView, View } from 'react-native'

import { SafeAreaView } from 'react-navigation'

import { WingBlank, List } from '@ant-design/react-native'

const ListItem = List.Item

const Brief = ListItem.Brief;

export default class Characteristic extends React.PureComponent {

  static navigationOptions = {

    title: '特征'

  }

  constructor(props) {

    super(props)

    const { navigation } = props

    this.service = navigation.getParam('service')

    this.state = {

      characteristics: []

    }

  }

  componentDidMount() {

    this.getCharacteristics()

  }

  getCharacteristics() {

    this.service.characteristics()

      .then(characteristics => {

        this.setState({

          characteristics

        })

      })

  }

  onPressCharacteristic = (characteristic) => {

    const { navigation } = this.props

    navigation.push('Operation', { characteristic })

  }

  render() {

    const { characteristics } = this.state

    const service = this.service

    return (

      <SafeAreaView style={styles.fill}>

        <WingBlank style={{ paddingVertical: 10 }}>

          <Text style={styles.label}>服务 ID:</Text>

          <Text style={styles.value}>{service.id}</Text>

          <Text style={styles.label}>服务 UUID:</Text>

          <Text style={styles.value}>{service.uuid}</Text>

        </WingBlank>

        <View style={styles.listHeader}>

          <Text style={styles.headerTitle}>特征列表</Text>

        </View>

        <ScrollView style={styles.fill}>

          <List>

            {characteristics.map((characteristic, index) => (

              <ListItem key={index} arrow="horizontal" onPress={() => this.onPressCharacteristic(characteristic)}>

                {characteristic.id}

                <Brief>{`UUID: ${characteristic.uuid}`}</Brief>

              </ListItem>

            ))}

          </List>

        </ScrollView>

      </SafeAreaView >

    )

  }

}

const styles = StyleSheet.create({

  fill: {

    flex: 1

  },

  label: {

    fontWeight: '500',

    fontSize: 16,

  },

  value: {

    marginTop: 8,

    marginBottom: 10,

    color: '#666'

  },

  listHeader: {

    flexDirection: 'row',

    alignItems: 'center',

    backgroundColor: '#f5f5f9',

    padding: 15

  },

  headerTitle: {

    fontSize: 15,

    fontWeight: '500'

  }

})
//react-native-ble-demo/ble_central/src/components/DeviceList/index.js

import React from 'react'

import { StyleSheet, FlatList, View, Text, TouchableOpacity } from 'react-native'

export default class DeviceList extends React.PureComponent {

  renderItem = ({ item }) => {

    const { onPress } = this.props

    return (

      <TouchableOpacity onPress={() => onPress(item)}>

        <View style={styles.item}>

          <Text style={styles.title}>{item.id}</Text>

          <Text style={styles.desc}>{item.localName || item.name}</Text>

        </View>

      </TouchableOpacity>

    )

  }

  render() {

    const { data } = this.props

    return (

      <FlatList

        style={styles.list}

        ListEmptyComponent={() => <Text style={styles.placeholder}>暂无数据</Text>}

        data={data}

        ItemSeparatorComponent={() => <View style={styles.border} />}

        keyExtractor={(item, index) => '' + index}

        renderItem={this.renderItem}

      />

    )

  }

}

const styles = StyleSheet.create({

  list: {

    paddingTop: 15

  },

  item: {

    paddingLeft: 16,

    paddingVertical: 8

  },

  title: {

    fontSize: 16

  },

  desc: {

    color: '#666'

  },

  border: {

    backgroundColor: '#d9d9d9',

    height: 0.5

  },

  placeholder: {

    fontSize: 16,

    paddingLeft: 15,

    color: '#666'

  }

})
【水滴石穿】react-native-ble-demo的更多相关文章
- React Native官方DEMO
官方给我们提供了UIExplorer项目,这里边包含React Native的基本所有组件的使用介绍和方法. 运行官方DEMO步骤如下 安装react native环境 React Native项目源 ...
- React Native八大Demo
参考资料:http://www.cnblogs.com/shaoting/p/7148240.html 下一个项目公司也打算使用react native.大致看了下原型设计,写几个小demo先试试水. ...
- 【React Native】React Native项目设计与知识点分享
闲暇之余,写了一个React Native的demo,可以作为大家的入门学习参考. GitHub:https://github.com/xujianfu/ElmApp.git GitHub:https ...
- React-Native(六):React Native完整的demo项目
该项目在http://www.lcode.org/study-react-native-opensource-two/上发现 更有意思的发现这个网站https://juejin.im/是采用vue.j ...
- React Native初探
前言 很久之前就想研究React Native了,但是一直没有落地的机会,我一直认为一个技术要有落地的场景才有研究的意义,刚好最近迎来了新的APP,在可控的范围内,我们可以在上面做任何想做的事情. P ...
- React Native知识12-与原生交互
一:原生传递参数给React Native 1:原生给React Native传参 原生给JS传数据,主要依靠属性. 通过initialProperties,这个RCTRootView的初始化函数的参 ...
- React Native APP结构探索
APP结构探索 我在Github上找到了一个有登陆界面,能从网上获取新闻信息的开源APP,想来研究一下APP的结构. 附上原网址:我的第一个React Native App 具体来讲,就是研究一个复杂 ...
- react native 环境配置
1. 安装Homebrew Homebrew主要用于安装后面需要安装的watchman.flow 打开MAC的终端,输入如下命令: ruby -e "$(curl -fsSL https:/ ...
- react native 入门实践
上周末开始接触react native,版本为0.37,边学边看写了个demo,语法使用es6/7和jsx.准备分享一下这个过程.之前没有native开发和react的使用经验,不对之处烦请指出.希望 ...
- react native 之 react-native-image-picke的详细使用图解
最近需要在react native项目中集成相机和相册的功能,于是在网上找了一个好用的第三方插件:react-native-image-picke. 该插件可以同时给iOS和Android两个平台下使 ...
随机推荐
- [Swoole系列入门教程 4] 定时器与心跳demo
- 长按触发(PC端和移动端)
$.fn.longPress = function(fn) { var timeout = undefined; var $this = this; for(var i = 0;i<$this. ...
- C++对C的扩展、增强
C++对C的扩展 1. 双冒号::作用域运算符 代码中对同一个变量多次声明,在代码块中使用时,局部变量会将全局变量隐藏.若在代码块使用变量前添加::,表示为全局变量. ::表示作用域运算符,如常见的s ...
- PHP declare 之 strict_types=1
PHP中申明 declare(strict_types=1)的作用: strict_types=1 及开启严格模式.默认是弱类型校验.具体严格模式和普通模式的区别见下面代码. code1: < ...
- WhaleCTF之web-http呀
WhaleCTF之web-http呀 前往题目 不多说,看看源码 源码没有,抓包,发一下,也没有 猜测不是这个页面 burp抓包,把html改成php 发一下,在返回源码看到flag~
- 2019-10-16-WPF-控件-Content-的内容不显示下划线字符串
title author date CreateTime categories WPF 控件 Content 的内容不显示下划线字符串 lindexi 2019-10-16 09:21:32 +080 ...
- C++ 静态绑定与动态绑定------绝不重新定义继承而来的缺省参数
在了解静态绑定和动态绑定之前,先了解什么是对象的静态类型,什么是对象的动态类型. 对象的静态类型:对象在声明时采用的类型.是在编译器决定的. 对象的动态类型:目前所指对象的类型.是在运行期决定的. 动 ...
- 安装mysql-workbench
sudo apt-get install mysql-workbench
- 支付宝单笔转账demo (改配置直接用)
支付宝接口说明文档 https://docs.open.alipay.com/api_28/alipay.fund.trans.toaccount.transfer 需要注意的是:rsa的 公钥和 ...
- invalid use of null value
给mysql的数据表的一个字段插入数据,不成功, 然后在数据表设计中,把不是null勾选上,又提示 invalid use of null value 这种情况比较尴尬 只能删掉这一个字段,然后新建一 ...