react-native-login-redux
项目地址如下
https://github.com/agunbuhori/react-native-login-redux
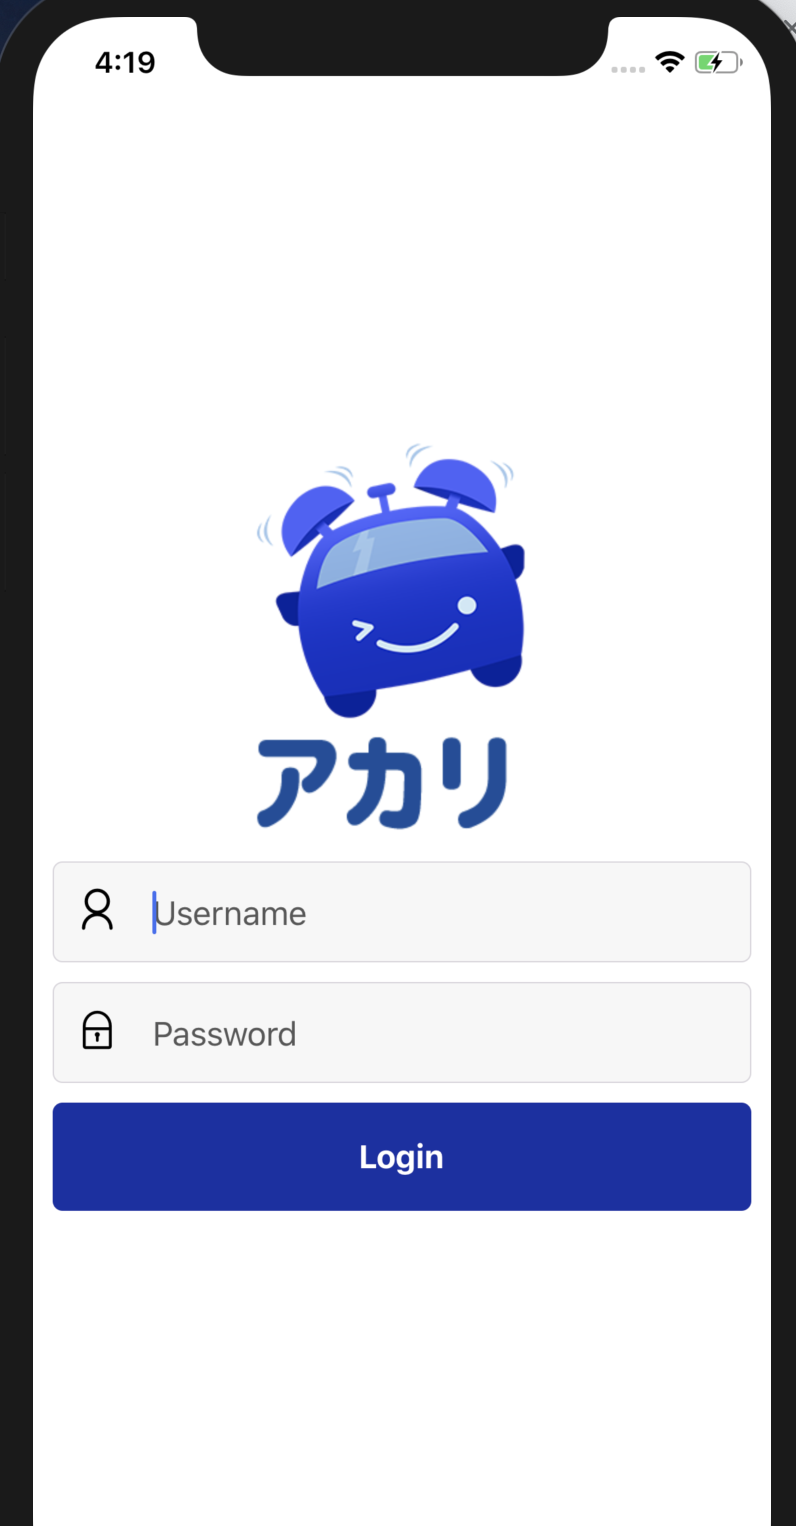
先看页面
```js
// 还有中英文切换
//src/global.js
import Theme from './styles/Theme';
import Auth from './auth/Auth';
import i18n from 'react-native-i18n';
import en from './localizations/en';
i18n.translations = {
en: en
}
export { Theme, Auth, i18n }
```js

//根app

//app.js

/**

 * Sample React Native App

 * https://github.com/facebook/react-native

 *

 * @format

 * @flow

 */

import React, { Component } from 'react';

import { Platform, StyleSheet } from 'react-native';

import { Provider } from 'react-redux';

import { createStore } from 'redux';

import rootReducer from './src/reducers/rootReducer';

//多语言切换

import { Auth } from './src/global';

const store = createStore(rootReducer);

import AuthNavigator from './src/navigators/AuthNavigator';

type Props = {};

export default class App extends Component<Props> {

  constructor(props) {

    super(props);

    this.state = {

      status: 0

    }

  }

  componentDidMount() {

    this.checkAuth();

    this.checkReduxAuth();

  }

  async checkAuth() {

      const authenticated = await Auth.checkAuth();

      if (authenticated)

        this.setState({status: 2});

      else

        this.setState({status: 1});

  }

  checkReduxAuth() {

    store.subscribe(() => {

      let authentication = store.getState().authentication;

      if (authentication.authenticated)

        this.setState({ status: 2 });

      else

        this.setState({ status: 1 });

    });

  }

// 根据renderApp进行判断

  renderApp() {

    switch (this.state.status) {

      case 1:

        return <AuthNavigator/>

        break;

      case 2:

        return null;

        break;

      default:

        return null;

    }

  }

  render() {

    return (

      <Provider store={store}>

          {this.renderApp()}

      </Provider>

    );

  }

}

const styles = StyleSheet.create({

  container: {

    flex: 1,

    justifyContent: 'center',

    alignItems: 'center',

    backgroundColor: '#F5FCFF',

  },

  welcome: {

    fontSize: 20,

    textAlign: 'center',

    margin: 10,

  },

  instructions: {

    textAlign: 'center',

    color: '#333333',

    marginBottom: 5,

  },

});
//login.js

import React, { Component } from 'react';

import { ActivityIndicator, KeyboardAvoidingView, AsyncStorage } from 'react-native';

import { connect } from 'react-redux';

import { StyleSheet } from 'react-native';

import { Form, Button, Text, View, Container, Item, Input, Icon } from 'native-base';

import { Theme, i18n, Auth } from '../../global';

import { loginSuccess } from '../../actions/authentication';

import Image from 'react-native-scalable-image';

class Login extends Component {

    state = {

        loginProgress: false,

        username: null,

        password: null,

        authentication: {

            authenticated: false

        }

    }

    componentDidMount() {

    }

    async login() {

        this.setState({loginProgress: true});

        const login = await Auth.login({username: this.state.username, password: this.state.password});

        if (login.token) {

            Auth.setAuthToken(login.token, this.state.username, this.state.password);

            this.props.onLogin({authenticated: true});

        }

    }

    renderLogo() {

        return (

            <View style={Theme.mb2}>

                <Image source={require('../../assets/images/logo.png')} width={150} />

                <Image source={require('../../assets/images/akari.png')} width={130} />

            </View>

        );

    }

    renderForm() {

        return (

            <Form style={styles.loginForm}>

                <Item regular style={styles.loginInput}>

                    <Icon type="AntDesign" name="user"/>

                    <Input placeholder={i18n.t('username')} autoCapitalize="none" onChangeText={username => this.setState({username})}/>

                </Item>

                <Item regular style={styles.loginInput}>

                    <Icon type="AntDesign" name="lock"/>

                    <Input placeholder={i18n.t('password')} secureTextEntry={true} onChangeText={password => this.setState({password})}/>

                </Item>

                <Button block style={styles.loginButton} onPress={this.login.bind(this)} activeOpacity={1}>

                    {

                        this.state.loginProgress

                        ? <ActivityIndicator color="white"/>

                        : <Text style={Theme.lightBold}>{i18n.t('login')}</Text>

                    }

                </Button>

            </Form>

        );

    }

    render() {

        return (

            <KeyboardAvoidingView behavior="padding" style={styles.container}>

                {this.renderLogo()}

                {this.renderForm()}

            </KeyboardAvoidingView>

        );

    }

}

const styles = StyleSheet.create({

    container: {

        flex: 1,

        ...Theme.p1,

        ...Theme.centered

    },

    loginForm: {

        width: '100%'

    },

    loginInput: {

        ...Theme.bgSecondary,

        ...Theme.mb1,

        ...Theme.r1

    },

    loginButton: {

        ...Theme.bgPrimary,

        ...Theme.r1,

        ...Theme.primaryButton

    }

});

const mapStateToProps = state => ({

    authentication: state.authentication,

});

const mapDispatchToProps = dispatch => ({

    onLogin: (user) => {

        dispatch(loginSuccess(user));

    },

});

export default connect(mapStateToProps, mapDispatchToProps)(Login);
咩有登陆进去,还是存在一些问题
react-native-login-redux的更多相关文章
- [RN] React Native 使用 Redux 比较详细和深刻的教程
React Native 使用 Redux 比较详细和深刻的教程 React Native 使用 Redux https://www.jianshu.com/p/06fc18cef56a http:/ ...
- React Native集成Redux框架讲解与应用
学过React Native的都知道,RN的UI是根据相应组件的state进行render的,而页面又是由大大小小的组件构成,导致每个组件都必须维护自身的一套状态,因此当页面复杂化的时候,管理stat ...
- react native 之 redux 使用套路
redux是什么?他是一个state容器 redux的运作方式是怎样的? 接入方式: 1. npm install 下列内容: npm install --save redux npm install ...
- react native 之 redux
第一章 认识redux 说的通俗且直白一点呢,就是redux提供了一个store,独立的一个内存区,然后放了一些state,你可以在任何component中访问到state,这些state要更改怎么 ...
- React Native使用Redux总结
1>npm安装redux: "react-redux": "^5.0.5", "redux": "^3.7.1", ...
- [转] 学习React Native必看的几个开源项目
http://www.lcode.org/study-react-native-opensource-one/ http://gold.xitu.io/entry/575f498c128fe10057 ...
- 学习React Native必看的几个开源项目
学习React native ,分享几个不错的开源项目,相信你学完之后,一定会有所收获.如果还没有了解RN的同学们可以参考手把手教你React Native 实战之开山篇<一> 1.Fac ...
- 从React Native到微服务,落地一个全栈解决方案
Poplar是一个社交主题的内容社区,但自身并不做社区,旨在提供可快速二次开发的开源基础套件.前端基于React Native与Redux构建,后端由Spring Boot.Dubbo.Zookeep ...
- React Native 开发豆瓣评分(三)集成 Redux
什么是 redux redux 是一个用于管理 js 应用状态(state)的容器.比如组件 A 发生了变化,组件 B 要同时做出响应.常见的应用场景就是用户的登录退出操作:未登录状态,个人中心显示登 ...
- react native redux saga增加日志功能
redux-logger地址:https://github.com/evgenyrodionov/redux-logger 目前Reac native项目中已经使用redux功能,异步中间件使用red ...
随机推荐
- webpack 打包生成的index 路径引用不对
webpack 在打包时在访问打包里面的index时,出现路径错误 修改方法为 解决方法:在config下面的index.js把 assetsPublicPath: '/', 修改为: assetsP ...
- 全面解决Html页面缓存的问题
页面缓存的问题可能大家都遇到过,很多功能做完没起效果,那么怎么解决这个问题呢?这里给出我的使用的解决方法 对于一个html页面,缓存分3部分,一个是页面内容,一个是css样式,一个是JS文件1.页面内 ...
- odoo:Actions
actions定义了系统对于用户的操作的响应:登录.按钮.选择项目等. 一:窗口action(ir.actions.act_window ) 最常用的action类型,用于将model的数据展示出来. ...
- 【linux之路】常用的命令
用bash插入代码 1.查看ubuntu的版本号 lsb_release –a //linux标准基础(Linux Standards Base):release发布 2.查看Ubuntu的内核 un ...
- Django项目:CRM(客户关系管理系统)--68--58PerfectCRM实现king_admin批量生成上课记录
# kingadmin.py # ————————04PerfectCRM实现King_admin注册功能———————— from crm import models #print("ki ...
- 省际联动distpicker插件的使用讲解
1.在使用input页面加载script的引用 <script src="js/distpicker/distpicker.data.js"></script&g ...
- app-safeguard-record:record
ylbtech-work-app-safeguard-record:record 1.返回顶部 1. 示数 示数一般是指机械.仪器.仪表.或者需要对数字进行公开的显示的对外数字的宣示.比如电度表(千瓦 ...
- PAT甲级——A1036 Boys vs Girls
This time you are asked to tell the difference between the lowest grade of all the male students and ...
- ubuntn系统下将文件拷贝到优盘中及挂载概念理解
参考资料:http://jingyan.baidu.com/article/7082dc1c76f178e40a89bdd3.html: http://bbs.csdn.net/topics/3801 ...
- 一次完整的HTTP事务的过程、从输入URL到网页展示,浏览器都经历了什么?
详细介绍:老生常谈-从输入url到页面展示到底发生了什么 (1)一次完整的HTTP事务的过程 基本流程: a. 域名解析 b. 发起TCP的3次握手 c. 建立TCP连接后发起http请求 d. 服务 ...