【水滴石穿】react-native-template-app
这个也是一个基础项目
地址如下https://github.com/ndlonghi/react-native-template-app

点击登陆跳转到首页
分析代码如
react-native-template-app/src/components/loading/index.js
loading效果
import React from 'react';

import {

  ActivityIndicator,

  Image,

  StyleSheet,

  View

} from 'react-native';

function Loading(props) {

  return (

    <View

      style={styles.container}

    >

      <Image

        source={require('../../assets/imgs/logo.png')}

        style={styles.logo}

      />

      <ActivityIndicator/>

    </View>

  )

}

const styles = StyleSheet.create({

  container: {},

  logo: {}

});

export default Loading;
//app.js

import React, {Component} from 'react';

import {Provider} from 'react-redux';

import {PersistGate} from 'redux-persist/integration/react';

//redux

//loading

//跳转路由

import {store, persistor} from "./src/store";

import Loading from "./src/components/loading/index";

import RootNavigator from "./src/navigation/containers";

export default class App extends Component {

  render() {

    return (

      <Provider

        store={store}

      >

        <PersistGate

          loading={<Loading/>}

          persistor={persistor}

        >

          <RootNavigator/>

        </PersistGate>

      </Provider>

    );

  }

}
src/store.js
import {

  applyMiddleware,

  createStore

} from 'redux';

import {persistStore, persistReducer} from 'redux-persist';

import storage from 'redux-persist/lib/storage';

import {createReactNavigationReduxMiddleware} from 'react-navigation-redux-helpers';

import rootReducer from './reducers';

const persistConfig = {

  key: 'root',

  storage,

  blacklist: ['navigation']

};

const persistedReducer = persistReducer(persistConfig, rootReducer);

const navigationMiddleware = createReactNavigationReduxMiddleware(

  'root',

  state => state.navigation

);

const store = createStore(

  persistedReducer,

  applyMiddleware(navigationMiddleware)

);

const persistor = persistStore(store);

export {store, persistor};
src/reducers/index.js
import {combineReducers} from 'redux';

import auth from "../services/auth/reducers";

import navigation from "../navigation/reducers";

export default combineReducers({

  auth,

  navigation

});
数据处理
src/services/api/index.js
import {Environments} from "../../environments/environments";

import type {Credentials} from "../../models/credentials";

import type {AuthObject} from "../../models/auth-object";

import type {ApiErrorResponse} from "../../models/api-error-response";

class Api {

  static getBackendConfig() {

    return Environments[Environments.env].backend;

  }

  handleError(error: any): ApiErrorResponse {

    let errorResponse: ApiErrorResponse = {

      error: error,

      text: 'An error ocurred. Please try again later.'

    };

    return errorResponse;

  }

  async get(url: string): any | ApiErrorResponse {

    return fetch(url, {

      method: 'GET'

    })

      .then((response) => {

        return response.json();

      })

      .catch((error: any) => {

        reject(this.handleError(error));

      })

  }

  async post(url: string, data: any): any | ApiErrorResponse {

    return fetch(url, {

      method: 'POST',

      body: JSON.stringify(data)

    })

      .then((response) => {

        return response.json();

      })

      .catch((error: any) => {

        reject(this.handleError(error));

      })

  }

  async login(credentials: Credentials): Promise<AuthObject | ApiErrorResponse> {

    //const query = await this.post(Api.getBackendConfig().url + Endpoints.LOGIN, credentials);

    //const {data} = await query.json();

    //return data;

    // Simulate api call

    return new Promise((resolve, reject) => {

      setTimeout(() => {

        resolve({token: 'sanoteru'});

      }, 1000);

    })

  }

}

const Endpoints = {

  LOGIN: ''

};

export default new Api();
//src/services/auth/actions/action-tyes.js

export const SET_AUTH = 'SET_AUTH';

export const REMOVE_AUTH = 'REMOVE_AUTH';
///src/services/auth/actions/index.js

import {

  REMOVE_AUTH,

  SET_AUTH

} from "./action-tyes";

import type {AuthObject} from "../../../models/auth-object";

export const setAuth = (authObject: AuthObject) => ({

  type: SET_AUTH,

  payload: {

    authObject

  }

});

export const removeAuth = () => ({

  type: REMOVE_AUTH

});
//src/services/auth/reducers/index.js

import {

  REMOVE_AUTH,

  SET_AUTH

} from "../actions/action-tyes";

function auth(state = {}, action) {

  switch (action.type) {

    case SET_AUTH: {

      return {

        authObject: action.payload.authObject

      }

    }

    case REMOVE_AUTH: {

      return {

        authObject: null

      }

    }

    default: {

      return state;

    }

  }

}

export default auth;
//src/screens/loading.js

import React, {Component} from 'react';

import {bindActionCreators} from 'redux';

import {connect} from 'react-redux';

import {navigateToHome, navigateToLogin} from "../navigation/actions/index";

import LoadingLayout from '../components/loading/index';

const mapStateToProps = state => {

  return {

    auth: state.auth

  }

};

const mapDispatchToProps = dispatch => {

  return bindActionCreators({navigateToLogin, navigateToHome}, dispatch);

};

class Loading extends Component {

  componentDidMount() {

    this.redirect();

  }

  redirect = () => {

    if (this.props.auth.authObject) {

      this.props.navigateToHome();

    } else {

      this.props.navigateToLogin();

    }

  };

  render() {

    return <LoadingLayout/>

  }

}

export default connect(mapStateToProps, mapDispatchToProps)(Loading);
//src/screens/login.js

import React, {Component} from 'react';

import {

  Button,

  Image,

  SafeAreaView,

  StyleSheet,

  TextInput,

  View

} from 'react-native';

import {connect} from 'react-redux';

import {bindActionCreators} from "redux";

import {removeAuth, setAuth} from "../services/auth/actions/index";

import {navigateToHome} from "../navigation/actions/index";

import type {AuthObject} from "../models/auth-object";

import type {ApiErrorResponse} from "../models/api-error-response";

import Api from '../services/api/index';

const mapDispatchToProps = dispatch => {

  return bindActionCreators({setAuth, removeAuth, navigateToHome}, dispatch);

};

class Login extends Component {

  handleSubmit = () => {

    Api.login({

      email: 'mobile@4rsoluciones.com',

      password: 'aoeu'

    })

      .then((auth: AuthObject) => {

        this.props.setAuth(auth);

        this.props.navigateToHome();

      })

      .catch((error: ApiErrorResponse) => {

        this.props.removeAuth();

      })

  };

  render() {

    return (

      <SafeAreaView style={styles.container}>

        <View>

          <Image

            source={require('../assets/imgs/logo.png')}

            style={styles.logo}

          />

          <TextInput

            style={styles.input}

            placeholder="Username"

            placeholderTextColor="white"

          />

          <TextInput

            style={styles.input}

            placeholder="Password"

            placeholderTextColor="white"

            secureTextEntry={true}

          />

          <Button

            onPress={this.handleSubmit}

            title="Log in"

          />

        </View>

      </SafeAreaView>

    )

  }

}

const styles = StyleSheet.create({

  container: {

    flex: 1,

    alignItems: 'center',

    justifyContent: 'center',

    backgroundColor: 'white',

  },

  logo: {

    width: 200,

    height: 80,

    resizeMode: 'contain',

    marginBottom: 10,

  },

  input: {

    marginBottom: 10,

    width: 250,

    height: 50,

    paddingHorizontal: 10,

    borderRadius: 5,

    backgroundColor: '#838383',

    color: 'white',

  }

});

export default connect(null, mapDispatchToProps)(Login);
login引用的是这里的api
import {Environments} from "../../environments/environments";

import type {Credentials} from "../../models/credentials";

import type {AuthObject} from "../../models/auth-object";

import type {ApiErrorResponse} from "../../models/api-error-response";

class Api {

  static getBackendConfig() {

    return Environments[Environments.env].backend;

  }

  handleError(error: any): ApiErrorResponse {

    let errorResponse: ApiErrorResponse = {

      error: error,

      text: 'An error ocurred. Please try again later.'

    };

    return errorResponse;

  }

  async get(url: string): any | ApiErrorResponse {

    return fetch(url, {

      method: 'GET'

    })

      .then((response) => {

        return response.json();

      })

      .catch((error: any) => {

        reject(this.handleError(error));

      })

  }

  async post(url: string, data: any): any | ApiErrorResponse {

    return fetch(url, {

      method: 'POST',

      body: JSON.stringify(data)

    })

      .then((response) => {

        return response.json();

      })

      .catch((error: any) => {

        reject(this.handleError(error));

      })

  }

  async login(credentials: Credentials): Promise<AuthObject | ApiErrorResponse> {

    //const query = await this.post(Api.getBackendConfig().url + Endpoints.LOGIN, credentials);

    //const {data} = await query.json();

    //return data;

    // Simulate api call

    return new Promise((resolve, reject) => {

      setTimeout(() => {

        resolve({token: 'sanoteru'});

      }, 1000);

    })

  }

}

const Endpoints = {

  LOGIN: ''

};

export default new Api();
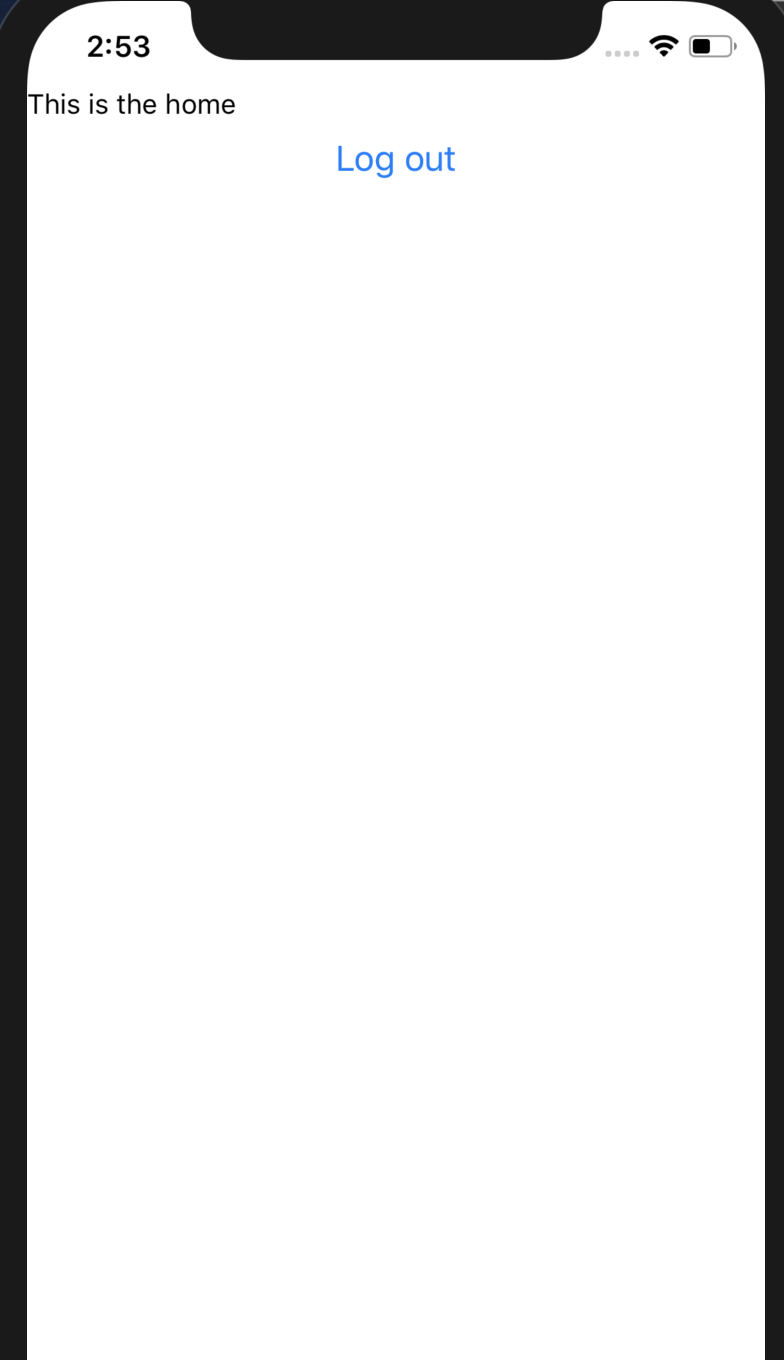
//src/screens/home.js

import React, {Component} from 'react';

import {

  Button,

  SafeAreaView,

  StyleSheet,

  Text,

  View

} from 'react-native';

import {connect} from 'react-redux';

import {bindActionCreators} from "redux";

import {removeAuth} from "../services/auth/actions/index";

import {navigateToLogin} from "../navigation/actions/index";

const mapDispatchToProps = dispatch => {

  return bindActionCreators({removeAuth, navigateToLogin}, dispatch);

};

class Home extends Component {

  handleLogout = () => {

    this.props.removeAuth();

    this.props.navigateToLogin();

  };

  render() {

    return (

      <SafeAreaView style={styles.container}>

        <View>

          <Text>This is the home</Text>

          <Button

            onPress={this.handleLogout}

            title="Log out"

          />

        </View>

      </SafeAreaView>

    )

  }

}

const styles = StyleSheet.create({

  container: {

    flex: 1,

    backgroundColor: 'white',

  }

});

export default connect(null, mapDispatchToProps)(Home);
关于navigation部分还进行了很多处理,项目不容易啊~
【水滴石穿】react-native-template-app的更多相关文章
- React Native发布APP之打包iOS应用
用React Native开发好APP之后,如何将APP发布以供用户使用呢?一款APP的发布流程无外乎:签名打包—>发布到各store这两大步骤.本文将向大家分享如何签名打包一款React Na ...
- React Native & CodePush & App Center
React Native & CodePush & App Center https://docs.microsoft.com/en-us/appcenter/distribution ...
- React Native的APP打包教程
1.改软件的名称 2.改软件的图标 3.给做好的项目打成APP包 改软件的名称 找到项目的改名的位置 然后用记事本打开strings.xml,然后改自己想要的名字 改软件的图标 找到如下5个文件,然后 ...
- React Native & Web APP
React Native Build native mobile apps using JavaScript and React https://facebook.github.io/react-na ...
- react native改变app的图标和名称
beauty\android\app\src\main\res
- React Native指南汇集了各类react-native学习资源、开源App和组件
来自:https://github.com/ele828/react-native-guide React Native指南汇集了各类react-native学习资源.开源App和组件 React-N ...
- 用CodePush在React Native App中做热更新
最近在学React Native,学到了CodePush热更新. 老师讲了两种实现的方法,现将其记录一下. 相比较原生开发,使用React Native开发App不仅能节约开发成本,还能做原生开发不能 ...
- React Native初探
前言 很久之前就想研究React Native了,但是一直没有落地的机会,我一直认为一个技术要有落地的场景才有研究的意义,刚好最近迎来了新的APP,在可控的范围内,我们可以在上面做任何想做的事情. P ...
- React Native填坑之旅 -- 使用iOS原生视图(高德地图)
在开发React Native的App的时候,你会遇到很多情况是原生的视图组件已经开发好了的.有的是系统的SDK提供的,有的是第三方试图组件,总之你的APP可以直接使用的原生视图是很多的.React ...
- H5、React Native、Native应用对比分析
每日更新关注:http://weibo.com/hanjunqiang 新浪微博!iOS开发者交流QQ群: 446310206 "存在即合理".凡是存在的,都是合乎规律的.任何新 ...
随机推荐
- PAT甲级——A1033 To Fill or Not to Fill
With highways available, driving a car from Hangzhou to any other city is easy. But since the tank c ...
- 给docker里的php安装gd扩展
docker官方镜像为安装php扩展封装了函数,为开发者提供了很大的便利,以下以Dockerfile的形式演示安装gd扩展的方法,安装gd扩展需要安装几个依赖包,安装依赖包使用系统命令,安装命令根据基 ...
- python-基础-面象对象
1 类和对象 定义类 定义一个类,格式如下: class 类名: 方法列表 demo:定义一个Car类 # 定义类 class Car: # 方法 def getCarInfo(self): prin ...
- sql 书写顺序
SELECT select_list [ INTO new_table ] FROM table_source [ WHERE search_condition ] [ GROUP BY group_ ...
- Tensorflow技巧
1.尽量控制图片大小在1024以内,不然显存会爆炸. 2.尽量使用多GPU并行工作,训练下降速度快. 3.当需要被检测的单张图片里物体太多时,记得修改Region_proposals的个数 4.测试的 ...
- Luogu P3295 [SCOI2016]萌萌哒(并查集+倍增)
P3295 [SCOI2016]萌萌哒 题面 题目描述 一个长度为 \(n\) 的大数,用 \(S_1S_2S_3 \cdots S_n\) 表示,其中 \(S_i\) 表示数的第 \(i\) 位, ...
- Spring Cloud Alibaba迁移指南(二):零代码替换 Eureka
自 Spring Cloud 官方宣布 Spring Cloud Netflix 进入维护状态后,我们开始制作<Spring Cloud Alibaba迁移指南>系列文章,向开发者提供更多 ...
- selenium自动化方式爬取豆瓣热门电影
爬取的代码如下: from selenium import webdriver from bs4 import BeautifulSoup import time #发送请求,获取响应 def get ...
- mybatis深入理解(五)-----MyBatis的一级缓存实现详解 及使用注意事项
0.写在前面 MyBatis是一个简单,小巧但功能非常强大的ORM开源框架,它的功能强大也体现在它的缓存机制上.MyBatis提供了一级缓存.二级缓存 这两个缓存机制,能够很好地处理和维护缓存,以提高 ...
- Redis数据库在ubuntu16.04下的安装
1.安装 sudo apt-get install redis-server 2.启动 sudo service redis-server start 3.查看 ps aux|grep redis 4 ...