
大数据集群环境搭建之一 Centos基本环境准备
首先需要准备的软件都有:Centos系统、SecureCRT 8.5、VMware Workstation Pro、jdk-8u172-linux-x64.tar.gz基本上这个软件就是今天的战场。
首先安装VMware Workstation 并配置激活SecureCRT,关于这两个软件的安装可以查看这个教程SecureCRT安装、VMware Workstation 14 中文破解版安装,VMware14安装centos7。按照要求可以准备三台虚拟机。
一、 hadoop环境准备(可以先安装一台虚拟机,在复制两个,统一配置)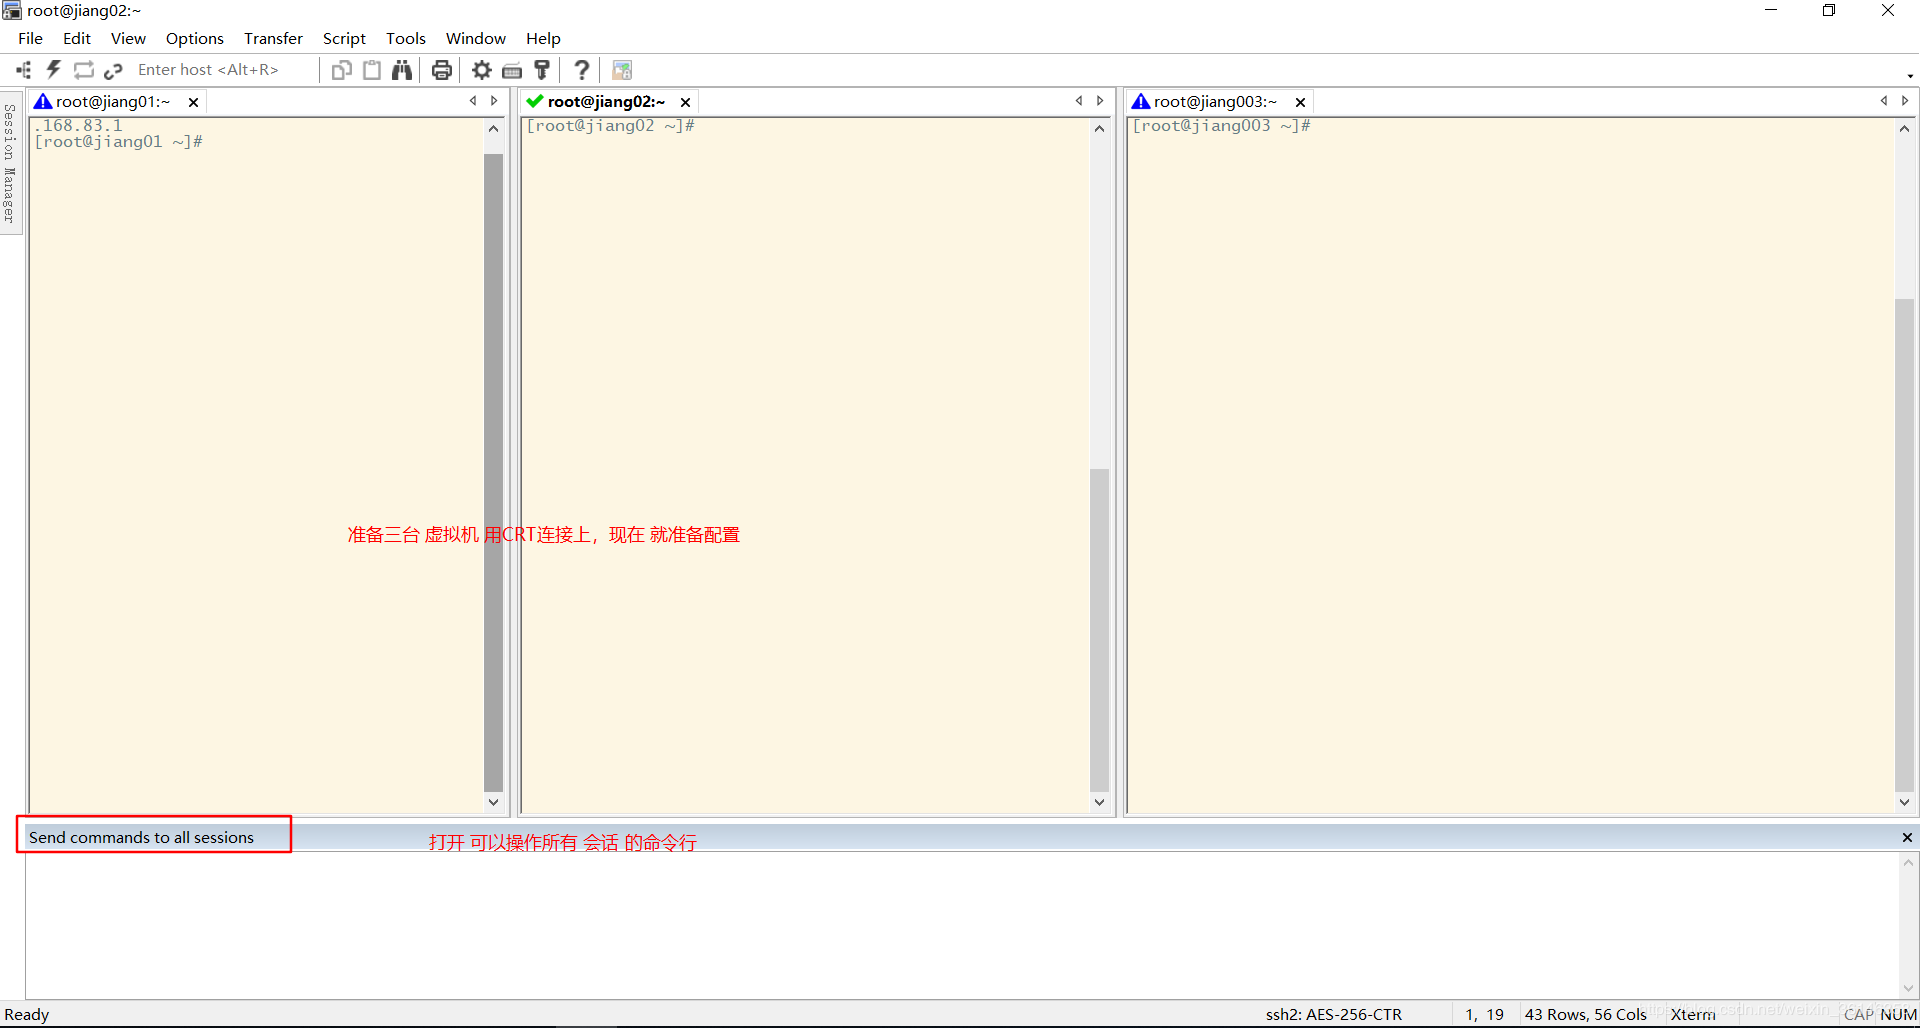
1.1查看当前操作系统环境以及主机映射关系
[root@jiang01 ~]# cat /etc/redhat-release

CentOS Linux release 7.7. (Core)

[root@jiang01 ~]# uname -r

3.10.-.el7.x86_64

[root@jiang01 ~]# free -m

              total        used        free      shared  buff/cache   available

Mem:

Swap:

[root@jiang01 ~]# hostname -i
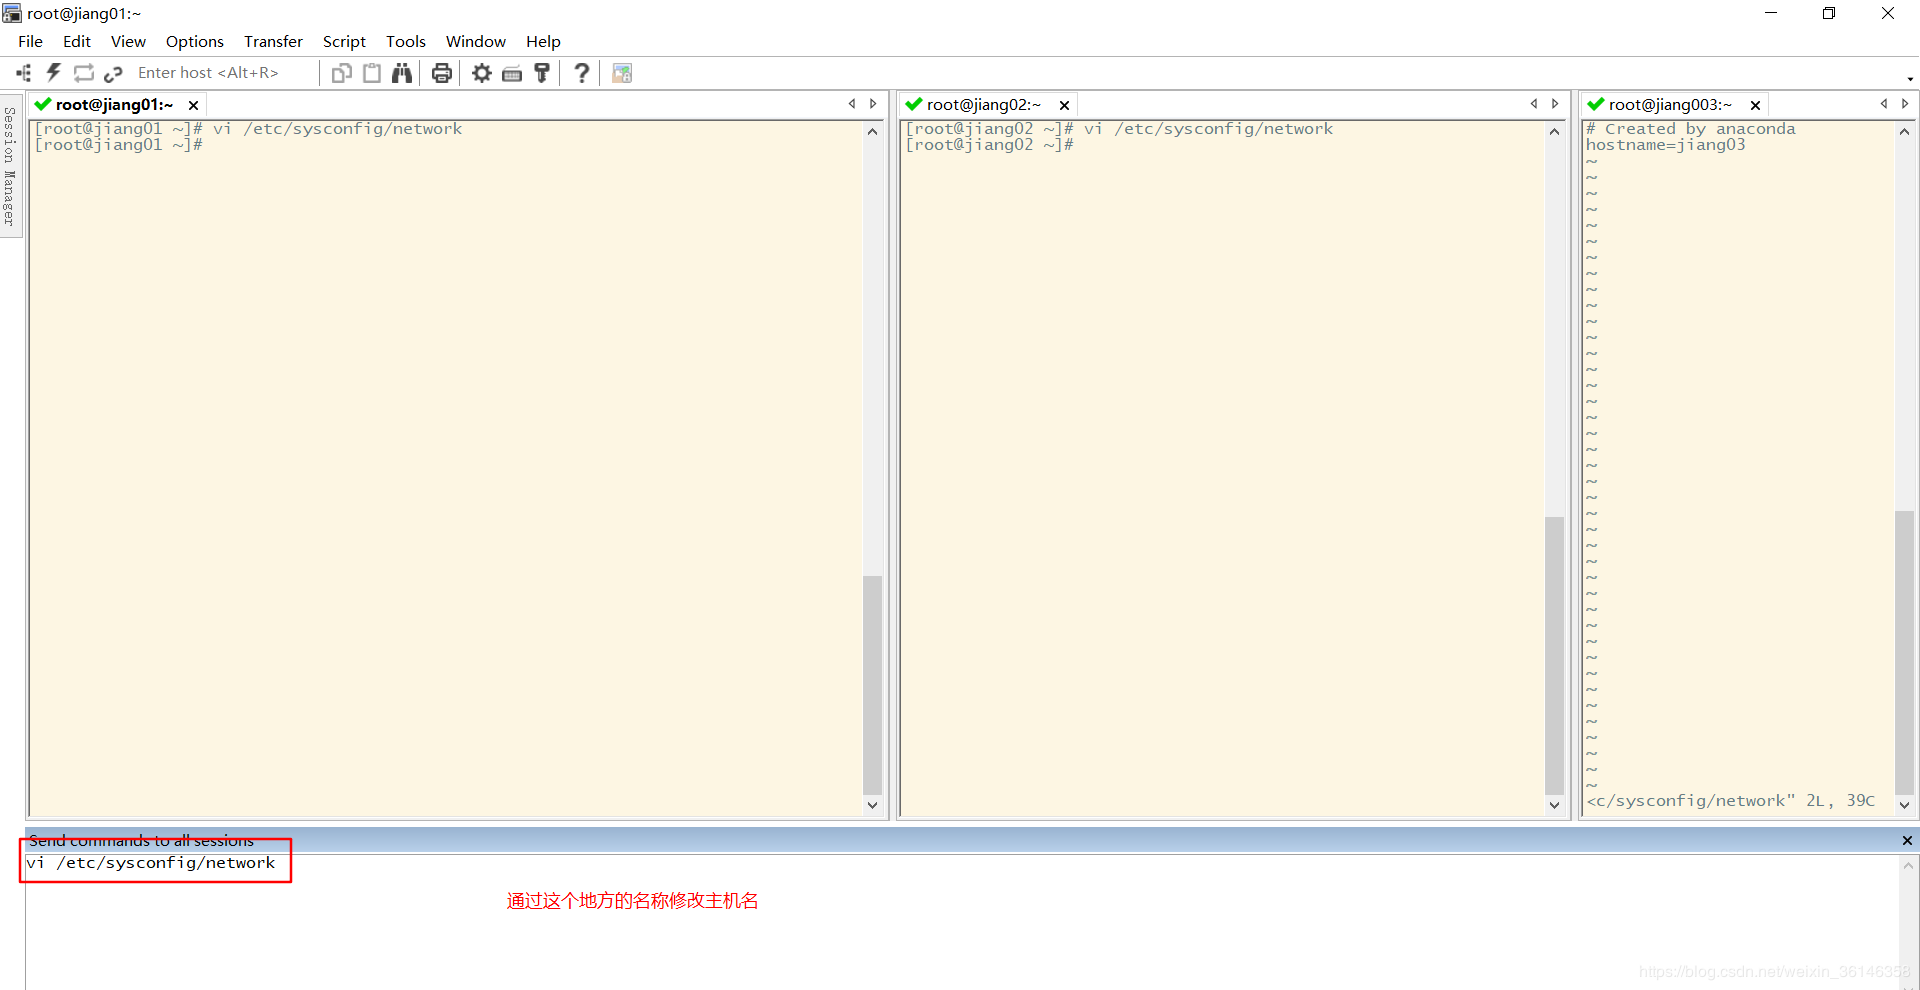
1.2 修改hostname,重启三台机器,主机名称将永久生效
#  使用hostnamectl命令

hostnamectl set-hostname xxx

//删除hostname

hostnamectl set-hostname ""

hostnamectl set-hostname 主机名

#

 vi /etc/hostname

1.3 关闭防火墙
停止firewall systemctl stop firewalld.service
禁止firewall开机启动 systemctl disable firewalld.service

1.4 hosts文件设置,只是为了不直接使用ip,使用主机名方便好记,
[root@jiang01 ~]# vi /etc/hosts

[root@jiang01 ~]# cat /etc/hosts | grep jiang

192.168.1.16 jiang01

192.168.1.17 jiang02

192.168.1.17 jiang03
1.5 配置三台机器免密登录 ,网上有很多种方式来配置,我选择了其中最简单的那种。命令依次为
生成私钥并配置禹本纪的免密登录:ssh-keygen -t rsa -P '' -f ~/.ssh/id_rsa
拷贝私钥 ssh-copy-id 用户名@主机名
查看免秘是否成功 ssh 主机名 

1.6 配置网络镜像源
下载镜像源
curl -o /etc/yum.repos.d/CentOS-Base.repo http://mirrors.aliyun.com/repo/Centos-7.repo
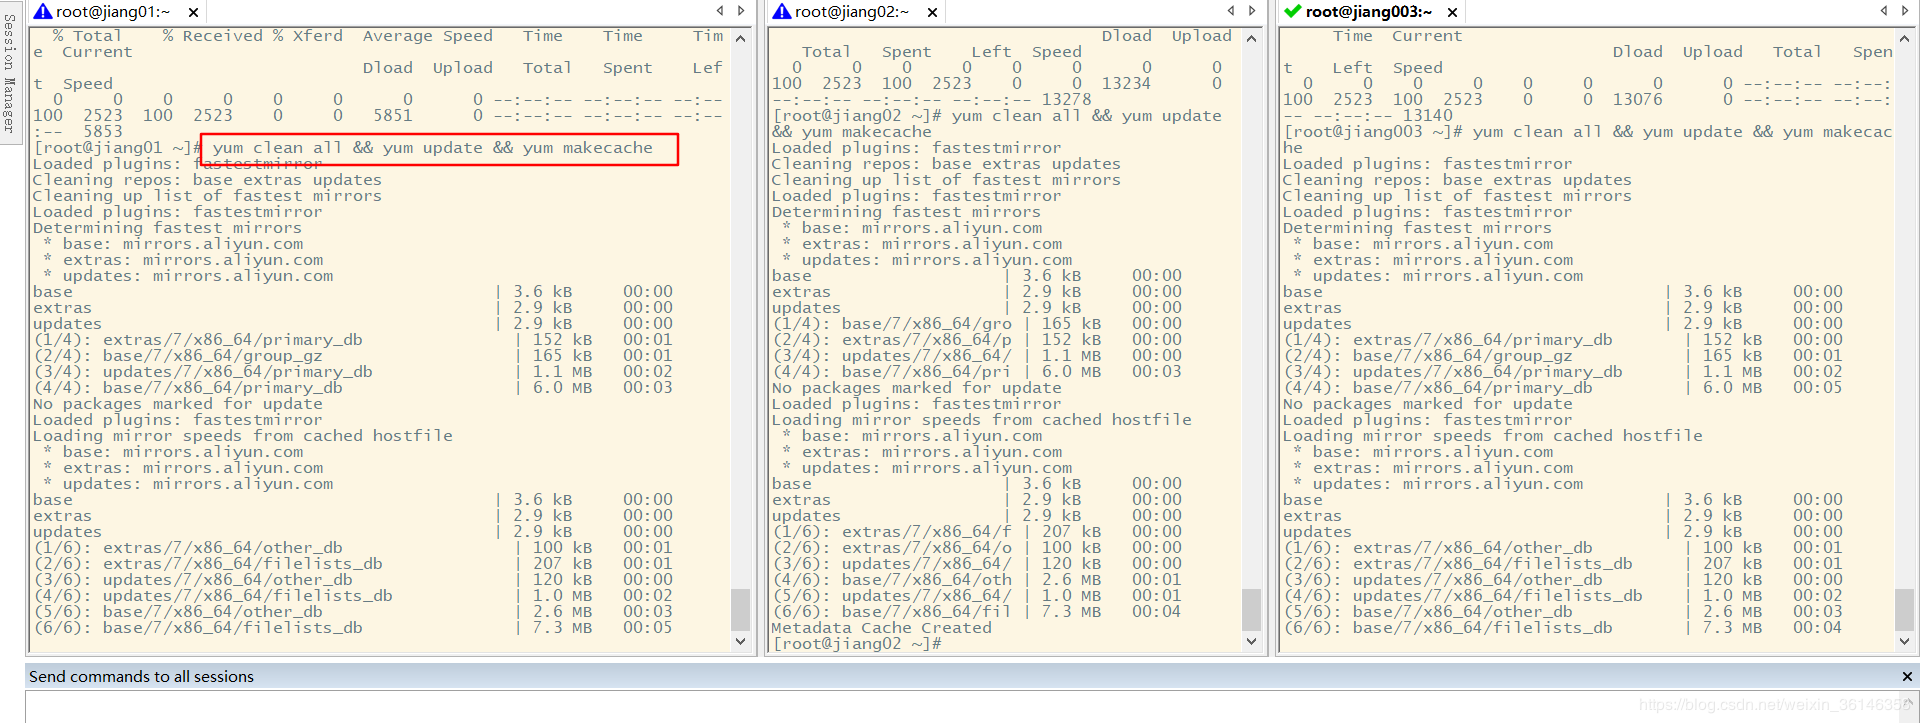
清楚缓存
yum clean all && yum update && yum makecache
1.7 SELINUX关闭
sed -i 's#SELINUX=enforcing#SELINUX=disabled#' /etc/selinux/config
1.8 安装jdk
[root@jiang01 ~]# mkdir app

[root@jiang01 ~]#

[root@jiang01 ~]# cd app/

[root@jiang01 app]#

[root@jiang01 app]# rz

rz waiting to receive.

Starting zmodem transfer.  Press Ctrl+C to cancel.

Transferring installJDK.sh...

  %      bytes   bytes/sec ::        Errors

Transferring jdk-8u172-linux-x64.tar.gz...

  %   KB     KB/sec    ::        Errors

[root@jiang01 app]#

[root@jiang01 app]#

[root@jiang01 app]# source ./installJDK.sh

/usr/local/app/jdk1..0_172

安装完毕!!!\r下面进行测试

Usage: javac <options> <source files>

where possible options include:

  -g                         Generate all debugging info

  -g:none                    Generate no debugging info

  -g:{lines,vars,source}     Generate only some debugging info

  -nowarn                    Generate no warnings

  -verbose                   Output messages about what the compiler is doing

  -deprecation               Output source locations where deprecated APIs are used

  -classpath <path>          Specify where to find user class files and annotation processors

  -cp <path>                 Specify where to find user class files and annotation processors

  -sourcepath <path>         Specify where to find input source files

  -bootclasspath <path>      Override location of bootstrap class files

  -extdirs <dirs>            Override location of installed extensions

  -endorseddirs <dirs>       Override location of endorsed standards path

  -proc:{none,only}          Control whether annotation processing and/or compilation is done.

  -processor <class1>[,<class2>,<class3>...] Names of the annotation processors to run; bypasses default discovery process

  -processorpath <path>      Specify where to find annotation processors

  -parameters                Generate metadata for reflection on method parameters

  -d <directory>             Specify where to place generated class files

  -s <directory>             Specify where to place generated source files

  -h <directory>             Specify where to place generated native header files

  -implicit:{none,class}     Specify whether or not to generate class files for implicitly referenced files

  -encoding <encoding>       Specify character encoding used by source files

  -source <release>          Provide source compatibility with specified release

  -target <release>          Generate class files for specific VM version

  -profile <profile>         Check that API used is available in the specified profile

  -version                   Version information

  -help                      Print a synopsis of standard options

  -Akey[=value]              Options to pass to annotation processors

  -X                         Print a synopsis of nonstandard options

  -J<flag>                   Pass <flag> directly to the runtime system

  -Werror                    Terminate compilation if warnings occur

  @<filename>                Read options and filenames from file

java版本为:

java version "1.8.0_172"

Java(TM) SE Runtime Environment (build 1.8.0_172-b11)

Java HotSpot(TM) -Bit Server VM (build 25.172-b11, mixed mode)

是否删除安装包

) 是

) 否

#?

脚本执行完毕!!!

[root@jiang01 jdk1..0_172]#
java安装脚本
#!/bin/bash

#author :lizhenjiang

#email:idea_zhenjiang@.com

mkdir /usr/local/app

tar -zxf jdk* -C /usr/local/app

cd /usr/local/app/jdk*

home=`pwd`

echo $home

echo "export JAVA_HOME=${home}" >> /etc/profile

echo "export PATH=\$PATH:\$JAVA_HOME/bin" >> /etc/profile

echo "安装完毕!!!\r下面进行测试"

#配置完成,下面的是测试

source /etc/profile

javac

echo "java版本为:"

java -version

echo "是否删除安装包"

select var in 是 否

do

    break

done

if [ var = 是 ]

then

    rm jdk-*

    echo "安装包已删除"

fi

echo "脚本执行完毕!!!"
1.9 编写集群管理脚本,这些脚本在其它课程上有很多,都可以拿来使用
批量执行服务脚本命令
运行效果
[root@jiang01 jdk1..0_172]# xcall.sh "yum -y install rsync"

============= jiang01 : yum -y install rsync ============

Loaded plugins: fastestmirror

Loading mirror speeds from cached hostfile

 * base: mirrors.aliyun.com

 * extras: mirrors.aliyun.com

 * updates: mirrors.aliyun.com

Resolving Dependencies

--> Running transaction check

---> Package rsync.x86_64 :3.1.-.el7_6. will be installed

--> Finished Dependency Resolution

Dependencies Resolved

================================================================================

 Package        Arch            Version                     Repository     Size

================================================================================

Installing:

 rsync          x86_64          3.1.-.el7_6.             base           k

Transaction Summary

================================================================================

Install   Package

Total download size:  k

Installed size:  k

Downloading packages:

Running transaction check

Running transaction test

Transaction test succeeded

Running transaction

  Installing : rsync-3.1.-.el7_6..x86_64                                 /

  Verifying  : rsync-3.1.-.el7_6..x86_64                                 /

Installed:

  rsync.x86_64 :3.1.-.el7_6.

Complete!

命令执行成功

============= jiang02 : yum -y install rsync ============

Loaded plugins: fastestmirror

Loading mirror speeds from cached hostfile

 * base: mirrors.aliyun.com

 * extras: mirrors.aliyun.com

 * updates: mirrors.aliyun.com

Resolving Dependencies

--> Running transaction check

---> Package rsync.x86_64 :3.1.-.el7_6. will be installed

--> Finished Dependency Resolution

Dependencies Resolved

================================================================================

 Package        Arch            Version                     Repository     Size

================================================================================

Installing:

 rsync          x86_64          3.1.-.el7_6.             base           k

Transaction Summary

================================================================================

Install   Package

Total download size:  k

Installed size:  k

Downloading packages:

Running transaction check

Running transaction test

Transaction test succeeded

Running transaction

  Installing : rsync-3.1.-.el7_6..x86_64                                 /

  Verifying  : rsync-3.1.-.el7_6..x86_64                                 /

Installed:

  rsync.x86_64 :3.1.-.el7_6.

Complete!

命令执行成功

============= jiang03 : yum -y install rsync ============

Loaded plugins: fastestmirror

Loading mirror speeds from cached hostfile

 * base: mirrors.aliyun.com

 * extras: mirrors.aliyun.com

 * updates: mirrors.aliyun.com

Resolving Dependencies

--> Running transaction check

---> Package rsync.x86_64 :3.1.-.el7_6. will be installed

--> Finished Dependency Resolution

Dependencies Resolved

================================================================================

 Package        Arch            Version                     Repository     Size

================================================================================

Installing:

 rsync          x86_64          3.1.-.el7_6.             base           k

Transaction Summary

================================================================================

Install   Package

Total download size:  k

Installed size:  k

Downloading packages:

Running transaction check

Running transaction test

Transaction test succeeded

Running transaction

  Installing : rsync-3.1.-.el7_6..x86_64                                 /

  Verifying  : rsync-3.1.-.el7_6..x86_64                                 /

Installed:

  rsync.x86_64 :3.1.-.el7_6.

Complete!

命令执行成功

[root@jiang01 jdk1..0_172]#
批量同步文件脚本:
#!/bin/bash

#author :lizhenjiang

#email:idea_zhenjiang@.com

#判断用户是否传参

if [ $# -lt  ];then

    echo "请输入参数";

    exit

fi

#获取文件路径

file=$@

#获取子路径

filename=`basename $file`

#获取父路径

dirpath=`dirname $file`

#获取完整路径

cd $dirpath

fullpath=`pwd -P`

#同步文件到DataNode

for (( i=;i<=;i++ ))

do

    tput setaf

    echo =========== jiang0${i} : $file ===========

    tput setaf

    #远程执行命令

    rsync -lr $filename `whoami`@jiang0${i}:$fullpath

    #判断命令是否执行成功

    if [ $? ==  ];then

        echo "命令执行成功"

    fi

done
[root@jiang01 app]# vi /usr/bin/xrsync.sh

[root@jiang01 app]#

[root@jiang01 app]#

[root@jiang01 app]# chmod +x /usr/bin/xrsync.sh

[root@jiang01 app]#

[root@jiang01 app]#  xcall.sh cat /etc/hosts

============= jiang01 : cat /etc/hosts ============

127.0.0.1   localhost localhost.localdomain localhost4 localhost4.localdomain4

::         localhost localhost.localdomain localhost6 localhost6.localdomain6

192.168.1.16 jiang01

192.168.1.17 jiang02

192.168.1.18 jiang03

命令执行成功

============= jiang02 : cat /etc/hosts ============

127.0.0.1   localhost localhost.localdomain localhost4 localhost4.localdomain4

::         localhost localhost.localdomain localhost6 localhost6.localdomain6

192.168.1.16 jiang01

192.168.1.17 jiang02

192.168.1.18 jiang03

命令执行成功

============= jiang03 : cat /etc/hosts ============

127.0.0.1   localhost localhost.localdomain localhost4 localhost4.localdomain4

::         localhost localhost.localdomain localhost6 localhost6.localdomain6

192.168.1.16 jiang01

192.168.1.17 jiang02

192.168.1.18 jiang03

命令执行成功
[root@jiang01 app]# xcall.sh mkdir /usr/local/app/

============= jiang01 : mkdir /usr/local/app/ ============

mkdir: cannot create directory ‘/usr/local/app/’: File exists

============= jiang02 : mkdir /usr/local/app/ ============

命令执行成功

============= jiang03 : mkdir /usr/local/app/ ============

命令执行成功

[root@jiang01 app]# ll

total

drwxr-xr-x.     Sep  : jdk1..0_172

[root@jiang01 app]# xrsync.sh jdk1..0_172/

=========== jiang02 : jdk1..0_172/ ===========

命令执行成功

=========== jiang03 : jdk1..0_172/ ===========

命令执行成功

[root@jiang01 app]#

[root@jiang01 app]#

[root@jiang01 app]# xrsync.sh /etc/profile

=========== jiang02 : /etc/profile ===========

命令执行成功

=========== jiang03 : /etc/profile ===========

命令执行成功

[root@jiang01 app]#
2.0 同步网络时钟,集群要保证时钟的一致性,以免集群出现问题
yum install ntpdate

ntpdate us.pool.ntp.org

hwclock -w

显示时区:

date -R

#安装ntpdate工具

yum install ntpdate -y

#使用ntpdate校时(后面的是ntp服务器)

ntpdate pool.ntp.org

hwclock -w

定时任务(高可用集群时间同步很重要)

/ * /usr/sbin/ntpdate pool.ntp.org >/dev/null >&

每五分钟同步一次时间
到现在基础环境已经准备就绪,已经完全准备好了安装大数据相关的集群。
大数据集群环境搭建之一 Centos基本环境准备的更多相关文章
- CDH版本大数据集群下搭建的Hue详细启动步骤(图文详解)
关于安装请见 CDH版本大数据集群下搭建Hue(hadoop-2.6.0-cdh5.5.4.gz + hue-3.9.0-cdh5.5.4.tar.gz)(博主推荐) Hue的启动 也就是说,你Hue ...
- CDH版本大数据集群下搭建Hue(hadoop-2.6.0-cdh5.5.4.gz + hue-3.9.0-cdh5.5.4.tar.gz)(博主推荐)
不多说,直接上干货! 我的集群机器情况是 bigdatamaster(192.168.80.10).bigdataslave1(192.168.80.11)和bigdataslave2(192.168 ...
- Spark项目之电商用户行为分析大数据平台之(三)大数据集群的搭建
Zookeeper集群搭建 http://www.cnblogs.com/qingyunzong/p/8619184.html Hadoop集群搭建 http://www.cnblogs.com/qi ...
- CDH版本大数据集群下搭建Avro(hadoop-2.6.0-cdh5.5.4.gz + avro-1.7.6-cdh5.5.4.tar.gz的搭建)
下载地址 http://archive.cloudera.com/cdh5/cdh/5/avro-1.7.6-cdh5.5.4.tar.gz
- 全网最详细的大数据集群环境下多个不同版本的Cloudera Hue之间的界面对比(图文详解)
不多说,直接上干货! 为什么要写这么一篇博文呢? 是因为啊,对于Hue不同版本之间,其实,差异还是相对来说有点大的,具体,大家在使用的时候亲身体会就知道了,比如一些提示和界面. 安装Hue后的一些功能 ...
- 全网最详细的大数据集群环境下如何正确安装并配置多个不同版本的Cloudera Hue(图文详解)
不多说,直接上干货! 为什么要写这么一篇博文呢? 是因为啊,对于Hue不同版本之间,其实,差异还是相对来说有点大的,具体,大家在使用的时候亲身体会就知道了,比如一些提示和界面. 全网最详细的大数据集群 ...
- 基于Docker搭建大数据集群(一)Docker环境部署
本篇文章是基于Docker搭建大数据集群系列的开篇之作 主要内容 docker搭建 docker部署CentOS 容器免密钥通信 容器保存成镜像 docker镜像发布 环境 Linux 7.6 一.D ...
- Docker搭建大数据集群 Hadoop Spark HBase Hive Zookeeper Scala
Docker搭建大数据集群 给出一个完全分布式hadoop+spark集群搭建完整文档,从环境准备(包括机器名,ip映射步骤,ssh免密,Java等)开始,包括zookeeper,hadoop,hiv ...
- Ubuntu14.04下Ambari安装搭建部署大数据集群(图文分五大步详解)(博主强烈推荐)
不多说,直接上干货! 写在前面的话 (1) 最近一段时间,因担任我团队实验室的大数据环境集群真实物理机器工作,至此,本人秉持负责.认真和细心的态度,先分别在虚拟机上模拟搭建ambari(基于CentO ...
随机推荐
- java读取IFC文件
The IFC JAVA Toolbox can read IFC STEP files and IFCZIP files from any data source that implementsja ...
- ubuntu解决网络连接的优先级
ubuntu下无线连接网络,有线连接板卡,解决网络连接的优先级 1. 查看网关 ip route show dev wlp2s0 proto kernel scope link src dev wl ...
- Des加解密工具
import java.security.Key; import java.security.Security; import java.util.Date; import javax.crypto. ...
- Nginx添加静态页面
1.编辑配置文件 sudo vim /etc/nginx/nginx.conf 在http {}中添加如下 server { listen 80; server_name localhost; loc ...
- python + selenium + unittest实现简单的UI自动化
使用的版本是python 3,其中HTMLTestRunner是修改版本,参考以下博客并下载 https://blog.csdn.net/zhanin123/article/details/78950 ...
- JAVA 扫描指定路径下所有的jar包,并保存所有实现固定接口的类型
private static Map<String, Object> loadAllJarFromAbsolute(String directoryPath) throws NoSuchM ...
- 19 SpringMVC 拦截器
1. 拦截器的概述(1)SpringMVC框架中的拦截器用于对处理器进行预处理和后处理的技术.(2)可以定义拦截器链,连接器链就是将拦截器按着一定的顺序结成一条链,在访问被拦截的方法时,拦截器链 中的 ...
- SQL Server 数据库启动过程(用户数据库加载过程的疑难杂症)
前言 本篇主要是上一篇文章的补充篇,上一篇我们介绍了SQL Server服务启动过程所遇到的一些问题和解决方法,可点击查看,我们此篇主要介绍的是SQL Server启动过程中关于用户数据库加载的流程, ...
- [转帖]SSD和内存数据库技术
SSD和内存数据库技术 自己的理解还是不是很对 SSD 提升的是 随机读 并没有对顺序写有多大的提升, 因为数据库采用的是redo的模式. 理论上写入 时是顺序写 所以 写并发的提升不会很大 但是会很 ...
- string字符串成员函数
string字符串成员函数 string str1="aaa"; char c='c'; str1.assign("ABCAAAAAAABBBBB");//替换 ...