在 Windows 10 64 下安装 Memcached,安装 PHP 7.0.22 的 Memcache 扩展
1、之前写过一篇在 PHP 5.6.27 下的博客:http://www.shuijingwanwq.com/2017/09/11/1892/ ,此次是 PHP 7.0.22 下的,如图1
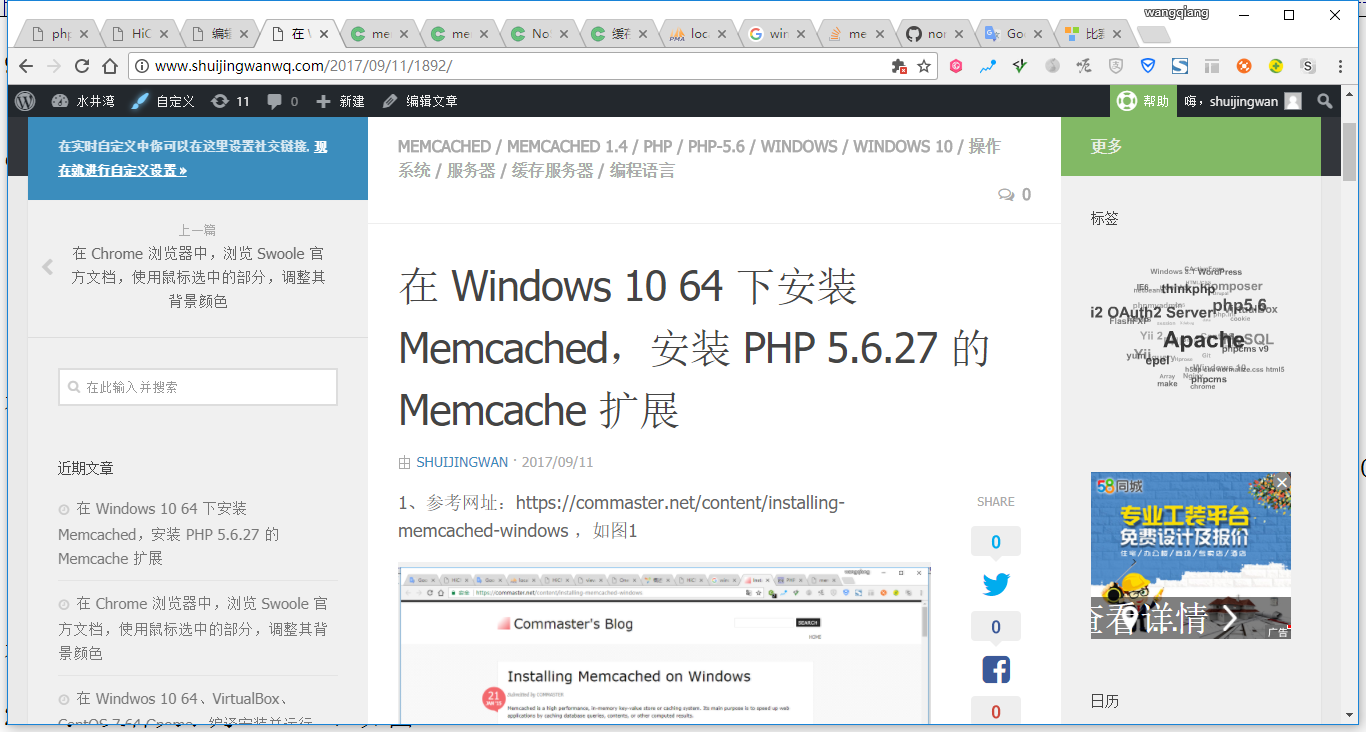
图1
2、卸载 memcached ,可以使用以下命令:,如图2
schtasks /delete /tn memcached
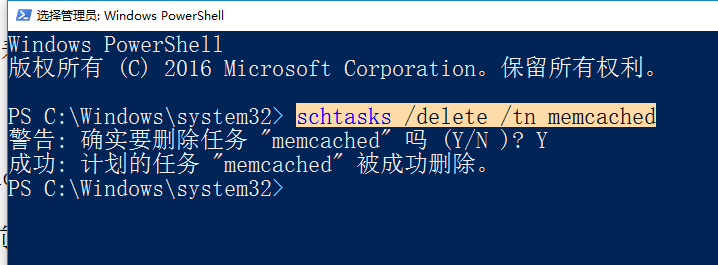
图2
3、删除目录:C:\memcached-1.4.5,如图3
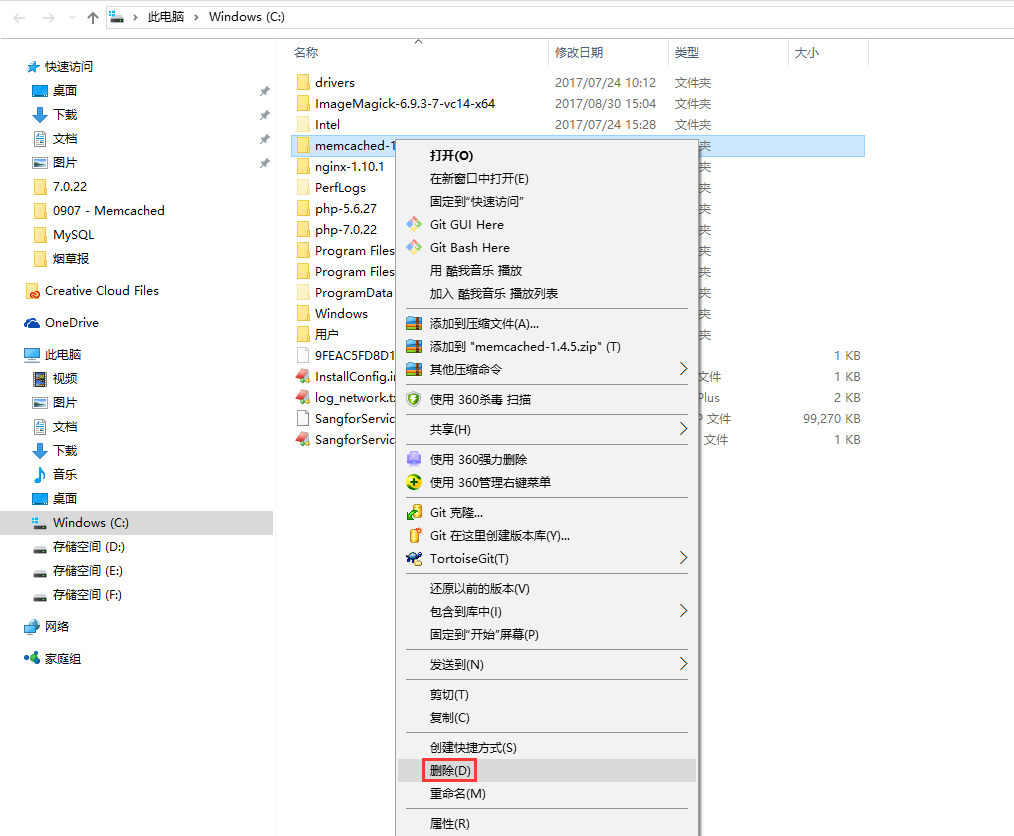
图3
4、打开网址:https://github.com/nono303/memcached/tree/master/cygwin/x64 ,下载:cygevent-2-0-5.dll、cygwin1.dll、memcached-1.5.1.exe,如图4
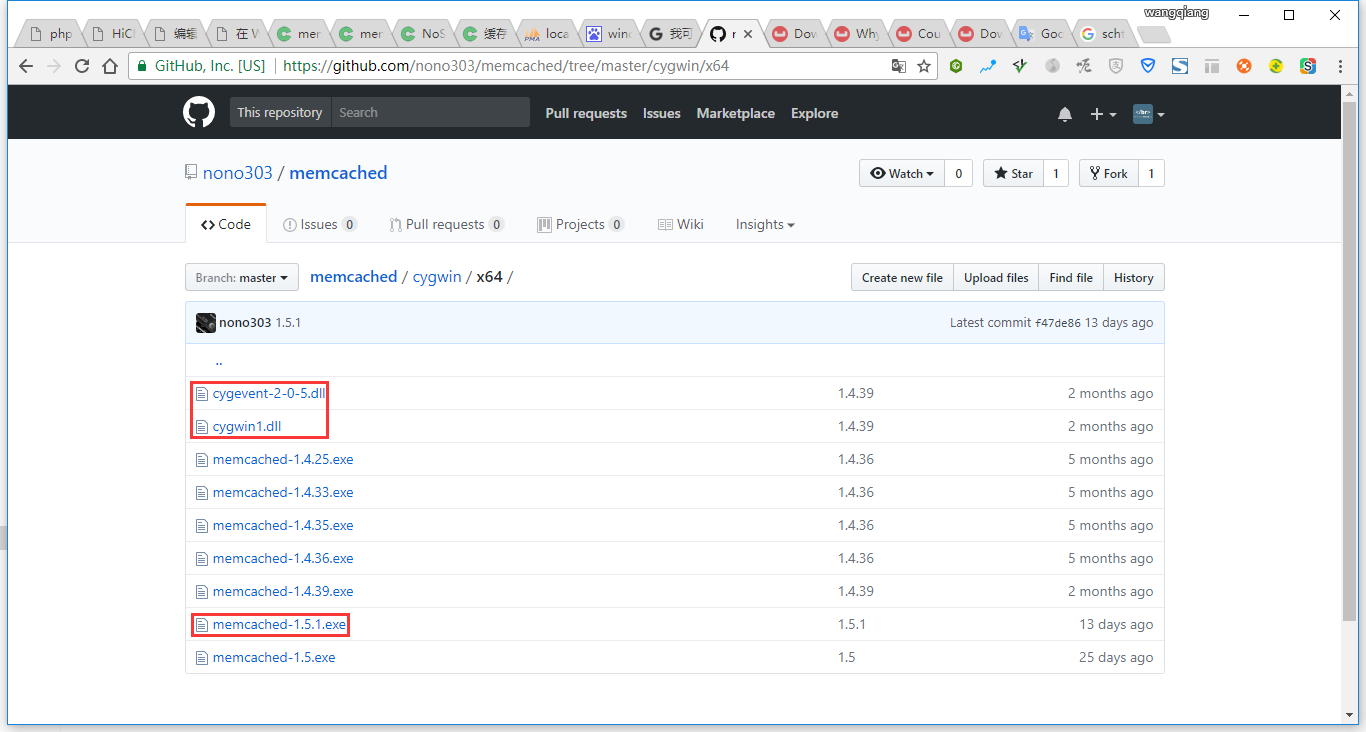
图4
5、下载成功后,复制至:C:\memcached-1.5.1,如图5
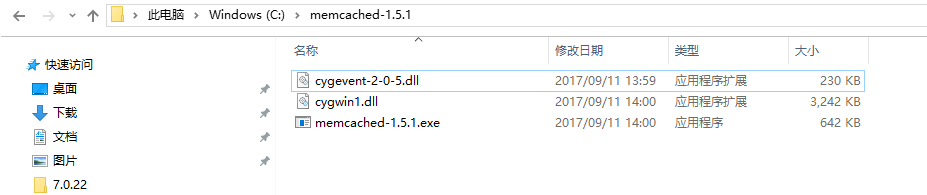
图5
6、以管理员身份运行 Windows PowerShell,如图6

图6
7、执行以下命令将 memcached 添加来任务计划表中:,如图7
schtasks /create /sc onstart /tn memcached /tr “‘C:\memcached-1.5.1\memcached-1.5.1.exe’ -m 512”

图7
8、打开网址:https://github.com/nono303/PHP7-memcache-dll ,选择vc14,如图8
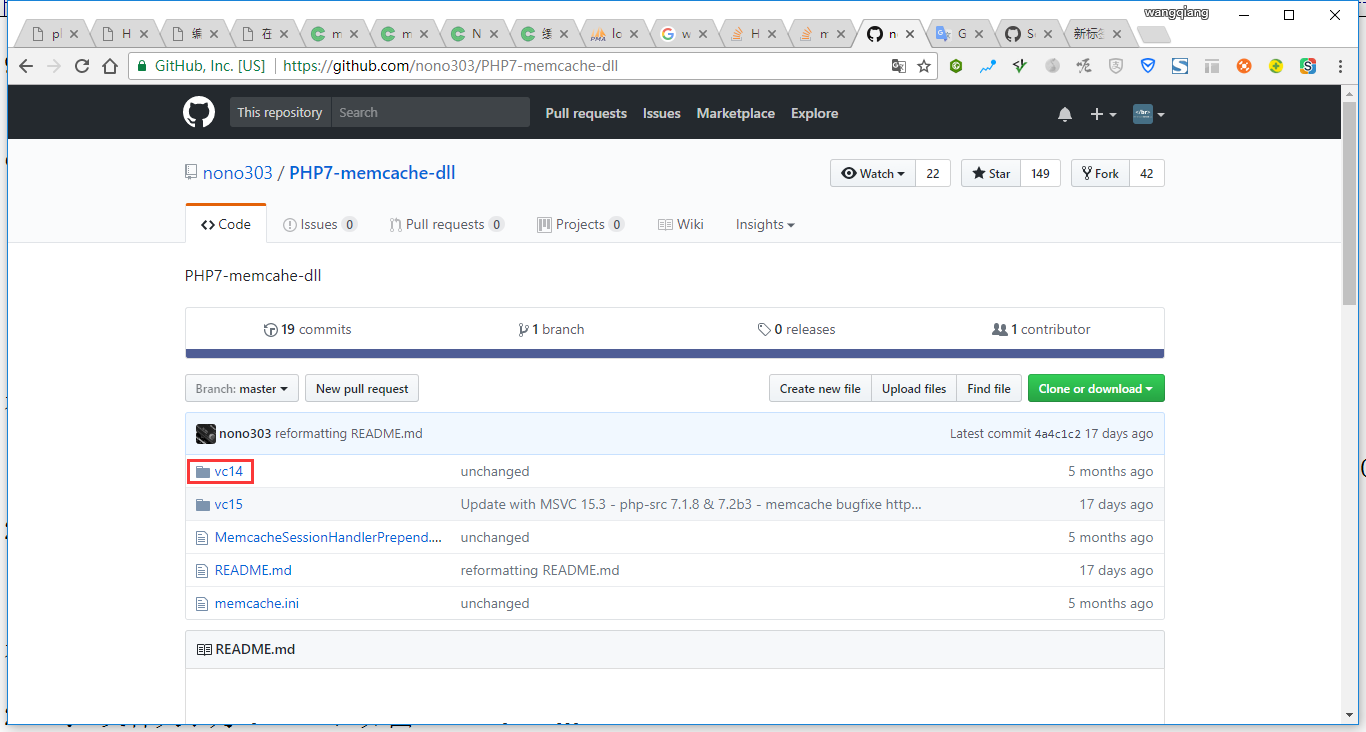
图8
9、查看 phpinfo,编译器为MSVC14,且线程安全,如图9

图9
10、打开网址:https://github.com/nono303/PHP7-memcache-dll/tree/master/vc14/x64/ts ,下载:php-7.0.x_memcache.dll,如图10
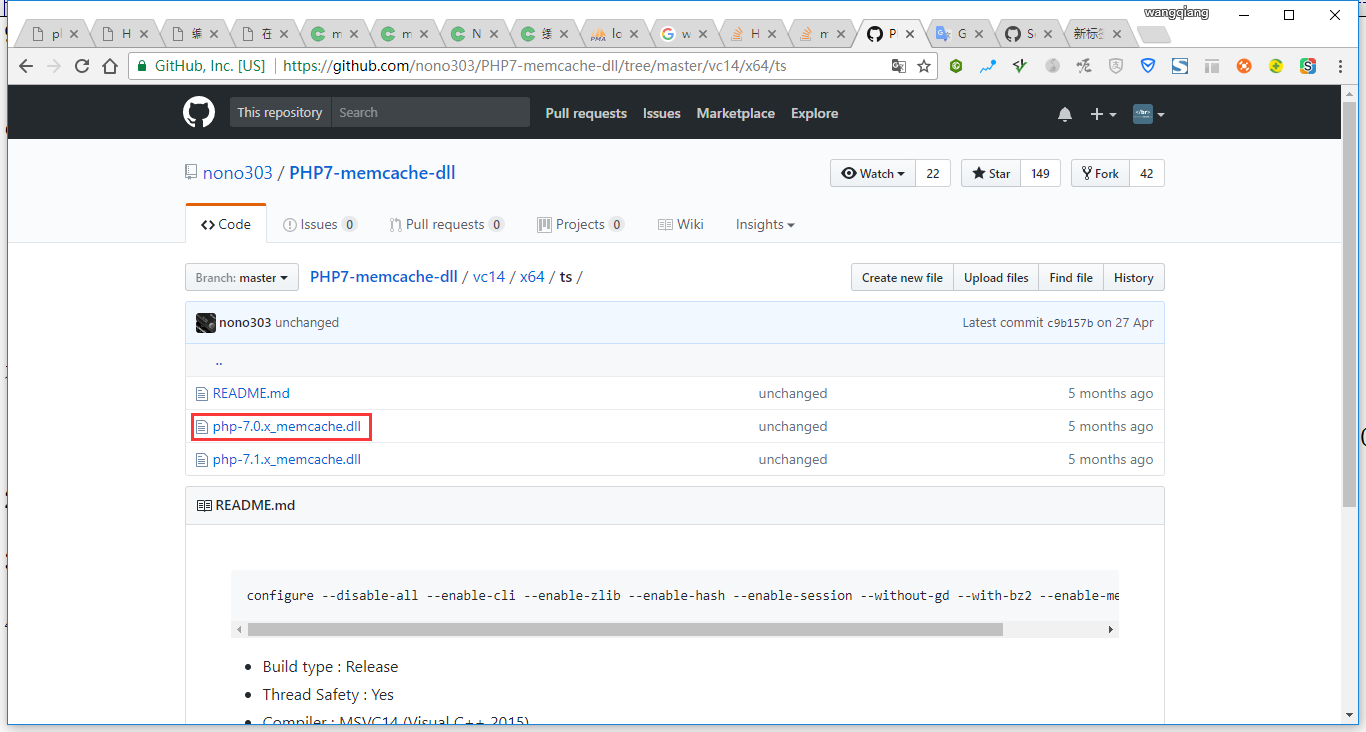
图10
11、将 php-7.0.x_memcache.dll 复制至:C:\php-7.0.22\ext\php_memcache.dll,如图11
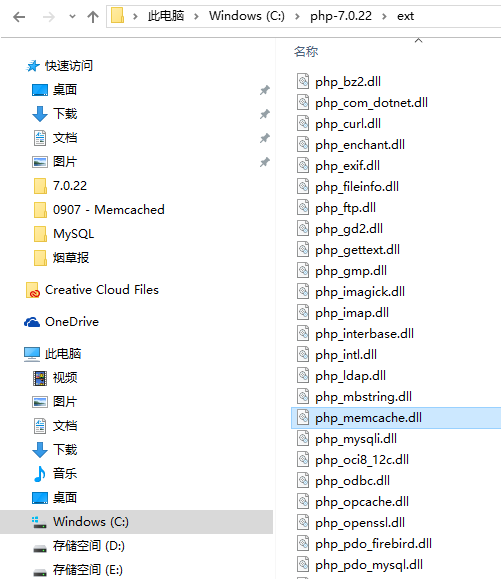
图11
12、在 C:\php-7.0.22\php.ini 中添加以下行以启用memcache扩展,如图12
extension=php_memcache.dll
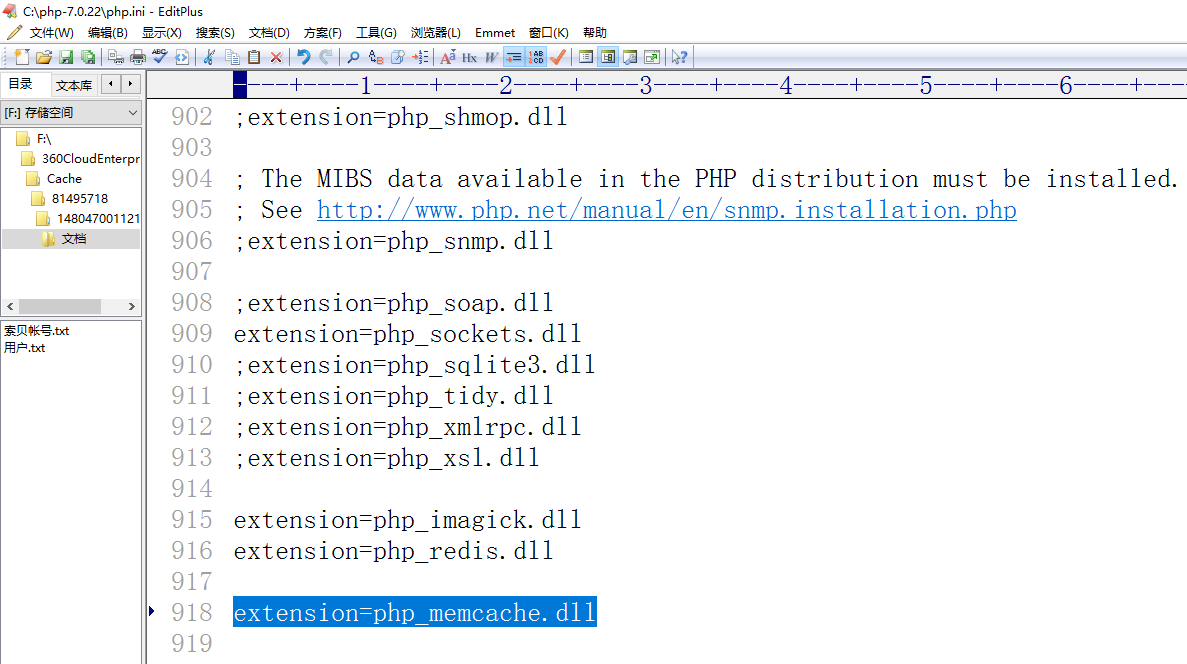
图12
13、查看 phpinfo,memcache已经存在,如图13
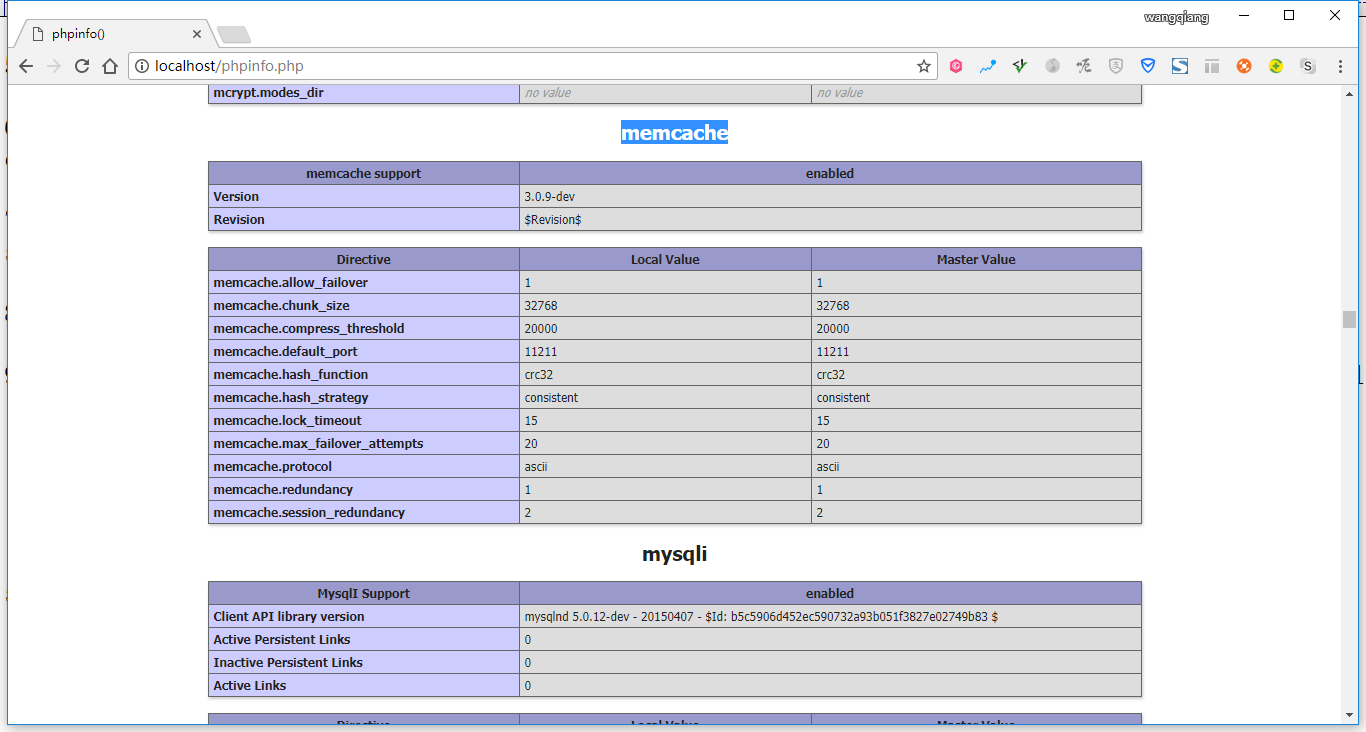
图13
14、新建测试程序:memcached.php,如图14
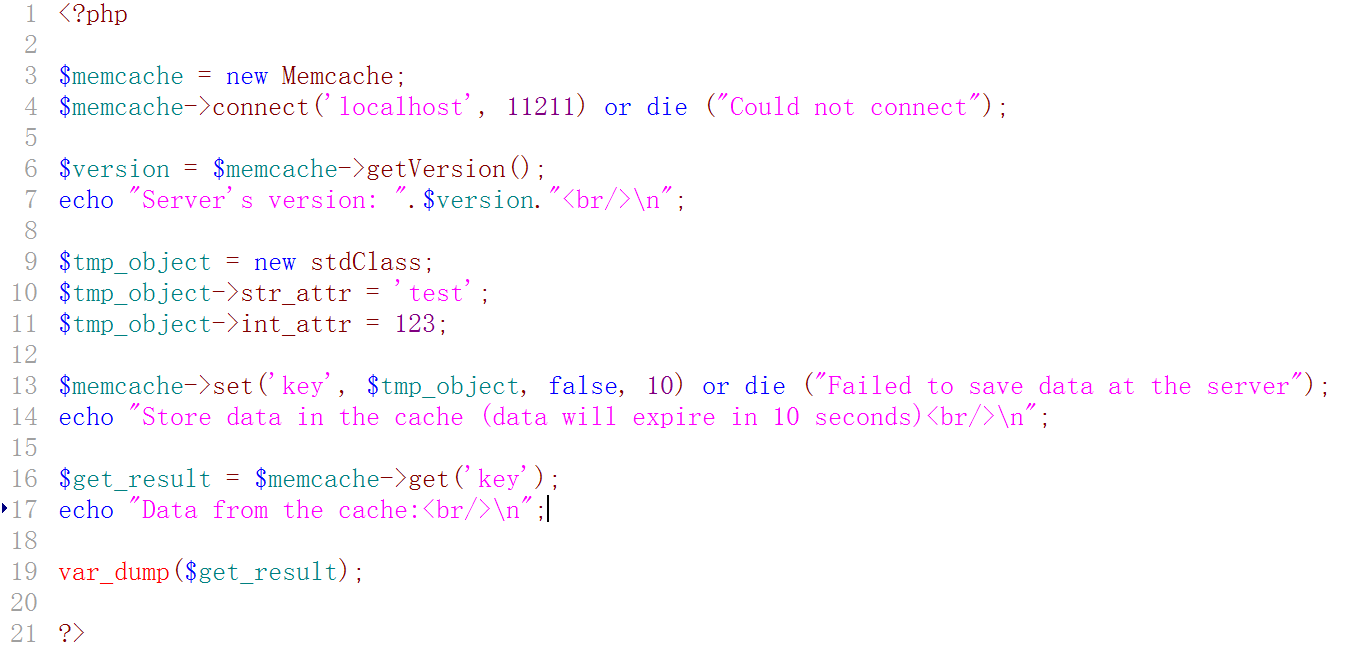
图14
<?php

$memcache = new Memcache;

$memcache->connect('localhost', 11211) or die ("Could not connect");

$version = $memcache->getVersion();

echo "Server's version: ".$version."<br/>\n";

$tmp_object = new stdClass;

$tmp_object->str_attr = 'test';

$tmp_object->int_attr = 123;

$memcache->set('key', $tmp_object, false, 10) or die ("Failed to save data at the server");

echo "Store data in the cache (data will expire in 10 seconds)<br/>\n";

$get_result = $memcache->get('key');

echo "Data from the cache:<br/>\n";

var_dump($get_result);

?>
15、在重启机器后,运行测试程序,报错:Notice: Memcache::connect(): Server localhost (tcp 11211, udp 0) failed with:,如图15
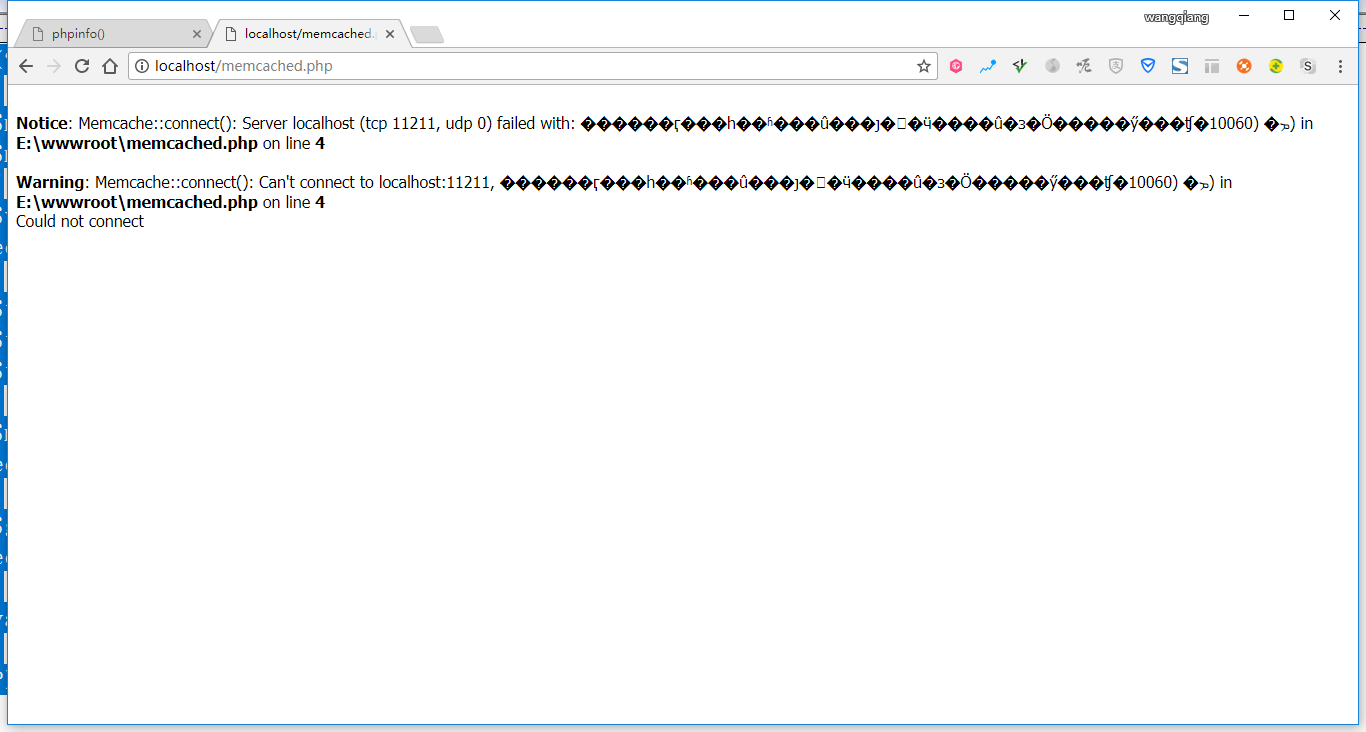
图15
16、打开任务计划程序,编辑 memcached 的触发器,从启动时修改为登录时,如图16
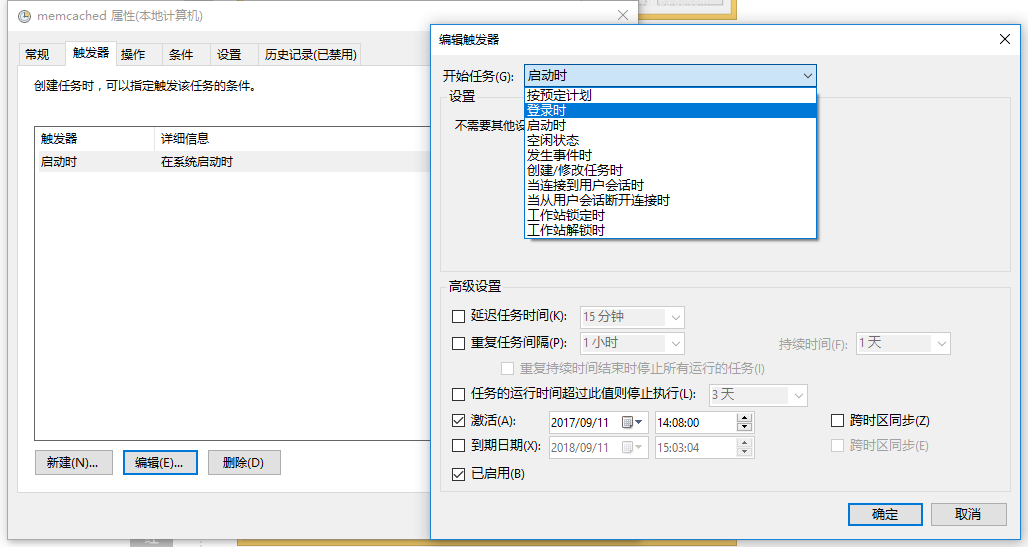
图16
17、此时,memcached 的触发器已经为:当任何用户登录时,如图17
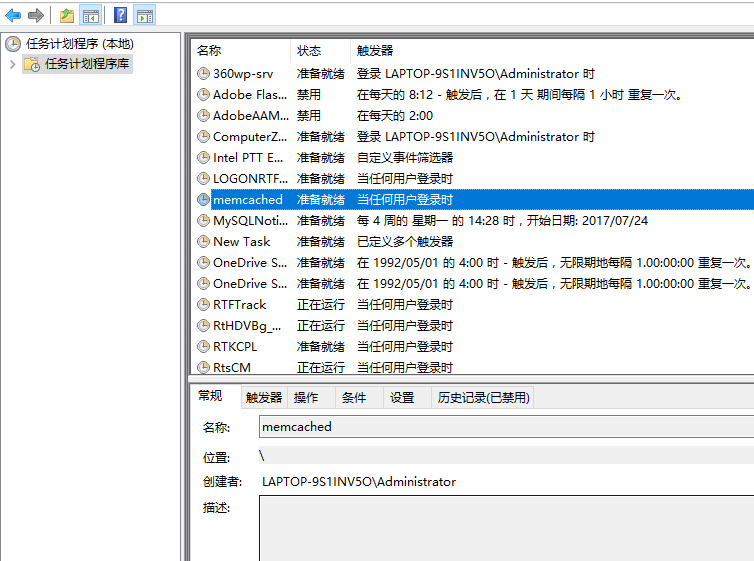
图17
18、在重启机器后,显示:C:\memcached-1.5.1\memcached-1.5.1.exe 命令行窗口,说明计划任务成功执行,如图18
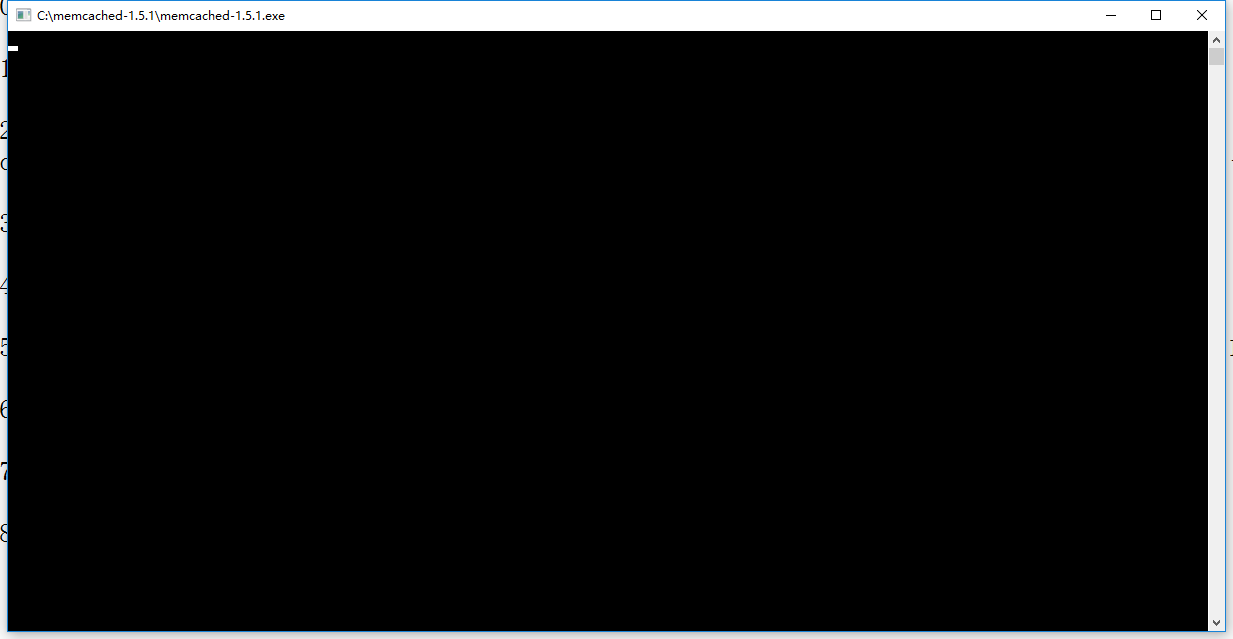
图18
19、运行测试程序,正常,如图19
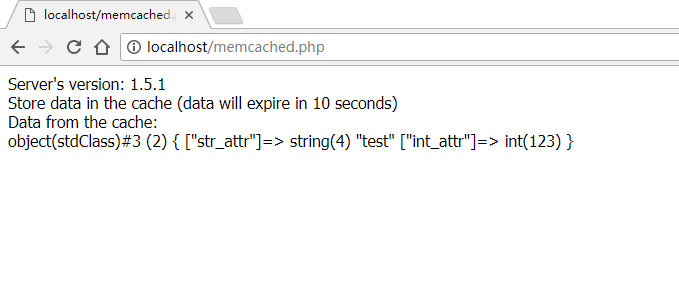
图19
20、希望在系统启动时,不要显示命令行窗口,更改用户或组,如图20

图20
21、在弹出的选择用户或组窗口中,我们选择高级 – 立即查找 – 选择 SYSTEM,点击确定,如图21
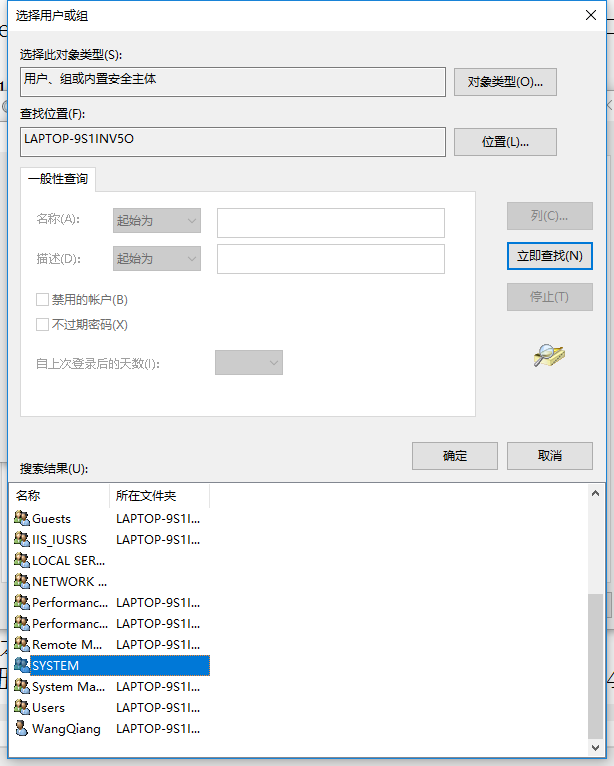
图21
22、运行任务时,请使用下列用户帐户,已为:SYSTEM,如图22
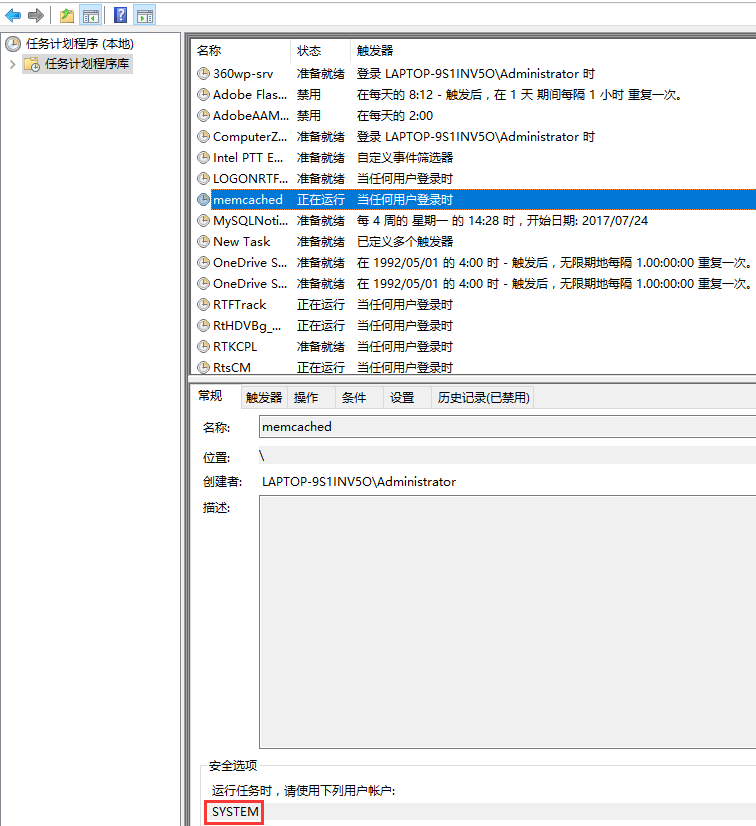
图22
23、在重启机器后,未显示:C:\memcached-1.5.1\memcached-1.5.1.exe 命令行窗口,且运行测试程序,正常,如图23

图23
在 Windows 10 64 下安装 Memcached,安装 PHP 7.0.22 的 Memcache 扩展的更多相关文章
- windows 10 64位机器上 安装部署
mi这个博客写的不错 https://www.cnblogs.com/dingguofeng/p/8709476.html 安装redis 可视化工具后 ,新建连接 名称随意,注意端口号是否有误默认6 ...
- windows 10 64bit下安装Tensorflow+Keras+VS2015+CUDA8.0 GPU加速
原文地址:http://www.jianshu.com/p/c245d46d43f0 写在前面的话 2016年11月29日,Google Brain 工程师团队宣布在 TensorFlow 0.12 ...
- tensor搭建--windows 10 64bit下安装Tensorflow+Keras+VS2015+CUDA8.0 GPU加速
windows 10 64bit下安装Tensorflow+Keras+VS2015+CUDA8.0 GPU加速 原文见于:http://www.jianshu.com/p/c245d46d43f0 ...
- Windows和Centos下Docker的安装配置
Windows和Centos下Docker的安装配置 windows环境下的安装(win10) 在Windows系统上需要利用toolbox来安装Docker,现在 Docker 有专门的 Win10 ...
- windows Sever 2012下Oracle 12c安装配置方法图文教程
windows Sever 2012下Oracle 12c安装配置方法图文教程 Oracle 12c安装配置方法图文教程,具体内容如下 1.我们开启虚拟机 2.Windows Sever 2012启动 ...
- windows 10中的ubuntu子系统安装桌面环境的方法
windows 10中的ubuntu子系统安装桌面环境的方法 (How to install Ubuntu-desktop in windows 10 Subsystem for Linux) 转载 ...
- CentOS-7 在windows server 2012下的虚拟机安装教程
CentOS-7 在windows server 2012下的虚拟机安装教程 一.下载 CentOS-7-x86_64-DVD-1611.iso https://mirrors.aliyun.com/ ...
- 笔记:在 Windows 10 WSL Ubuntu 18.04 安装 Odoo12 (2019-06-09)
笔记:在 Windows 10 WSL Ubuntu 18.04 安装 Odoo12 原因 为了和服务器一样的运行环境. 使用 Ubuntu 运行 Odoo 运行更快. 方便使用 Windows 10 ...
- 如何解决Windows 10系统下设备的声音问题
如何解决Windows 10系统下设备的声音问题? 请阅读下面的说明来解决Windows 10设备上的声音问题. 1. 检查设备管理器 打开开始菜单,键入设备管理器, 从出现的结果中选择并打开它. 在 ...
随机推荐
- php中除法取整的方法(round,ceil,floor)
PHP中遇到需要将除法所得结果取整的情况时,就需要用到以下方法: 1. round:四舍五入 round() 函数对浮点数进行四舍五入. 语法:round(x, prec) 参数 描述 x 可选.规定 ...
- fullpagejs实现的拥有header和foooter的全屏滚动demo/fullpage footer
fullpagejs实现的拥有header和foooter的全屏滚动, 技术要点:给section元素加fp-auto-height类, <!DOCTYPE html> <html ...
- "CSRF token missing or incorrect."的解决方法.
现象: Forbidden (403)CSRF verification failed. Request aborted.HelpReason given for failure:CSRF token ...
- java.lang.String 字符串操作
1.获取文件名 //获取文件名,即就是去掉文件的后缀 /** * mypic.jpg * 获取文件名 * 1. 先找到"."的位置 * 2. 从第一个字符开始截取到".& ...
- 使用过Fetch之后,你还想使用AJAX吗
之前做数据交互的时候,请求数据一直使用ajax,看到网上有使用Fetch,所以也想拿来尝尝鲜 本次介绍只涉及fetch相关,传统的ajax基本上不涉及 当然你也要考虑兼容.浏览器支持情况. 一会这个只 ...
- spark shuffle参数及调优建议(转)
原文:http://www.cnblogs.com/arachis/p/Spark_Shuffle.html spark.shuffle.file.buffer 默认值:32k 参数说明:该参数用于设 ...
- Fragment中获取Activity的Context (转)
Fragment中获取Activity的Context时只需要this.getActivity()即可. 而不是许多人说的this.getActivity().getApplicationCo ...
- OpenGL VAO, VBO 使用简介
参照代码样例: // This function takes in a vertex, color, index and type array // And does the initializati ...
- OpenFlow_tutorial_2_Install_Required_Software
一.Required Software 我操作系统用的 ubuntu 18.04.vm image的OS是ubuntu14.04,这两个系统的GUI应该已经不兼容了,如果使用ubuntu18.04的主 ...
- Discuz!代码
我如何使用Discuz!代码 Discuz!代码 效果 [b]粗体文字 Abc[/b] 粗体文字 Abc [i]斜体文字 Abc[/i] 斜体文字 Abc [u]下划线文字 Abc[/u] 下划线 ...