JQuery实现轮播图及其原理
源码:
<!DOCTYPE html>
<html> <head>
<meta charset="utf-8" name="viewport" content="width=device-width,initial-scale=1.0, minimum-scale=1.0, maximum-scale=1.0, user-scalable=no">
<title>JQuery轮播图</title>
<style>
*{
padding:0;
margin:0;
}
.container{
width:600px;
height:400px;
overflow: hidden;
position:relative;
margin:0 auto;
}
.list{
width:3000px;
height:400px;
position:absolute; }
.list>img{
float:left;
width:600px;
height:400px;
}
.pointer{
position:absolute;
width:100px;
bottom:20px;
left:250px;
}
.pointer>span{
cursor:pointer;
display:inline-block;
width:10px;
height:10px;
background: #7b7d80;
border-radius:50%;
border:1px solid #fff;
}
.pointer .on{
background: #28a4c9;
}
.arrow{
position:absolute;
text-decoration:none;
width:40px;
height:40px;
background: #727d8f;
color:#fff;
font-weight: bold;
line-height:40px;
text-align:center;
top:180px;
display:none;
}
.arrow:hover{
background: #0f0f0f;
}
.left{
left:0;
}
.right{
right:0;
}
.container:hover .arrow{
display:block;
}
</style>
</head> <body>
<div class="container">
<div class="list" style="left:0px;">
<!--<img src="../static/image/photo1.jpg" alt="5"/>-->
<img src="../static/image/banner.jpg" alt="1"/>
<img src="../static/image/slide1.jpg" alt="2"/>
<img src="../static/image/slide1.jpg" alt="3"/>
<img src="../static/image/slide1.jpg" alt="4"/>
<img src="../static/image/photo1.jpg" alt="5"/>
<!--<img src="../static/image/banner.jpg" alt="1"/>-->
</div>
<div class="pointer">
<span index="1" class="on"></span>
<span index="2"></span>
<span index="3"></span>
<span index="4"></span>
<span index="5"></span>
</div>
<a href="#" class="arrow left">></a>
<a href="#" class="arrow right"><</a>
</div> <script src="../static/js/jquery-3.2.1.min.js"></script>
<script>
var imgCount = 5;
var index = 1;
var intervalId;
var buttonSpan = $('.pointer')[0].children;//htmlCollection 集合
//自动轮播功能 使用定时器
autoNextPage();
function autoNextPage(){
intervalId = setInterval(function(){
nextPage(true);
},3000);
}
//当鼠标移入 停止轮播
$('.container').mouseover(function(){
console.log('hah');
clearInterval(intervalId);
});
// 当鼠标移出,开始轮播
$('.container').mouseout(function(){
autoNextPage();
});
//点击下一页 上一页的功能
$('.left').click(function(){
nextPage(true);
});
$('.right').click(function(){
nextPage(false);
});
//小圆点的相应功能 事件委托
clickButtons();
function clickButtons(){
var length = buttonSpan.length;
for(var i=0;i<length;i++){
buttonSpan[i].onclick = function(){
$(buttonSpan[index-1]).removeClass('on');
if($(this).attr('index')==1){
index = 5;
}else{
index = $(this).attr('index')-1;
}
nextPage(true); };
}
}
function nextPage(next){
var targetLeft = 0;
//当前的圆点去掉on样式
$(buttonSpan[index-1]).removeClass('on');
if(next){//往后走
if(index == 5){//到最后一张,直接跳到第一张
targetLeft = 0;
index = 1;
}else{
index++;
targetLeft = -600*(index-1);
} }else{//往前走
if(index == 1){//在第一张,直接跳到第五张
index = 5;
targetLeft = -600*(imgCount-1);
}else{
index--;
targetLeft = -600*(index-1);
} }
$('.list').animate({left:targetLeft+'px'});
//更新后的圆点加上样式
$(buttonSpan[index-1]).addClass('on'); } </script>
</body> </html>
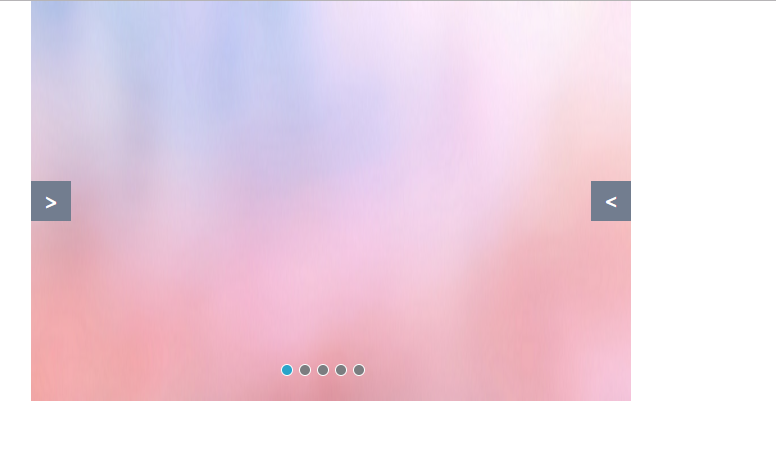
效果图:
原理:
页面结构方面:
- 将轮播图容器设置成相对定位,宽度设置成图片的宽度;容器中分为四部分:轮播的图片;点击的小按钮;前一张;后一张
样式方面:
- 轮播图容器为相对定位,宽度/高度设置成图片的宽度/高度,设置overflow为hidden;
- 容器中的每一部分都设置成绝对定位,放到相应的位置;
- 轮播图片的容器宽度设置成所有图片的宽度和,left开始先设置为0;
- 每张图片宽度一样,都设成左浮动,左右图片都在一行排列,所以轮播图的实质是装有图片的容器的移动,每次移动的距离为一张图片的宽度,这样每次就只显示一张图片;
- 前一张/后一张设置成display为none,当鼠标移入总容器时,再设置成display为block
功能方面:
- 自动轮播为一个定时循环机制setInteval,鼠标移入,循环停止,移除循环继续;
JQuery实现轮播图及其原理的更多相关文章
- 用jQuery实现轮播图效果,js中的排他思想
---恢复内容开始--- jQuery实现轮播图不用单独加载. 思路: a. 通过$("#id名");选择需要的一类标签,获得一个伪数组 b.由于是伪数组的原因,而对数组的处理最多 ...
- 用js和jQuery做轮播图
Javascript或jQuery做轮播图 css样式 <style> a{ text-decoration:none; } .naver{ width: 100%; position:r ...
- 自实现PC端jQuery版轮播图
最近其他项目不是很忙,被安排给公司的官网项目做一个新的页面(之前没接触公司官网项目),其中有一个用到轮播图的地方,最开始想直接用swiper.js插件实现就好了,可是发现官网项目里之前都没有引入过sw ...
- Jquery无缝轮播图的制作
轮播是html页面中比较常见的一种展现形式,也是基础,把轮播图做好,是排版中比较关键的 1.首先是轮播的html元素放置:做轮播之前,要有一个初步的认识 2.每个元素的位置怎样摆放,也是很关键的,这里 ...
- jquery优化轮播图2
继续优化 <!DOCTYPE html> <html lang="en"> <head> <meta charset="UTF- ...
- jquery改造轮播图1
g改造轮播图1:https://www.cnblogs.com/huanghuali/p/8677338.html <!DOCTYPE html> <html lang=" ...
- jQuery无缝轮播图思路详解-唯品会
效果图如上: 需求:图片自动轮播,鼠标移上停止播放,离开恢复播放,箭头切换图片. html代码 <!--轮播图大盒子开始--> <div class="wrap" ...
- jQuery封装轮播图插件
// 布局要求,必须有一个容器,图片和两个按钮,布局方式自定,小圆点样式固定 // <div class="all"> // <img src="img ...
- 自己随意写了个简单的依赖jquery的轮播图
//轮播图 function Switcher(obj){ this.box = $(obj.box); this.width = this.box.width(); this.banner = $( ...
随机推荐
- 《Linux内核分析》 期中总结
Linux内核分析 期中总结 20135307 张嘉琪 一.Linux内核分析课程总结 学习笔记汇总 第一节 计算机是如何工作的 第二节 操作系统是如何工作的 第三节 构造一个简单的Linux系统Me ...
- 个人项目junit4测试
一.题目简介 用java编写一个程序,模拟ATM柜员机. 二.源码的github链接 www.github.com/liuxianchen/test 三.所设计的模块测试用例.测试结果截图 四 心得 ...
- 使用github的感想
github的仓库链接:https://github.com/liyan941016/test github是一个基于git的代码托管平台,要想使用github第一步就要注册账户,然后要创建一个仓库 ...
- Essential Netty in Action 《Netty 实战(精髓)》读书笔记一
NIO 最初是为 New Input/Output 的缩写.然而,Java 的 API 已经存在足够长的时间,它不再是新的.现在普遍使用的缩写来表示Nonblocking I/O (非阻塞 I/O). ...
- Mysql 5.7.21 设置主从库同步
主从复制条件: Mysql 单机多实例安装参考Mysql 5.7.21 设置主从库同步 下面的操作是多实例主从复制,3306为主库,3307为从库. 主库要开启log-bin,主库和从库的server ...
- 如何自定义一个组件loading
使用时需要Vue.use()一下
- 产品激活 比如Windows激活 , office激活 等激活的原理是什么? KMS等激活工具安全吗?
什么是密钥管理服务 (KMS)? 密钥管理服务 (KMS) 允许在本地网络上激活产品.这样,单台计算机不必连接至 Microsoft 便可激活产品.需要将一台计算机配置为 KMS 主机.管理员必须为 ...
- Java中对域和静态方法的访问不具有多态性
1.将方法调用同方法主体关联起来被称为 2.编译期绑定(静态)是在程序编译阶段就确定了引用对象的类型 3.运行期绑定(动态绑定)是指在执行期间判断所引用对象的实际类型,根据其实际的类型调用其相应的方法 ...
- 前端存储loaclForage
以前使用本地存储,首先会想到localstorage或者session storage,将要存储的数据转化成字符串后进行setItem操作,但是使用local storage 有几个问题: 1.它是同 ...
- 关于flask 上直接使用py.test测试框架进行测试
这个周末基本上都在研究这玩意儿中度过了,虽然效率不高,英文文档看得晕头转向,但是好歹弄出来了 有个结果测试也通过了现在粗略总结一下有时间补上更多详细的例子. 首先使用py.test测试框架,可以做最简 ...