gitlab-centos的安装
一:gitlab-CentOS的安装
1. 环境准备
 1 [root@1-231 ~]# cat /etc/redhat-release

 2 CentOS Linux release 7.4.1708 (Core)

 3 [root@1-231 ~]# uname -r

 4 3.10.0-693.5.2.el7.x86_64

 5

 6 下载epel源

 7 [root@1-231 ~]# wget http://mirrors.aliyun.com/epel/epel-release-latest-7.noarch.rpm

 8 [root@1-231 ~]# rpm -ivh epel-release-latest-7.noarch.rpm

 9 [root@1-231 ~]# wget -O /etc/yum.repos.d/CentOS-Base.repo http://mirrors.aliyun.com/repo/Centos-7.repo

10

11 关闭networkmanager和防火墙

12 [root@1-231 ~]# systemctl stop firewalld.service

13 [root@1-231 ~]# systemctl disable firewalld

14 [root@1-231 ~]# systemctl disable NetworkManager

15

16 关闭selinux并确认处于关闭状态

17 [root@1-231 ~]# sed -i 's/SELINUX=enforcing/SELINUX=disabled/' /etc/selinux/config

18 [root@1-231 ~]# grep SELINUX=disabled /etc/selinux/config

19 SELINUX=disabled

20 [root@1-231 ~]# setenforce 0

21 setenforce: SELinux is disabled

22

23 更新系统并重启

24 [root@1-231 ~]# yum update -y && reboot
2. 安装gitlab
 1 [root@1-231 ~]# yum install curl policycoreutils openssh-server openssh-clients postfix -y

 2 [root@1-231 ~]# systemctl start postfix

 3 [root@1-231 ~]# curl -sS https://packages.gitlab.com/install/repositories/gitlab/gitlab-ce/script.rpm.sh | sudo bash

 4 [root@1-231 ~]# yum install -y gitlab-ce

 5

 6 由于网络问题,连接国外镜像连接超时,国内用户,建议使用清华大学的镜像源进行安装

 7 [root@1-231 ~]# cat /etc/yum.repos.d/gitlab-ce.repo

 8 [gitlab-ce]

 9 name=gitlab-ce

10 baseurl=http://mirrors.tuna.tsinghua.edu.cn/gitlab-ce/yum/el7

11 repo_gpgcheck=0

12 gpgcheck=0

13 enabled=1

14 gpgkey=https://packages.gitlab.com/gpg.key

15 [root@1-231 ~]# yum makecache

16 [root@1-231 ~]# yum install -y gitlab-ce
3. 在安装一个git客户端
1 [root@1-231 ~]# yum install -y git
4. 配置并启动gitlab-ce
 1 [root@1-231 ~]# gitlab-ctl reconfigure

 2 #时间可能比较长,耐心你等待即可

 3

 4 gitlab常用命令:

 5 关闭gitlab:[root@1-231 ~]# gitlab-ctl stop

 6 启动gitlab:[root@1-231 ~]# gitlab-ctl start

 7 重启gitlab:[root@1-231 ~]# gitlab-ctl restart

 8 重载配置文件: gitlab-ctl reconfigure

 9

10 可以使用gitlab-ctl管理gitlab,例如查看gitlab状态:

11 [root@1-231 ~]# gitlab-ctl status

12     run: gitaly: (pid 13265) 2545s; run: log: (pid 12780) 2590s

13     run: gitlab-monitor: (pid 13310) 2544s; run: log: (pid 12989) 2572s

14     run: gitlab-workhorse: (pid 13286) 2544s; run: log: (pid 12851) 2584s

15     run: logrotate: (pid 13155) 2547s; run: log: (pid 12896) 2580s

16     run: nginx: (pid 13198) 2547s; run: log: (pid 12874) 2582s

17     run: node-exporter: (pid 13205) 2546s; run: log: (pid 12967) 2574s

18     run: postgres-exporter: (pid 13367) 2543s; run: log: (pid 13066) 2558s

19     run: postgresql: (pid 13238) 2545s; run: log: (pid 12593) 2633s

20     run: prometheus: (pid 13354) 2543s; run: log: (pid 13025) 2564s

21     run: redis: (pid 13274) 2545s; run: log: (pid 12533) 2639s

22     run: redis-exporter: (pid 13293) 2544s; run: log: (pid 13008) 2566s

23     run: sidekiq: (pid 13386) 2542s; run: log: (pid 12760) 2596s

24     run: unicorn: (pid 13410) 2541s; run: log: (pid 12711) 2602s

25

26 提示:我们要保证80端口不被占用

27 我们可以查看一下端口

28 [root@1-231 ~]# gitlab-ctl restart

29     ok: run: gitaly: (pid 32816) 0s

30     ok: run: gitlab-monitor: (pid 32831) 1s

31     ok: run: gitlab-workhorse: (pid 32841) 0s

32     ok: run: logrotate: (pid 32850) 1s

33     ok: run: nginx: (pid 32892) 0s

34     ok: run: node-exporter: (pid 32898) 0s

35     ok: run: postgres-exporter: (pid 32906) 1s

36     ok: run: postgresql: (pid 32917) 0s

37     ok: run: prometheus: (pid 32926) 1s

38     ok: run: redis: (pid 32934) 0s

39     ok: run: redis-exporter: (pid 32938) 1s

40     ok: run: sidekiq: (pid 32946) 0s

41     ok: run: unicorn: (pid 32955) 0s

42

43 [root@1-231 ~]# lsof -i :80

44     COMMAND   PID       USER   FD   TYPE DEVICE SIZE/OFF NODE NAME

45     nginx   32892       root    7u  IPv4  81927      0t0  TCP *:http (LISTEN)

46     nginx   32893 gitlab-www    7u  IPv4  81927      0t0  TCP *:http (LISTEN)

47     nginx   32894 gitlab-www    7u  IPv4  81927      0t0  TCP *:http (LISTEN)
5. web:浏览器进行访问测试:192.168.1.231
提示:启动gitlab需要时间!
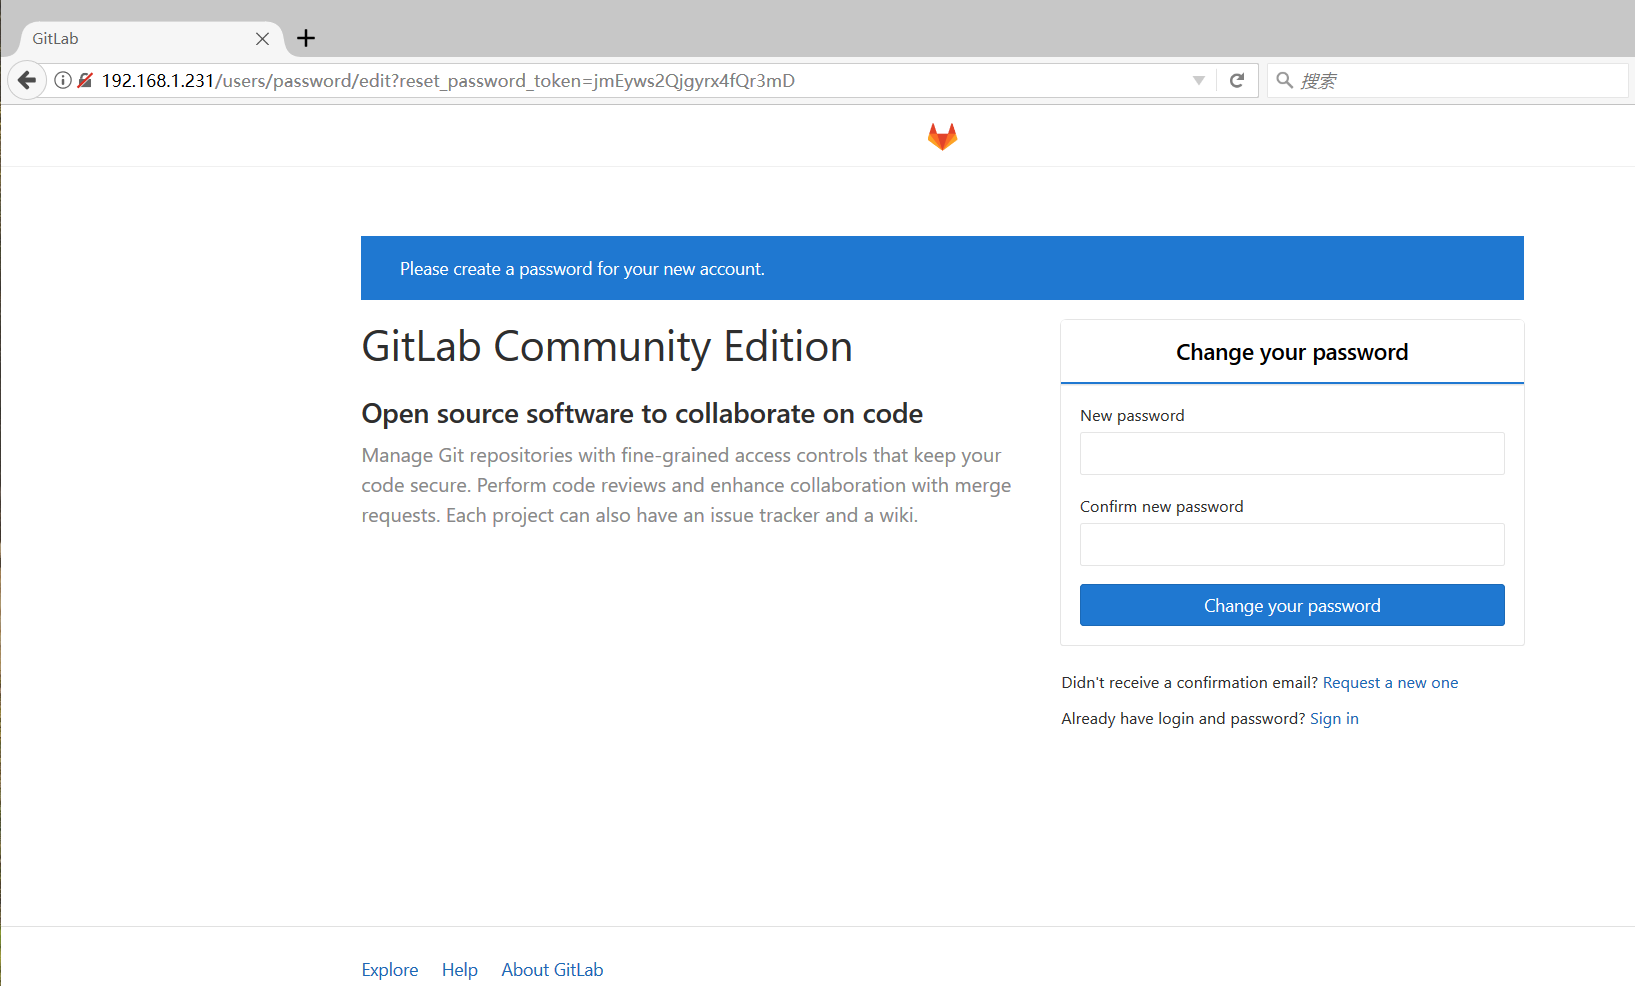
Web页面提示我们需要设置一个账号密码(我们要设置最少8位数的一个账号密码)我们设置密码为:12345678
默认用户是:root
密码是:12345678
我们在后面的页面设置用户名
gitlab-centos的安装的更多相关文章
- [转]Centos 7 安装部署 GitLab 服务器
Centos 7 安装部署 GitLab 服务器 转自:https://www.jianshu.com/p/79bfded68899 文前说明 作为码农中的一员,需要不断的学习,我工作之余将一些分析总 ...
- CentOS 7 安装GitLab
CentOS 安装GitLab CentOS 安装GitLab GitLab是一个利用Ruby on Rails开发的开源应用程序,实现一个自托管的Git项目仓库,可通过Web界面进行访问公开的或者私 ...
- centos下gitlab私服完整安装部署(nginx+MySQL+redis+gitlab-ce+gitlab-shell+)
系统环境cat /etc/redhat-release CentOS release 6.8 (Final) nginx -vnginx version: nginx/1.9.15 redis-cli ...
- 1、CentOS 6 安装GitLab
1.安装和配置必需的依赖项 在CentOS上将系统防火墙打开HTTP和SSH访问. sudo yum install -y curl policycoreutils-python openssh-se ...
- 一、CentOS 7安装部署GitLab服务器
一.CentOS 7安装部署GitLab服务器 1.安装依赖软件 yum -y install policycoreutils policycoreutils-python openssh-serve ...
- Centos中安装gitlab
安装依赖: sudo yum install curl openssh-server openssh-clients postfix cronie sudo service postfix start ...
- CentOS 7安装GitLab、汉化、配置邮件发送
1.更换国内yum源 1.1 备份 mv /etc/yum.repos.d/CentOS-Base.repo /etc/yum.repos.d/CentOS-Base.repo.backup 1.2 ...
- 在RedHat/CentOS下安装Docker(不升级内核)
由于内核版本问题,最初仅Ubuntu可以较好的支持Docker.不过,由于RedHat系列OS(REHL.CentOS)是目前主流的Linux服务器操作系统,所以令RedHat系列OS支持Docker ...
- Gitlab 社区版安装部署和维护指南
因为我的个人网站 restran.net 已经启用,博客园的内容已经不再更新.这篇文章是在 Gitlab 7.4 的环境下配置的,相关内容可能已经过时. 后续做了一次迁移,将 Gitlab 升级到了 ...
- NoSql1 在Linux(CentOS)上安装memcached及使用
前言: 今天是初五,生活基本要从过年的节奏中回归到正常的生活了,所以想想也该想想与工作有关的事情了.我之前在工作中会经常使用memcached和redis,但是自己一直没有时间系统的好好看 ...
随机推荐
- 2020年1月31日 安装Python的BeautifulSoap库记录
C:\Users\ufo>pip install beautifulsoup4 Collecting beautifulsoup4 WARNING: Retrying (Retry(total= ...
- 理解Clip Path
http://www.w3cplus.com/css3/using-making-sense-of-clip-path.html http://www.cnblogs.com/coco1s/p/602 ...
- HTML5总结整理
(仅供大家学习分享交流) 一.简介 1.前端开发最核心技术 我们知道,用所谓的网页三剑客已经不能满足需求了,那前端开发究竟要学习什么技术呢?网页最 主要由3部分组成:结构.表现和行为.网页现在新的标准 ...
- 【原创】Linux虚拟化KVM-Qemu分析(三)之KVM源码(1)
背景 Read the fucking source code! --By 鲁迅 A picture is worth a thousand words. --By 高尔基 说明: KVM版本:5.9 ...
- python之读取yaml数据
一.yaml简介 yaml:一种标记语言,专门用来写配置文件. 二.yaml基础语法 区分大小写: 使用缩进表示层级关系: 使用空格键缩进,而非Tab键缩进 缩进的空格数目不固定,只需要相同层级的元素 ...
- oracle之二redo日志
redo 日志 4.1 redo (重做) log 的功能:数据recovery4.2 redo log 特征: 1)记录数据库的变化(DML.DDL) 2)用于数据块的recover ...
- 漏桶、令牌桶限流的Go语言实现
限流 限流又称为流量控制(流控),通常是指限制到达系统的并发请求数. 我们生活中也会经常遇到限流的场景,比如:某景区限制每日进入景区的游客数量为8万人:沙河地铁站早高峰通过站外排队逐一放行的方式限制同 ...
- hadoop文件系统上的小文件合并-Hadoop Archives
1. 什么是Hadoop archives Hadoop archives是特殊的档案格式.一个Hadoop archive对应一个文件系统目录. Hadoop archive的扩展名是.har.Ha ...
- DASH流媒体MPD中的segmentTemplate
SegmentTemplate利用MPD中的属性代入公式计算可以得到相关通配符的数值,来提供给客户端进行相关地址解析.相较于segmentList,使用 SegmentTemplate 的方式,能够很 ...
- java 多线程-4
十四.sleep方法和wait方法的区别 [面试题] 相同点: 一旦执行方法,都可以使得当前线程进入阻塞状态. 不同点: 两个方法的声明位置不同:Thread类声明sleep():Object类中声明 ...